1. Introduction
The Yinker 4 Port USB VGA KVM Switch allows you to control up to four computers using a single set of keyboard, mouse, and VGA monitor. This device is designed to streamline your workspace by eliminating the need for multiple peripherals, making it ideal for home offices, IT environments, and multi-computer setups. It supports manual switching via a button on the device and is powered directly by the connected KVM cables, requiring no external power adapter.
2. Package Contents
Please verify that all items are present and in good condition upon opening the package.
- 1 x Yinker 4 Port USB VGA KVM Switch
- 4 x USB VGA KVM Cables (integrated)
- 1 x User Manual

3. Product Overview
The Yinker 4 Port USB VGA KVM Switch features a compact design with clearly labeled ports for easy connection. It includes dedicated ports for your monitor, keyboard, and mouse, along with four integrated USB VGA cables for connecting to your computers.

Front Panel
- PC1, PC2, PC3, PC4 Buttons: Used to manually switch between the connected computers.
- LED Indicators: Indicate which PC is currently selected.
Rear Panel
- VGA OUT: Connects to your VGA monitor.
- USB Ports (for Keyboard/Mouse/USB Devices): Connect your keyboard, mouse, and other USB peripherals.
- PC1-PC4 KVM Cable Ports: Connect the integrated USB VGA cables from your computers.
4. Setup Instructions
Follow these steps to properly set up your KVM switch.
- Power Off Computers: Ensure all computers you intend to connect are powered off before beginning the setup.
- Connect Monitor: Connect your VGA monitor to the 'VGA OUT' port on the KVM switch.
- Connect Keyboard and Mouse: Connect your USB keyboard and USB mouse to the designated USB ports on the KVM switch. You can also connect other USB devices like a printer or U disk to the available USB hubs.
- Connect Computers: For each computer, connect one of the integrated USB VGA KVM cables. The VGA end of the cable connects to the VGA output of your computer, and the USB end connects to a USB port on your computer. Then, connect the other end of this integrated cable to the corresponding PC port (PC1, PC2, PC3, or PC4) on the KVM switch. Ensure the USB pigtail from the KVM cable is connected to the computer for power supply and data transfer.
- Power On: Once all connections are secure, power on your computers. The KVM switch will draw power from the connected computers via the USB connections.


5. Operating Instructions
Operating the Yinker KVM switch is straightforward.
Switching Between Computers
To switch between the connected computers, simply press the corresponding button (PC1, PC2, PC3, or PC4) on the front panel of the KVM switch. The LED indicator next to the button will illuminate, showing which computer is currently active.

USB Device Sharing
The KVM switch allows all connected computers to share the USB devices (keyboard, mouse, printer, U disk, etc.) connected to its USB ports. When you switch to a different computer, the USB devices will automatically switch to that computer.
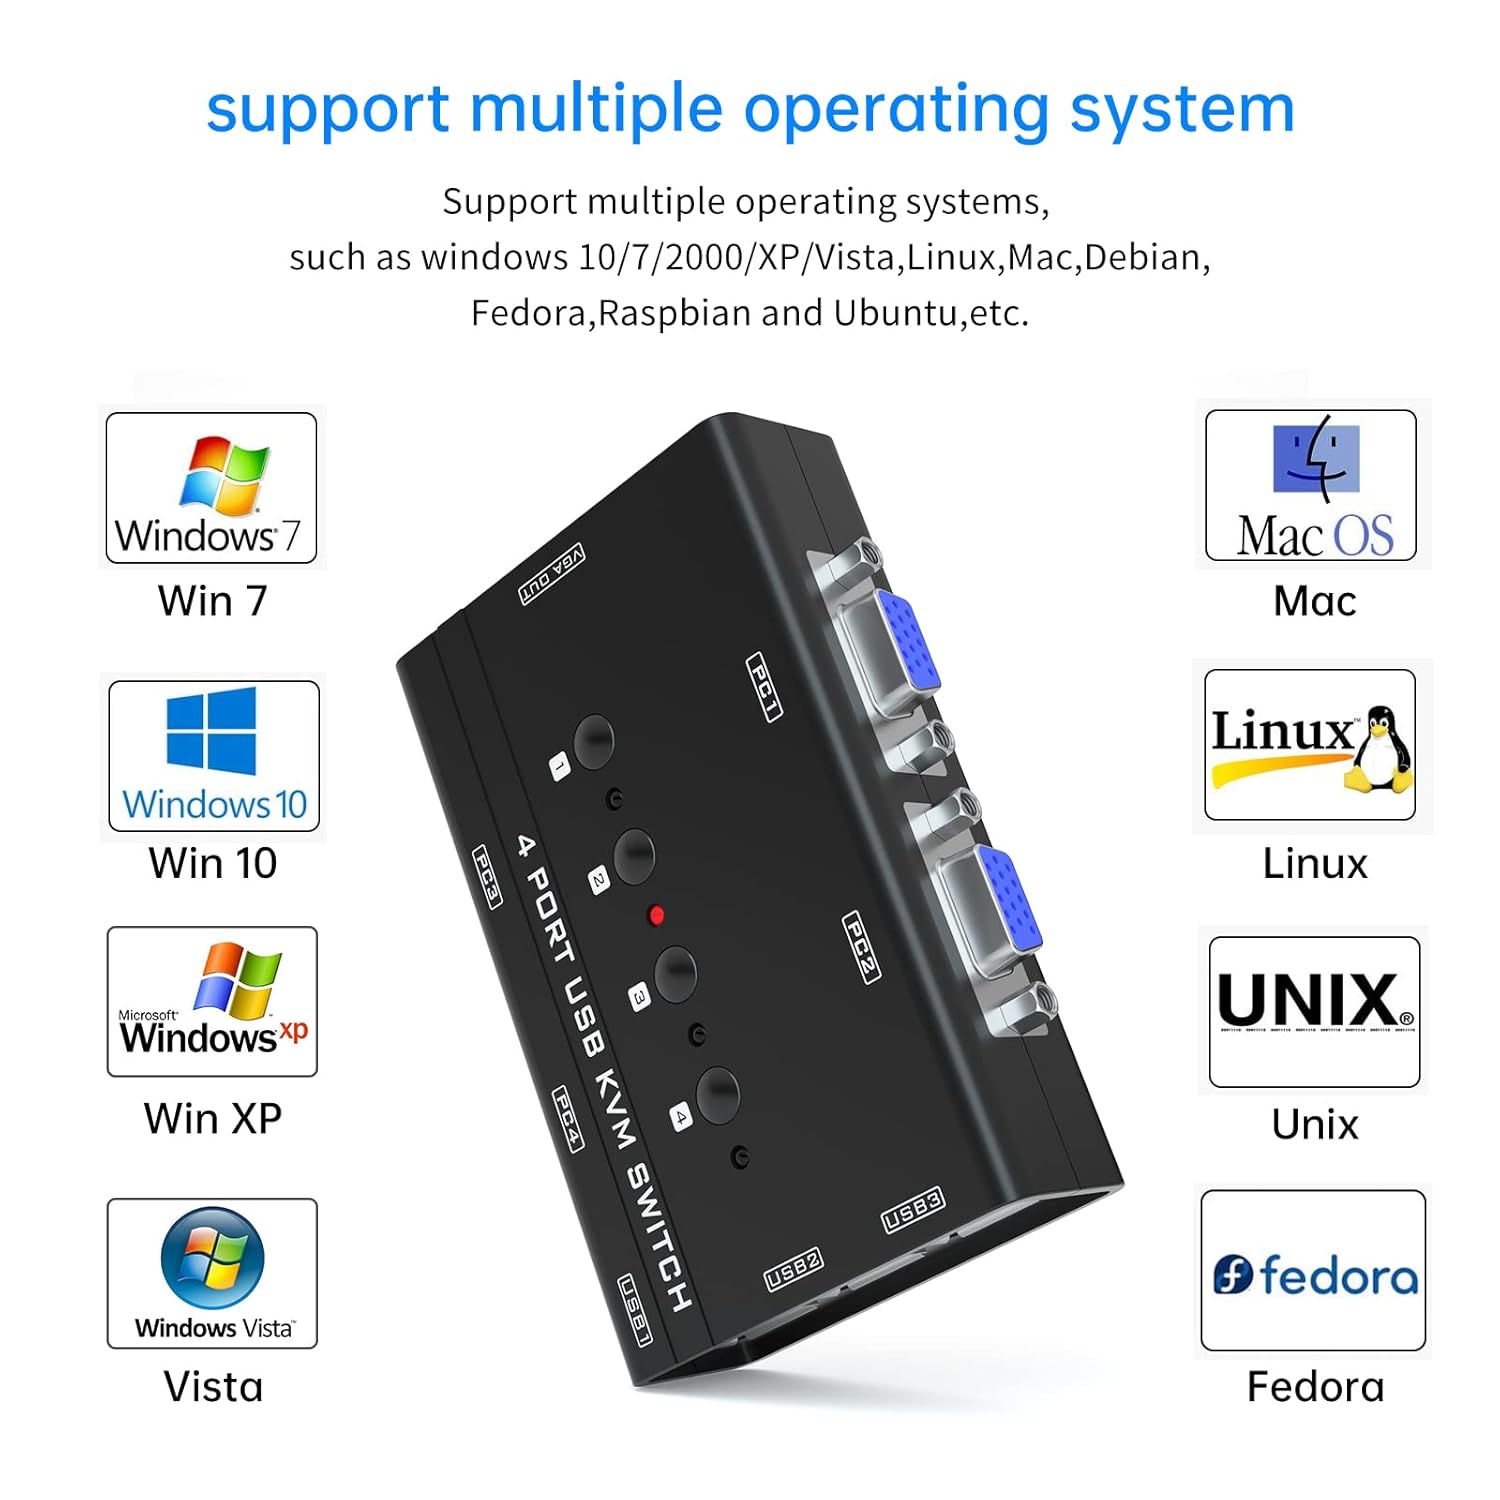
6. Compatibility
The Yinker 4 Port USB VGA KVM Switch is broadly compatible with various operating systems and supports a wide range of devices.
- Operating Systems: Compatible with Windows 10/8/7/XP/Vista (32/64-bit), Mac OS, Linux, DOS, Win3, WINNT, Netware, and Unix.
- Keyboard & Mouse: Supports wired and wireless USB keyboards and mice, including 2-in-1 combos. Bluetooth keyboards/mice without a dongle are not supported. Mechanical keyboards and mice are not recommended.
- Resolution: Supports resolutions up to 1920x1440.
- Features: Supports DDC (Display Data Channel) and Automatic Identification for high-quality output.
7. Specifications
| Feature | Detail |
|---|---|
| Model Number | 460KL |
| Product Dimensions | 4.02 x 2.56 x 1.02 inches |
| Weight | 1 Pound |
| Connector Type | VGA |
| Operation Mode | Manual (Button) |
| Max Resolution | 1920x1440 |
| Material | Copper, Brass |
| International Protection Rating | IP54 |
| Certification | CE |
8. Troubleshooting
If you encounter issues with your KVM switch, please refer to the following common solutions:
- No Signal/Display Issues:
- Ensure all VGA cables are securely connected to both the KVM switch and the computers/monitor.
- Verify that the correct input source is selected on your monitor.
- If a computer starts but you are not on its channel, the resolution might be incorrect. Try unplugging and replugging the VGA cable to that PC, or restart the computer while on its channel.
- Keyboard/Mouse Not Working:
- Ensure the USB cables from the KVM switch are securely connected to the USB ports on your computers. The KVM switch is powered via these USB connections.
- Try connecting the keyboard and mouse directly to the computer to confirm they are functional.
- Update USB drivers on your computer if issues persist after weeks of performance.
- Ensure you are not using a Bluetooth keyboard/mouse without a dongle, or a mechanical keyboard/mouse, as these may have compatibility issues.
- Switching Issues:
- Confirm you are pressing the correct button for the desired PC.
- This KVM switch is a manual switch and does not support hotkey switching.
- Intermittent USB Disconnects:
- Ensure the USB pigtail from the KVM cable is firmly connected to the computer to ensure stable power and data transfer.
- Try connecting the KVM to different USB ports on your computer.
9. Maintenance
To ensure the longevity and optimal performance of your KVM switch:
- Keep the device in a dry, dust-free environment.
- Avoid exposing the device to extreme temperatures or humidity.
- Clean the exterior with a soft, dry cloth. Do not use liquid cleaners or aerosols.
- Handle cables carefully to prevent damage to connectors.
10. Warranty and Support
Yinker products are designed for reliability and performance. For warranty information and technical support, please refer to the contact details provided with your purchase documentation or visit the official Yinker website. Keep your purchase receipt as proof of purchase for warranty claims.
For further assistance, you may contact Yinker customer support through their official channels. Please provide your product model number (460KL) and a detailed description of the issue when seeking support.