1. Introduction and Overview
This manual provides essential information for the assembly, operation, maintenance, and troubleshooting of your hosote 26 Inch Mountain Bike. Please read this manual thoroughly before using the bicycle to ensure safe and optimal performance. The hosote mountain bike features a lightweight aluminum frame, Shimano 21-speed transmission, a suspension fork for varied terrain, and dual disc brakes for reliable stopping power.
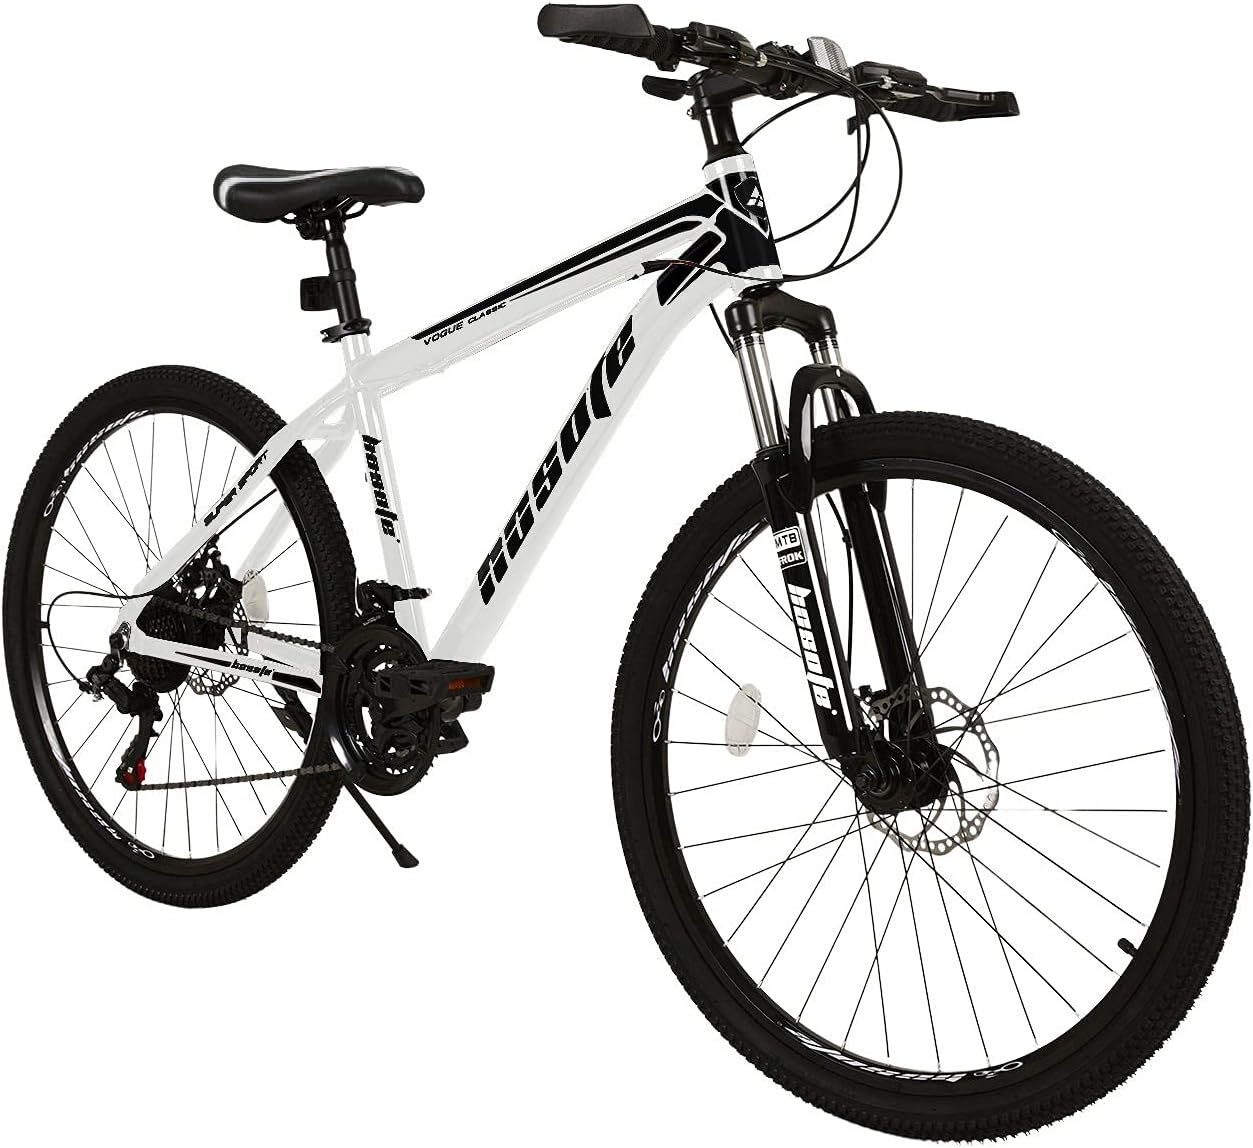
Figure 1: hosote 26 Inch Mountain Bike, showcasing its design and key components.
2. Setup and Assembly
Your hosote mountain bike comes 75% pre-assembled. Follow the steps below and refer to the assembly video for detailed instructions. Ensure all parts are present before beginning assembly.
Video: Detailed assembly guide for the hosote Aluminum Alloy Mountain Bike. This video demonstrates the step-by-step process of putting together your new bicycle, including handlebar, front fork, saddle, and front wheel installation.
Assembly Steps:
- Unpacking and Parts Check: Open the package and carefully remove all components. Verify that all parts listed in the manual are included.
- Front Fork Installation:
- Loosen the top bolt and remove the top bolt and top cap.
- Loosen the two screws on the side of the handlebar stem.
- Remove the handlebar stem, headset spacer, sealed washer, dustproof rubber ring, and compression washer one by one.
- Adjust the shift and brake cables. Insert the fork upper tube into the bike head tube.
- Re-install the compression washer, dustproof rubber ring, sealed washer, headset spacer, handlebar stem, top bolt, and top cap in sequence.
- Turn the handlebar stem to face forward, ensuring it aligns with the front fork.
- Tighten the top bolt, then tighten the two screws on the side of the handlebar stem.
- Handlebar Installation:
- Use a hexagon wrench to remove the four screws on the handlebar stem.
- Place the center of the handlebar into the handlebar stem.
- Insert the four screws and tighten them. Do not overtighten.
- Adjust the handlebar to the correct direction. Align the center of the stand with the center of the tick mark.
- Tighten the four screws securely to prevent the handlebar from slipping.
- Saddle Installation:
- Insert the saddle post into the frame's seat tube. Ensure the safety scale mark on the seat post is not exceeded during installation.
- Adjust the saddle height to your preference and secure it using the quick-release lever.
- Front Wheel Installation:
- Remove the screw and gasket from the front wheel axle. Keep them safe as you will use them later.
- Remove the protective rod from the front fork.
- Place the front wheel into the front fork slot, ensuring the disc brake rotor slides into the brake caliper.
- Clamp the front wheel to the front fork using the buckle.
- Tighten the screws on the wheel axle.
- Disc Brake Adjustment:
Under normal circumstances, the brakes are pre-adjusted. However, if adjustment is needed:
- Slightly loosen the two screws on the brake caliper.
- Adjust the disc brake so that the rotor is in the middle of the caliper, ensuring the brake pads do not touch the rotor.
- Lock the two screws.
- Slightly loosen the screw that secures the brake cable.
- Tighten the cable and lock the screw at the same time.
- Use and check the brakes to ensure they are working properly.
- Fixed Brake Line:
- Remove the U-buckle from the front fork (a spare U-shaped buckle is also in the tool bag).
- Put the brake line into the slot.
- Finally, buckle the U-shaped buckle to secure the brake line.
- Pedal Installation:
- Differentiate the left and right pedals. "L" is left and "R" is right.
- Insert the bolt of the pedal into the screw hole of the crank.
- Use a wrench to tighten the nut on the pedal.
- Tighten the nut of the left pedal counterclockwise. Tighten the nut of the right pedal clockwise.

Figure 2: Bicycle dimensions and recommended rider height for optimal fit.
3. Operating Instructions
Gear Shifting (Shimano 21 Speeds):
Your hosote mountain bike is equipped with a Shimano 21-speed transmission system. Use the shifters on the handlebars to change gears. The left shifter controls the front derailleur (larger gear changes), and the right shifter controls the rear derailleur (smaller, more precise gear changes). Shift gears smoothly, especially when climbing or descending, to maintain optimal pedaling efficiency and control.

Figure 3: Shimano transmission system for efficient gear changes.
Braking (Dual Disc Brake):
The bicycle features dual disc brakes for reliable and responsive stopping power. The left brake lever controls the front wheel brake, and the right brake lever controls the rear wheel brake. Apply both brakes simultaneously and gradually for controlled stops. Avoid sudden, hard braking, especially with the front brake, to prevent loss of control.

Figure 4: Dual disc brake system for enhanced safety.
Suspension Fork:
The front suspension fork helps absorb shocks and bumps, providing a smoother ride over rugged terrain. This feature enhances comfort and control, particularly on mountain trails or uneven surfaces.