Introduction
Thank you for choosing the Ingco CDLI2002 20V Cordless Lithium-Ion Drill Kit. This manual provides essential information for the safe and efficient operation, maintenance, and troubleshooting of your new tool. Please read these instructions carefully before use and keep them for future reference.
General Safety Instructions
Always observe basic safety precautions to reduce the risk of fire, electric shock, and personal injury when using power tools.
- Personal Protective Equipment: Always wear appropriate personal protective equipment (PPE) such as safety glasses, hearing protection, and gloves.
- Work Area Safety: Ensure your work area is clean, well-lit, and free from clutter. Keep children and bystanders away while operating the tool.
- Electrical Safety: Do not operate power tools in explosive atmospheres, such as in the presence of flammable liquids, gases, or dust. Avoid accidental starting; ensure the switch is in the off-position before connecting to a battery pack, picking up, or carrying the tool.
- Tool Handling: Use brushes or vacuum cleaners to remove metal chips, wood shavings, and debris from the workbench. Do not use your hands to remove debris from drilling operations.
- Accessory Condition: Do not use damaged, cracked, or twisted drill bits or accessories.
- Workpiece Security: Secure the workpiece using clamps or a vise to prevent movement during operation.
- Maintain Balance: Do not overreach. Keep proper footing and balance at all times to maintain control of the tool.
Product Overview
Familiarize yourself with the components of your Ingco CDLI2002 cordless drill.
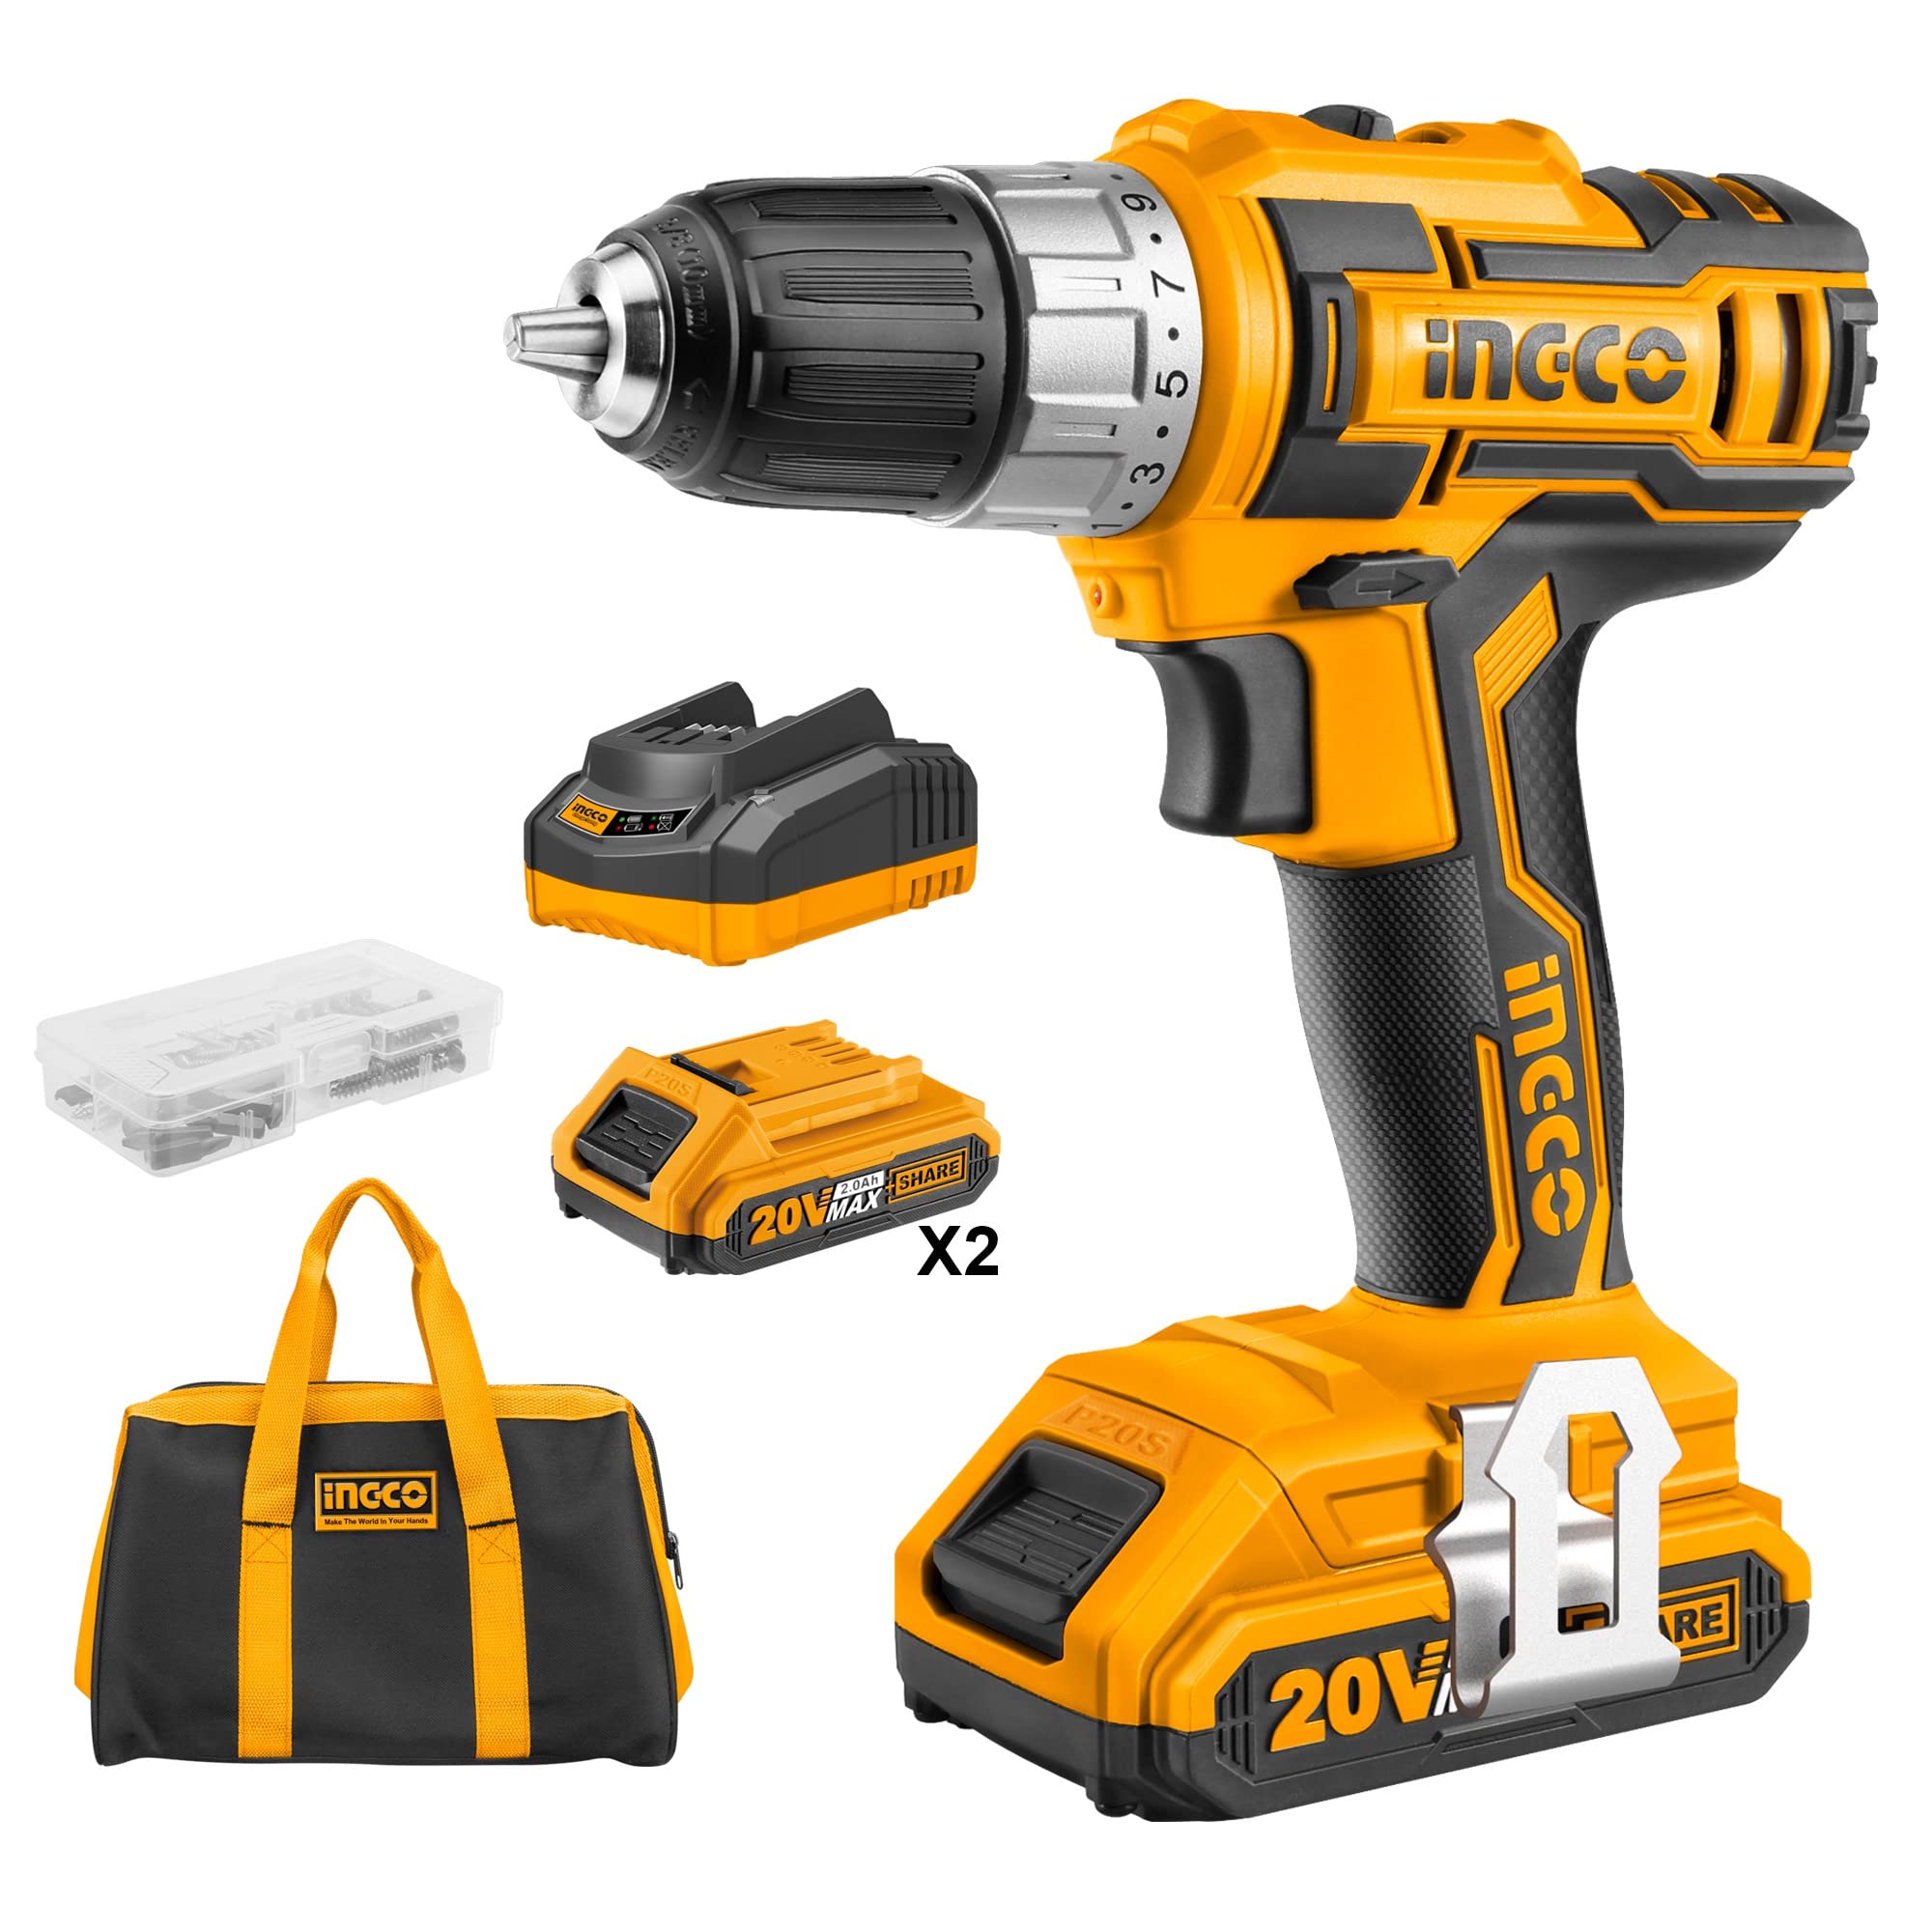
Image: Ingco CDLI2002 Cordless Drill with key components labeled. Labels include High quality gearbox, Single sleeve chuck, Mechanical double speed, 655 high torque motor, Ventilation holes, Comfortable grip handle, LED work light, Stepless speed switch, Metal hook, Charge display, and High quality 2.0Ah Lithium-Ion battery.
- High Quality Gearbox: Ensures durability and efficient power transmission.
- Single Sleeve Chuck: For quick and easy bit changes.
- Mechanical Double Speed: Allows selection between high torque and high speed.
- 655 High Torque Motor: Provides robust power for various tasks.
- Ventilation Holes: Designed for motor cooling during operation.
- Comfortable Grip Handle: Ergonomically designed for user comfort and control.
- LED Work Light: Illuminates the work area for improved visibility.
- Stepless Speed Switch: Provides variable speed control based on trigger pressure.
- Metal Hook: Convenient for hanging the tool when not in use.
- Charge Display: Indicates the battery's current charge level.
- High Quality 2.0Ah Lithium-Ion Battery: Provides reliable and long-lasting power.
Setup
1. Battery Charging
The Ingco CDLI2002 uses a 20V Lithium-Ion battery. Before first use, and after each use, ensure the battery is fully charged.
- Connect the charger to a standard power outlet.
- Slide the battery pack onto the charger. Ensure it is seated correctly.
- The charge display on the battery or charger will indicate the charging status. Refer to the charger's specific instructions for LED indicators.
- Once fully charged, disconnect the battery from the charger and unplug the charger from the outlet.
2. Battery Installation and Removal
Proper installation and removal of the battery pack are crucial for safe operation.
- Installation: Align the battery pack with the slot in the base of the drill handle. Slide the battery pack firmly into place until it clicks, indicating it is securely locked.
- Removal: Press the battery release button, usually located on the side or front of the battery pack. While holding the button, slide the battery pack out of the drill handle.
3. Chuck Operation and Accessory Installation
The drill features a single sleeve keyless chuck for quick and easy changes of drill bits and other accessories.

Image: Close-up view of the drill's keyless chuck and the two-speed selector switch.
- Opening the Chuck: Hold the rear part of the chuck (the body of the drill) and rotate the front part of the chuck counter-clockwise until the jaws are wide enough to accept the accessory.
- Inserting the Accessory: Ensure the drill bit or accessory shank is clean and free of debris. Insert the shank fully into the chuck jaws.
- Tightening the Chuck: Hold the rear part of the chuck and rotate the front part clockwise until the jaws firmly grip the accessory. Hand-tighten as much as possible to prevent slippage during operation.
Operating Instructions
1. Powering On/Off and Variable Speed Control
The drill is equipped with a stepless speed switch for precise control.
- To turn the drill ON, press the stepless speed switch (trigger). The speed will increase as you press the trigger further.
- To turn the drill OFF, release the trigger.
- The integrated LED work light will illuminate the work area when the trigger is pressed.
2. Speed Selection (Mechanical Double Speed)
Choose between two mechanical speed settings based on your application.
- Locate the speed selector switch on top of the drill.
- Position '1' (Low Speed): Provides higher torque (0-400 RPM) for driving screws or drilling larger holes in tough materials.
- Position '2' (High Speed): Provides faster rotation (0-1500 RPM) for quick drilling in softer materials or smaller holes.
- Always ensure the drill is stopped before changing the speed setting to prevent gear damage.
3. Torque Adjustment
The torque adjustment ring allows you to control the amount of rotational force applied.
- Rotate the torque adjustment ring, located behind the chuck, to select one of the 15 torque settings or the drill mode.
- Torque Settings (1-15): Use lower settings for driving small screws into soft materials to prevent overtightening or stripping. Use higher settings for larger screws or harder materials.
- Drill Mode (Drill Bit Symbol): Select this mode for drilling applications where maximum torque is desired and the clutch will not engage.
4. Forward/Reverse Rotation
The reversing switch controls the direction of the drill's rotation and also acts as a trigger lock.

Image: View of the drill highlighting the reversing switch and the battery pack.
- Forward Rotation: Push the reversing switch to the left (when viewed from the operating position) for drilling and driving screws.
- Reverse Rotation: Push the reversing switch to the right for removing screws or backing out drill bits.
- Trigger Lock: When the switch is in the center position, the trigger is locked, preventing accidental starting. Always engage the trigger lock when not using the tool or when changing accessories.
5. Drilling Techniques
For optimal results and safety, follow these general drilling guidelines.

Image: A user demonstrating the Ingco cordless drill in various drilling applications, including wood and metal.
- Always secure your workpiece.
- Start drilling at a low speed to create a pilot hole, then increase speed as needed.
- Apply steady, even pressure. Do not force the drill.
- For deep holes, periodically withdraw the bit to clear chips and allow the bit to cool.
- When drilling metal, use a cutting lubricant and appropriate metal drill bits.
Maintenance
Regular maintenance ensures the longevity and optimal performance of your tool.
- Cleaning: Regularly clean the drill's exterior with a soft, damp cloth. Use a brush or compressed air to clear dust and debris from the ventilation holes. Do not use harsh chemicals, solvents, or abrasive cleaners.
- Chuck Maintenance: Keep the chuck jaws clean and free of debris to ensure proper gripping of bits. Periodically apply a small amount of light machine oil to the chuck jaws if they become stiff.
- Battery Care: Store batteries in a cool, dry place, away from direct sunlight and extreme temperatures. Charge batteries fully before long-term storage and recharge them every few months to maintain battery health.
- Inspection: Before each use, inspect the tool for any signs of damage, loose parts, or worn components. Do not use the tool if it is damaged.
Troubleshooting
This section addresses common issues you might encounter.
| Problem | Possible Cause | Solution |
|---|---|---|
| Drill does not start | Battery not charged or improperly installed; Forward/reverse switch in center (locked) position. | Ensure battery is fully charged and correctly installed. Move forward/reverse switch to forward or reverse position. |
| Reduced power or speed | Battery low on charge; Ventilation holes obstructed; Overloading the tool. | Recharge battery. Clean ventilation holes. Reduce pressure or use a lower speed setting. |
| Drill bit slips in chuck | Chuck not tightened securely; Drill bit shank is dirty or oily; Worn or damaged drill bit. | Re-tighten chuck firmly. Clean drill bit shank. Replace with a new, undamaged drill bit. |
| Overheating | Blocked ventilation holes; Continuous heavy use. | Clean ventilation holes. Allow the tool to cool down during prolonged use. |
Specifications
Technical specifications for the Ingco CDLI2002 Cordless Lithium-Ion Drill Kit.

Image: Detailed parameter information for the Ingco CDLI2002 drill.
| Feature | Specification |
|---|---|
| Voltage | 20V |
| No-load Speed | 0-400 / 0-1500 RPM |
| Max. Torque | 45 Nm |
| Torque Settings | 15+1 |
| Chuck Capacity | 0.8-10 mm |
| Chuck Type | Auto-lock keyless chuck |
| Gear System | Mechanical 2-speed gear |
| Spindle Lock Function | Yes |
| Battery Type | 20V Lithium-Ion 2.0Ah |
| Included Batteries | 1 pc battery pack |
| Charger | 1 pc 1Hr fast charger |
| Charge Volts | 110V-240V~50/60Hz |
| Work Light | Integrated LED work light |
| Battery Indicator | LED power indicator |
| Accessories | 47 pcs accessories |
| Packaging | Canvas bag |
| Product Dimensions | 10 x 20 x 37 cm |
| Item Weight | 3 kg |
Warranty Information
Specific warranty details for the Ingco CDLI2002 are typically provided with your purchase documentation. Please refer to the warranty card or contact your retailer for information regarding warranty coverage, terms, and conditions.
Customer Support
If you have any questions, require technical assistance, or need to order replacement parts, please contact Ingco customer service or your authorized dealer. Contact information can usually be found on the product packaging or the official Ingco website.