Product Overview
The aigo AR12 Pro 120mm PWM ARGB Case Fans are designed to provide efficient cooling and customizable lighting for your computer system. This 3-pack includes fans with precise PWM control for automatic speed adjustment and Addressable RGB (ARGB) lighting that can synchronize with compatible motherboards.
Key Features:
- High Performance PWM Fan: 120mm fan with automatic speed control (800-1600 RPM ±20%) for low noise and efficient cooling.
- Optimized Airflow: 9-blade design engineered to optimize case airflow.
- Silent Operation: Integrated damping pads absorb vibration for reduced noise levels.
- Addressable RGB Lighting: Customizable lighting effects controllable via a motherboard with a 5V 3-pin ARGB port.
- Effective Cooling: Tuned for high-airflow and large volume cooling, suitable for various case configurations.

Image: aigo AR12 Pro fans installed in a PC case, showcasing vibrant ARGB lighting and indicating precise PWM control. The image highlights the fan's ability to adjust speed between 800-1600 RPM for optimal performance.
Setup and Installation
Follow these steps to properly install your aigo AR12 Pro case fans into your computer system.
1. Prepare Your System
- Ensure your computer is powered off and unplugged from the wall outlet.
- Open your computer case to access the fan mounting locations.
- Identify available 120mm fan mounting points in your case.
2. Mount the Fans
- Position each fan at your desired mounting location. Consider the airflow direction (see "Operating" section for details).
- Secure each fan using the provided screws. Do not overtighten.

Image: Diagram illustrating the wind direction of the aigo AR12 Pro fan. The front of the fan acts as the air inlet for cold air, and the back expels hot air.
3. Connect Power and ARGB Cables
Each aigo AR12 Pro fan has two cables: a 4-pin PWM cable for fan speed control and a 3-pin 5V ARGB cable for lighting control.
- PWM Connection: Connect the 4-pin PWM cable from each fan to an available 4-pin fan header on your motherboard. These headers are typically labeled "CPU_FAN", "SYS_FAN", or "CHA_FAN".
- ARGB Connection: Connect the 3-pin 5V ARGB cable from each fan to an available 3-pin 5V ARGB header on your motherboard. These headers are often labeled "ADD_HEADER", "JRAINBOW", or "ARGB_HEADER". Do not connect to a 12V RGB header, as this will damage the LEDs.
- If your motherboard does not have a 5V 3-pin ARGB header, an external ARGB controller (purchased separately) will be required to control the lighting effects.

Image: Diagram illustrating the connection of the aigo AR12 Pro fan's 5V 3-pin ARGB connector to a compatible motherboard header (labeled ADD GEN2), and the 4-pin PWM connector. It also shows an incorrect 12V RGB header connection.

Image: Close-up diagram of the 4-pin PWM and 5V 3-pin ARGB connectors, demonstrating the correct method for connecting them to ensure proper functionality.
Operating Instructions
Fan Speed Control (PWM)
The aigo AR12 Pro fans utilize Pulse Width Modulation (PWM) technology for automatic speed control. Once connected to a 4-pin PWM header on your motherboard, the fan speed will be regulated by your system's temperature sensors or through software control provided by your motherboard manufacturer.
- Automatic Control: The motherboard will automatically adjust fan speed between 800-1600 RPM based on CPU or system temperature to maintain optimal cooling and noise levels.
- Manual Control: You can typically adjust fan curves and set custom speed profiles through your motherboard's BIOS/UEFI settings or dedicated software (e.g., ASUS AI Suite, MSI Dragon Center, Gigabyte SIV).
ARGB Lighting Control
The Addressable RGB (ARGB) lighting of the AR12 Pro fans can be synchronized and controlled via your motherboard's ARGB software.
- Motherboard Sync: If connected to a 5V 3-pin ARGB header, use your motherboard's RGB control software (e.g., ASUS Aura Sync, MSI Mystic Light Sync, Gigabyte RGB Fusion, ASRock Polychrome Sync) to customize lighting effects, colors, and patterns.
- External Controller: If using an external ARGB controller, refer to the controller's manual for instructions on how to change lighting modes.
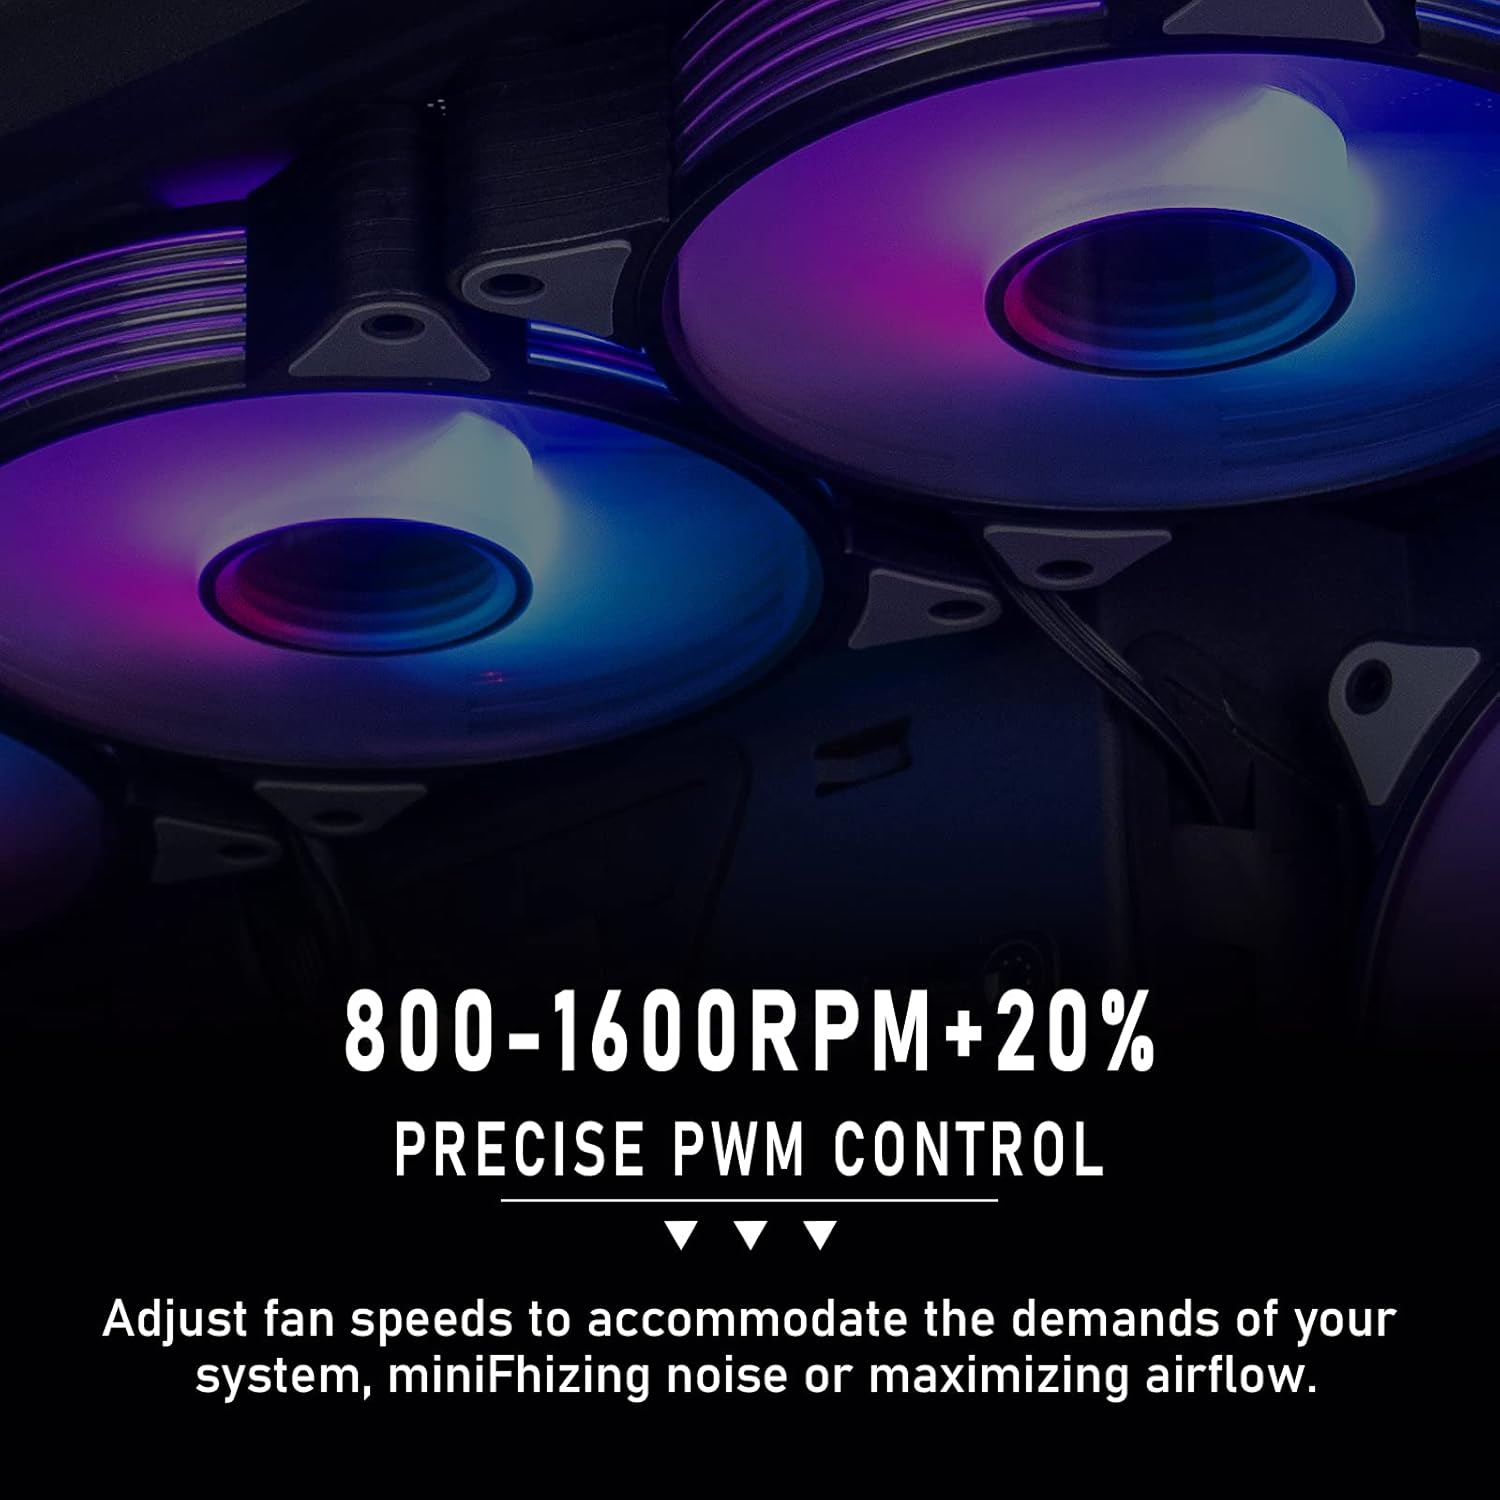
Image: Multiple aigo AR12 Pro fans illuminating a PC interior with synchronized ARGB lighting, demonstrating aesthetic integration and vibrant color display.
Maintenance
Regular maintenance helps ensure optimal performance and longevity of your aigo AR12 Pro fans.
- Dust Removal: Periodically clean the fan blades and frame to remove accumulated dust. Use compressed air or a soft brush. Ensure the computer is powered off and unplugged before cleaning.
- Inspection: Occasionally inspect the fan cables for any signs of wear or damage. Ensure all connections remain secure.
Troubleshooting
If you encounter issues with your aigo AR12 Pro fans, refer to the following common troubleshooting steps.
- Fan Not Spinning:
- Check if the 4-pin PWM cable is securely connected to the motherboard fan header.
- Ensure the motherboard fan header is enabled in BIOS/UEFI settings.
- Test the fan on a different fan header if available.
- ARGB Lights Not Working:
- Verify that the 3-pin 5V ARGB cable is correctly connected to a 5V ARGB header on the motherboard (not a 12V RGB header).
- Confirm that your motherboard's ARGB software is installed and configured correctly.
- If using an external controller, ensure it is powered and functioning.
- Check for any loose connections in the ARGB daisy chain (if applicable).
- Excessive Noise:
- Ensure the fan is securely mounted and not vibrating against the case.
- Check for any cables or obstructions hitting the fan blades.
- Adjust fan speed curves in your motherboard's BIOS/UEFI or software to reduce RPM at idle or low loads.
- A slight whirring noise at certain RPMs can sometimes occur; ensure it's not indicative of a physical obstruction.
- Poor Cooling Performance:
- Verify that the fans are oriented correctly for optimal airflow (intake vs. exhaust).
- Clean any dust buildup on the fan blades or case filters.
- Ensure fan speeds are set appropriately for your system's thermal demands.
Specifications
| Feature | Specification |
|---|---|
| Product Name | aigo AR12 Pro PWM Fan |
| Fan Size | 120 x 120 x 25 mm |
| Cooling Method | Air-cooled |
| Fan Speed (RPM) | 800-1600 RPM ±20% |
| Air Volume (CFM) | 74 CFM (MAX) |
| Wind Pressure | 2.2 mmH2O (MAX) |
| Noise Level | 28.6 dBA (MAX) |
| Power Connector | 4-Pin PWM |
| ARGB Connector | 3-Pin 5V ARGB |
| Fan Voltage | DC 12V |
| ARGB Voltage | DC 5V |
| Wattage | 3 Watts |
| Compatible Devices | Desktop Computers |
| Material Type | Polycarbonate |
| Unit Count | 3 Fans |
Warranty and Support
For information regarding product warranty, please refer to the warranty policy provided by your retailer at the time of purchase or visit the official aigo website. For technical support or further assistance, please contact aigo customer service through their official channels.
Official aigo Website: www.aigo.com (Note: This is a placeholder URL. Please refer to the actual manufacturer's website for accurate support information.)