1. Introduction
This manual provides essential information for the safe and efficient operation, assembly, and maintenance of your XLTTY Pedestal Industrial Fan 45cm. Please read these instructions thoroughly before using the product and retain them for future reference.
2. Safety Instructions
WARNING: To reduce the risk of fire, electric shock, or injury, observe the following safety precautions:
- Always unplug the fan from the power outlet before cleaning, servicing, or moving it.
- Do not operate the fan with a damaged cord or plug. If the cord is damaged, it must be replaced by the manufacturer or a qualified service agent.
- Ensure the fan is placed on a stable, level surface to prevent tipping.
- Keep hands, hair, clothing, and other objects away from the fan blades during operation.
- Do not insert any objects into the fan guards or openings.
- Do not use the fan in wet or damp locations, such as bathrooms or areas with high humidity.
- This fan is intended for industrial and commercial use. Do not use outdoors.
- Supervise children and pets when the fan is in use.
3. Package Contents
Carefully unpack your fan and check that all items are present and in good condition. If any items are missing or damaged, contact your retailer.
- Fan Head (with motor and blades)
- Front and Rear Fan Guards
- Pedestal Pole (adjustable height)
- Heavy-Duty Base
- Mounting Hardware (screws, nuts, washers)
- User Manual
4. Assembly Instructions
Follow these steps to assemble your pedestal fan:
- Attach the Pedestal Pole to the Base: Securely fasten the pedestal pole to the heavy-duty base using the provided screws and washers. Ensure it is stable.
- Mount the Fan Head: Attach the fan head assembly (motor and rear guard) to the top of the pedestal pole. Tighten all securing bolts firmly.
- Install Fan Blades: Carefully slide the fan blades onto the motor shaft. Ensure they are properly aligned and secured with the retaining cap or screw.
- Attach the Front Guard: Align the front fan guard with the rear guard and secure them together using the clips or screws provided around the perimeter. Ensure the guards are tightly closed to prevent access to the blades.
5. Operating Instructions
Your XLTTY Pedestal Industrial Fan features mechanical controls for ease of use.
5.1 Powering On/Off and Speed Selection
Locate the control dial on the fan motor housing. This dial controls both power and fan speed.
- Turn the dial to '0' to turn the fan OFF.
- Turn the dial to '1' for Low speed.
- Turn the dial to '2' for Medium speed.
- Turn the dial to '3' for High speed.

Image: Control dial for selecting fan speeds (0-Off, 1-Low, 2-Medium, 3-High).
5.2 Oscillation Function
The fan features a wide-angle oscillation function to distribute air across a larger area. To activate or deactivate oscillation, locate the oscillation knob on top of the motor housing. Push down to engage oscillation, and pull up to stop oscillation.

Image: Illustration of the fan's 90-degree oscillation capability, showing air distribution.
5.3 Height Adjustment
The pedestal pole allows for adjustable height. Loosen the height adjustment knob on the pole, raise or lower the fan head to your desired height, and then securely tighten the knob to lock it in place.
5.4 Airflow Distance
This industrial fan is designed to provide a strong, long-distance airflow, capable of reaching approximately 10 meters.
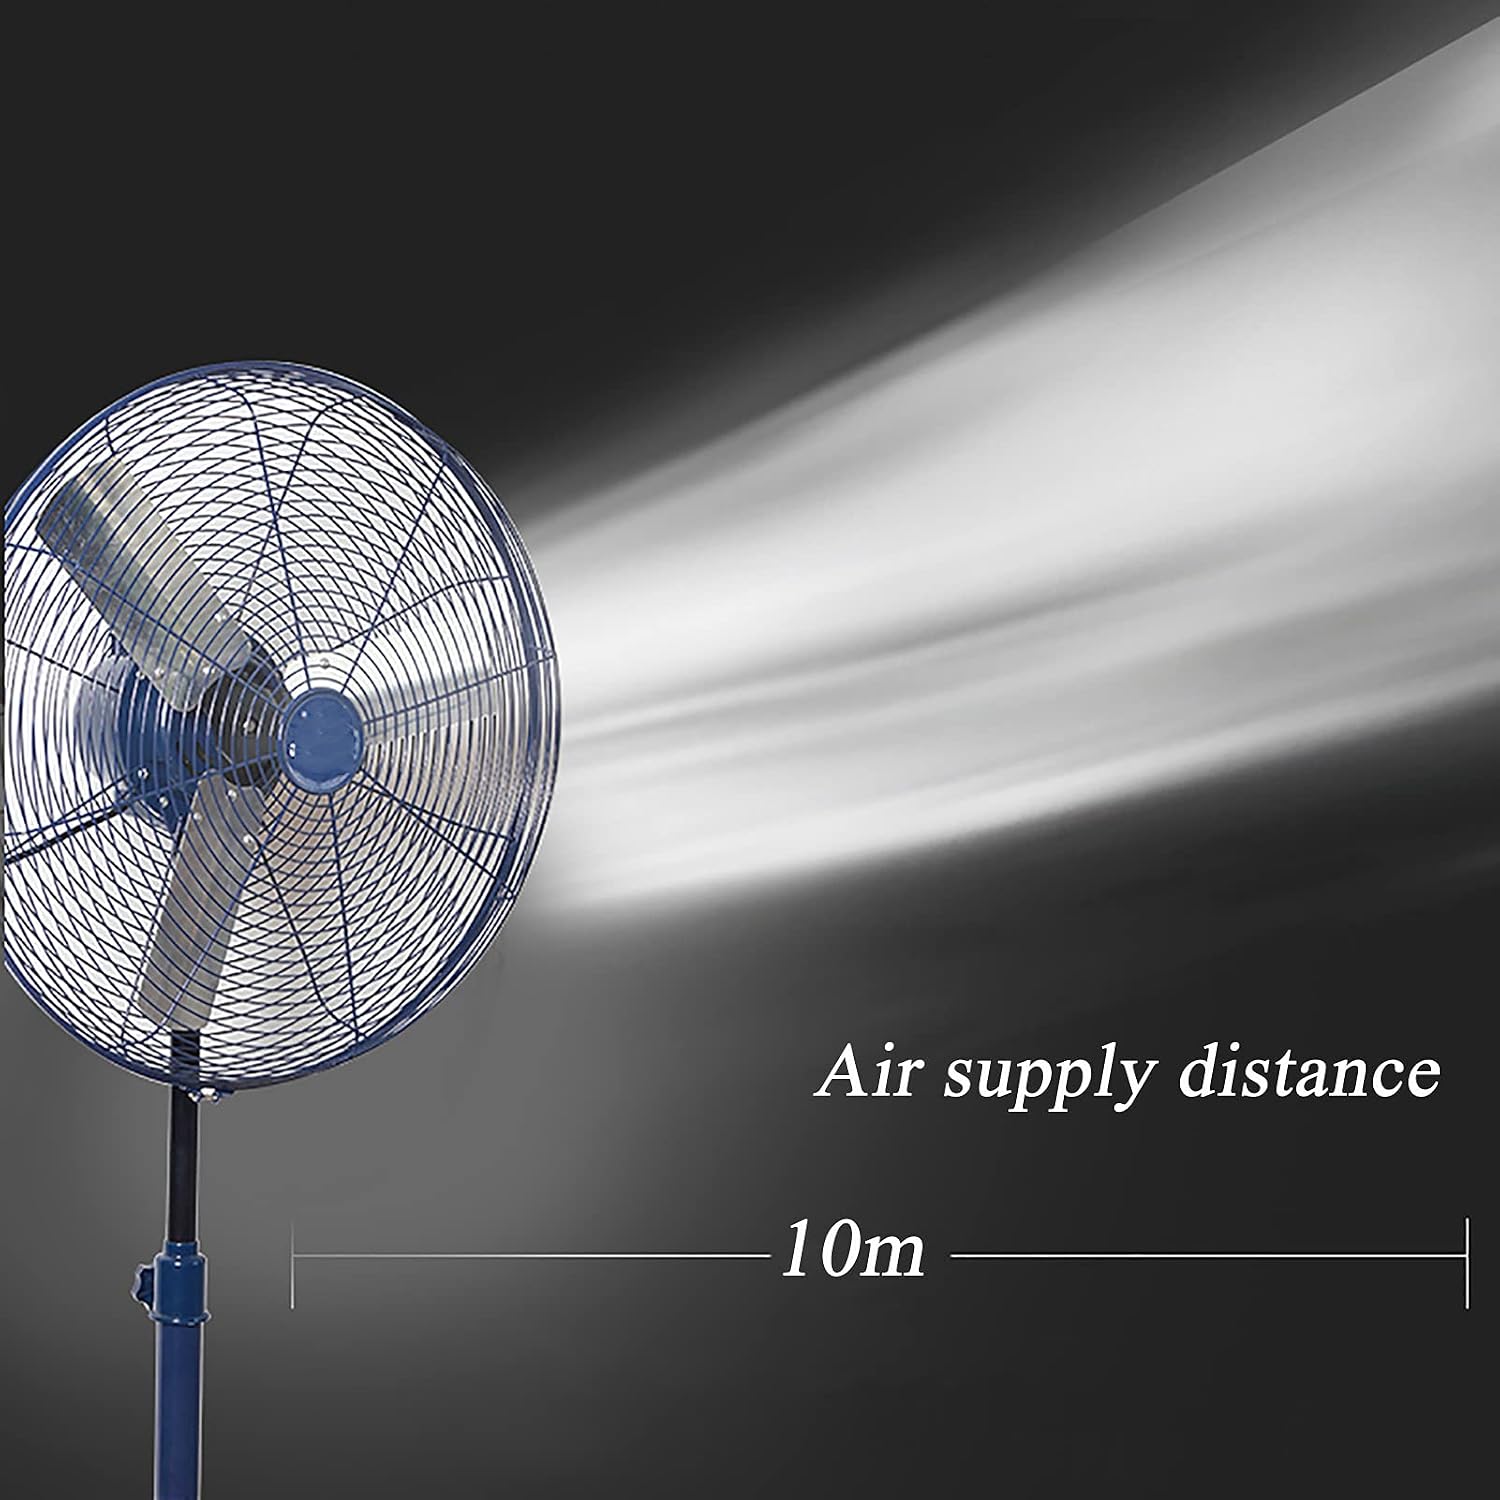
Image: Visual representation of the fan's effective air supply distance of 10 meters.
6. Maintenance
Regular maintenance ensures optimal performance and extends the lifespan of your fan.
6.1 Cleaning
- Always unplug the fan before cleaning.
- Use a soft, damp cloth to wipe the exterior surfaces of the fan. Do not use abrasive cleaners or solvents.
- To clean the fan blades, remove the front guard (refer to assembly instructions in reverse). Wipe the blades with a damp cloth. Ensure blades are completely dry before reattaching the guard.
- The fan features a high-density, reinforced mesh cover designed for durability and resistance to rust.

Image: Detail of the fan's reinforced mesh cover, emphasizing its robust and rust-resistant construction.
6.2 Storage
When not in use for extended periods, store the fan in a cool, dry place, preferably in its original packaging, to protect it from dust and damage.
7. Troubleshooting
If you encounter issues with your fan, refer to the following common problems and solutions:
| Problem | Possible Cause | Solution |
|---|---|---|
| Fan does not turn on | No power supply; Fan not plugged in; Speed dial set to '0' | Check power outlet; Ensure fan is securely plugged in; Turn speed dial to '1', '2', or '3' |
| Weak airflow | Fan speed too low; Dirty blades or guards | Increase fan speed; Clean fan blades and guards (refer to Maintenance section) |
| Fan is noisy | Loose parts; Fan not on a level surface; Obstruction | Check for loose screws or components; Place fan on a stable, level surface; Ensure no objects are interfering with blades |
| Oscillation not working | Oscillation knob not engaged | Push down the oscillation knob on the motor housing to engage |
If the problem persists after attempting these solutions, please contact customer support.
8. Specifications
The following specifications apply to the XLTTY Pedestal Industrial Fan 45cm:
| Feature | Specification |
|---|---|
| Model Size | 45cm |
| Electric Fan Design | Floor Fan / Pedestal Fan |
| Power Source | Corded Electric (AC motor) |
| Rated Power | 60 Watts |
| Number of Speeds | 3 |
| Number of Blades | 3 |
| Material | Aluminum (Blades) |
| Control Type | Button Control (Mechanical Dial) |
| Special Feature | Oscillating, Adjustable Height |
| Air Supply Distance | Approximately 10 meters |
| Manufacturer | XLTTY |

Image: General specification table for XLTTY industrial fan series. Note: Specific wattage for the 45cm model is 60W as per product specifications.

Image: Internal view highlighting the double-bearing high-power motor, emphasizing its quality, low noise operation, and durability.
9. Warranty and Support
For warranty information or technical support, please refer to the documentation provided with your purchase or contact the retailer/manufacturer directly. Keep your proof of purchase for any warranty claims.