1. Introduction
Thank you for choosing the GASLAND 36-inch Pro RT3606 Gas Cooktop. This manual provides essential information for the safe and efficient installation, operation, and maintenance of your new appliance. Please read all instructions carefully before use and retain this manual for future reference.
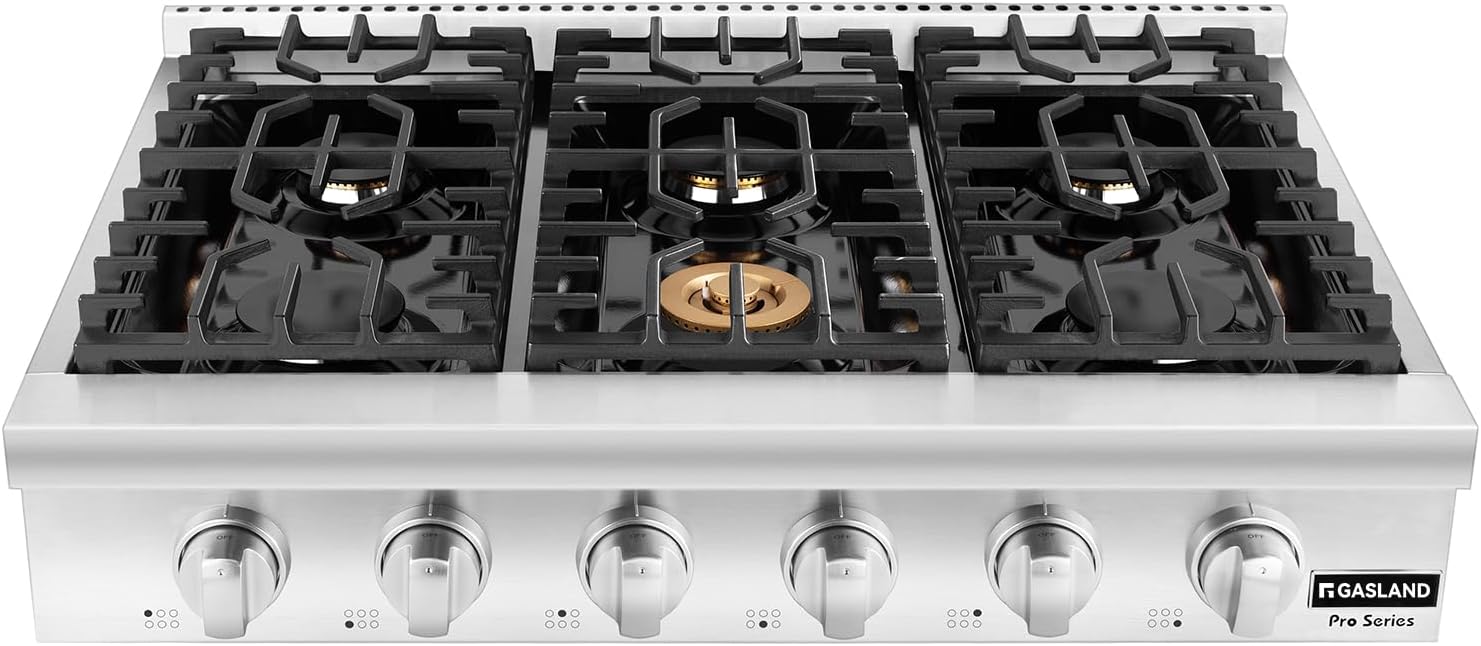
Figure 1: Top-down view of the GASLAND 36-inch Pro RT3606 Gas Cooktop with six burners and cast-iron grates.
2. Important Safety Information
WARNING: Improper installation, adjustment, alteration, service, or maintenance can cause injury or property damage. Refer to this manual. For assistance or additional information, consult a qualified installer, service agency, or the gas supplier.
- Read all instructions before using the appliance.
- Do not store or use gasoline or other flammable vapors and liquids in the vicinity of this or any other appliance.
- Installation and service must be performed by a qualified installer, service agency, or the gas supplier.
- Ensure adequate ventilation in the kitchen area.
- This appliance is equipped with a thermocouple flame failure device system, which automatically shuts off gas supply if the flame extinguishes.
3. Product Features
- Blue Indicator Lights: Blue LED lights illuminate the control panel and knobs, indicating when the cooktop is active.
- Convertible Gas Supply: The cooktop is pre-installed for natural gas (NG) use with a gas regulator included. It can be converted for liquid propane (LPG) gas use; LPG conversion nozzles are sold separately.
- Re-ignition System: An exclusive re-ignition system automatically re-ignites burners if the flame accidentally extinguishes during cooking.
- Removable Cast-Iron Grates: Heavy-duty, porcelainized, cast-iron surface grates provide continuous support for pots and pans and are removable for easy cleaning.
- Zinc Alloy Knobs: Six melt-proof zinc alloy knobs provide precise control for each burner.
- Low Simmer Setting: Golden burners feature a low simmer setting for gentle, even cooking at precisely low temperatures.
- High BTU Burners: The cooktop includes a variety of burner BTU outputs for diverse cooking needs, including an 18,000 BTU powerful burner for searing, boiling, or wok cooking.

Figure 2: Close-up of the control panel showing illuminated blue LED indicator lights around the zinc alloy knobs.

Figure 3: Removable cast-iron grates and optional griddle are dishwasher safe for convenient cleaning.

Figure 4: Illustration of the BTU distribution across the six burners, ranging from 12,000 BTU to 18,000 BTU.
4. Specifications
| Attribute | Value |
|---|---|
| Brand | GASLAND |
| Model Info | Pro RT3606 |
| Item Weight | 42.2 pounds |
| Product Dimensions | 35.9 in. W x 26.5 in. D x 8.7 in. H |
| Cut Out Size | 36.1 in. W x 26.5 in. D x 7.5 in. H |
| Installation Type | Slide-In |
| Special Features | Adjustable Temperature, Automatic Ignition, Flame-Out Protection, Melt Setting |
| Burner Type | Open |
| Heating Elements | 6 |
| Color | Stainless Steel |
| Control Console | Knobs |
| Voltage | 120 Volts (15 amps breaker required) |
| Fuel Type | Natural Gas, Propane (LPG conversion nozzles sold separately) |
| Material Type | Cast Iron, Stainless Steel |
| Included Components | Gas Cooktop *1, Gas Regulator |

Figure 5: Detailed dimensions for built-in installation of the GASLAND cooktop.
5. Setup and Installation
Installation of this gas cooktop must be performed by a qualified installer or service agency in accordance with local codes and ordinances. Failure to follow these instructions could result in fire or explosion.
5.1 Unboxing and Components
Carefully unbox the cooktop. The packaging includes a cut-out size board for precise countertop preparation. Ensure all components listed in the specifications are present.
Video 1: Overview of the GASLAND 36 Inch Gas Cooktop, showing unboxing and initial setup components.
5.2 Countertop Preparation
Use the provided cut-out size board as a template to ensure the correct dimensions for your countertop opening. The required cut-out size is 36.1 in. W x 26.5 in. D x 7.5 in. H.
5.3 Gas Connection
Connect the cooktop to your gas supply using the included gas pressure regulator. Ensure all connections are secure and leak-free. If converting to LPG, use the appropriate conversion nozzles (sold separately) and adjust the regulator as per instructions.
Video 2: Detailed installation steps for the GASLAND Chef Professional Natural 36 Inch Gas Rangetop, including gas connection.
5.4 Electrical Connection
The cooktop requires a standard US 120V GFCI power cord plug for the electric ignitor. A 15 amps breaker is required. Ensure the power supply is properly grounded.
5.5 Securing the Unit
Once installed in the countertop opening, secure the cooktop using the provided mounting brackets to prevent movement.
6. Operating Instructions
6.1 Burner Ignition
- Push the desired zinc alloy knob inward.
- Rotate the knob counter-clockwise to the HIGH position.
- The electric ignitor will spark, and the burner will light.
- Once lit, release the knob. If the burner does not light, repeat the process.
6.2 Adjusting Flame
After ignition, rotate the knob to adjust the flame intensity from HIGH to LOW. The blue indicator lights will confirm the burner is active.
6.3 Using the Griddle (Optional)
The cooktop is compatible with a reversible cast-iron griddle (sold separately or may be included in some packages). Place the griddle over two burners for even heating. Use the appropriate BTU burners for grilling or making pancakes.

Figure 6: A chef cooking steak on the GASLAND cooktop, demonstrating the high heat output of the powerful burner.
7. Maintenance and Cleaning
7.1 Stainless Steel Surface
Clean the stainless steel surface regularly with a soft cloth and a non-abrasive stainless steel cleaner. Avoid harsh chemicals or abrasive pads that can scratch the finish.
7.2 Cast-Iron Grates
The heavy-duty cast-iron grates are porcelainized and removable. They can be cleaned in a dishwasher or by hand with warm, soapy water. Ensure they are completely dry before placing them back on the cooktop.
7.3 Burner Components
The burner caps and bases can be removed for cleaning. Wash with warm, soapy water and ensure they are completely dry before reassembling. Proper reassembly is crucial for correct flame distribution.

Figure 7: The black enamel surface beneath the grates is easy to clean once the grates are removed.
8. Troubleshooting
- Burner Not Lighting: Check if the gas supply is on. Ensure the burner cap and base are correctly seated. Verify the electrical connection for the ignitor.
- Uneven Flame: Clean the burner ports. Ensure the burner cap is properly aligned.
- Gas Smell: Immediately turn off all burners and the main gas supply. Open windows for ventilation. Do not operate any electrical switches. Contact your gas supplier or a qualified technician.
- LPG Conversion Issues: If experiencing problems after converting to LPG, ensure the correct conversion nozzles were installed and the gas regulator was properly adjusted for LPG. Consult a qualified technician.
9. Warranty and Support
For warranty information or technical support, please refer to the documentation included with your product or visit the official GASLAND website. You may also contact customer support through your retailer.
For additional assistance, please refer to the Amazon Customer Support page.