pearlstar HIA159.V1
User Manual: Replacement Set Edison Bulb and Solar Panel Top
pearlstar
1. Introduction
Thank you for choosing the pearlstar Replacement Set Edison Bulb and Solar Panel Top. This product is designed to replace the top unit of outdoor solar lanterns, providing warm white LED illumination. It features an integrated solar panel for automatic charging and an Edison-style bulb for aesthetic appeal. This manual provides essential information for proper setup, operation, and maintenance to ensure optimal performance and longevity of your product.
What's Included:
- 1 x Replacement Edison Bulb and Solar Panel Top
- 1 x AAA NI-MH 600Mah Battery (pre-installed)
2. Product Overview
The pearlstar Replacement Set is a self-contained lighting unit designed for compatibility with various outdoor solar lanterns. Its robust construction ensures durability for outdoor use.
Key Features:
- Dimensions: 2.68 inches (diameter) x 6.5 inches (height). The bulb itself is approximately 2.7 inches in diameter. Ensure your lantern's opening is larger than 2.6 inches for proper fit.
- Compatibility: Specifically designed as a replacement solar top for outdoor hanging solar lanterns.
- Automatic Operation: Features an auto on/off function, with automatic charging during the day when the switch is in the 'ON' position.
- Battery: Includes one pre-installed AAA NI-MH 600Mah rechargeable battery.
- Illumination: Provides 10 lumens of warm white LED light.
- Durability: IP44 Waterproof rating, suitable for outdoor environments.
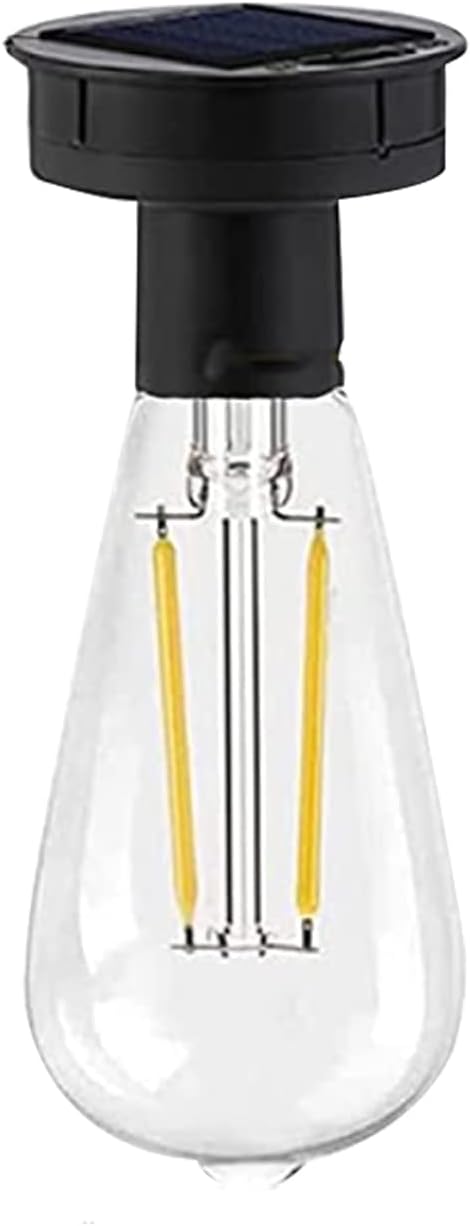
Figure 2.1: The Pearlstar Replacement Edison Bulb and Solar Panel Top. This image shows the complete unit, featuring the black solar panel top connected to the clear Edison-style LED bulb.

Figure 2.2: Product dimensions. This image illustrates the key measurements of the unit: 2.68 inches in width (solar panel top), 6.5 inches in overall height, and 2.56 inches in bulb diameter.

Figure 2.3: Compatibility with various lantern types. This image displays the replacement unit alongside several different styles of outdoor solar lanterns, demonstrating its versatility and intended use as a top replacement.
3. Setup Instructions
3.1 Initial Charging
Before first use, ensure the unit is placed in direct sunlight for at least 6-8 hours with the ON/OFF switch in the 'ON' position. This allows the internal battery to fully charge, ensuring optimal performance during nighttime operation.
3.2 Installation
- Locate the ON/OFF switch on the underside of the solar panel top. Slide the switch to the 'ON' position.
- Carefully screw the Edison bulb into the base of the solar panel top if it is not already assembled.
- Remove the existing top from your outdoor solar lantern.
- Insert the pearlstar Replacement Set Edison Bulb and Solar Panel Top into the opening of your lantern. Ensure it fits securely. The bulb should hang freely within the lantern's enclosure.
- Place the assembled lantern in a location where the solar panel receives maximum direct sunlight throughout the day, free from shadows from buildings, trees, or other obstructions.

Figure 3.1: Detail of the solar panel top. This image highlights the solar panel, the ON/OFF switch, and an indicator for battery charge, crucial for initial setup and operation.
4. Operation
Once properly installed and charged, the pearlstar Replacement Set operates automatically.
- Daytime: The solar panel converts sunlight into electricity, which is stored in the internal rechargeable battery. The light will remain off during daylight hours.
- Nighttime: An integrated light sensor detects the absence of light at dusk and automatically turns on the LED bulb. The light will remain illuminated for several hours, depending on the amount of charge received during the day.
- Automatic Shut-off: The light will automatically turn off at dawn or when the battery charge is depleted.

Figure 4.1: Example of solar lanterns in an outdoor setting. This image shows multiple solar lanterns, similar to those compatible with this replacement unit, illuminated at night, demonstrating the product's intended use and effect.
5. Maintenance
Regular maintenance helps ensure the longevity and efficiency of your solar lantern top.
5.1 Cleaning
- Periodically wipe the solar panel with a soft, damp cloth to remove dust, dirt, leaves, or snow. A clean solar panel ensures maximum sunlight absorption and efficient charging.
- Avoid using abrasive cleaners or harsh chemicals, as these can damage the solar panel or the unit's finish.
5.2 Battery Replacement
The included AAA NI-MH 600Mah battery is rechargeable and designed for long-term use. If the light duration significantly decreases over time, the battery may need replacement.
- To replace the battery, carefully open the battery compartment on the underside of the solar panel top.
- Replace with a new AAA NI-MH 600Mah rechargeable battery of the same type and capacity. Using non-rechargeable batteries or batteries of different types may damage the unit.
- Ensure correct polarity (+/-) when inserting the new battery.
- Dispose of old batteries responsibly according to local regulations.
6. Troubleshooting
If your solar lantern top is not functioning as expected, please refer to the following common issues and solutions:
| Problem | Possible Cause | Solution |
|---|---|---|
| Light does not turn on at night. | ON/OFF switch is in 'OFF' position. | Ensure the switch is set to 'ON'. |
| Insufficient sunlight for charging. | Relocate the lantern to an area that receives 6-8 hours of direct sunlight daily. Ensure the solar panel is not obstructed. | |
| Solar panel is dirty. | Clean the solar panel surface with a soft, damp cloth. | |
| Battery is old or depleted. | Replace the AAA NI-MH 600Mah rechargeable battery. | |
| Light is dim or only stays on for a short period. | Insufficient charge due to cloudy weather or poor placement. | Allow several sunny days for full charge. Ensure optimal placement for direct sunlight. |
| Battery is nearing end of life. | Replace the rechargeable battery. |
7. Technical Specifications
| Specification | Detail |
|---|---|
| Brand | pearlstar |
| Model Name | FM00000 bulb |
| Part Number / Item Model Number | HIA159.V1 |
| UPC | 760701000685 |
| Product Dimensions (L x W x H) | 2.68" x 2.56" x 6.5" (6.8cm x 6.5cm x 16.5cm) |
| Item Weight | 5 ounces (141.7 grams) |
| Material | Plastic |
| Power Source | Solar Powered |
| Light Source Type | LED |
| Light Color | Warm White |
| Lumens | 10 lumens |
| Battery Type | 1 x AAA NI-MH 600Mah (included) |
| Water Resistance Level | IP44 Waterproof |
| Indoor/Outdoor Usage | Outdoor, Indoor |
| Controller Type | Push Button (ON/OFF switch) |
8. Warranty and Support
Specific warranty information for this product is not provided in the available data. For any product inquiries, technical support, or warranty claims, please contact pearlstar customer service directly through their official channels or the retailer from whom the product was purchased.
Please retain your purchase receipt as proof of purchase for any potential warranty claims.
Ask a question about this manual
Ask about setup, troubleshooting, compatibility, parts, safety, or missing instructions. Manuals+ will review the question and use this page’s manual context to help answer it.