1. Introduction
Thank you for choosing the Truman TM 1000 HD Receiver. This manual provides detailed instructions for the proper installation, operation, and maintenance of your new satellite receiver. Please read this manual thoroughly before using the device to ensure optimal performance and safety.
2. Safety Information
- Ensure the receiver is placed on a stable, flat surface to prevent falls.
- Do not expose the device to rain, moisture, or extreme temperatures.
- Avoid blocking ventilation openings to prevent overheating.
- Disconnect the power cord during lightning storms or when unused for long periods.
- Do not attempt to open or repair the receiver yourself. Refer all servicing to qualified personnel.
- The device features automatic low current protection for the signal input.
3. Package Contents
Please check the package for the following items:
- Truman TM 1000 HD Receiver
- Remote Control
- Power Adapter
- User Manual (this document)
- Note: A Wi-Fi adapter is not included and must be purchased separately if wireless connectivity is desired.
4. Product Overview
The Truman TM 1000 HD Receiver is a high-definition satellite receiver designed to provide a rich viewing experience. It supports various resolutions and offers multiple features for channel management and media playback.
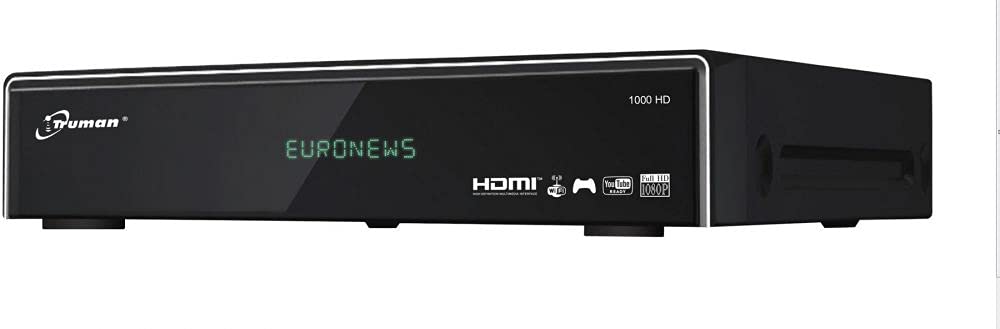
Figure 4.1: Front view of the Truman TM 1000 HD Receiver. This image shows the compact design of the receiver, featuring a front panel display and control buttons, indicating its readiness for integration into a home entertainment system.
Key Features:
- Full HD support: 1080p, 1080i, 720p, 576p, 480p, 576i, 480i.
- Supports up to 6000 channels.
- USB port for viewing and recording media.
- Simultaneous recording of one channel and viewing of another.
- Picture-in-picture (PIP) functionality for up to 16 channels.
- Automatic search for frequencies and satellites.
- Multi-language and user-friendly menu interface.
- Ethernet (LAN) port for network connectivity.
- Wi-Fi support (requires external Wi-Fi adapter).
- Electronic Program Guide (EPG).
5. Setup
5.1 Connecting the Receiver
- Satellite Dish Connection: Connect the coaxial cable from your satellite dish LNB to the "LNB IN" port on the back of the receiver.
- TV Connection: Connect an HDMI cable from the "HDMI OUT" port on the receiver to an available HDMI input on your television.
- Power Connection: Connect the power adapter to the "DC IN" port on the receiver, then plug the adapter into a wall outlet.
- Network Connection (Optional):
- Ethernet: Connect an Ethernet cable from your router to the "LAN" port on the receiver.
- Wi-Fi: If using a Wi-Fi adapter (not included), plug it into an available USB port on the receiver.
- USB Device (Optional): For recording or media playback, insert a USB storage device into an available USB port.
5.2 First Time Power On
- Turn on your television and select the correct HDMI input source.
- Power on the Truman TM 1000 HD Receiver.
- Follow the on-screen instructions for initial setup, which typically includes language selection, time zone, and satellite/channel scanning.
- Perform an automatic satellite search to find available frequencies and channels.
6. Operating Instructions
6.1 Basic Channel Operations
- Channel Selection: Use the CH+ / CH- buttons on the remote control to change channels, or enter the channel number directly.
- Volume Control: Use the VOL+ / VOL- buttons to adjust the volume.
- Menu Access: Press the MENU button to access the main menu for settings and features.
- Electronic Program Guide (EPG): Press the EPG button to view the program schedule.
6.2 Recording and Playback
To record programs, ensure a USB storage device is connected to the receiver.
- Instant Recording: While watching a channel, press the REC button on the remote control to start recording. Press STOP to end the recording.
- Scheduled Recording: Use the EPG to select a program and schedule a recording.
- Playback: Access the media player through the main menu or a dedicated button (if available) to browse and play recorded content or other media files from your USB device.
- Simultaneous Operations: The receiver supports recording one channel while watching another channel from the same transponder.
6.3 Network Features (LAN/Wi-Fi)
If connected to a network, the receiver may offer additional features such as firmware updates, internet applications, or media streaming.
- Network Setup: Go to the "Network Settings" in the main menu.
- Ethernet: If using a wired connection, ensure the cable is connected. The receiver should obtain an IP address automatically.
- Wi-Fi: If using a Wi-Fi adapter, select your network from the list, enter the password, and connect.
7. Maintenance
- Cleaning: Use a soft, dry cloth to clean the exterior of the receiver. Do not use liquid cleaners or abrasive materials.
- Ventilation: Ensure the ventilation slots are clear of dust and obstructions to prevent overheating.
- Firmware Updates: Periodically check for firmware updates through the receiver's menu (if available) to ensure optimal performance and access to new features.
8. Troubleshooting
| Problem | Possible Cause | Solution |
|---|---|---|
| No power | Power cable disconnected; power outlet issue. | Check power cable connection; try a different outlet. |
| No signal / "No Signal" message | LNB cable disconnected; satellite dish misalignment; incorrect satellite settings. | Check LNB cable connection; ensure dish is correctly aligned; verify satellite settings in the menu. |
| No picture on TV | Incorrect HDMI input selected on TV; faulty HDMI cable. | Select the correct HDMI input on your TV; try a different HDMI cable. |
| Remote control not working | Dead batteries; obstruction between remote and receiver. | Replace batteries; ensure clear line of sight to the receiver's IR sensor. |
| Cannot connect to Wi-Fi | No Wi-Fi adapter; incorrect password; network issue. | Ensure a compatible Wi-Fi adapter is connected; re-enter Wi-Fi password; check router. |
9. Specifications
| Feature | Description |
|---|---|
| Brand | Truman |
| Model | TM 1000 HD |
| Video Resolution Support | 1080p, 1080i, 720p, 576p, 480p, 576i, 480i |
| Channel Capacity | Up to 6000 channels |
| Connectivity | USB, Ethernet (LAN), Wi-Fi (external adapter required) |
| Recording | PVR function via USB (record one, watch another on same transponder) |
| Multi-view | Picture-in-picture up to 16 channels |
| Search Function | Automatic frequency and satellite search |
| Menu Language | Multi-language support |
| Protection | Automatic low current protection for signal input |
| EPG | Electronic Program Guide |
10. Warranty and Support
For warranty information, please refer to the warranty card included with your product or contact your local dealer. For technical support or service inquiries, please visit the official Truman website or contact their customer service department.
Note: Specific warranty terms and support contact details may vary by region.