
Introduction
Thank you for choosing the BetterSub 15x15 Clamshell Heat Press. This manual provides essential information for the safe and efficient operation, maintenance, and troubleshooting of your heat press machine. Please read this manual thoroughly before use and retain it for future reference.
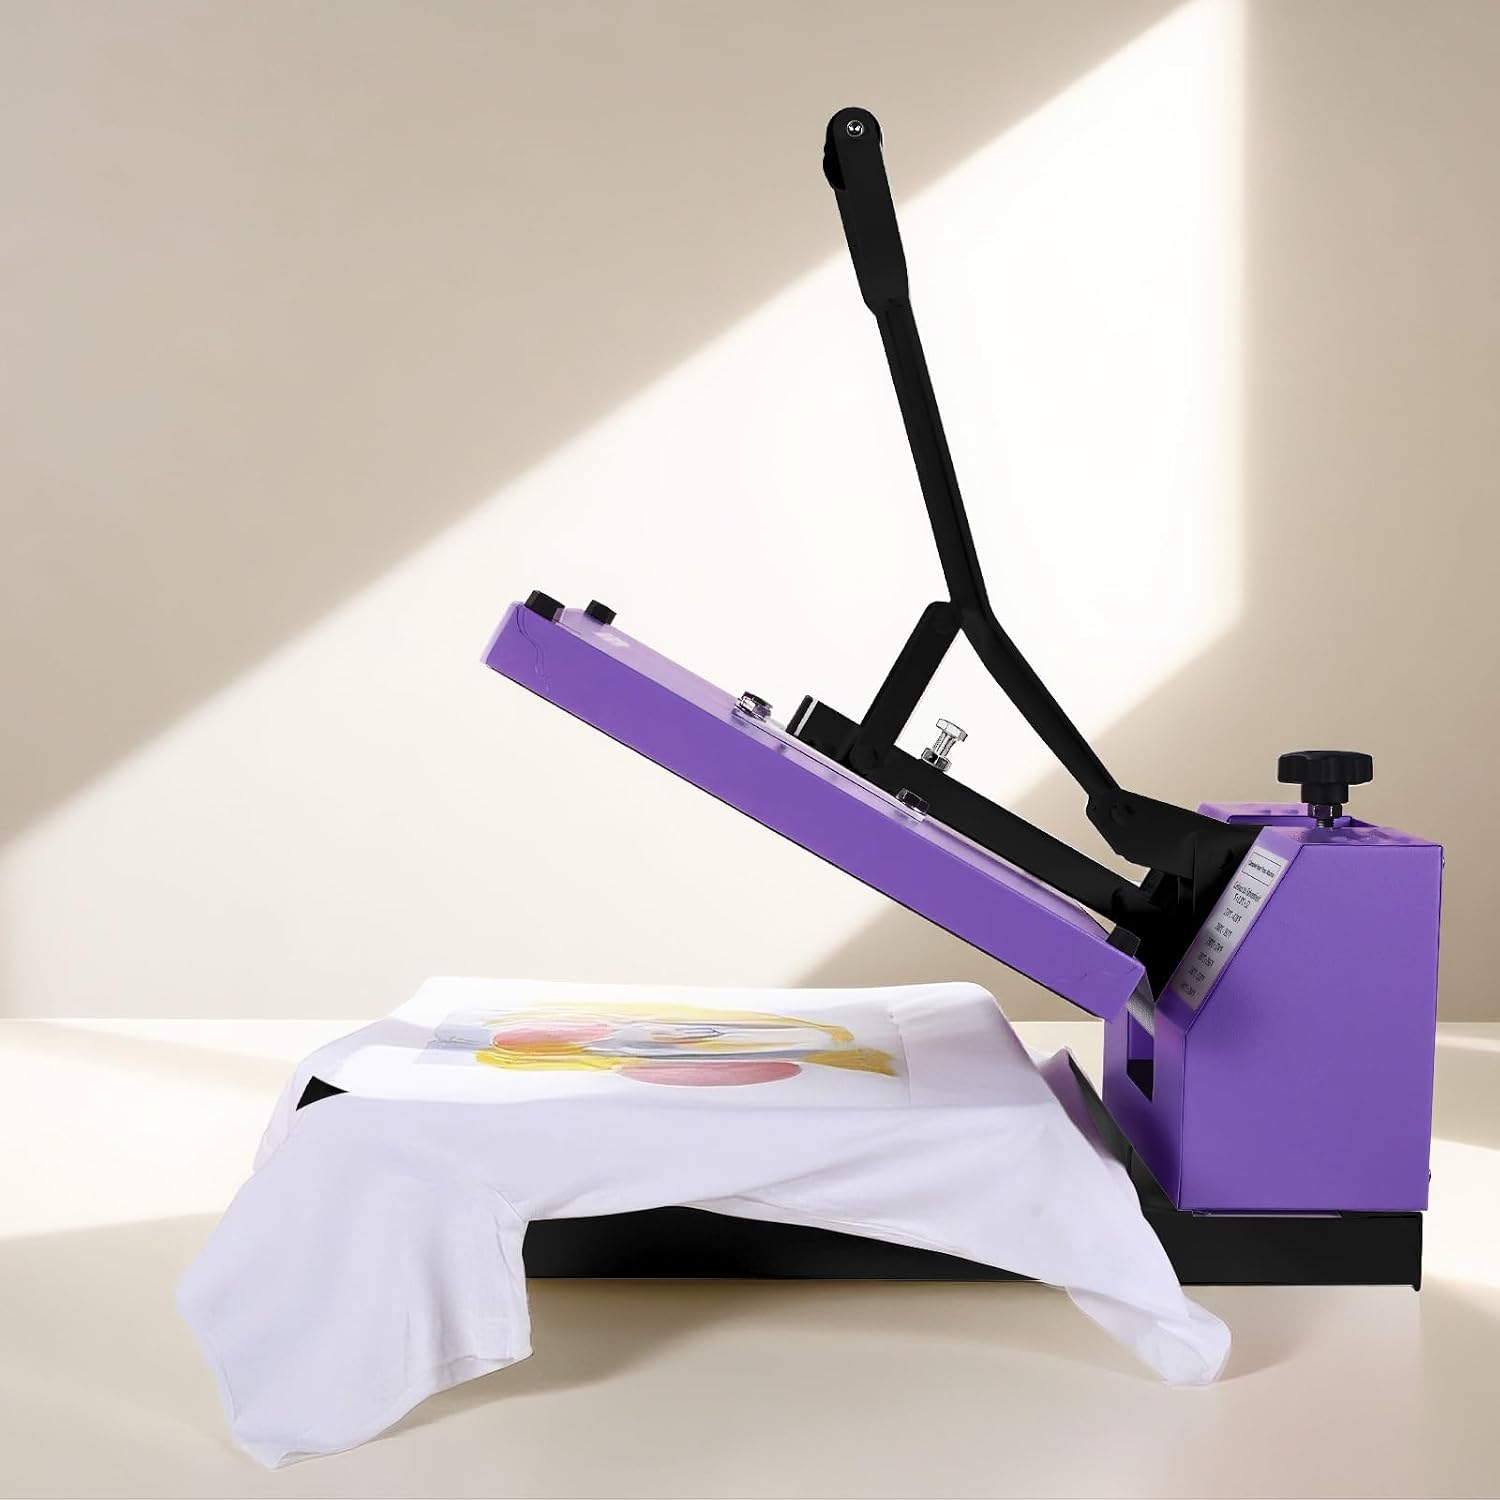
Image: The BetterSub 15x15 Clamshell Heat Press in purple, shown with a white t-shirt positioned on the lower platen, ready for heat transfer.
Important Safety Instructions
- Always operate the heat press on a stable, heat-resistant surface.
- Keep hands clear of the heating platen during operation to prevent burns.
- Ensure proper ventilation in the work area.
- Do not operate the machine with a damaged power cord or plug.
- Unplug the machine from the power outlet when not in use or before cleaning.
- This appliance is not intended for use by persons with reduced physical, sensory, or mental capabilities, or lack of experience and knowledge, unless they have been given supervision or instruction concerning use of the appliance by a person responsible for their safety.
Setup
1. Unpacking and Inspection
Carefully remove the heat press from its packaging. Inspect the machine for any signs of damage during transit. Report any damage to your supplier immediately.
2. Placement
Place the heat press on a sturdy, level, and heat-resistant workbench. Ensure there is adequate space around the machine for safe operation and ventilation. Keep the machine away from flammable materials.
3. Power Connection
Connect the power cord to a grounded 110V AC outlet. The machine requires 1300W of power. Ensure the outlet can support this wattage.
4. Initial Pressure Adjustment
The pressure knob is located on the top of the machine. Turn the knob clockwise to increase pressure and counter-clockwise to decrease pressure. Adjust the pressure so that the upper platen closes firmly onto the lower platen with a slight resistance. Test with a piece of paper or fabric to ensure even pressure distribution.

Image: A hand turning the black pressure knob located on the top of the heat press, used to adjust the clamping force.
Operating Instructions
1. Powering On
Flip the red power switch located on the side of the control box to the 'ON' position. The LCD digital display will illuminate.

Image: A close-up of the heat press control panel, showing the digital temperature and time display, setting buttons, and the red power switch.
2. Setting Temperature and Time
The control panel allows precise adjustment of temperature and time. The temperature range is 0-440°F, and the time range is 0-499 seconds.
- Temperature Setting: Press the 'SET' button under 'TEMP'. Use the up/down arrow buttons to adjust the desired temperature. Press 'SET' again to confirm.
- Time Setting: Press the 'SET' button under 'TIME'. Use the up/down arrow buttons to adjust the desired time. Press 'SET' again to confirm.

Image: A detailed view of the heat press's digital control panel, highlighting the 'SET' buttons and arrow keys for adjusting temperature and time settings.
3. Pre-heating
Allow the machine to pre-heat until the set temperature is reached. The display will show the current temperature rising to the target temperature. This typically takes 10-15 minutes.
4. Performing a Heat Transfer
- Place your garment or item on the silicone pad of the lower platen. Ensure it is flat and smooth.
- Position your transfer material (sublimation paper, HTV vinyl, etc.) onto the garment. Use heat-resistant tape if necessary to secure it.
- Carefully lower the upper platen and press the handle down to engage the press. The timer will automatically start counting down.
- Once the timer reaches zero, release the handle and lift the upper platen.
- Remove the transfer material according to its specific instructions (hot peel or cold peel).

Image: A hand pressing down the handle of the heat press, indicating the start of the heat transfer process.

Image: A white t-shirt with a colorful graphic design successfully transferred onto it, demonstrating a completed print.
Operating Videos
Video: Demonstrates the BetterSub heat press machine in action, specifically showing the process of printing on a purple pillowcase. This video illustrates setting the temperature and time, pre-pressing the pillowcase, and applying the heat transfer.
Video: Shows the BetterSub 15x15 Heat Press Machine being used to transfer a design onto a T-shirt. The video highlights the ease of use and the final result of the transfer.
Maintenance
1. Cleaning the Heating Platen
The heating platen features a non-stick PTFE (Teflon) coating. To clean, ensure the machine is unplugged and cool. Use a soft, damp cloth to wipe away any residue. Avoid abrasive cleaners or tools that could damage the coating.

Image: A detailed view of the heat press's heating platen, highlighting its high-quality Teflon coating and the heat-resistant silicone pad below it.
2. Silicone Pad Care
The heat-resistant silicone pad should be kept clean and free of debris. If it becomes worn or damaged, it should be replaced to ensure even pressure and heat distribution.
3. General Cleaning
Wipe down the exterior of the machine with a soft, dry cloth. Do not use liquid cleaners directly on the control panel or electrical components.
Troubleshooting
| Problem | Possible Cause | Solution |
|---|---|---|
| Machine does not power on. | No power supply, power switch off, blown fuse. | Check power cord connection and outlet. Ensure power switch is ON. Check and replace the fuse if necessary. |
| Uneven heat or pressure. | Incorrect pressure adjustment, worn silicone pad, foreign object on platen. | Adjust pressure knob. Inspect and replace silicone pad if damaged. Clean platens thoroughly. |
| Transfer not adhering properly. | Incorrect temperature, insufficient time, low pressure, incorrect transfer material settings. | Verify temperature and time settings against transfer material instructions. Increase pressure. Ensure even heat and pressure. |
| Temperature display error. | Sensor malfunction. | Contact customer support for assistance. |
Fuse Protection
The machine is equipped with a fuse protection instrument to prevent circuit damage from voltage spikes. If the machine suddenly loses power, check the fuse located near the power input. Replace it with a fuse of the same rating if it is blown.

Image: A close-up view of the fuse holder, indicating the location of the fuse protection instrument on the heat press machine.
Specifications
- Model: BYBS-XY001
- Heating Plate Size: 15 x 15 inches (38 x 38 cm)
- Temperature Range: 0 - 440°F (0 - 226°C)
- Time Range: 0 - 499 seconds
- Voltage: 110V
- Wattage: 1300W
- Gross Weight: Approximately 50 lbs (20 kg)
- Heating Plate Material: PTFE (Teflon) coated

Image: A composite image showing the BetterSub 15x15 Clamshell Heat Press from multiple perspectives, highlighting its design and components.
Warranty
The BetterSub 15x15 Clamshell Heat Press comes with a One Year Warranty from the date of purchase. This warranty covers manufacturing defects under normal use. Please retain your proof of purchase for warranty claims. The warranty does not cover damage caused by misuse, accident, unauthorized modification, or improper maintenance.
Customer Support
If you encounter any issues or have questions regarding your BetterSub 15x15 Clamshell Heat Press that are not addressed in this manual, please contact BetterSub customer support. Refer to your purchase documentation or the BetterSub official website for contact information.