LLIVEKIT HU-XI-193
LLIVEKIT 12L Air Fryer Oven Instruction Manual
Model: HU-XI-193
1. Introduction
Thank you for choosing the LLIVEKIT 12L Air Fryer Oven. This appliance is designed to provide a healthier way to cook your favorite meals with less oil, utilizing rapid hot air circulation. Please read this manual thoroughly before operating the appliance and retain it for future reference. Proper use and maintenance will ensure years of delicious results.
2. Important Safety Instructions
WARNING: To prevent electric shock, fire, or injury, always follow basic safety precautions when using electrical appliances.
- Read all instructions before use.
- Do not immerse the main unit in water or other liquids.
- Ensure the voltage indicated on the appliance corresponds to your local mains voltage before connecting.
- Keep the appliance and its cord out of reach of children.
- Do not operate any appliance with a damaged cord or plug.
- Always unplug the appliance when not in use and before cleaning. Allow it to cool down completely before handling.
- Do not place the appliance against a wall or other appliances. Leave at least 10 cm of free space on the back, sides, and above the appliance.
- Do not place anything on top of the appliance.
- Do not use the appliance for any purpose other than described in this manual.
- Exercise extreme caution when removing the drip tray or handling hot accessories.
- The appliance operates at high temperatures. Do not touch hot surfaces. Use handles or knobs.
- Ensure food is cooked thoroughly.
3. Product Overview and Components
The LLIVEKIT 12L Air Fryer Oven is a versatile kitchen appliance designed for various cooking methods, including air frying, roasting, baking, and dehydrating. It features a large capacity and a user-friendly digital touch screen.

Figure 3.1: The LLIVEKIT 12L Air Fryer Oven shown with its primary accessories, including the rotisserie spit, rotating basket, and mesh trays. This image illustrates the appliance's capacity and the range of cooking options it supports.

Figure 3.2: A detailed view of the seven accessories provided with the air fryer. These include a rotisserie spit, rotating basket, skewer set, two mesh trays, a drip tray, and a rotisserie handle, enabling diverse cooking applications.
Main Components:
- Main Unit: Houses the heating element, fan, and control panel.
- Digital LED Touch Screen: For selecting cooking functions, adjusting time and temperature.
- Viewing Window: Allows monitoring of cooking progress without opening the door.
- Internal Light: Illuminates the cooking chamber for better visibility.
- Door: Front-opening door with a secure latch.
Included Accessories:
- Rotisserie Spit: For roasting whole chickens or large cuts of meat.
- Rotating Basket: Ideal for fries, nuts, or other small items that benefit from tumbling.
- Skewer Set: For preparing kebabs.
- Mesh Trays (x2): For multi-level cooking and air circulation.
- Drip Tray: Collects excess oil and food particles for easy cleaning.
- Rotisserie Handle: For safe removal of the rotisserie spit and rotating basket.
4. Initial Setup
- Unpack: Carefully remove all packaging materials and accessories.
- Clean: Wipe the exterior of the main unit with a damp cloth. Wash all accessories (mesh trays, drip tray, rotisserie parts, etc.) with warm, soapy water. Rinse thoroughly and dry completely.
- First Use Odor: During the first few uses, a slight odor may be present. This is normal and will dissipate. To minimize this, run the air fryer empty for about 10-15 minutes at 200°C (390°F) before cooking food. Ensure good ventilation.
- Placement: Place the appliance on a stable, heat-resistant, and level surface. Ensure there is adequate space (at least 10 cm) around the unit for proper ventilation.
5. Operating Instructions
The LLIVEKIT Air Fryer Oven features an intuitive digital touch screen for easy operation.

Figure 5.1: The digital LED touch screen allows for precise control of cooking settings. Users can easily select pre-set functions or manually adjust temperature and time.

Figure 5.2: An overview of the 12 pre-set cooking functions available on the air fryer, including options for French Fries, Roast, Fish, Vegetables, Pizza, Chicken, Bake, Rotisserie, Dehydrate, Preheat, Reheat, and Frozen Food.
Control Panel Overview:
- Power Button: Turns the unit on/off and starts/pauses cooking.
- Temperature Control (+/-): Adjusts cooking temperature (80-200°C).
- Time Control (+/-): Adjusts cooking time (up to 90 minutes, 2 hours for Keep Warm).
- Pre-set Function Icons: Select from 12 pre-programmed cooking modes.
- Rotisserie Button: Activates the rotisserie function for rotating accessories.
- Light Button: Turns the internal light on/off.
General Operation Steps:
- Prepare Food: Place food on the appropriate accessory (mesh tray, rotating basket, rotisserie spit).
- Insert Accessory: Slide the accessory into the desired cooking position inside the oven. Ensure the drip tray is at the bottom.
- Power On: Plug the appliance into a grounded wall outlet. The power button will illuminate.
- Select Function: Press the power button to activate the display. Choose a pre-set function by tapping its icon, or manually set the temperature and time using the +/- buttons.
- Start Cooking: Press the power button again to start the cooking process.
- Monitor: Use the viewing window and internal light to monitor food.
- Finish: The appliance will beep when cooking is complete. Carefully remove food using heat-resistant gloves and the rotisserie handle if applicable.
Using Accessories:
- Mesh Trays: Insert into the side grooves. The air fryer supports 3 cooking positions, allowing simultaneous cooking of different items.
- Rotating Basket/Rotisserie Spit: Insert the shaft into the rotisserie drive socket on the left side and secure it with the screw on the right side. Press the rotisserie button on the control panel to activate rotation.
6. Cooking Guide
The LLIVEKIT Air Fryer Oven uses 360° hot air circulation to cook food evenly and efficiently, resulting in crispy exteriors and juicy interiors with up to 85% less fat compared to traditional frying.

Figure 6.1: Illustration of the 360° hot air circulation technology, which ensures even cooking and crispy results by distributing heat uniformly around the food.
General Tips:
- Preheating: For best results, preheat the air fryer for 3-5 minutes before adding food.
- Oil Usage: While not required, a light spray of oil can enhance crispiness, especially for fresh vegetables or homemade fries.
- Shaking/Flipping: For even cooking, shake the rotating basket or flip items on mesh trays halfway through the cooking time.
- Crowding: Avoid overcrowding the basket or trays. Cook in batches if necessary to ensure proper air circulation.
- Food Size: Cut food into uniform sizes for consistent cooking.
Example Cooking Settings:
| Food Item | Temperature | Time | Notes |
|---|---|---|---|
| French Fries (frozen) | 200°C (390°F) | 15-20 min | Use rotating basket; shake halfway. |
| Chicken Wings | 180°C (355°F) | 20-25 min | Flip halfway. |
| Vegetables (chopped) | 180°C (355°F) | 10-15 min | Lightly oil; shake halfway. |
| Whole Chicken (1.5-2kg) | 190°C (375°F) | 45-60 min | Use rotisserie spit; ensure internal temp reaches 74°C (165°F). |
7. Maintenance and Cleaning
Regular cleaning of your LLIVEKIT Air Fryer Oven will ensure optimal performance and extend its lifespan. All removable accessories are dishwasher safe for convenience.
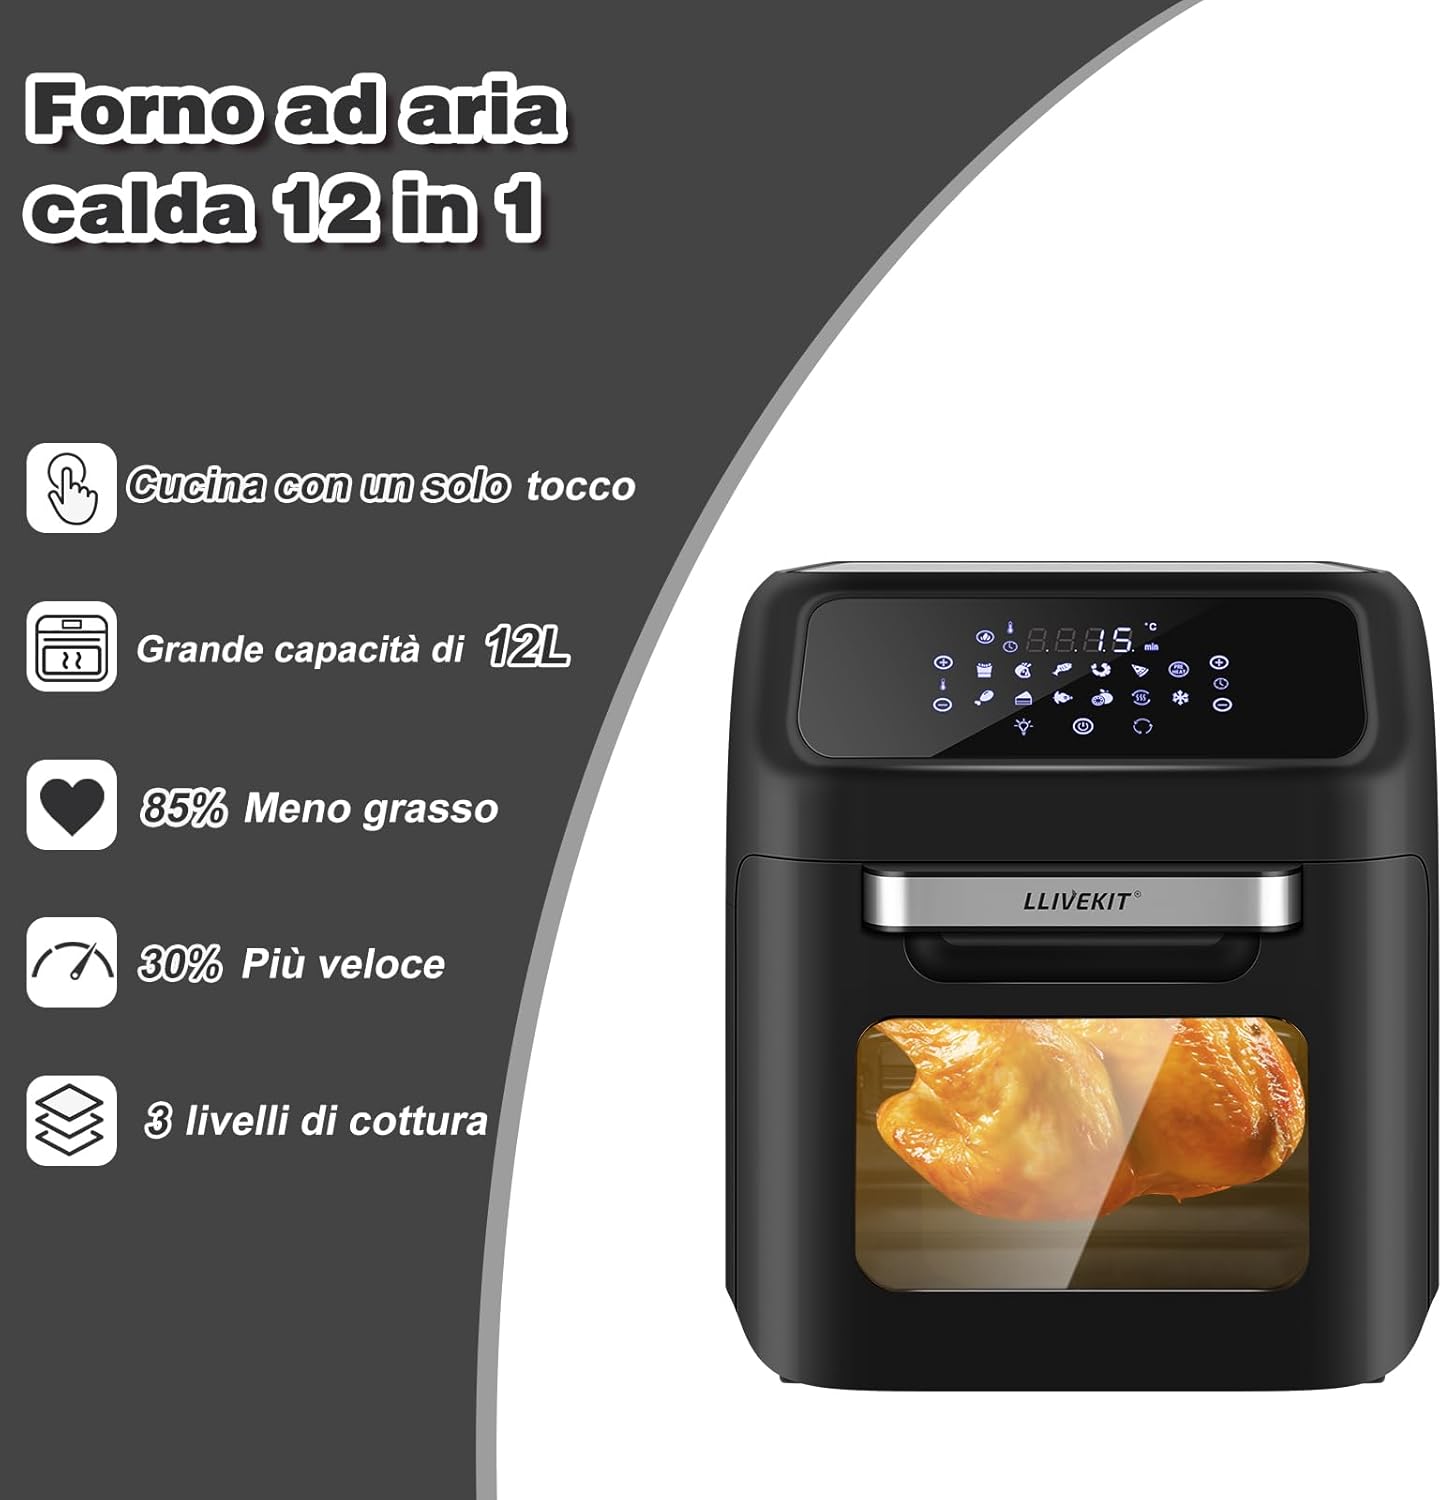
Figure 7.1: The image demonstrates that the air fryer's accessories, such as the drip tray, are dishwasher safe, simplifying the cleaning process after use.
Cleaning Steps:
- Unplug and Cool: Always unplug the appliance and allow it to cool completely before cleaning.
- Clean Main Unit: Wipe the exterior with a damp cloth. Do not use abrasive cleaners or scourers.
- Clean Interior: Wipe the interior walls with a damp cloth and mild detergent if necessary. For stubborn residue, a non-abrasive sponge can be used.
- Clean Accessories: All removable accessories (mesh trays, rotating basket, rotisserie spit, drip tray) can be washed by hand with warm, soapy water or placed in the dishwasher.
- Drip Tray: Empty and clean the drip tray after each use to prevent grease buildup.
- Storage: Ensure all parts are clean and dry before storing the appliance in a cool, dry place.
8. Troubleshooting
If you encounter any issues with your LLIVEKIT Air Fryer Oven, please refer to the following common problems and solutions:
| Problem | Possible Cause | Solution |
|---|---|---|
| Appliance does not turn on. | Not plugged in; power outlet issue; main unit not properly closed. | Ensure plug is securely in outlet; check circuit breaker; ensure door is fully closed. |
| Food is not cooked evenly. | Overcrowding; insufficient shaking/flipping. | Cook in smaller batches; shake or flip food halfway through cooking. |
| Food is not crispy. | Too much moisture; not enough oil (for certain foods); temperature too low. | Pat food dry; lightly spray with oil; increase temperature slightly. |
| White smoke coming from appliance. | Grease buildup; high-fat food. | Clean drip tray and interior thoroughly; for high-fat foods, place a small amount of water in the drip tray. |
| Appliance emits a burning smell. | Food residue on heating element; excessive grease. | Unplug and allow to cool. Clean the interior and heating element area. |
9. Technical Specifications
| Specification | Detail |
|---|---|
| Brand | LLIVEKIT |
| Model | HU-XI-193 |
| Capacity | 12 Liters |
| Wattage | 1800.00 W |
| Voltage | 220 Volts |
| Material | Plastic |
| Dimensions (L x W x H) | 38 x 38 x 43.5 cm |
| Item Weight | 9.34 Kilograms |
| Special Feature | Temperature Control |
10. Warranty and Customer Support
LLIVEKIT products are manufactured to high-quality standards. This product comes with a standard manufacturer's warranty. For specific warranty details, claims, or technical assistance, please refer to the warranty card included with your product or contact LLIVEKIT customer support through the retailer where you purchased the appliance.
For further inquiries or support, please visit the official LLIVEKIT store or contact their customer service department.