1. Introduction
Thank you for choosing the GTX Solar Pathway Light 4-Pack. These solar-powered lights are designed to provide ambient illumination for your outdoor pathways, gardens, and landscapes. Featuring vintage-style LED bulbs and a durable construction, they offer automatic dusk-to-dawn operation without the need for external wiring. Please read this manual thoroughly before installation and use to ensure optimal performance and longevity of your lights.
2. Safety Information
- Always read and understand all instructions before installing or operating the lights.
- These lights are designed for outdoor use only. Do not use indoors.
- Keep out of reach of children and pets.
- Do not attempt to disassemble, repair, or modify the product. This may void the warranty and cause damage or injury.
- Ensure the solar panel is clean and free from obstructions for efficient charging.
- Dispose of batteries according to local regulations. Do not dispose of batteries in fire, as they may explode.
- Avoid placing the lights in areas where they may be submerged in water. While water-resistant, they are not designed for submersion.
3. Package Contents
Verify that all components are present in your package:
- 4 x GTX Solar Pathway Light Units (each includes an integrated solar panel, vintage LED bulb, glass shade, and metal housing)
- 4 x Ground Stakes
- 4 x Rechargeable AA NiMh 1200mAh Batteries (pre-installed or separate)
4. Setup and Installation
Follow these steps to set up your GTX Solar Pathway Lights:
- Unpack Components: Carefully remove all parts from the packaging.
- Activate (if applicable): Locate the ON/OFF switch, usually near the solar panel or battery compartment. Ensure it is in the 'ON' position. If batteries are separate, install them into the battery compartment, observing correct polarity (+/-).
- Assemble the Light: Attach the light unit to the ground stake. The stake typically screws into the bottom of the light housing. Ensure it is securely fastened.
- Choose Location: Select an outdoor location that receives at least 6-8 hours of direct sunlight daily. Avoid shaded areas, as this will reduce charging efficiency and operating time. Ensure the solar panel is not obstructed by trees, buildings, or other objects.
- Install into Ground: Gently push the assembled light and stake into the ground. Do not force it; if the ground is too hard, moisten it first or use a tool to create a pilot hole. Ensure the light stands upright and is stable.
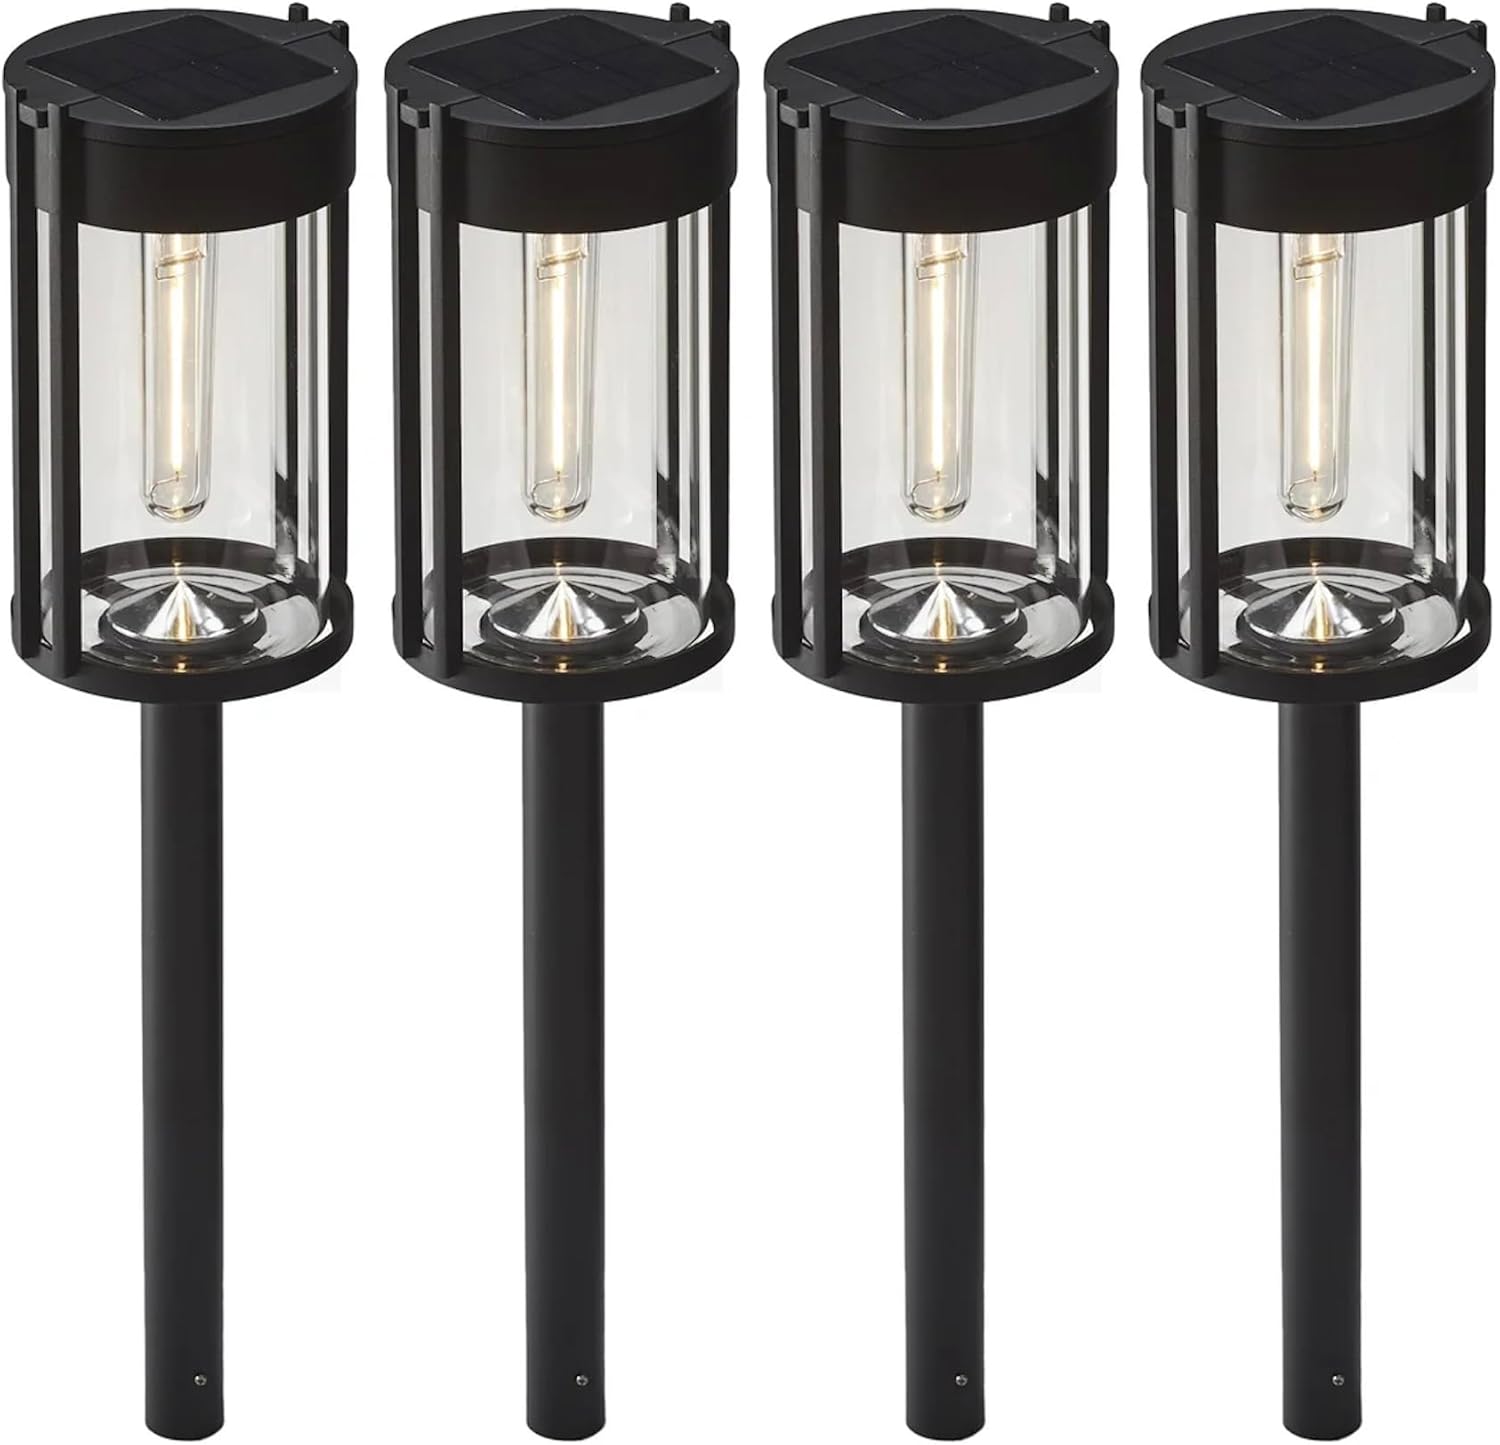
Image: Four GTX Solar Pathway Lights, fully assembled and ready for installation. Each light features a black finish, a clear glass shade, and a vintage-style LED bulb, with a solar panel on top and a ground stake at the bottom.
5. Operating Instructions
- Initial Charge: For best performance, allow the lights to charge for 1-2 full sunny days before their first use. This ensures the rechargeable batteries reach their full capacity.
- Automatic Operation: The GTX Solar Pathway Lights are equipped with a light sensor. They will automatically turn on at dusk and turn off at dawn, provided the switch is in the 'ON' position and the batteries have sufficient charge.
- Operating Time: A full charge from a typical sunny day can provide up to 8 hours of illumination. Performance may vary based on sunlight intensity, duration, and seasonal changes.
- Brightness: Each light provides approximately 25 lumens of warm white light, creating a pleasant ambiance.
6. Maintenance
Regular maintenance helps ensure the longevity and optimal performance of your solar pathway lights:
- Clean Solar Panel: Periodically wipe the solar panel with a soft, damp cloth to remove dust, dirt, leaves, or snow. A clean panel ensures maximum sunlight absorption for efficient charging.
- Battery Replacement: The rechargeable AA NiMh 1200mAh batteries have a limited lifespan. If the lights' operating time significantly decreases, it may be time to replace the batteries. Use only rechargeable AA NiMh batteries of the same or higher capacity.
- Check Connections: Occasionally check that all connections, especially the light unit to the stake, are secure.
- Winter Care: In areas with heavy snow or prolonged periods of low sunlight, you may choose to store the lights indoors during winter months to preserve battery life. Ensure they are fully charged before storage.
7. Troubleshooting
| Problem | Possible Cause | Solution |
|---|---|---|
| Light does not turn on at night. | 1. Switch is OFF. 2. Insufficient sunlight for charging. 3. Solar panel is dirty or obstructed. 4. Battery is old or incorrectly installed. | 1. Ensure the switch is in the 'ON' position. 2. Relocate the light to an area with more direct sunlight. 3. Clean the solar panel. Remove any obstructions. 4. Check battery polarity. Replace battery if old. |
| Light operates for a short duration. | 1. Insufficient sunlight for charging. 2. Battery capacity has degraded. | 1. Ensure the light receives 6-8 hours of direct sunlight. 2. Replace the rechargeable battery with a new AA NiMh 1200mAh battery. |
| Light is dim. | 1. Solar panel is dirty. 2. Battery is not fully charged. 3. Battery is nearing end of life. | 1. Clean the solar panel. 2. Allow more time for charging in direct sunlight. 3. Replace the rechargeable battery. |
8. Specifications
- Brand: GTX
- Model: 783214771866
- Power Source: Solar Powered
- Light Source: LED (Vintage Style)
- Brightness: 25 Lumens per light
- Operating Time: Up to 8 hours (on a full charge)
- Material: Metal, Stainless Steel, Glass
- Finish: Black
- Battery: Rechargeable AA NiMh, 1200mAh capacity (per light)
- Water Resistance: Water Resistant (Outdoor Use Only)
- Control Method: Automatic (Dusk to Dawn Sensor)
9. Warranty and Support
For warranty information, please refer to the documentation provided at the time of purchase or contact your retailer. If you encounter any issues or require technical assistance, please contact GTX customer support through your purchase platform or the official brand website.