
1. Introduction
Welcome to the user manual for your new Rainbuvvy Smart Watch. This guide provides detailed instructions on how to set up, operate, maintain, and troubleshoot your device. Your smartwatch is designed to offer a comprehensive mobile experience on your wrist, combining advanced features with a user-friendly interface.
Key Features:
- 2.88 inch HD Large Screen: High-definition and comfortable TFT full touch large screen with 480*640 resolution, sensitive touch, smooth operation experience, smoothly play the apps you need.
- Independent SIM card: Built-in SIM card slot, support full Netcom 4G network and WiFi wireless fast Internet access. Support video call, text message, voice call and other functions.
- Dual Camera & GPS: Features 13.0MP+5.0MP COMS high-sensitivity sensors for photography and video chat. Built-in GPS positioning navigation for precise trajectory.
- Android 9.0 OS: Equipped with an octa-core CPU and 4GB+64GB configuration for extreme speeds and smooth app performance.
- Long Standby: Equipped with 2300mAh polymer lithium battery for extended use.

The smartwatch features a large 2.88-inch HD display for an immersive visual experience.

Equipped with an octa-core CPU and 4GB+64GB memory for powerful and smooth operation.
2. What's in the Box
Upon unboxing your Rainbuvvy Smart Watch, please ensure all components are present:
- 1 x Smartwatch
3. Product Specifications
| Feature | Specification |
|---|---|
| Brand | Rainbuvvy |
| Model Number | SMARTWATCH |
| Screen Size | 2.88 Inches |
| Memory Storage Capacity | 64 GB |
| RAM Memory Installed Size | 4 GB |
| Operating System | Android, iOS (Compatibility) |
| Special Feature | GPS |
| Connectivity Technology | Wi-Fi |
| Battery Cell Composition | Polymer (2300mAh) |
| Item Weight | 11.2 ounces |
| Package Dimensions | 4 x 4 x 3 inches |
4. Getting Started (Setup)
4.1 Initial Charging
Before first use, fully charge your smartwatch. Connect the magnetic charging cable to the charging pins on the back of the watch and plug the USB end into a compatible power adapter (not included).
4.2 SIM Card Installation
Your smartwatch supports an independent SIM card for 4G network connectivity. Locate the SIM card slot, typically on the side of the watch. You may need a small screwdriver to open the SIM card tray. Insert a Nano-SIM card into the slot as indicated by the diagram or markings on the device.

The smartwatch features an independent SIM card slot for direct network access.
4.3 Power On/Off
- To Power On: Press and hold the power button (usually on the side) until the screen lights up.
- To Power Off: Press and hold the power button until a power-off menu appears, then select 'Power Off'.
4.4 Initial Setup
Upon first power-on, follow the on-screen prompts to select your language, set the time and date, and configure basic network settings (Wi-Fi or 4G).
4.5 Connecting to Mobile Phone
To unlock full functionality and sync data, connect your smartwatch to your smartphone via Bluetooth and the dedicated companion app. Scan the QR code on the watch or in the manual to download the app. Follow the app's instructions for pairing.
Demonstration of connecting the smartwatch to a mobile phone and navigating its interface.
4.6 Face Unlock Setup
Your smartwatch supports face unlock for convenient security. Navigate to the security settings on your watch and follow the instructions to register your face. Ensure good lighting conditions during setup.
5. Using Your Smartwatch
5.1 Navigation and Interface
The smartwatch features a full touch screen. Swipe left/right, up/down to navigate through menus, apps, and notifications. Tap to select items. The physical buttons on the side provide additional control, such as returning to the home screen or accessing quick settings.
5.2 Making Calls and Messaging
With an independent SIM card, you can make and receive calls directly from your watch. Use the dialer app to make calls or access your contacts. Text messages can be sent and received through the messaging app.

Stay connected with instant messaging and call functions directly from your wrist.
5.3 Using Dual Cameras
The smartwatch is equipped with dual cameras (13.0MP and 5.0MP) for capturing photos and engaging in video chats. Open the Camera app to switch between cameras, take pictures, or record videos.
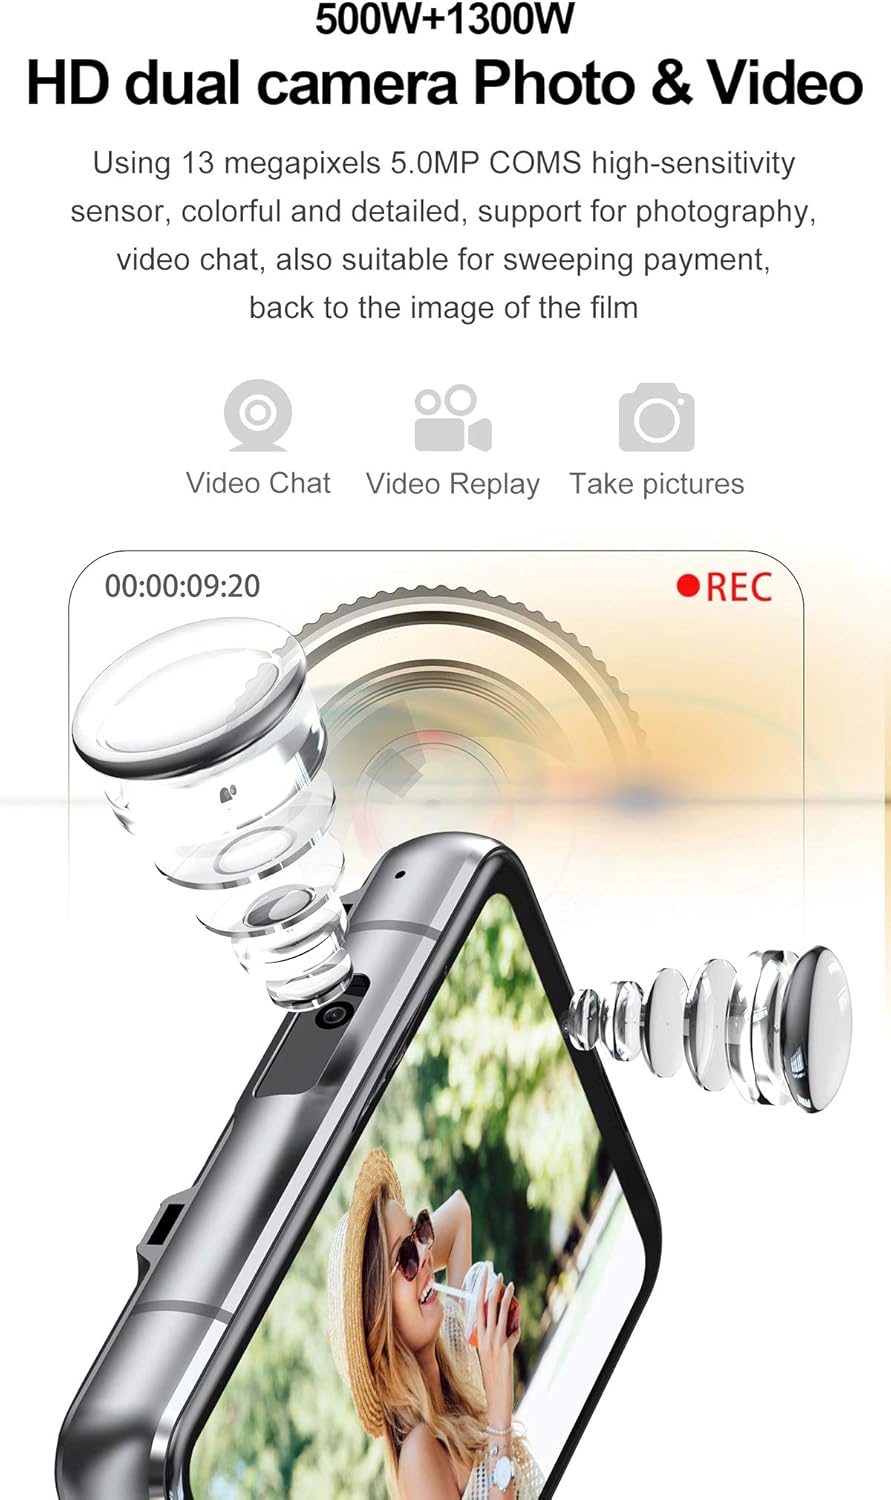
Capture moments with the integrated HD dual cameras, supporting both photography and video chat.
A demonstration of the smartwatch's dual camera capabilities for photos and video.
5.4 Activity Tracking and Health Monitoring
Utilize the built-in activity tracker to monitor your steps, distance, and calories burned. The heart rate sensor allows for continuous or on-demand heart rate monitoring. Access these features through the Health or Activity apps.
5.5 GPS Navigation
The integrated GPS module provides real-time positioning and navigation. Use pre-installed map applications or download your preferred navigation apps from the Play Store for accurate location tracking and route guidance.

Navigate with ease using the built-in GPS and compatible mapping applications.
5.6 Installing and Using Applications
Running on Android 9.0 OS, your smartwatch supports downloading and installing a wide range of third-party applications from the Google Play Store. Simply open the Play Store app and browse for your desired applications.

Install a variety of applications from the Play Store to customize your smartwatch experience.
Experience smooth gaming and app performance on the large screen.
5.7 Media Playback (Music, Video)
Enjoy music and videos directly on your smartwatch. Use the pre-installed music player or download streaming apps like YouTube or TikTok. Connect Bluetooth headphones for private listening.

Stream popular movies and videos on your smartwatch's vibrant display.
An overview of the smartwatch's features, including media playback and dual cameras.
5.8 Detachable Band Functionality
The smartwatch features a convenient detachable dial, allowing you to remove the main unit from the wristband. This offers flexibility in how you use and carry your device.

The detachable dial allows for versatile use, either as a smartwatch or a standalone mobile device.
6. Care and Maintenance
6.1 Charging Guidelines
Always use the provided magnetic charging cable. Avoid using damaged cables or chargers. Do not charge the device in wet conditions. The 2300mAh battery provides long standby time; frequent full discharges are not recommended for optimal battery health.

The smartwatch is equipped with a 2300mAh polymer lithium battery for extended use.
6.2 Cleaning and Storage
Wipe the screen and body with a soft, lint-free cloth. Avoid using abrasive cleaners or solvents. Store the smartwatch in a cool, dry place away from direct sunlight and extreme temperatures.
6.3 Software Updates
Periodically check for software updates in the device settings to ensure optimal performance and access to new features. Connect to a stable Wi-Fi network before initiating updates.
6.4 Battery Optimization
To extend battery life, manage screen brightness, close unused applications, and disable unnecessary features like Wi-Fi or GPS when not in use.
7. Troubleshooting
7.1 Common Issues and Solutions
- Device not powering on: Ensure the battery is charged. Try holding the power button for an extended period (10-15 seconds).
- Connectivity issues (Bluetooth/Wi-Fi): Ensure Bluetooth/Wi-Fi is enabled on both devices. Restart both the smartwatch and the phone. Forget and re-pair the device in Bluetooth settings.
- Apps crashing or slow performance: Close background apps. Clear app cache. Ensure sufficient storage space.
- Poor GPS accuracy: Ensure you are in an open area with clear sky view. Check GPS settings on the watch.
7.2 SIM Card Compatibility Note
Please note that Android watches may not support Bluetooth calls. Additionally, confirm with your SIM card carriers that their SIM card can be used on this watch before attempting to use 4G network features. Some carriers (e.g., Verizon and AT&T) may have compatibility restrictions.
7.3 Factory Reset
If you encounter persistent issues, a factory reset may resolve them. Navigate to Settings > System > Reset options > Erase all data (factory reset). This will erase all data on the device, so back up important information beforehand.
8. Warranty and Support
8.1 Warranty Information
Your Rainbuvvy Smart Watch comes with a standard manufacturer's warranty. Please refer to the warranty card included with your purchase for specific terms and conditions. Keep your proof of purchase for warranty claims.
8.2 Protection Plans
Extended protection plans may be available for your device, offering additional coverage beyond the standard warranty. Check with your retailer or online marketplace for available options, such as 2-Year or 3-Year Protection Plans.
8.3 Customer Support
For further assistance, technical support, or service inquiries, please contact Rainbuvvy customer support through their official website or the contact information provided with your product packaging.


