
RSHTECH RSHTECH-HDD-USB3-EXT
RSHTECH 3.5inch Aluminum SATA Hard Drive Enclosure + USB 3.0 Active Extension Cable User Manual
Model: RSHTECH-HDD-USB3-EXT
Introduction
This user manual provides detailed instructions for the RSHTECH 3.5inch Aluminum SATA Hard Drive Enclosure and the accompanying USB 3.0 Active Extension Cable. Please read this manual thoroughly before using the product to ensure proper operation and to maximize its lifespan.
What's Included
The package includes the following components:
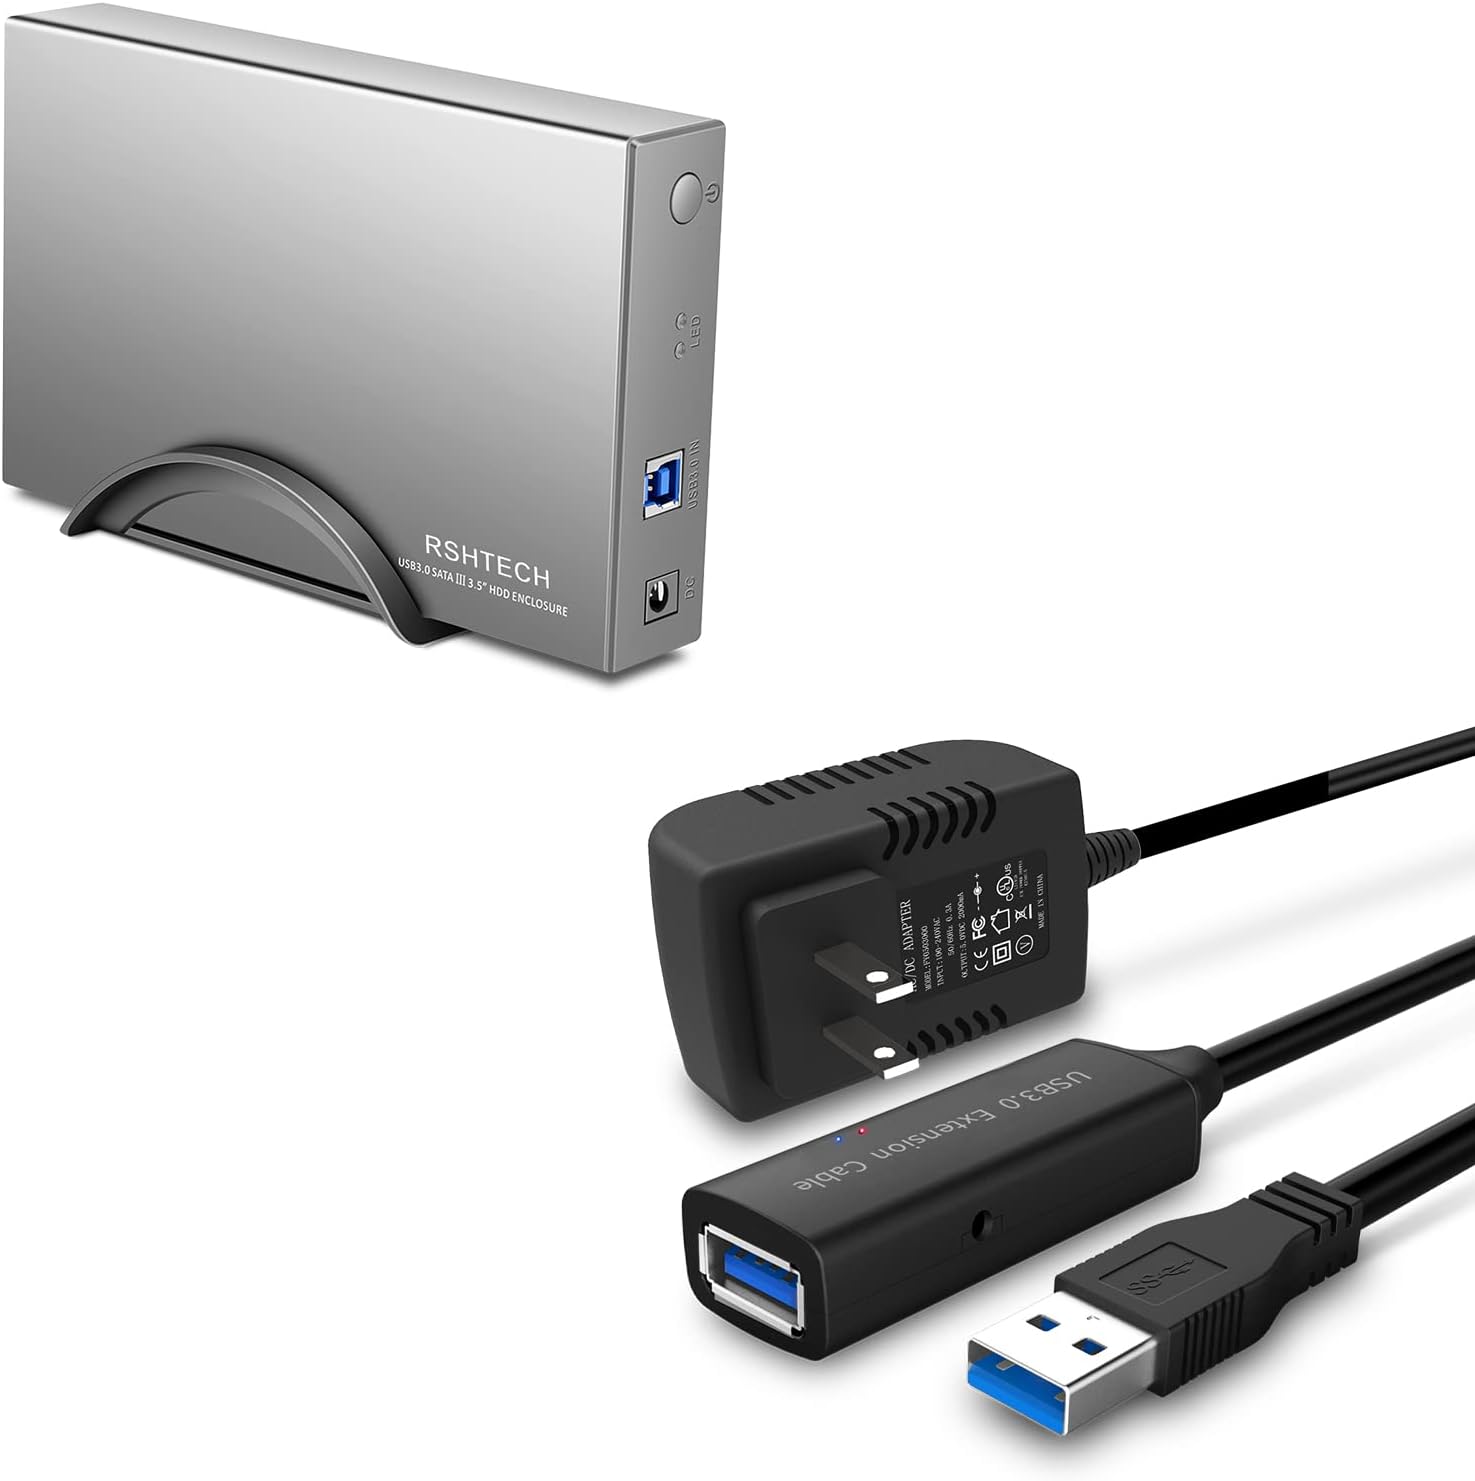
- 1 x RSHTECH 3.5inch SATA Hard Drive Enclosure (Aluminum)
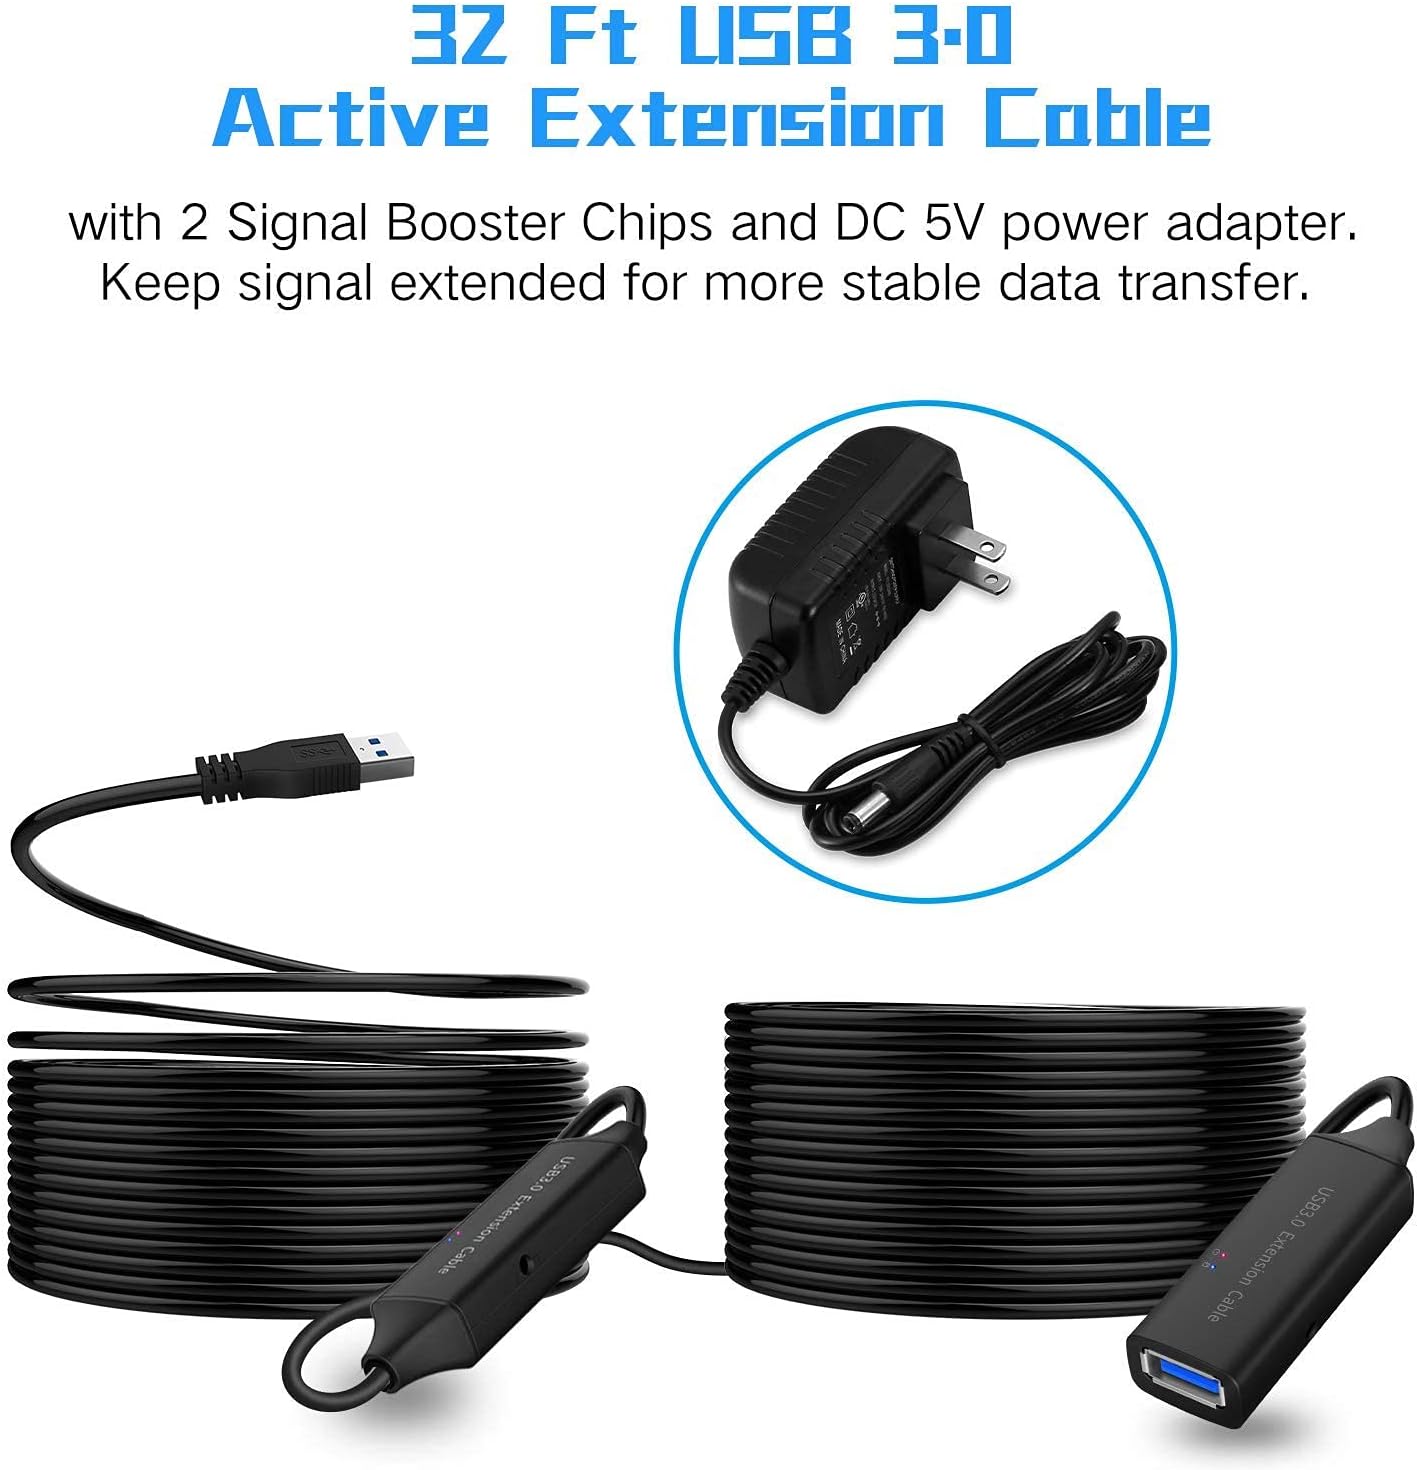
- 1 x USB 3.0 Active Extension Cable (32 Feet)
- 1 x 12V 2A Power Supply (for Enclosure)
- 1 x 5V 2A Power Adapter (for Extension Cable)
- Screws for HDD installation
Product Features
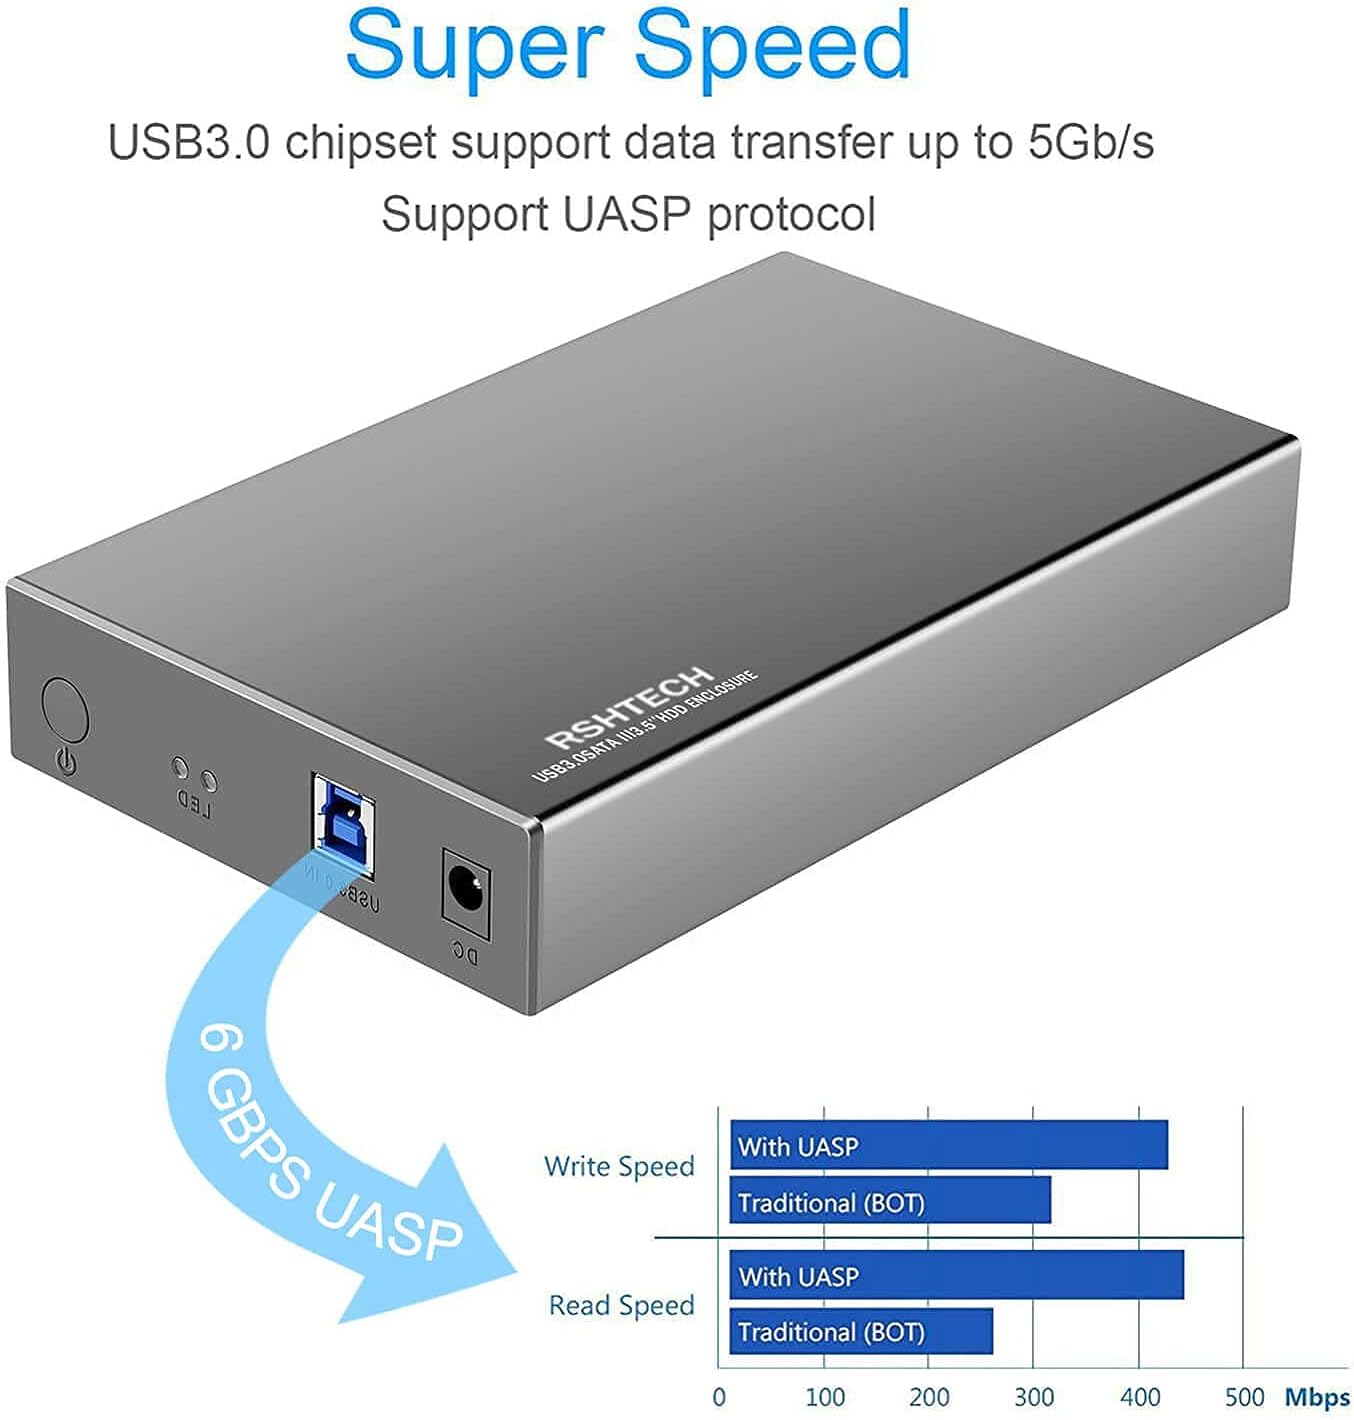
- High-Speed Data Transfer: USB 3.0 chipset supports data transfer up to 5Gbps, with UASP protocol support for enhanced performance.
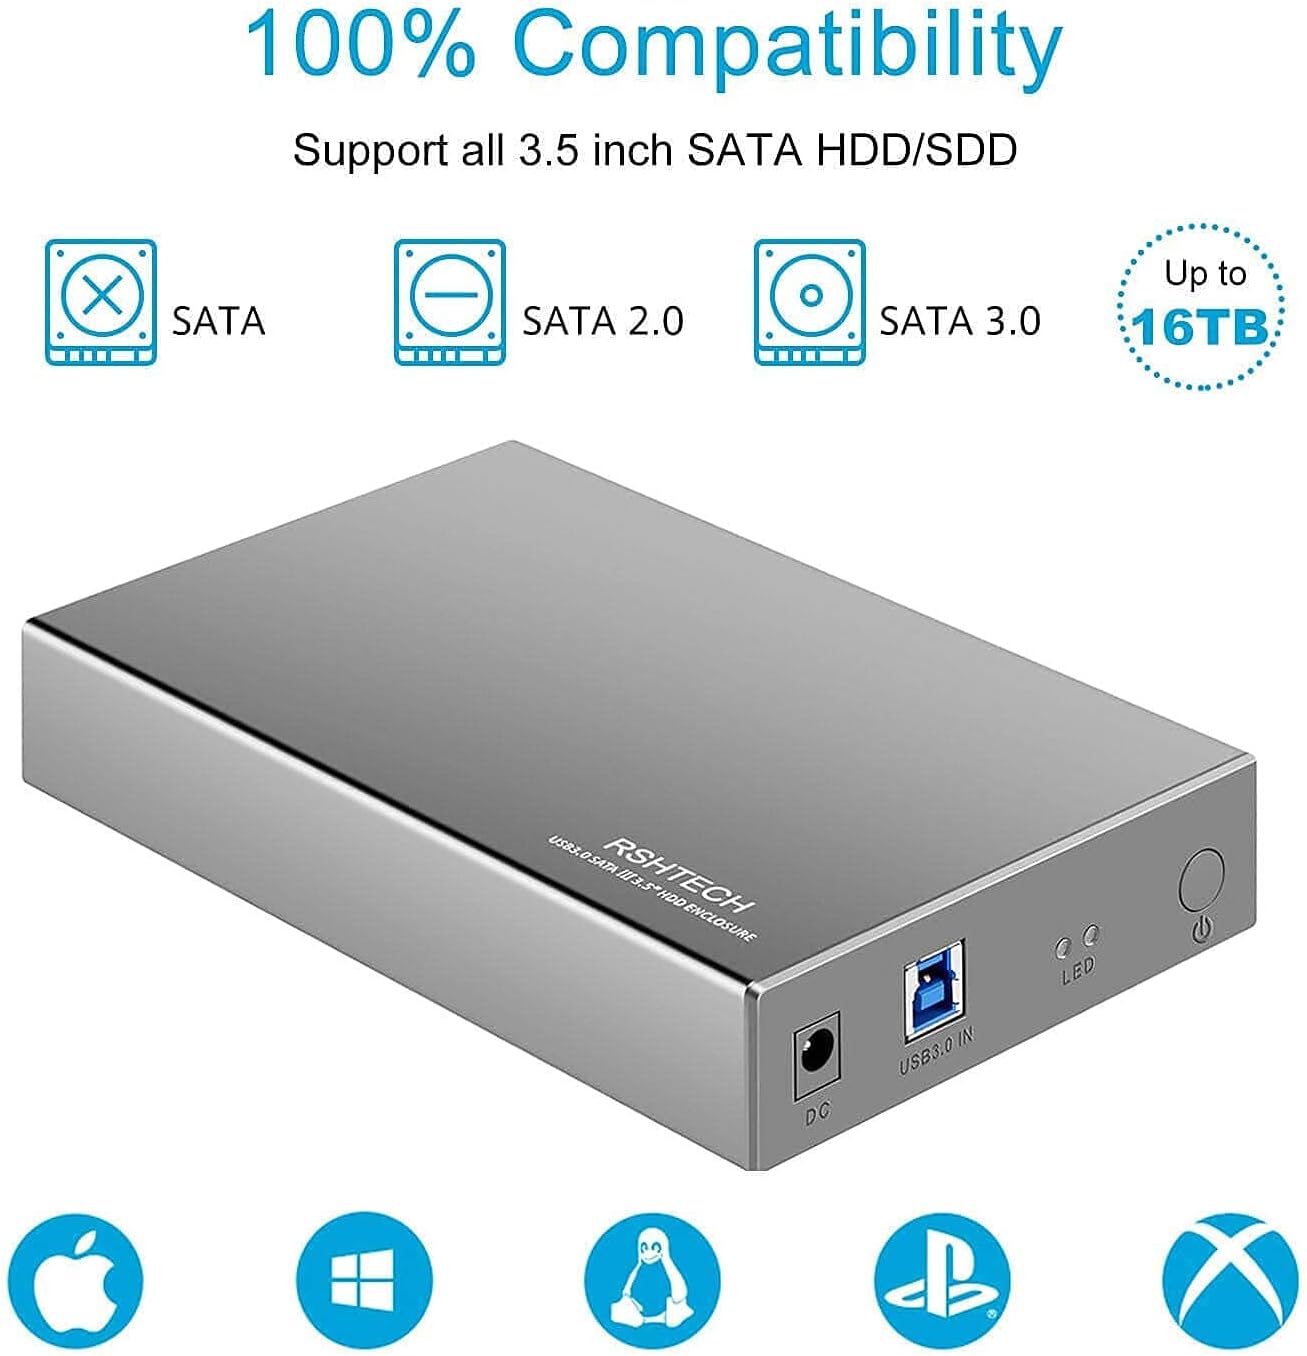
- Wide Compatibility: Supports all 3.5-inch SATA I/II/III HDD/SSD up to 16TB. Compatible with Windows, macOS, Linux, PlayStation, and Xbox systems.
- Durable Construction: Aluminum alloy panel for effective heat dissipation and robust protection.
- Active Extension Cable: 32-foot USB 3.0 active extension cable with built-in signal booster chips and a dedicated 5V 2A power adapter for stable long-distance data transmission.
Setup Guide
1. Hard Drive Enclosure Assembly
- Prepare the Enclosure: Ensure the enclosure is powered off and disconnected from any devices.
- Insert HDD/SSD: Gently slide your 3.5-inch SATA HDD or SSD into the enclosure. Ensure it is firmly seated in the SATA connector.
- Secure the Drive: Use the provided screws to secure the hard drive within the enclosure.
- Close the Enclosure: Slide the enclosure cover back into place until it clicks or is fully seated.
- Tighten Screws: Secure the enclosure cover with any external screws if applicable.

2. Connecting the Enclosure and Extension Cable
- Connect Enclosure Power: Plug the 12V 2A power supply into the DC jack of the hard drive enclosure and then into a power outlet.
- Connect Extension Cable Power: Plug the 5V 2A power adapter into the dedicated power port on the USB 3.0 Active Extension Cable and then into a power outlet.
- Connect Enclosure to Extension Cable: Plug the USB 3.0 Type-B connector from the enclosure into the female end of the USB 3.0 Active Extension Cable.
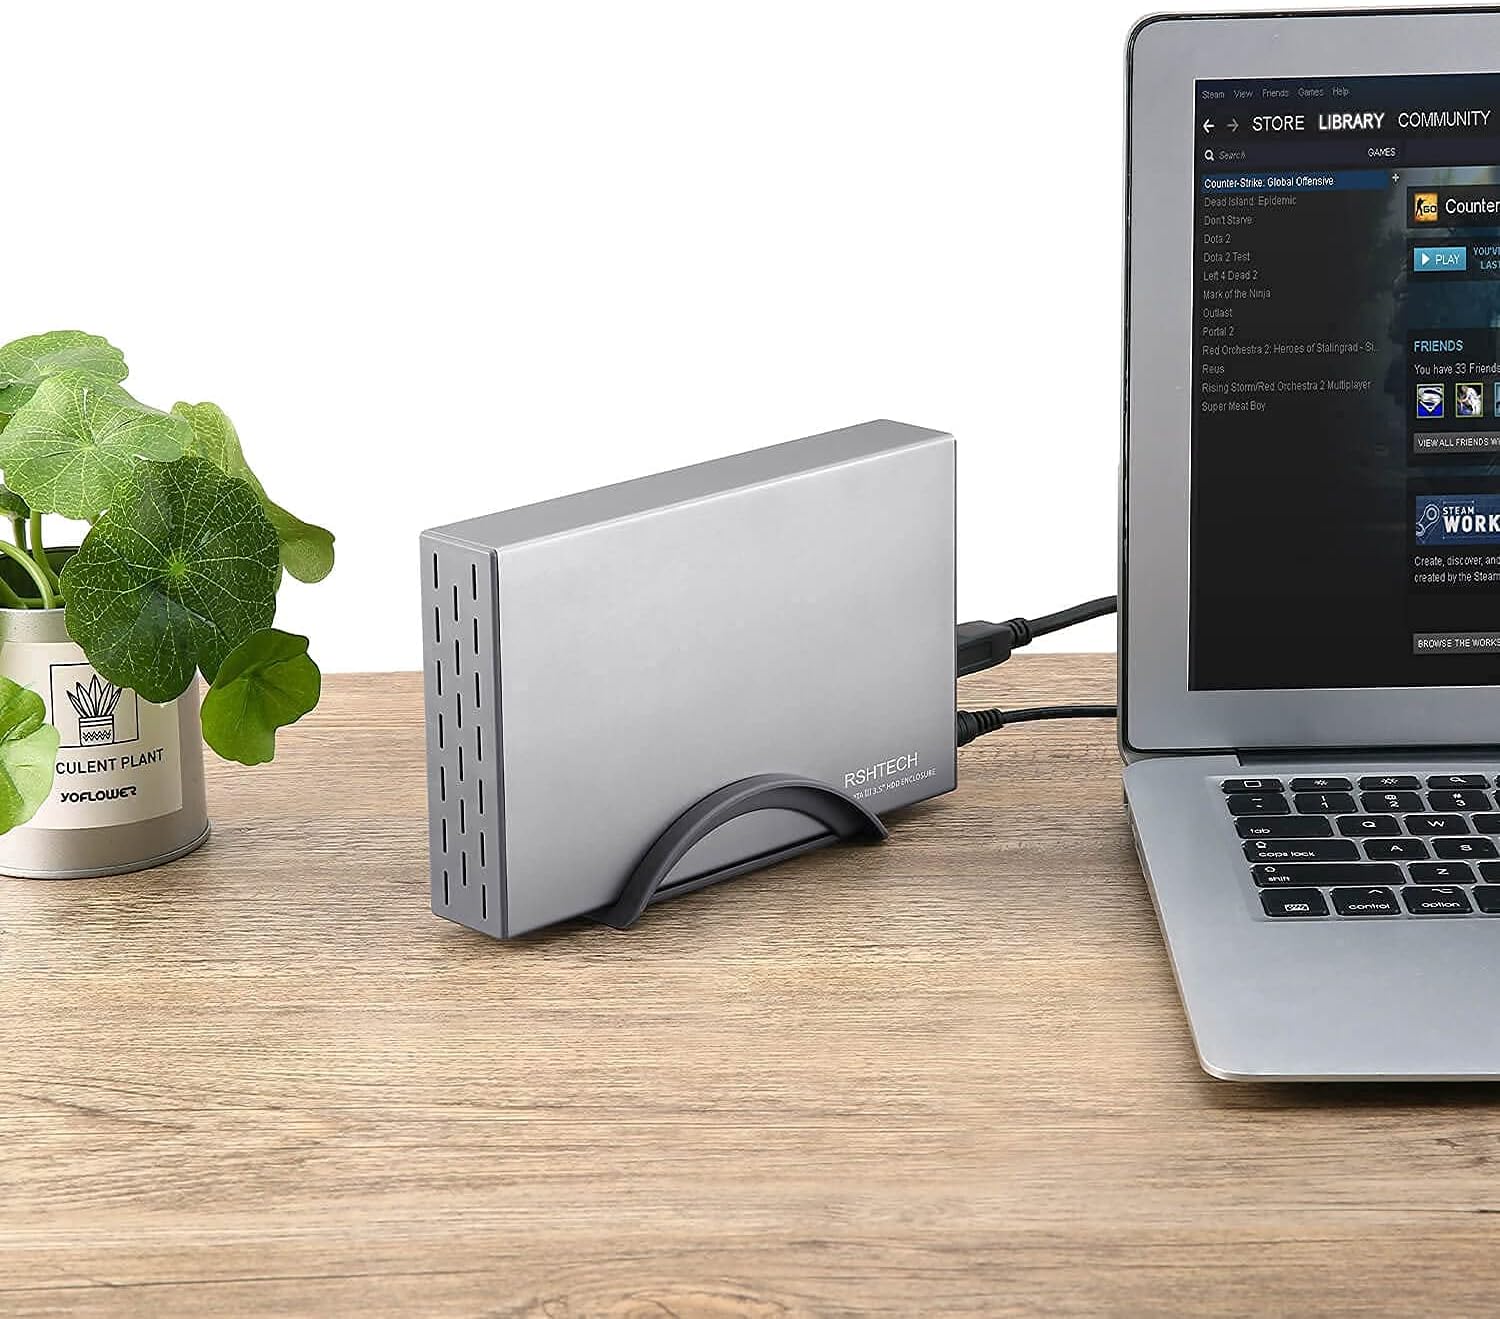
- Connect Extension Cable to Computer: Plug the male end of the USB 3.0 Active Extension Cable into an available USB 3.0 port on your computer or laptop.
- Power On: Press the power button on the enclosure to turn it on. The LED indicator should light up.
Operating Instructions
Once connected, your computer should automatically detect the hard drive enclosure. The drive will appear as an external storage device.
- Accessing the Drive: On Windows, access through "This PC" or "My Computer". On macOS, it will appear on the desktop or in Finder.
- Formatting: If it's a new hard drive, you may need to initialize and format it before use. Refer to your operating system's disk management tools for this process.
- Power Button:
- Press once to turn the enclosure ON.
- Press and hold for 3 seconds to turn the enclosure OFF.
- LED Indicator: The LED light indicates power status and data activity.

Maintenance
- Cleaning: Use a soft, dry cloth to clean the exterior of the enclosure. Do not use liquid cleaners or aerosols.
- Storage: Store the enclosure and cable in a cool, dry place away from direct sunlight and extreme temperatures.
- Handling: Avoid dropping or subjecting the enclosure to strong impacts, as this can damage the internal hard drive.
- Power Off: Always safely eject the drive from your operating system before disconnecting the enclosure or turning off its power.
Troubleshooting
| Problem | Possible Cause | Solution |
|---|---|---|
| Drive not detected |
|
|
| Slow transfer speeds |
|
|
| Enclosure not powering on |
|
|
Specifications
| Feature | Detail |
|---|---|
| Product Type | 3.5inch SATA Hard Drive Enclosure + USB 3.0 Active Extension Cable |
| Brand | RSHTECH |
| Hardware Interface | USB 3.0 |
| Material | Aluminum |
| Compatible Devices | Laptop, Desktop PC, Game Consoles (PS, Xbox) |
| Hard Disk Form Factor | 3.5 Inches SATA I/II/III HDD/SSD |
| Max Capacity Support | Up to 16TB |
| Extension Cable Length | 32 Feet (approx. 9.75 meters) |
| Power Adapter (Enclosure) | 12V 2A |
| Power Adapter (Extension Cable) | 5V 2A |
Warranty and Support
RSHTECH products are designed for reliability and performance. For any technical assistance, troubleshooting, or warranty inquiries, please contact RSHTECH customer support.
- Return Policy: This product is subject to a 30-day refund/replacement return policy as per Amazon's terms.
- Manufacturer Support: For direct support, please visit the official RSHTECH website or contact their customer service channels.
Related documentsRSHTECH-HDD-USB3-EXT

Ask a question about this manual
Ask about setup, troubleshooting, compatibility, parts, safety, or missing instructions. Manuals+ will review the question and use this page’s manual context to help answer it.