Biolomix BM601
Biolomix Kitchen Electric Stand Mixer
User Manual
Model: BM601
Introduction
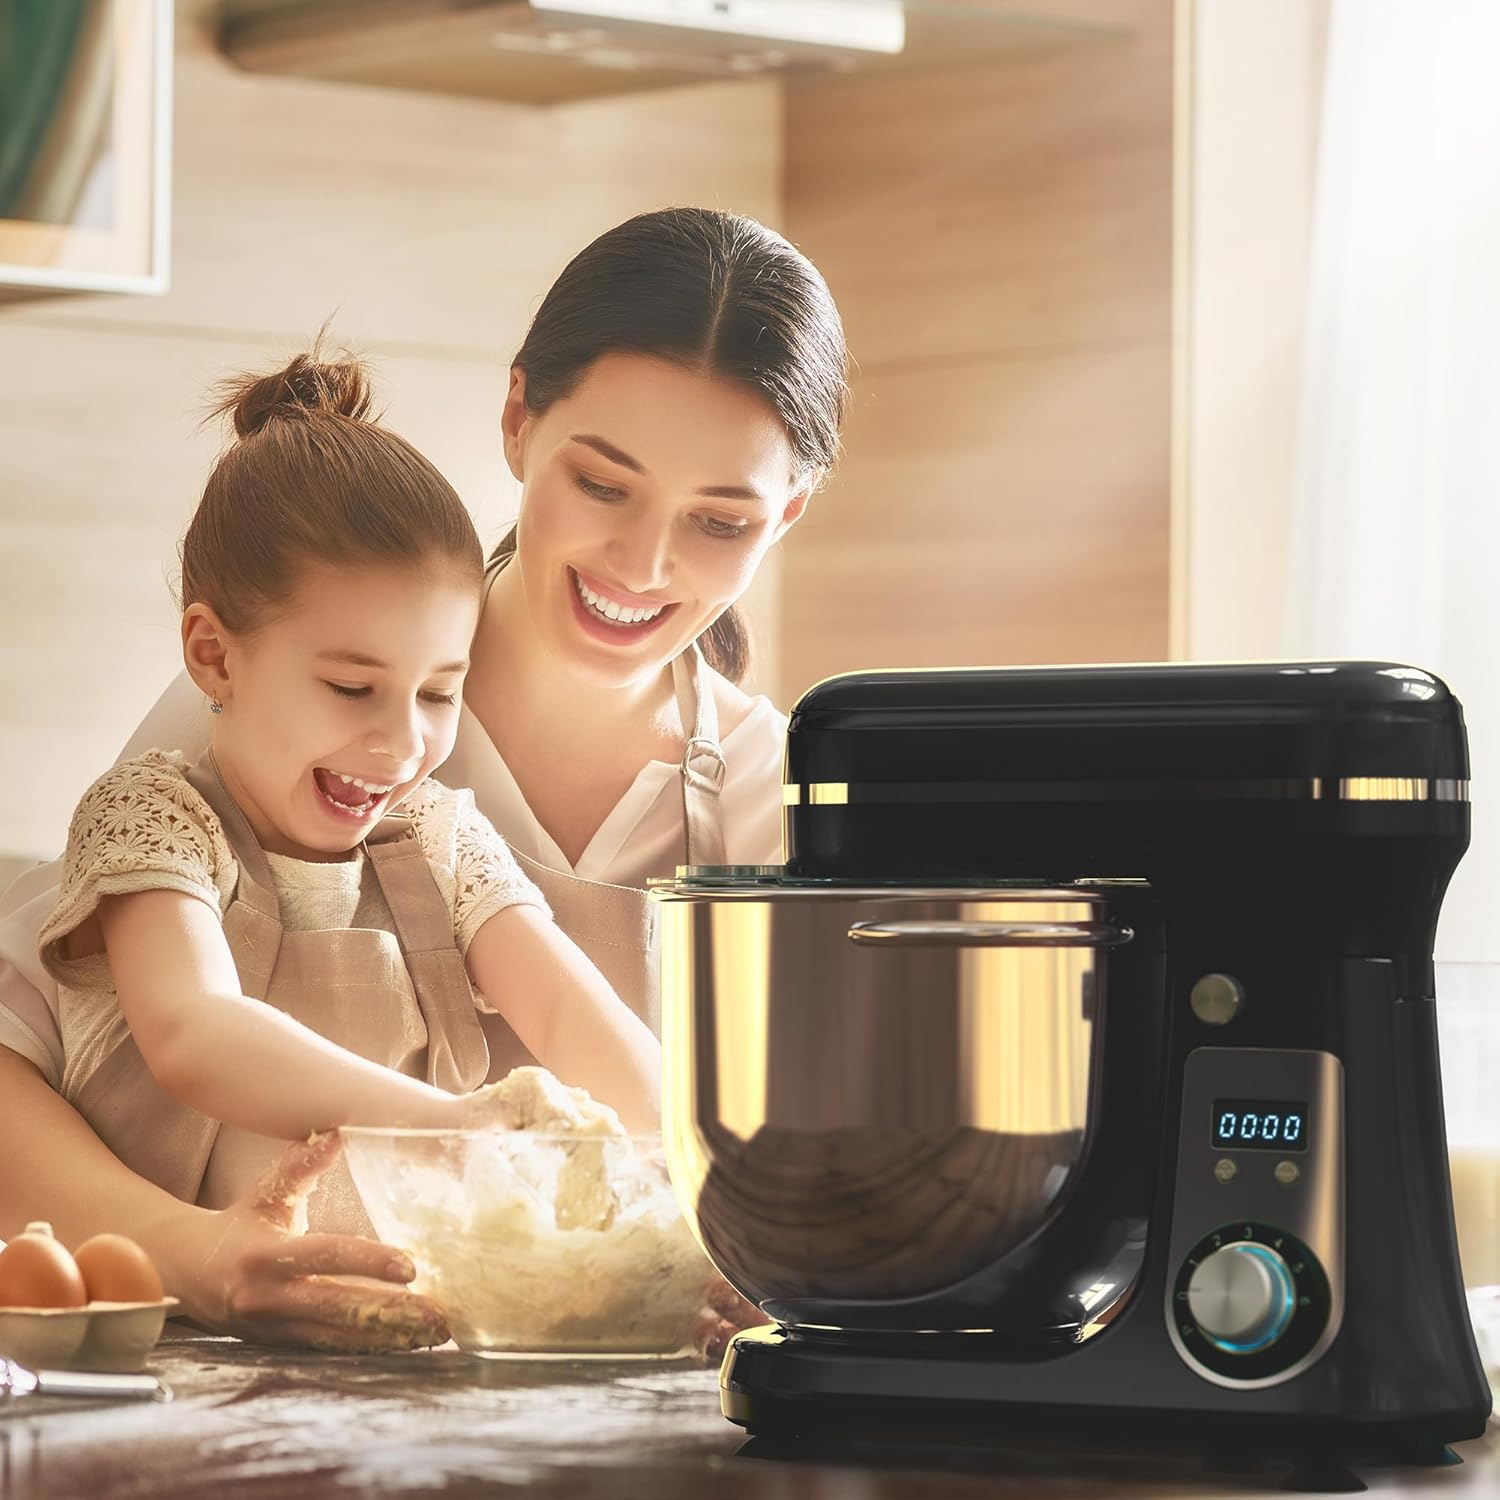
Thank you for choosing the Biolomix Kitchen Electric Stand Mixer. This appliance is designed to simplify your food preparation tasks, offering versatility and efficiency for various culinary needs. Please read this manual thoroughly before first use to ensure safe operation and optimal performance.
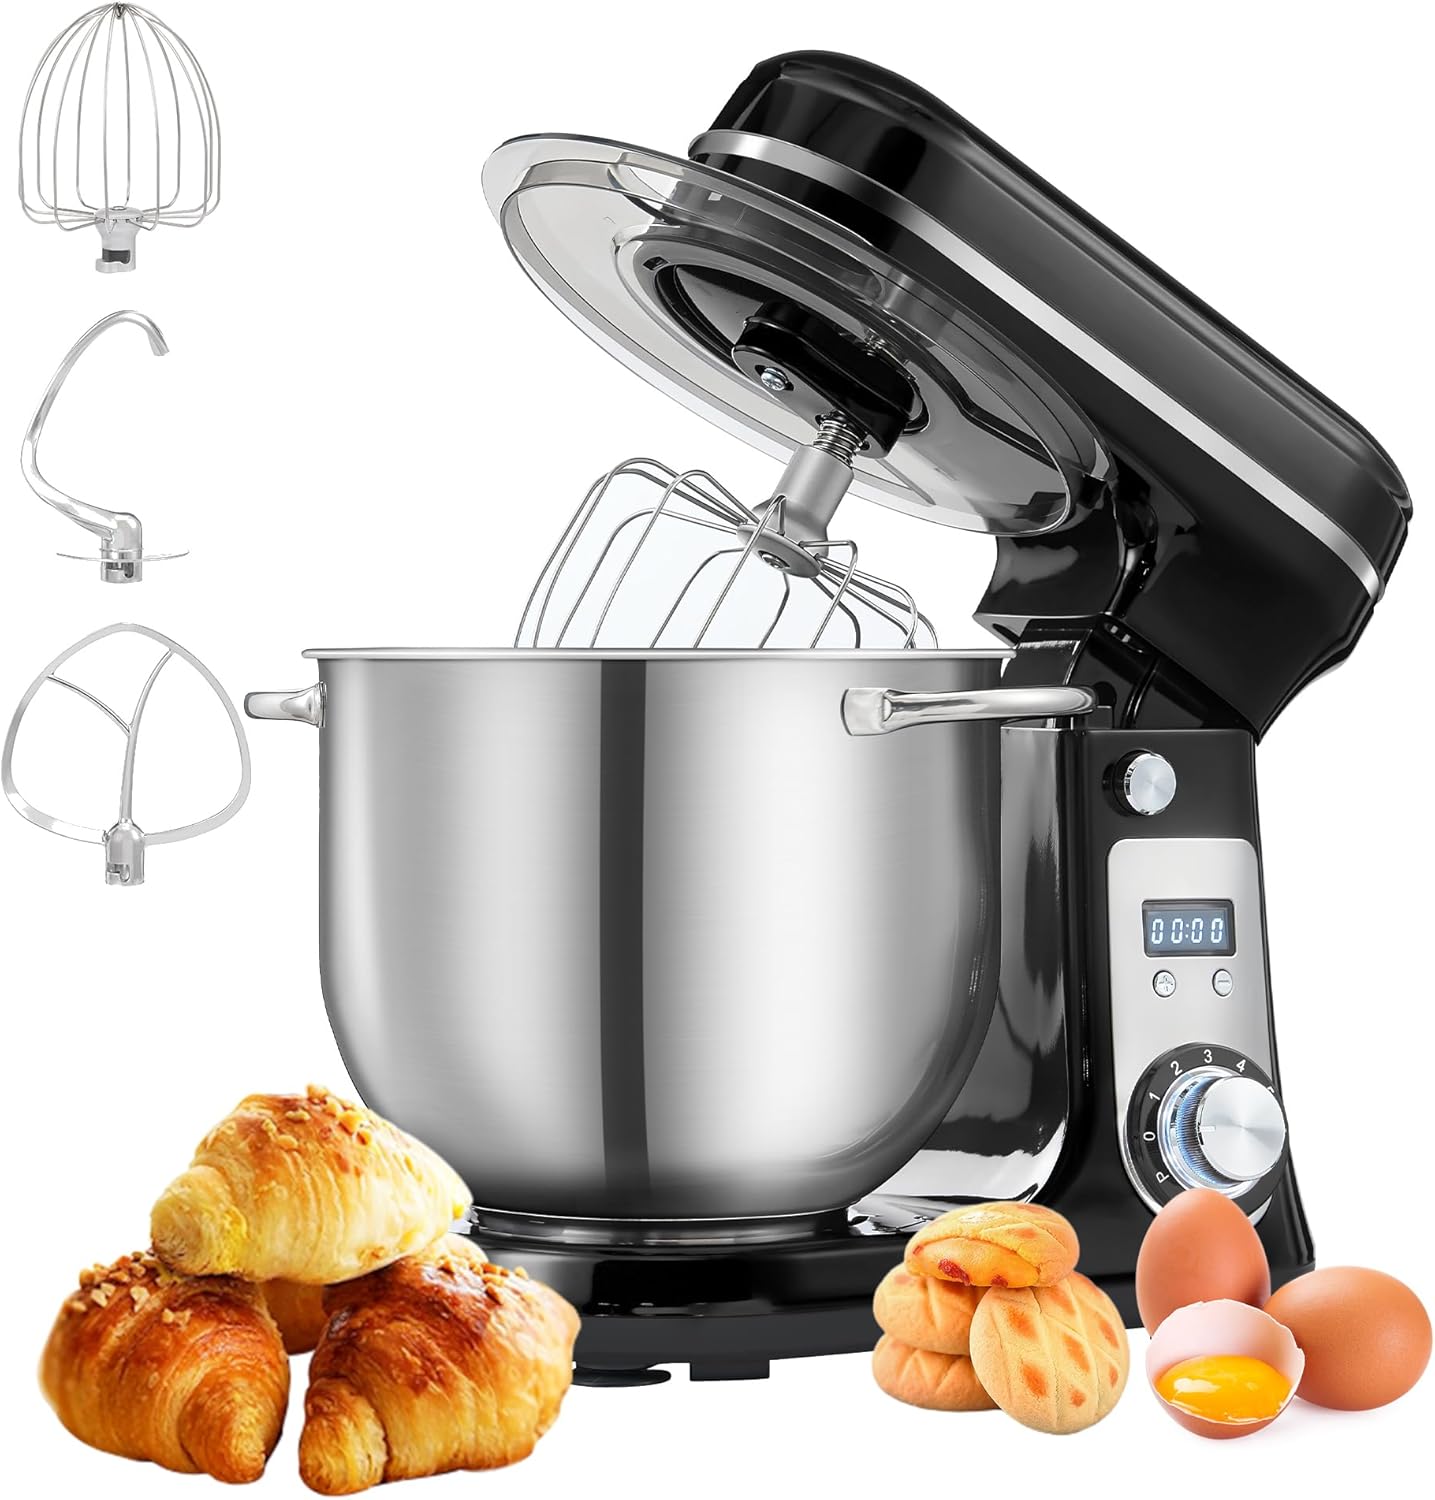
The Biolomix Kitchen Electric Stand Mixer, featuring its main unit, stainless steel bowl, and various attachments, ready for use.
Product Overview
Components Included
The Biolomix Kitchen Electric Stand Mixer package includes the following items:
- Main Machine Unit
- 6.5 Quart Stainless Steel Mixing Bowl
- Bowl Cover (Anti-Splash Guard)
- Dough Hook (Teflon Coated Diecasting Aluminum)
- Flat Beater (Teflon Coated Diecasting Aluminum)
- Whisk (#304 Stainless Steel Wires)
- Instruction Manual

Visual representation of all components included in the product packaging.
Parts Diagram
Familiarize yourself with the various parts of your stand mixer:
- Top Cover
- Bowl Cover
- Stainless Steel Bowl
- Lower Body
- Upper Body
- Head Button (Tilt-Head Release)
- Time Display Window (LCD Screen)
- Time Adjustment Button
- Speed Knob
- Bottom (with suction cups)
- Dough Hook
- Flat Beater
- Whisk

Detailed diagram illustrating the various parts of the Biolomix Stand Mixer and its accessories.
Key Features
- 6.5 QT Large Capacity: The stainless steel bowl provides ample space for large batches, suitable for family baking needs.
- Powerful 1200W DC Motor: Designed for efficient mixing and kneading, capable of handling tough ingredients.
- 6 Speed Settings: Offers precise control for various mixing tasks, from gentle stirring to high-speed whipping.
- Tilt-Head Design: Allows for easy access to the mixing bowl and simplifies attachment installation and removal.
- Multiple Attachment Set: Includes a dough hook, flat beater, and whisk for diverse culinary applications.
- Anti-Splash Cover: Helps prevent spills and allows for easy addition of ingredients during operation.
- Quiet Operation: Features a DC motor designed to operate at a low noise level (below 60 dB).
- Steady Structure Design: Equipped with anti-slip silicone suction cups on the base to ensure stability during operation.
- LCD Screen and Timer: Provides an intuitive display for monitoring and adjusting mixing time.

The mixer features a 1200W DC motor for powerful yet quiet operation, maintaining a noise level below 60 dB.

Key design elements include a humanized anti-splash cover, efficient heat dissipation zones, a steady structure with anti-slip suction cups, and a stainless steel bowl with double handles for ease of use.
Setup
Before first use, ensure all packaging materials are removed and the mixer is placed on a stable, flat, and dry surface. Ensure the power cord is not damaged.
- Attach the Mixing Bowl: Place the stainless steel mixing bowl onto the base of the mixer. Turn the bowl clockwise until it locks securely into place.
- Install the Desired Attachment: Press the Head Button (6) to tilt the mixer head upwards. Select the appropriate attachment (Dough Hook, Flat Beater, or Whisk) for your task. Align the attachment with the shaft and push it upwards, then rotate it slightly until it clicks into place.
- Lower the Mixer Head: Gently push the mixer head downwards until it locks into position. You should hear a click.
- Attach the Splash Cover: Place the transparent splash cover over the mixing bowl, aligning its opening with the attachment.

The tilt-head design allows for easy installation and removal of the mixing bowl and attachments.
Operating Instructions
Speed Control
The mixer features a 6-speed rotary knob for precise control over mixing intensity. Turn the knob clockwise to increase speed. The blue backlight indicates the mixer is powered on.
- Speed 1-3 (Low): Ideal for heavy mixtures like dough, or for gentle stirring.
- Speed 1-5 (Medium): Suitable for medium-heavy mixtures such as batters, creams, and butter.
- Speed 1-6 (High): Best for light mixtures, whipping egg whites, fresh milk, or sauces.

The speed knob allows for precise control, with recommended speed ranges for each attachment type.
Using Attachments
Select the appropriate attachment based on your recipe's requirements:
- Dough Hook: Used for kneading heavy doughs like bread, pizza, and pasta. Operate at speeds 1-3.

The dough hook is ideal for kneading heavy doughs.
- Flat Beater: Ideal for mixing medium-heavy batters, such as cakes, cookies, salads, creams, and butter. Operate at speeds 1-5.

The flat beater is versatile for various mixing tasks.
- Whisk: Used for aerating light mixtures, such as whipping egg whites, fresh milk, and light sauces. Operate at speeds 1-6.

The whisk is designed for whipping and aerating ingredients.

The three primary attachments and their recommended speed ranges for different food preparations.
Timer Function
The intuitive LCD screen and timer allow for easy control and settings adjustment. You can adjust and observe the status of your food at any time while it is mixing. The timer automatically starts counting when the mixer is in operation.

The integrated LCD screen and timer provide real-time feedback on mixing duration.
Maintenance and Cleaning
Proper cleaning and maintenance will extend the life of your Biolomix Stand Mixer.
- Before Cleaning: Always unplug the mixer from the power outlet before cleaning.
- Mixing Bowl and Attachments: The stainless steel bowl, bowl cover, flat beater, dough hook, and whisk are dishwasher safe for convenient cleaning.
- Main Unit: Wipe the main unit with a damp cloth. Do not immerse the motor unit in water or any other liquid. Avoid using abrasive cleaners or scouring pads, as they may damage the surface.
- Storage: Store the mixer in a dry place, away from direct sunlight and heat sources.

The stainless steel bowl and attachments are designed to be dishwasher safe for easy cleaning.
Troubleshooting
If you encounter any issues with your Biolomix Stand Mixer, please refer to the following common problems and solutions:
| Problem | Possible Cause | Solution |
|---|---|---|
| Mixer does not turn on | Not plugged in; Power outlet issue; Mixer head not fully locked. | Ensure the power cord is securely plugged into a working outlet. Verify the mixer head is fully lowered and locked into place. |
| Mixer is unstable during operation | Uneven surface; Suction cups not engaged; Excessive load. | Place the mixer on a flat, stable surface. Ensure the anti-slip silicone suction cups on the bottom are clean and firmly pressed onto the countertop. Reduce the amount of ingredients if exceeding capacity. |
| Motor sounds strained or overheats | Overload; Continuous operation for too long. | Reduce the load in the bowl. Allow the mixer to cool down for at least 20-30 minutes if it feels hot to the touch or automatically shuts off. Avoid continuous operation for extended periods, especially with heavy doughs. |
| Attachments not reaching ingredients | Attachment not fully installed. | Ensure the attachment is pushed firmly upwards and rotated until it clicks securely into place on the shaft. |

The quiet DC motor ensures minimal noise during operation, contributing to a more pleasant kitchen environment.
Specifications
| Feature | Detail |
|---|---|
| Brand | Biolomix |
| Model Name | Kitchen Electric Stand Mixer |
| Model Number | BM601 |
| Color | Black |
| Capacity | 6.5 Quarts (approx. 6.15 Liters) |
| Power | 1200W (Rated Power) |
| Controls Type | Knob |
| Noise Level | 60 dB |
| Product Dimensions (D x W x H) | 12.63" x 10.15" x 13.81" (32.08 cm x 25.78 cm x 35.08 cm) |
| Item Weight | 10.98 pounds (approx. 4.98 kg) |
| UPC | 786562843643 |
Detailed dimensions of the Biolomix Kitchen Electric Stand Mixer.
Warranty and Support
For product support, warranty information, or any inquiries regarding your Biolomix Kitchen Electric Stand Mixer, please contact Biolomix customer service directly. Refer to the contact information provided with your product packaging or visit the official Biolomix website for assistance.
Additional protection plans may be available for purchase through your retailer to extend coverage beyond the standard manufacturer's warranty. Please consult your retailer for details on available protection plans.
Ask a question about this manual
Ask about setup, troubleshooting, compatibility, parts, safety, or missing instructions. Manuals+ will review the question and use this page’s manual context to help answer it.