1. Important Safety Information
Please read and understand all safety instructions before using the Kerbl GT421 Aesculap Cordless Clipper. Failure to follow these instructions may result in injury or damage to the product.
- Always keep blades out of reach of children.
- Do not use on infants.
- Keep blades away from water sources. This device is not waterproof.
- Always unplug the device before cleaning or replacing parts to prevent accidental activation.
2. Product Overview
The Kerbl GT421 Aesculap Cordless Clipper is a precision grooming tool designed for animals. It features advanced Li-ion battery technology, a lightweight and ergonomic design, and a durable carbon steel cutting head for superior performance and ease of use.
2.1 Components
- Kerbl GT421 Cordless Clipper
- USB Charging Cable
- Comb Attachment (adjustable)
- User Manual (this document)
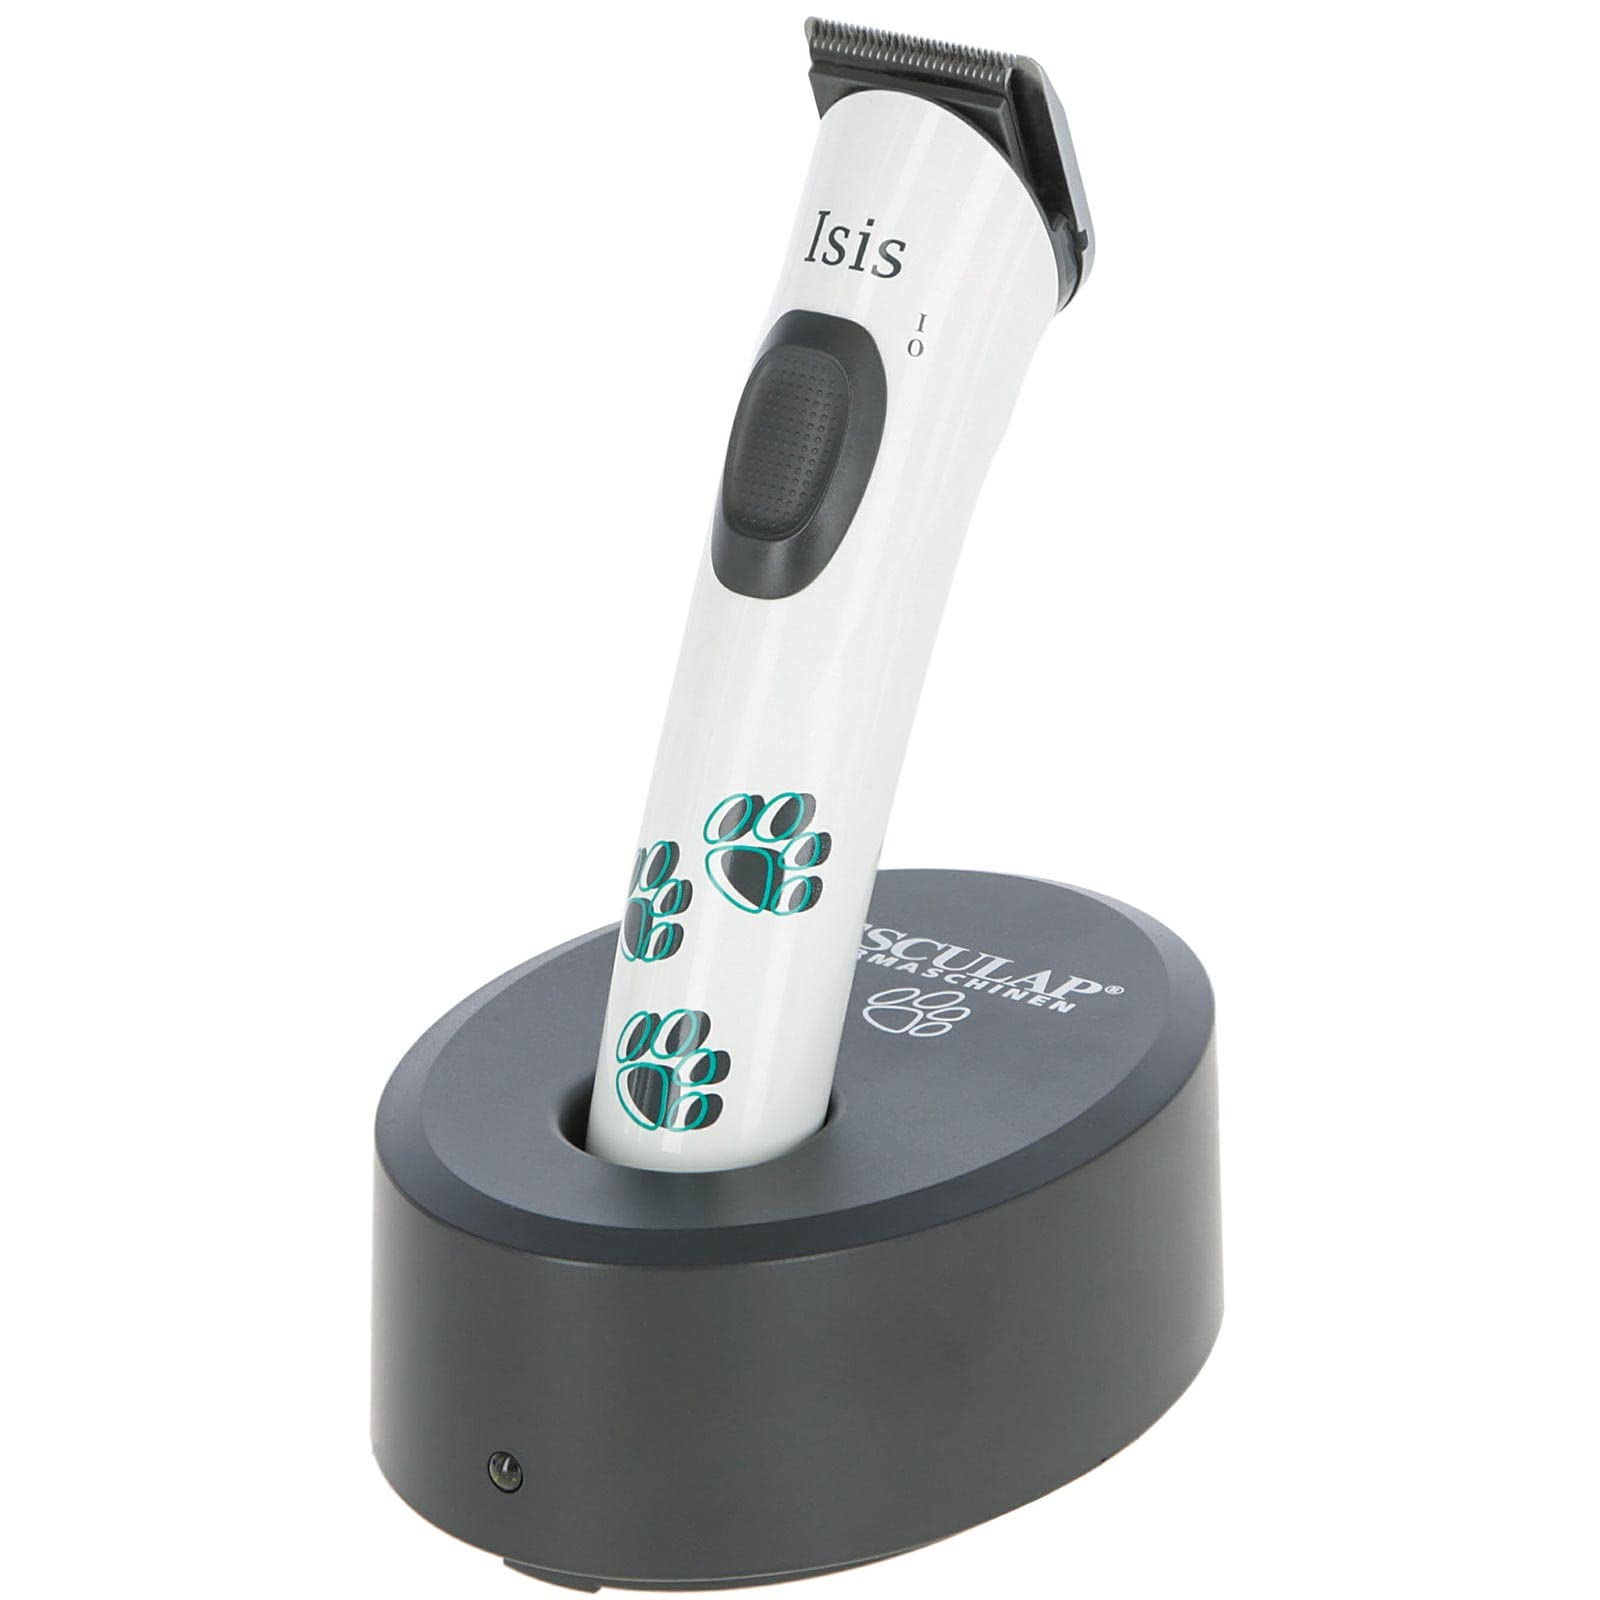
Figure 2.1: The Kerbl GT421 Aesculap Cordless Clipper, showcasing its sleek design.
3. Setup
3.1 Charging the Clipper
Before initial use, fully charge the clipper's battery. The integrated Li-ion battery provides up to 120 minutes of operating time with approximately 90 minutes of charging time.
- Connect the provided USB charging cable to the charging port located at the base of the clipper.
- Connect the other end of the USB cable to a compatible USB power adapter (not included) or a powered USB port.
- Allow the clipper to charge until the battery indicator (if present) shows a full charge.

Figure 3.1: The USB charging port at the bottom of the clipper.
3.2 Attaching the Comb Attachment
The adjustable comb attachment allows for varying cutting lengths, typically from 3 mm to 6 mm.
- Ensure the clipper is turned off before attaching or removing the comb.
- Align the comb attachment with the clipper head.
- Slide the attachment onto the clipper head until it securely clicks into place.
- Adjust the desired cutting length using the comb's integrated adjustment mechanism.
4. Operating Instructions
4.1 General Grooming
The Kerbl GT421 is designed for precise and comfortable grooming. Its lightweight design (approximately 115g) and low vibration minimize user fatigue and animal stress.
- Prepare the animal's coat by ensuring it is clean, dry, and free of tangles or mats.
- Press the power button to turn on the clipper.
- Hold the clipper firmly and position it at an appropriate angle against the animal's coat.
- Move the clipper smoothly and steadily in the direction of hair growth for an even cut.
- Periodically clear accumulated hair from the blade during use to maintain optimal cutting efficiency.
- After grooming, press the power button again to turn off the clipper.

Figure 4.1: The clipper in use for detailed trimming around a dog's paw.

Figure 4.2: Demonstrating the clipper's application for general body grooming.
4.2 Power Button Operation
The central button on the clipper body controls the power. Press once to activate the clipper, and press again to deactivate it.

Figure 4.3: The ergonomic power button for easy on/off control.
5. Maintenance
Proper maintenance ensures the longevity and optimal performance of your clipper.
5.1 Cleaning the Blades
Regular cleaning of the carbon steel cutting head is crucial for efficient operation.
- Ensure the clipper is turned off and disconnected from any power source.
- Carefully remove the comb attachment, if present.
- Use a small brush (often supplied with grooming tools) to remove loose hair and debris from between the blades.
- The special Aesculap shaving head system allows for easy removal of the blade set for more thorough cleaning. Consult specific instructions for blade removal and reattachment if needed.
- Do not immerse the clipper or blades in water.

Figure 5.1: The carbon steel cutting head of the clipper.
5.2 Oiling the Blades
To reduce friction, prevent overheating, and maintain cutting sharpness, oil the blades regularly.
- After cleaning, apply a few drops of clipper oil (not included) to the teeth and the friction surfaces of the blade set.
- Turn on the clipper for a few seconds to distribute the oil evenly across the blades.
- Wipe off any excess oil with a soft, dry cloth.
5.3 Storage
Store the clipper in a dry, cool place, away from direct sunlight and extreme temperatures. Ensure the battery is partially charged before long-term storage to preserve battery health.
6. Troubleshooting
This section addresses common issues you might encounter with your clipper.
6.1 Clipper Not Turning On
- Battery Charge: Ensure the clipper's battery is sufficiently charged. Connect it to the charger and allow adequate charging time.
- Power Button: Press the power button firmly and ensure it engages correctly.
6.2 Poor Cutting Performance
- Blade Cleanliness: Hair buildup can significantly reduce cutting efficiency. Clean the blades thoroughly as described in Section 5.1.
- Blade Lubrication: Dry blades create excessive friction. Oil the blades as described in Section 5.2.
- Blade Condition: Inspect the carbon steel blades for any signs of damage, dullness, or misalignment. Worn or damaged blades may require replacement.
- Comb Attachment: Verify that the comb attachment is correctly secured and free from hair clogs.
6.3 Excessive Noise or Vibration
- Blade Alignment: Check if the blade set is properly aligned and seated on the clipper.
- Lubrication: Insufficient oil can lead to increased friction, resulting in louder operation and more vibration. Ensure blades are adequately oiled.
- Foreign Objects: Inspect the blade area for any foreign objects that might be causing obstruction or imbalance.
7. Specifications
| Feature | Detail |
|---|---|
| Model | GT421 |
| Brand | Kerbl |
| Motor | DC 3.6V, 5700 rpm |
| Battery Type | Li-ion 3.7V |
| Operating Time | Up to 120 minutes |
| Charging Time | Approx. 90 minutes |
| Cutting Head System | Special Aesculap |
| Blade Material | Carbon Steel |
| Cutting Length (without comb) | 0.5 mm |
| Cutting Width | 24 mm |
| Adjustable Comb Lengths | Approx. 3-6 mm (4 settings) |
| Weight | Approx. 115 g |
| Power Source | Battery Powered |
| Connector Type | USB |
8. Warranty and Support
For detailed warranty information, terms, and conditions, please refer to the documentation included with your original purchase. Keep your proof of purchase for any warranty claims.
For technical support, spare parts, or service inquiries, please contact Kerbl customer service directly. Contact information can typically be found on the manufacturer's website or on the product packaging.
Manufacturer: Albert Kerbl GmbH


