1. Introduction
This manual provides comprehensive instructions for the WEELYE RX7 2.4G Bluetooth Remote Control and Receiver Kit. This kit is designed as a replacement part for specific children's electric ride-on cars, enabling remote control functionality. Please read this manual thoroughly before installation and operation to ensure correct usage and safety.

Image 1.1: WEELYE RX7 2.4G Bluetooth Remote Control and Receiver Kit components.
2. Package Contents
- 1 x WEELYE 2.4G Bluetooth Remote Control (White)
- 1 x WEELYE RX7 12V Control Box
3. Compatibility Check
To ensure this control box fits your electric ride-on car, open your vehicle and inspect the existing control box. If the appearance of the control box provided in this kit is identical to your original unit, it should be compatible with your car.

Image 3.1: Side view of the RX7 12V Control Box, showing the model identification label.
4. Setup Instructions
4.1. Battery Installation (Remote Control)
- Open the battery compartment on the back of the remote control.
- Install two AAA 1.5V batteries, ensuring correct positive (+) and negative (-) polarity.
- Close the battery cover securely. The indicator light on the remote will flash three times, confirming correct battery installation.
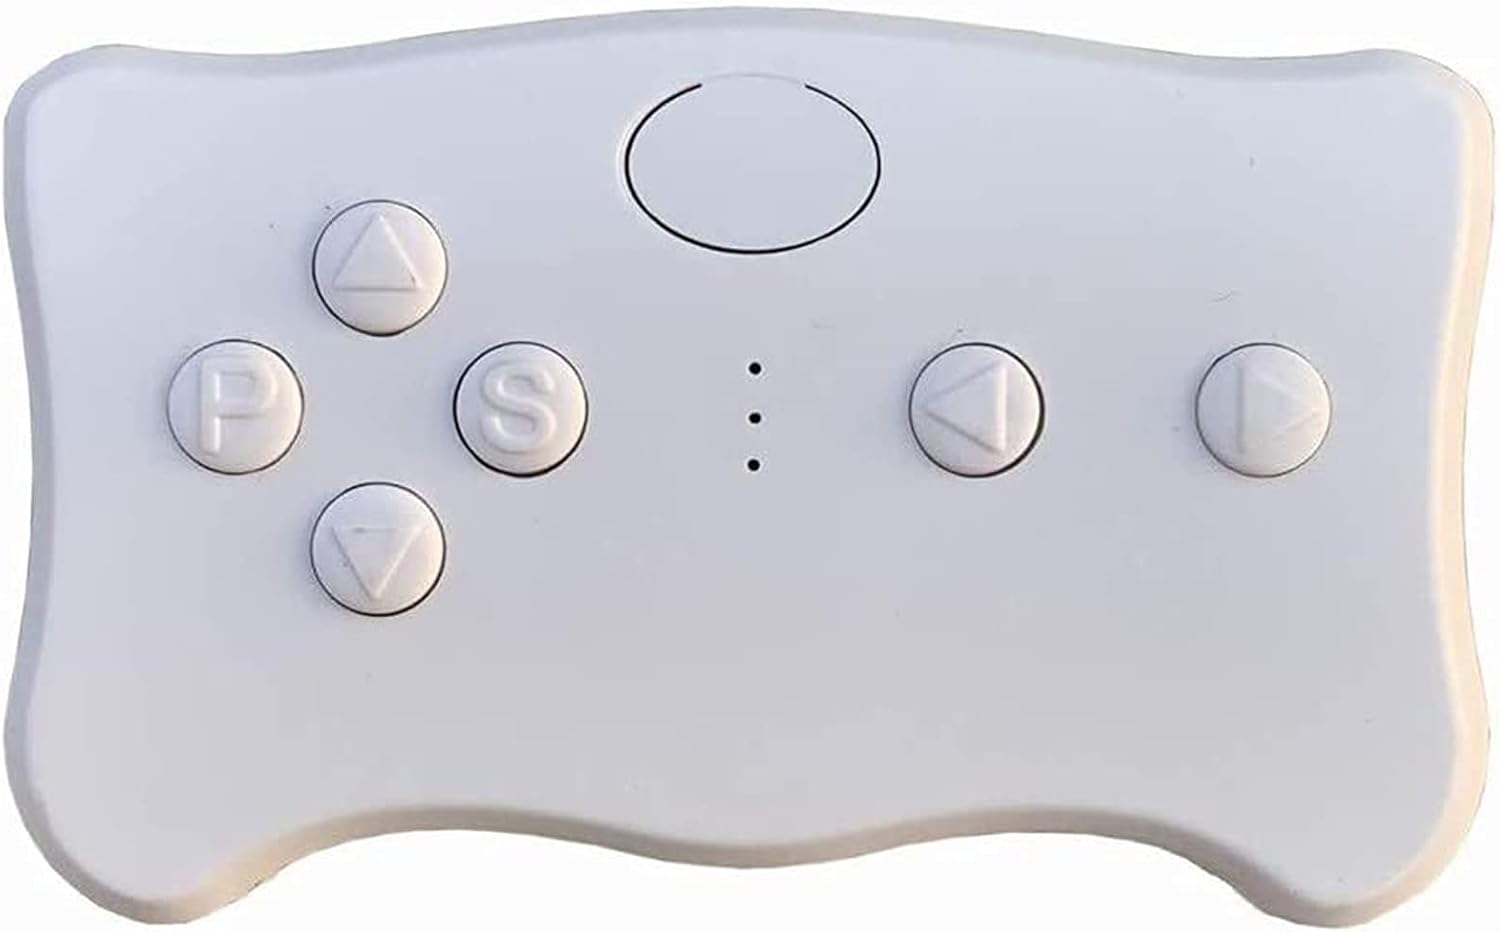
Image 4.1: The remote control, showing the location of the battery compartment.
4.2. Frequency Matching (Pairing)
The remote control and receiver must be paired for the first use or after battery replacement.
- With the remote control batteries installed, press and hold the frequency key (often labeled 'car select' or a central button) for approximately 2-5 seconds. The indicator light on the remote will begin to flash.
- While the remote's indicator is flashing, turn on the power supply of the electric ride-on car.
- The indicator light on the remote control will turn off, indicating successful frequency matching.
- If the matching is unsuccessful (indicator light does not turn off), turn off the car's power supply and repeat steps 1-3.
Video 4.2: This video demonstrates the basic assembly and connection of the control box and motors, which is part of the setup process for the ride-on car.
Video 4.3: This video illustrates the functionality of a 2.4G remote control for kids' electric cars, similar to the one included in this kit.
5. Operating Instructions
Once the remote control and receiver are successfully paired, you can operate the ride-on car using the remote control buttons.
5.1. Remote Control Button Functions

Image 5.1: Diagram showing the functions of the remote control buttons.
- Up Arrow (▲): Forward movement.
- Down Arrow (▼): Backward movement.
- Left Arrow (◀): Turn left.
- Right Arrow (▶): Turn right.
- 'S' Button: Speed selection. Cycles through high-speed, medium-speed, and low-speed settings, indicated by LED lights.
- 'P' Button: Emergency brake. Pressing this button will stop the car's movement. Press again to release the brake and resume normal operation.
- Frequency Key (Central Oval Button): Used for pairing the remote control with the car's receiver.
The product features a slow start function, eliminating the need for additional slow starter installation.
6. Maintenance
- Keep the remote control and receiver kit clean and dry.
- Avoid exposing the components to extreme temperatures or direct sunlight.
- Regularly check the remote control batteries and replace them when necessary to ensure optimal performance.
- If the remote control is not used for an extended period, remove the batteries to prevent leakage.
7. Troubleshooting
7.1. Remote Control Not Responding / Pairing Failure
- Check Batteries: Ensure the remote control has fresh AAA 1.5V batteries installed correctly.
- Repeat Pairing Process: Follow the frequency matching steps outlined in Section 4.2 carefully.
- Power Cycle: Turn off both the car and the remote control, then attempt the pairing process again.
7.2. Remote Control Indicator Light Behavior
- Flashes three times: Indicates correct battery installation.
- Flashes continuously: Remote is in pairing mode.
- Turns off after flashing: Pairing successful.
- Remains off after 10 seconds of no operation: Remote enters power-saving mode.
8. Specifications
| Feature | Specification |
|---|---|
| Product Dimensions | 3.6 x 3.1 x 2.4 inches |
| Item Weight | 4.5 ounces |
| Item Model Number | RX7 |
| Manufacturer Recommended Age | 12 months - 12 years |
| Control Box Voltage | 12V |
| Remote Control Frequency | 2.4G Bluetooth |
9. Warranty and Support
Specific warranty information for the WEELYE RX7 2.4G Bluetooth Remote Control and Receiver Kit is not provided in this manual. For details regarding warranty coverage, technical support, or replacement parts, please contact the manufacturer directly through their official channels or the retailer from whom the product was purchased.