1. Introduction
Thank you for choosing the Dripex TV Stand with LED Lights Cabinet. This manual provides essential information for the safe assembly, operation, and maintenance of your new furniture. Please read these instructions carefully before beginning assembly and retain them for future reference.
Safety Information
- Always assemble the product on a soft, clean surface to prevent scratches.
- Ensure all parts are present and undamaged before assembly. Contact customer support if any parts are missing or faulty.
- Assembly requires two people for safety and ease.
- Do not overtighten screws, as this may damage the material.
- Keep small parts and packaging materials away from children.
- Always remove the protective film from glossy surfaces before use.
- Do not exceed the maximum weight capacity of 50 kg (110 lbs) for the top surface.
2. Package Contents
Before assembly, verify that all components listed below are present in your package. If any items are missing or damaged, please contact Dripex customer support.
- Main cabinet panels (top, bottom, sides, back)
- Internal shelves (glass and engineered wood)
- Hinges and door panels
- Assembly hardware (screws, dowels, cam locks, shelf pins)
- LED lighting kit (magnetic, battery-operated lights)
- Instruction manual (this document)
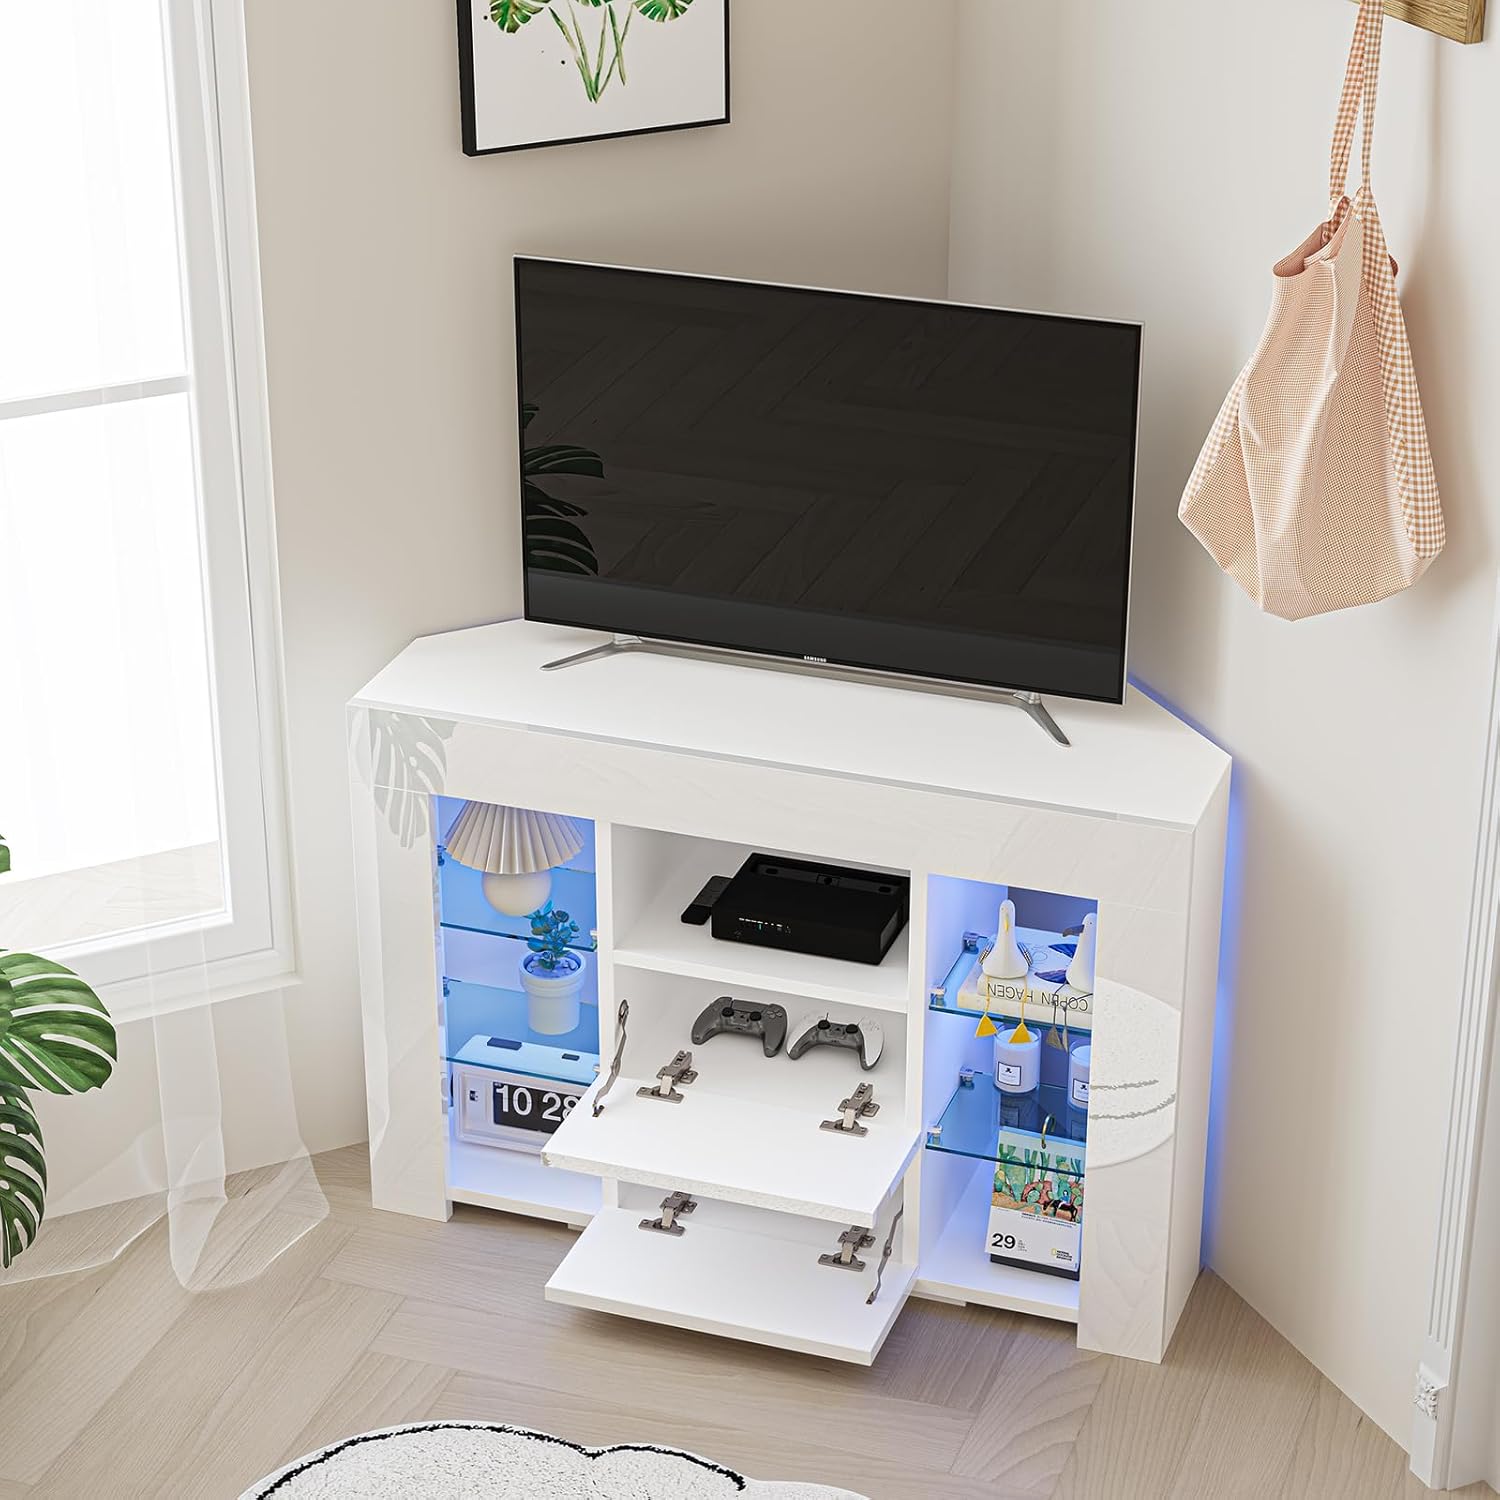
Figure 2.1: Assembled view of the Dripex TV Stand with LED Lights Cabinet, showcasing its corner design and storage compartments.
3. Setup and Assembly Instructions
Follow these steps carefully for proper assembly. It is recommended to have two people for this process.
Step 3.1: Prepare Components
- Unpack all components and lay them out on a soft, clean surface.
- Identify each part using the provided diagrams (if any were included in the physical package).
- Carefully remove the protective film from all glossy surfaces.
Step 3.2: Assemble the Main Frame
- Attach the side panels to the bottom panel using the provided dowels and cam locks. Ensure they are securely fastened.
- Connect the back panel to the assembled sides and bottom.
- Secure the top panel to the frame, ensuring all connections are tight.
Step 3.3: Install Shelves and Doors
- Insert the shelf pins into the pre-drilled holes at your desired height for the glass shelves.
- Carefully place the 5mm tempered glass shelves onto the pins.
- Attach hinges to the door panels and then to the cabinet frame. Adjust hinges as needed for proper door alignment.
- Install any internal engineered wood shelves as per the design.
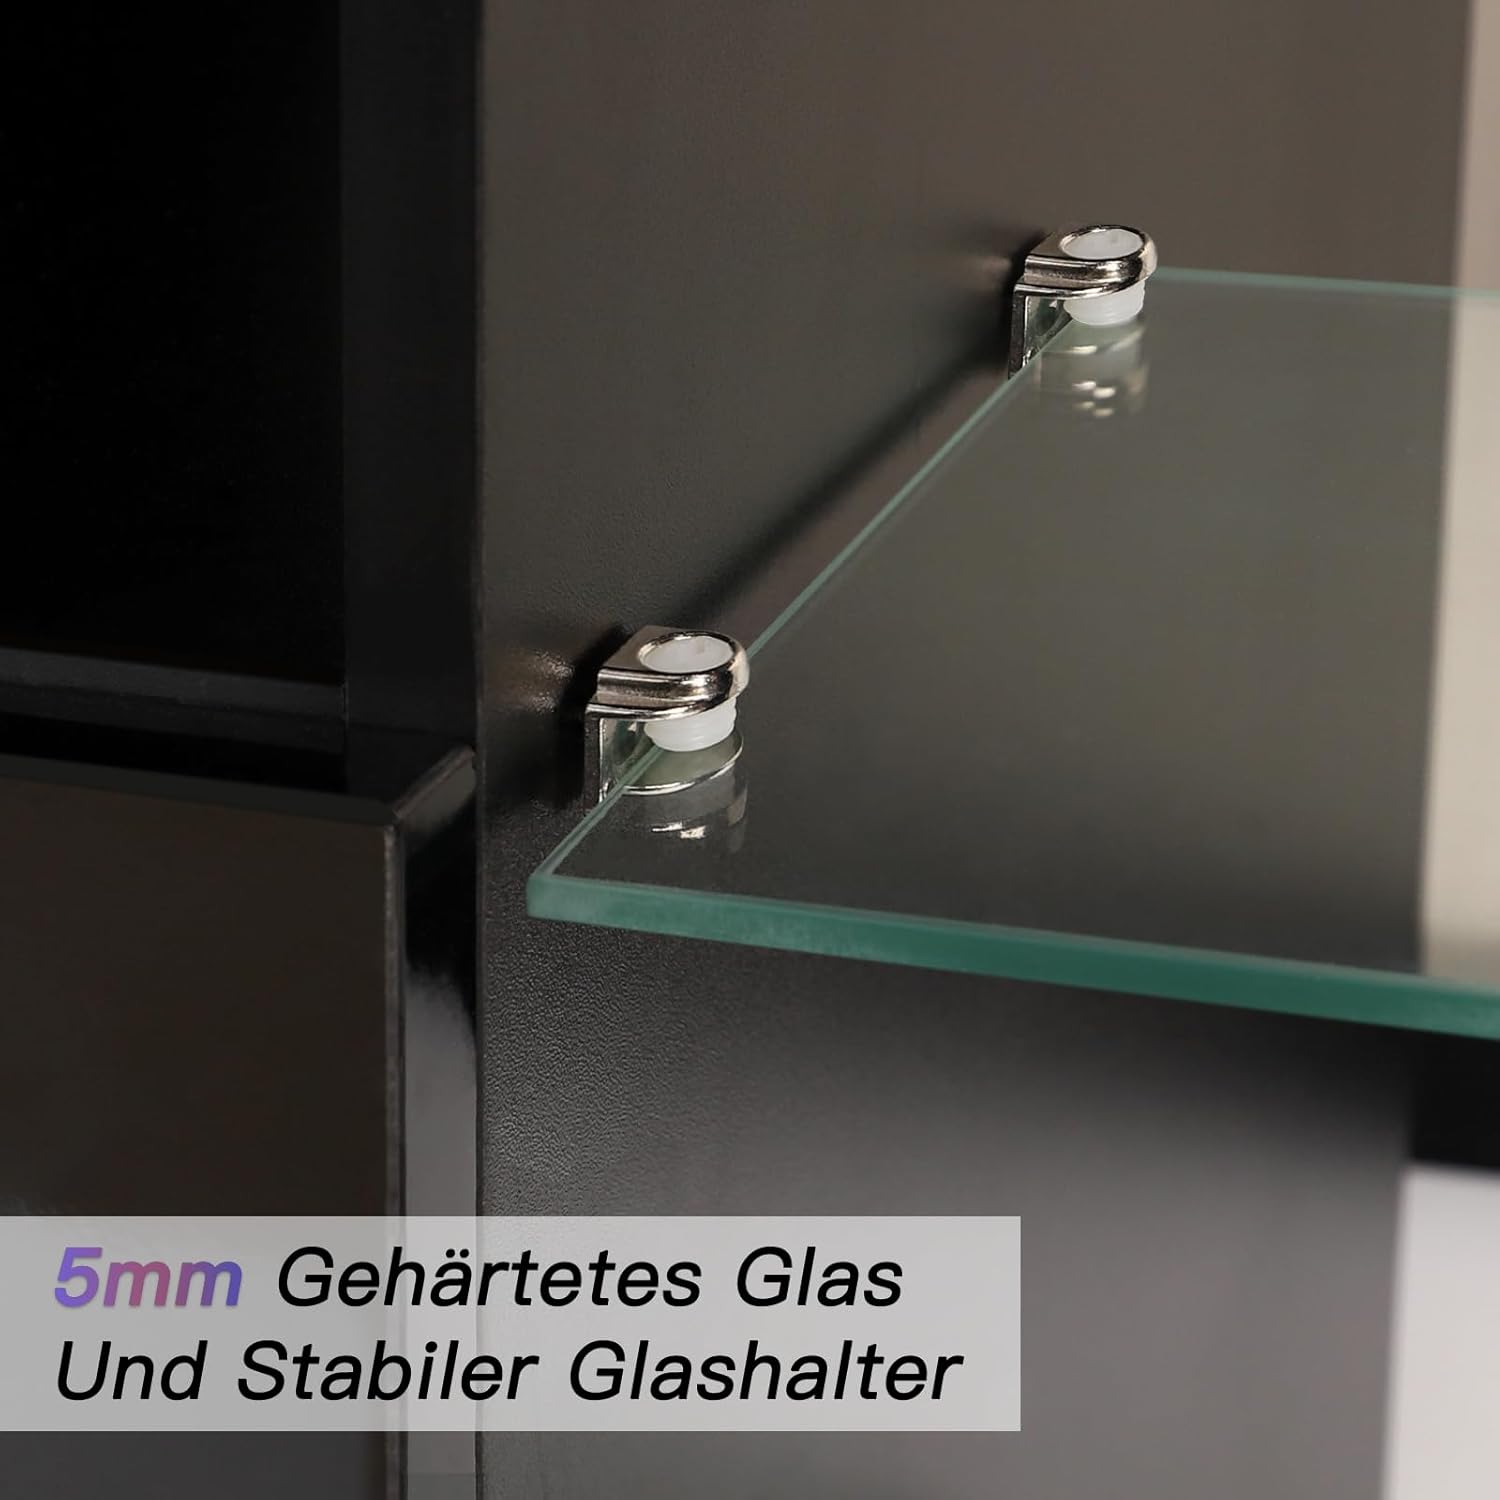
Figure 3.1: Detail of the 5mm tempered glass shelf and its stable holders, illustrating proper installation.

Figure 3.2: View of the cabinet with doors open, revealing the internal storage compartments and glass shelves.
Step 3.4: Install LED Lighting
- The LED lights are typically magnetic and battery-operated. Insert the required batteries (not included) into each LED light unit.
- Attach the LED lights to the designated metal strips or areas within the cabinet compartments. Their magnetic backing allows for easy placement and removal.
4. Operating Instructions
4.1: Using the LED Lights
The integrated LED lighting system enhances the ambiance of your living space. To operate:
- Ensure batteries are correctly installed in each LED light unit.
- Activate the lights by pressing the designated button on each unit or using a remote control if provided (check packaging for remote).
- To conserve battery life, turn off the lights when not in use. Replace batteries as needed.
4.2: Utilizing Storage Compartments
The TV stand features multiple storage options:
- Open Glass Compartments: Ideal for displaying decorative items, media players, or gaming consoles.
- Hinged Compartments: Use these to store remote controls, cables, DVDs, or other accessories to keep your space tidy and dust-free.
5. Maintenance
Proper care will ensure the longevity and appearance of your Dripex TV Stand.
5.1: Cleaning
- For general cleaning, wipe surfaces with a soft, damp cloth.
- Avoid using abrasive cleaners, harsh chemicals, or solvents, as these can damage the glossy finish and engineered wood.
- For glass surfaces, use a standard glass cleaner and a lint-free cloth.
- Promptly wipe up any spills to prevent staining or damage.
5.2: General Care
- Avoid placing hot items directly on the surface; use coasters or protective pads.
- Keep the unit away from direct sunlight and excessive humidity to prevent material degradation.
- Periodically check all screws and fittings to ensure they remain tight. Retighten if necessary, but do not overtighten.
6. Troubleshooting
If you encounter any issues with your TV stand, refer to the following common problems and solutions:
Problem: LED lights are not working.
- Solution: Check if batteries are correctly inserted and not depleted. Replace batteries if necessary. Ensure the light unit is properly activated.
Problem: Doors are not aligning properly or are difficult to close.
- Solution: Adjust the hinges. Most hinges have screws that allow for vertical, horizontal, and depth adjustments. Refer to the hinge manufacturer's instructions or common hinge adjustment guides online.
Problem: The cabinet feels unstable.
- Solution: Ensure all assembly screws and cam locks are fully tightened. Verify that the cabinet is placed on a level surface. If necessary, use furniture levelers under the legs.
If these solutions do not resolve the issue, please contact Dripex customer support.
7. Specifications
Key technical specifications for the Dripex TV Stand with LED Lights Cabinet:
| Feature | Specification |
|---|---|
| Brand | Dripex |
| Model Number | tv eckschrank |
| Product Dimensions (D x W x H) | 15.75"D x 33.86"W x 25.59"H (approx. 40cm D x 86cm W x 65cm H) |
| Maximum Weight Capacity (Top Surface) | 50 Kilograms (110 lbs) |
| Material | Engineered Wood, Tempered Glass |
| Finish | Glossy White |
| Assembly Required | Yes |
| Number of Compartments | 9 |
| LED Lighting | Included, Battery-operated (batteries not included) |

Figure 7.1: Detailed dimensions of the Dripex TV Stand in centimeters.
8. Warranty Information
Dripex products are manufactured to high-quality standards. For specific warranty terms and conditions, please refer to the warranty card included with your product or visit the official Dripex website. Keep your proof of purchase for any warranty claims.
9. Customer Support
If you have any questions, require assistance with assembly, or need to report missing/damaged parts, please contact Dripex customer support through the following channels:
- Online: Visit the official Dripex website for support resources and contact forms.
- Email: Refer to your purchase documentation for the customer service email address.
- Retailer: Contact the retailer from whom you purchased the product.
Please have your model number (tv eckschrank) and ASIN (B0963L52P4) ready when contacting support.