Important Safety Information
Always wear eye protection and sturdy shoes. Keep bystanders and pets at a safe distance. Do not trim near flammable materials. Keep hands and feet away from the cutting area. Use caution when trimming near obstacles or uneven surfaces.
Product Overview
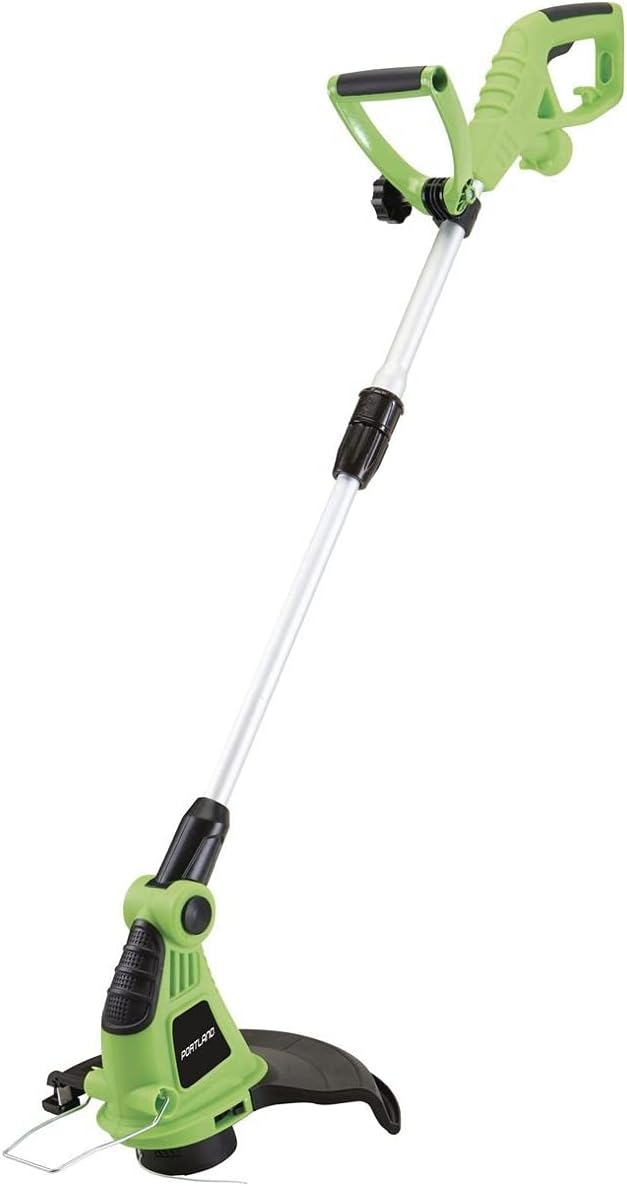
Figure 1: The At Home 3.8 Amp 13 inch Corded Electric String Trimmer, showing its full assembly with handle, shaft, and cutting head.
Key Features:
- Dual string cutter head adjusts up to 90 degrees for sloped lawns or edging sidewalks.
- Automatic line feed for continuous trimming.
- Oversize comfort grip for improved handling.
- Adjustable side handle for ergonomic use.
- Shaft extends from 13-1/2 inches to 22 inches for user comfort.
- Flip-down edge guard for safety during edging.
- Corded electric power source.
Specifications
| Attribute | Value |
|---|---|
| Brand | at home |
| Power Source | Corded Electric |
| Color | Green |
| Cutting Width | 13 Inches |
| Assembly Required | Yes |
| UPC | 191607784940 |
| ASIN | B0963BB366 |
Setup and Assembly
The At Home Corded Electric String Trimmer requires minimal assembly. Follow these steps to prepare your trimmer for use:
Attach the Auxiliary Handle: Slide the auxiliary handle onto the main shaft. Position it for comfortable operation and tighten the knob securely.
Assemble the Shaft: Connect the two sections of the shaft. Ensure the connection is firm and locked into place. Refer to Figure 2 for visual guidance on connecting the shaft sections.
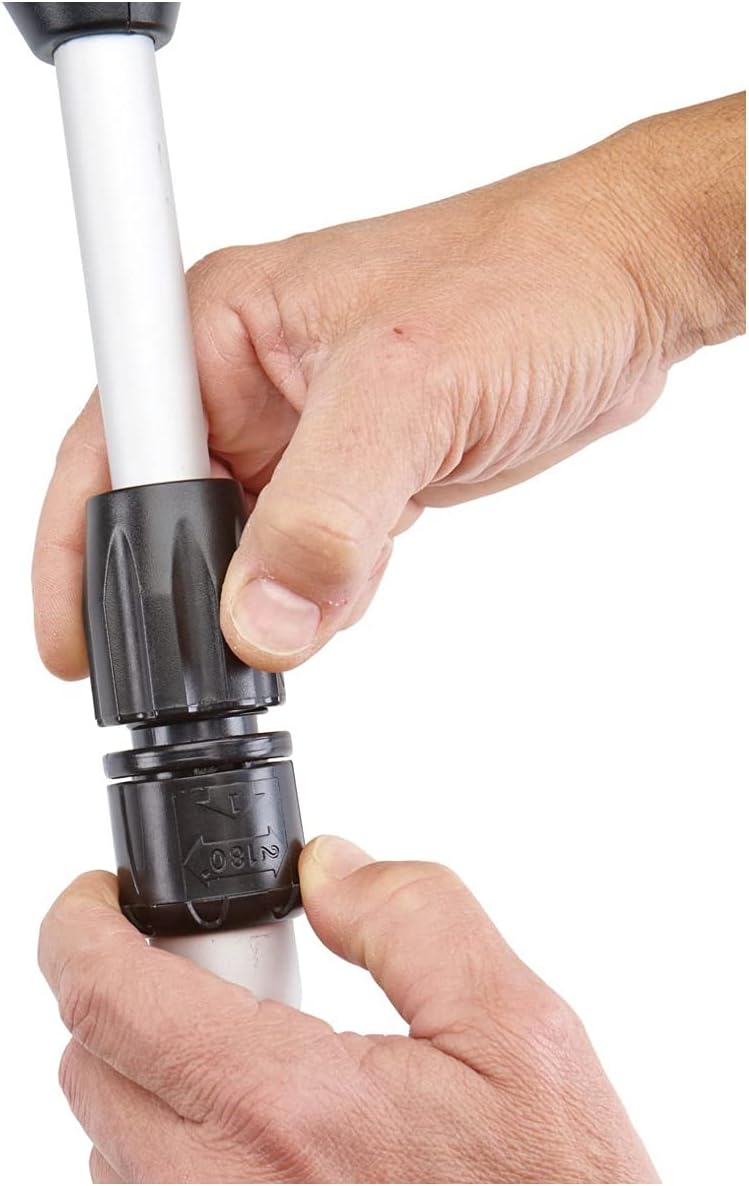
Figure 2: Hands demonstrating the connection point of the two shaft sections, showing the twist-lock mechanism.
Attach the Guard: Securely attach the safety guard to the trimmer head. Ensure it is properly aligned and fastened according to the instructions provided in the packaging.
Adjust Shaft Length: The shaft can be extended from 13-1/2 inches to 22 inches. Adjust the length to a comfortable working height by loosening the collar, extending or retracting the shaft, and then tightening the collar.
Inspect the Cutting Line: Verify that the cutting line is properly installed and extends from the trimmer head. The automatic line feed system will manage line length during operation.

Figure 3: A close-up view of the trimmer's cutting head, showing the dual string line extending from the spool.
Operating Instructions
Before operating, ensure you have read and understood all safety warnings. Always wear appropriate personal protective equipment, including eye protection and sturdy footwear.
Starting the Trimmer:
- Connect the trimmer's power cord to a suitable outdoor extension cord. Ensure the extension cord is rated for outdoor use and is of appropriate gauge for the length required.
- Plug the extension cord into a grounded electrical outlet.
- Hold the trimmer firmly with both hands, one on the main handle and one on the auxiliary handle.
- Press the safety lock-off button (if present) and then squeeze the trigger switch to start the motor. Release the lock-off button once the motor starts.
Trimming Grass:
Hold the trimmer with the cutting head parallel to the ground. Use a sweeping motion, moving the trimmer from side to side, to cut grass evenly. Maintain a safe distance from obstacles and hard surfaces to prevent line breakage.
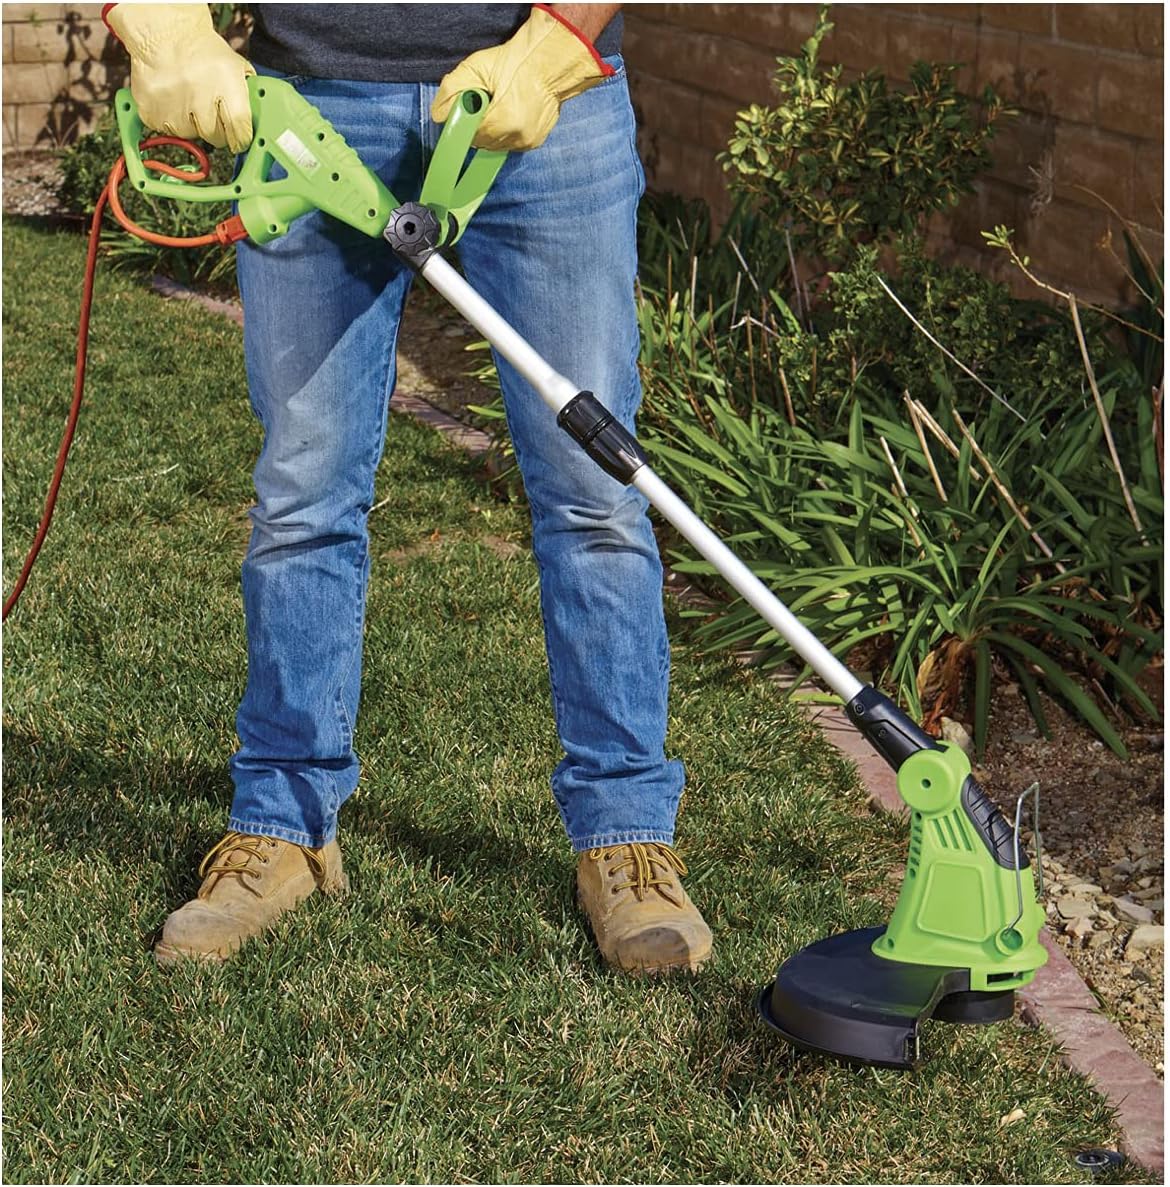
Figure 4: A user demonstrating the proper technique for trimming grass, holding the trimmer parallel to the ground.
Edging Sidewalks and Driveways:
The dual string cutter head can be adjusted up to 90 degrees for edging. To switch to edging mode:
- Turn off the trimmer and unplug it from the power source.
- Adjust the trimmer head angle by rotating it until it is perpendicular to the ground.
- Plug in the trimmer and carefully guide the cutting line along the edge of the sidewalk or driveway. The flip-down edge guard can be used for added safety and guidance.

Figure 5: The trimmer head positioned for edging, demonstrating its ability to rotate for vertical cutting along a paved surface.
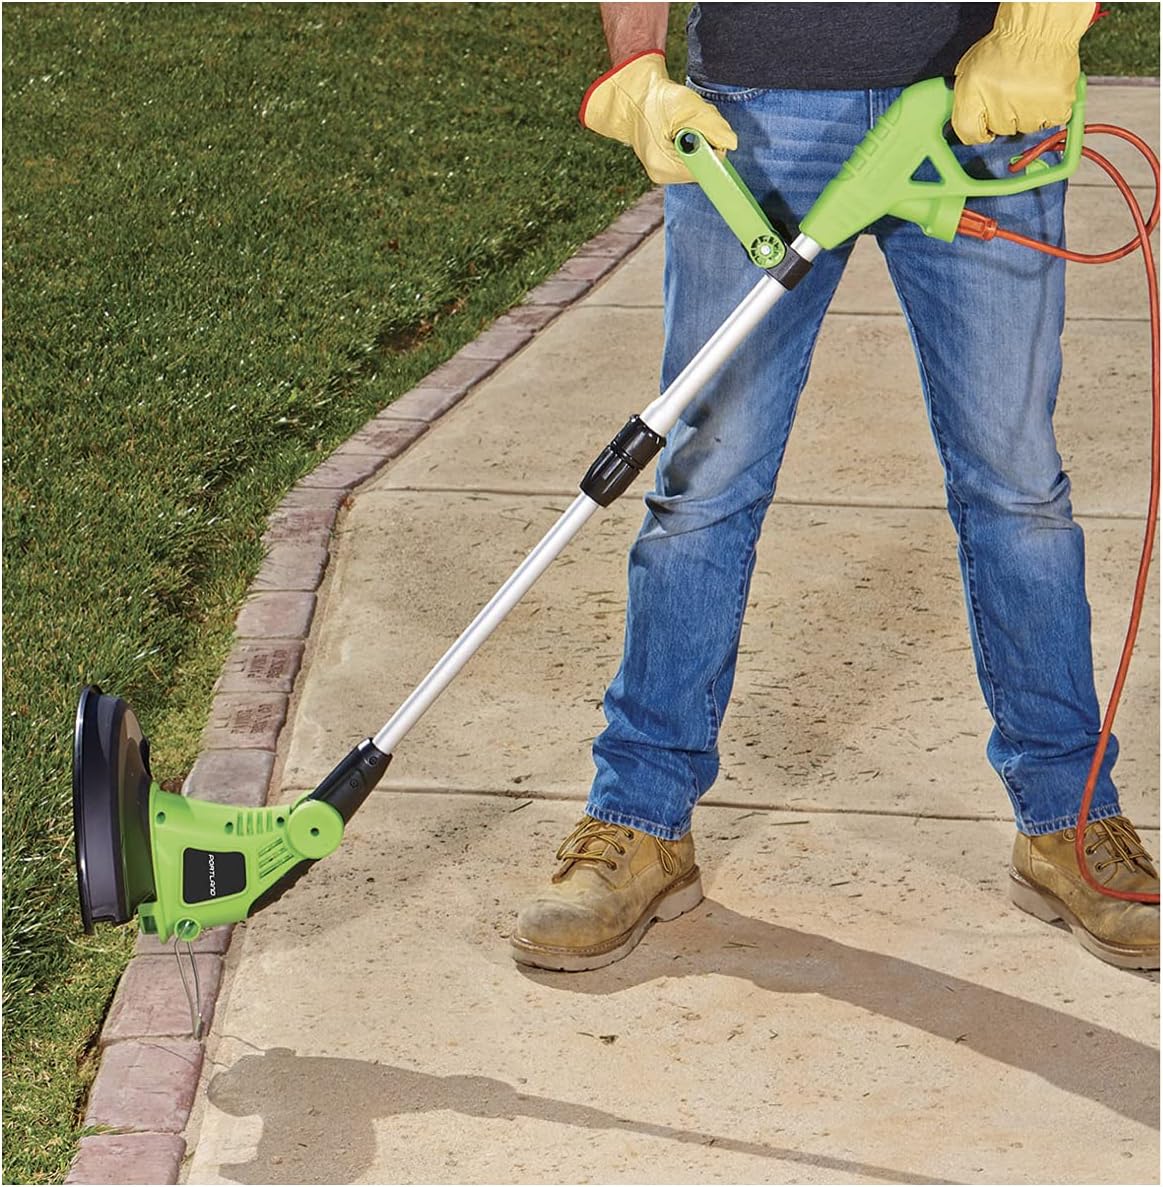
Figure 6: A user operating the trimmer in edging mode, carefully guiding it along the edge of a sidewalk.
Automatic Line Feed:
The trimmer features an automatic line feed system. When the line becomes short, briefly tap the trimmer head on a hard surface while the motor is running to advance more line. Avoid excessive tapping.
Maintenance
Regular maintenance ensures optimal performance and extends the life of your string trimmer. Always unplug the trimmer before performing any maintenance.
- Cleaning: After each use, clean the trimmer housing, guard, and cutting head. Remove any grass clippings, dirt, or debris. Use a damp cloth; do not use solvents or abrasive cleaners.
- Line Replacement: When the cutting line spool is empty, replace it with a new spool of the correct diameter and length as specified by the manufacturer. Refer to the product packaging or manufacturer's website for compatible line.
- Cord Inspection: Regularly inspect the power cord and any extension cords for cuts, fraying, or damage. Do not use the trimmer with a damaged cord.
- Storage: Store the trimmer in a dry, secure location, out of reach of children. Protect it from direct sunlight and extreme temperatures.
Troubleshooting
| Problem | Possible Cause | Solution |
|---|---|---|
| Trimmer does not start. | No power to the unit; safety lock-off not engaged; faulty switch. | Check power outlet and extension cord. Ensure safety lock-off button is pressed before trigger. If problem persists, contact customer support. |
| Cutting line does not advance. | Line tangled or empty; debris in head; incorrect line installation. | Unplug trimmer, clear debris. Tap head on hard surface while running. Replace line spool if empty. Ensure line is correctly wound. |
| Motor runs but line does not spin. | Spool cap loose; drive shaft issue. | Ensure spool cap is securely fastened. If problem persists, contact customer support. |
| Excessive vibration. | Damaged line; unbalanced head; loose components. | Replace damaged line. Check for debris in the head. Ensure all components are securely tightened. |
Warranty and Support
Specific warranty information for the At Home 3.8 Amp 13 in. Corded Electric String Trimmer is typically provided with the product packaging or can be found on the manufacturer's official website. Please retain your proof of purchase for warranty claims.
For technical support, replacement parts, or further assistance, please refer to the contact information provided in your product's original documentation or visit the "at home" brand's customer service portal online.


