1. Introduction
This user manual provides detailed instructions for the setup, operation, maintenance, and troubleshooting of your NETUM M8S Wireless 2D QR Barcode Scanner. Please read this manual thoroughly before using the product to ensure optimal performance and longevity.
Product Features
- 3-in-1 Connection: Supports Bluetooth, 2.4Ghz wireless, and USB 2.0 wired connections for versatile compatibility.
- Powerful Decoding Capability: Scans 1D (Codabar, Code 11, Code93, MSI, Code 128, UCC/EAN-128, Code 39, EAN-8, EAN-13, UPC-A, ISBN, Industrial 25, Interleaved 25, Standard25, Matrix) and 2D (QR, DataMatrix, PDF417, Aztec, Hanxin, Micro PDF417) barcodes from both paper and digital screens.
- Easy to Use & Anti-Shock Design: Features an adjustable stand for hands-free operation with auto-induction scanning. Silicone protective cover and balancer enhance durability.
- Long Battery Life: Built-in 2000mAh battery provides up to 60 days standby time and 16.5-19.5 hours of continuous scanning.
- Dual Upload Modes: Supports instant upload mode and offline storage mode (up to 130,000 barcodes).
2. Package Contents
Upon opening the package, please verify that all items listed below are present and in good condition:
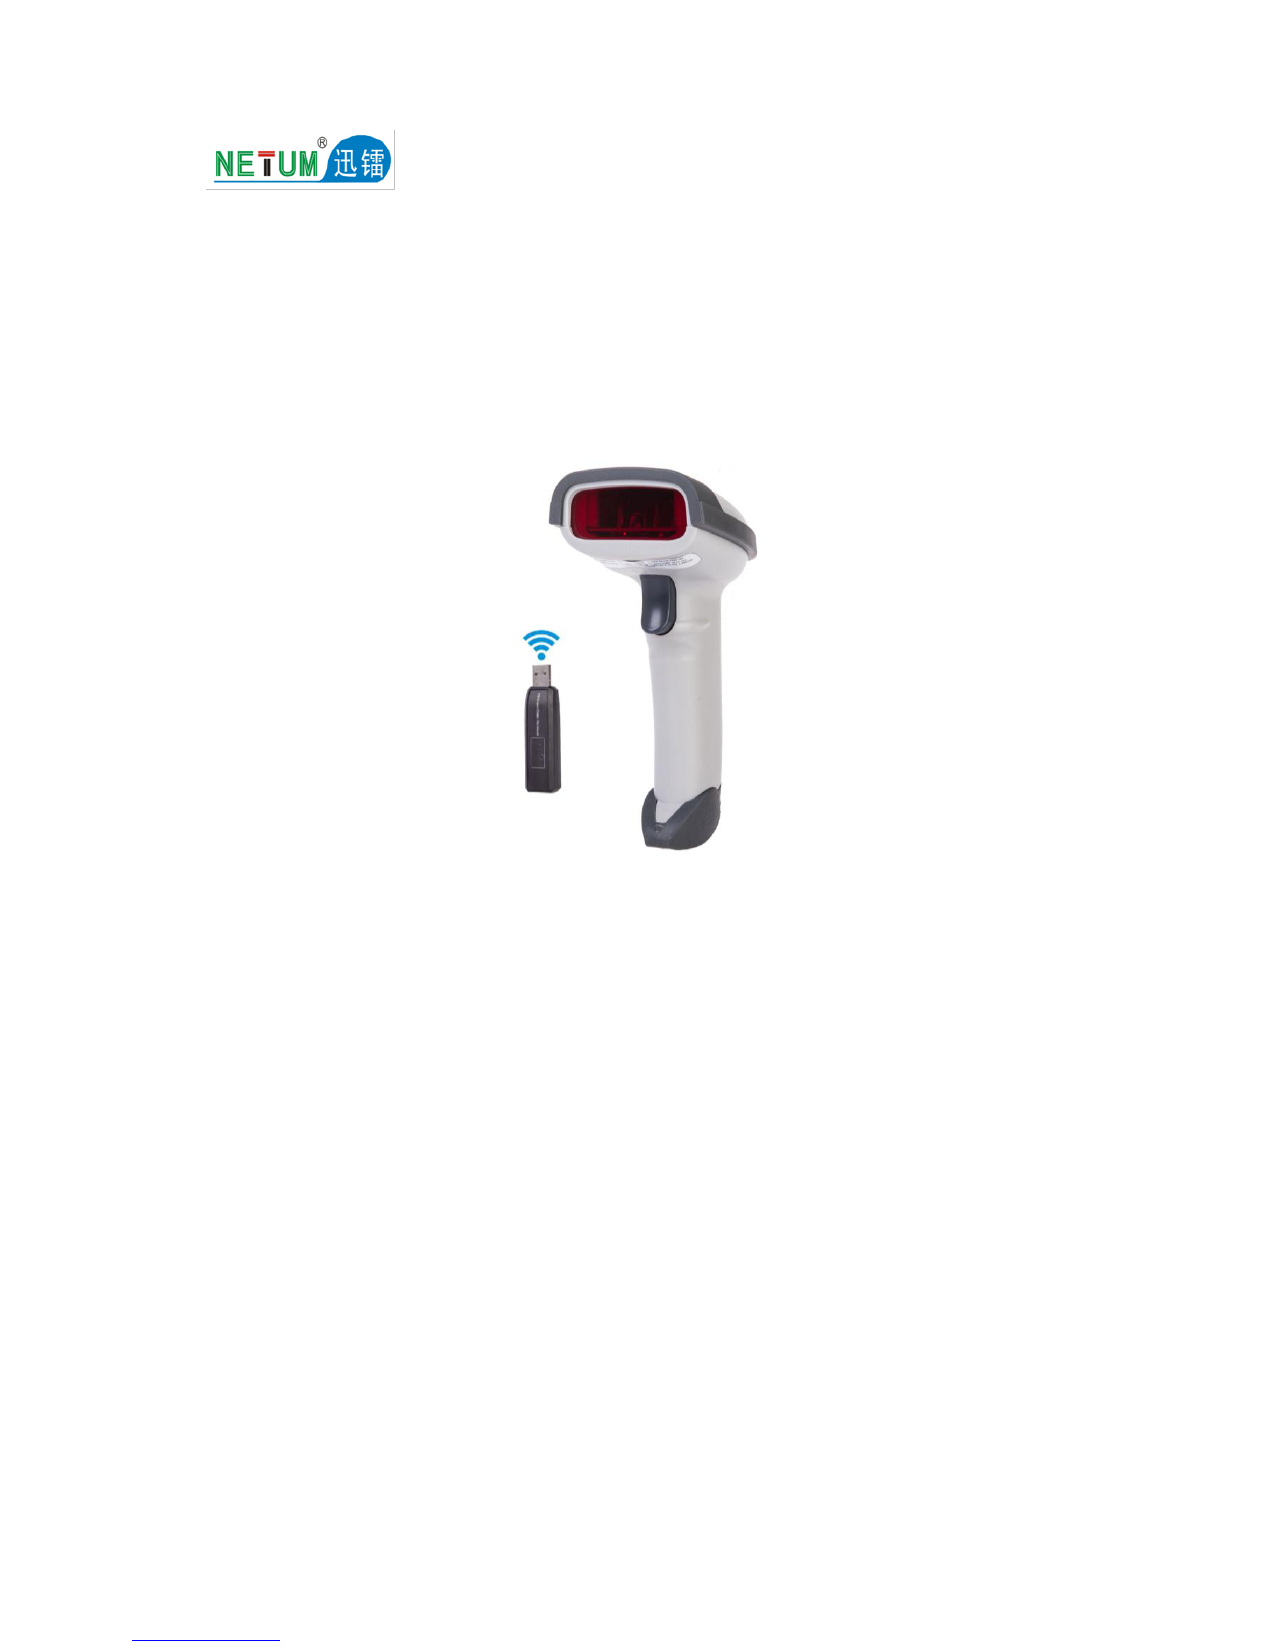
- 1 x NETUM M8S Bluetooth Barcode Scanner
- 1 x Adjustable Stand
- 1 x Wireless Receiver (USB Dongle)
- 1 x USB Cable
- 1 x User Guide (this manual)

Image: The NETUM M8S barcode scanner, its adjustable stand, USB cable, and wireless receiver.
3. Setup and Connection
The NETUM M8S scanner offers three primary connection methods: USB Wired, 2.4G Wireless, and Bluetooth. Choose the method that best suits your needs.
3.1 USB Wired Connection (Plug & Play)
For a direct and immediate connection, use the provided USB cable:
- Connect one end of the USB cable to the scanner's charging port.
- Connect the other end of the USB cable to an available USB port on your computer or POS system.
- The scanner will automatically be recognized and installed as a keyboard device. No additional drivers are required.
- Open a text editor (e.g., Notepad, Word, Excel) and scan a barcode to test the connection. The barcode data should appear in the document.
Video: Demonstrates the setup and use of the NETUM Wireless Bluetooth 2D QR Barcode Scanner with Stand M8S, including wired connection.

Image: Visual representation of the scanner's three connection modes: Bluetooth, 2.4G Wireless (via USB dongle), and USB Wired.

Image: Overview of compatible devices (PC, Laptop, iPad, iPhone) and operating systems (Windows, Linux, Mac OS, Android, iOS).
3.2 2.4G Wireless Connection
For wireless operation using the included USB dongle:
- Plug the wireless receiver (USB dongle) into an available USB port on your computer.
- The scanner and receiver are pre-paired from the factory. The scanner will automatically connect to the receiver.
- Open a text editor and scan a barcode to confirm the connection.
3.3 Bluetooth Connection
To connect the scanner via Bluetooth to your smartphone, tablet, or computer:
- Ensure the scanner is powered on.
- Scan the "Bluetooth Transmission" barcode from the quick setup guide (usually found in the included user manual or on a configuration card). This puts the scanner into Bluetooth pairing mode.
- On your device (smartphone, tablet, computer), go to Bluetooth settings and search for available devices.
- Select "NT barcode scanner" (or similar name) from the list of devices to pair.
- Once paired, the scanner's indicator light will change, and your device will show it as connected.
- Open a text editor or application that accepts text input and scan a barcode to verify the connection.
4. Operating Modes
The NETUM M8S scanner supports various operating and scanning modes to optimize your workflow.
4.1 Scanning Modes
- Key Trigger Mode (Default): Press the trigger button to initiate a scan. This is ideal for precise, on-demand scanning.
- Continuous Scan Mode (Auto-Sense): When placed on its stand, the scanner can automatically detect and scan barcodes presented in its field of view without pressing the trigger. This is useful for high-volume scanning environments.

Image: Illustrates the two primary scanning modes: manual trigger and automatic continuous scanning when on the stand.

Image: The scanner on its adjustable stand, demonstrating its hands-free automatic scanning capability.
4.2 Data Upload Modes
- Instant Upload Mode: Barcode data is immediately transmitted to your connected device after each scan. This is the default mode and suitable for real-time data entry.
- Storage Mode (Offline Mode): Barcode data is stored internally in the scanner's memory. This mode is useful when the scanner is out of range of the receiver or device. Data can be uploaded later by scanning a specific configuration barcode. The scanner can store up to 130,000 barcodes in this mode.

Image: Explains the two data upload modes: instant transmission to the computer or storing barcodes internally for later upload.
4.3 Advanced Features
The scanner can be configured for various advanced functions by scanning specific setup barcodes (refer to the full user guide for a complete list):
- Add Prefix/Suffix: Customize scanned data by adding characters before or after the barcode data.
- Beeper Settings: Adjust the volume or disable the beeper sound.
- Sleep Time: Configure the scanner's idle time before entering sleep mode to conserve battery.
Image: Demonstrates how to add custom prefixes or suffixes to scanned barcode data.
5. Maintenance
5.1 Battery Information
The scanner is equipped with a 2000mAh rechargeable battery. To ensure optimal battery life:
- Charge the scanner fully before first use.
- Use the provided USB cable for charging.
- Avoid extreme temperatures during charging and operation.
- A full charge provides approximately 16.5-19.5 hours of continuous scanning or up to 60 days of standby time.

Image: Details the scanner's battery capacity (1800 mAh, note: feature bullets say 2000mAh, I'll use 2000mAh as it's more recent info), standby time, and continuous scanning duration.
5.2 Cleaning and Care
- Keep the scanning window clean to ensure accurate reads. Use a soft, lint-free cloth.
- Do not use abrasive cleaners or solvents.
- Protect the scanner from drops and impacts, although it features an anti-shock design.
6. Troubleshooting
If you encounter issues with your NETUM M8S scanner, please refer to the following common troubleshooting steps:
- Scanner not responding:
- Ensure the scanner is charged.
- Verify the connection (USB cable, 2.4G dongle, or Bluetooth pairing).
- Restart the scanner and your host device.
- Barcode not scanning:
- Check if the barcode is damaged, blurred, or poorly printed.
- Ensure the scanning window is clean.
- Confirm the scanner is in the correct scanning mode (e.g., Trigger Mode if you expect to press the button).
- Ensure the barcode symbology is supported by the scanner (refer to "Powerful Decoding Capability" in Introduction).
- Data not appearing on screen:
- Make sure the cursor is active in a text input field on your device.
- If in Storage Mode, ensure you have uploaded the stored data.
- For Bluetooth connection, ensure the scanner is paired and connected.
For more detailed troubleshooting and advanced configurations, please consult the comprehensive user guide provided with your product or visit the official NETUM support website.
7. Specifications
| Feature | Description |
|---|---|
| Model Number | NT-M8 |
| Connectivity | Bluetooth, 2.4G Wireless, USB Wired |
| Decoding Capability | 1D (UPC, EAN, Code128, Code39, etc.), 2D (QR, Data Matrix, PDF417, Aztec, etc.) |
| Battery Capacity | 2000mAh Lithium Metal |
| Continuous Scanning Time | 16.5-19.5 hours |
| Standby Time | Up to 60 days |
| Internal Storage | Up to 130,000 barcodes (offline mode) |
| Compatible Systems | Windows, Mac OS, Linux, Android, iOS |
| Product Dimensions | 7.48 x 3.15 x 1.57 inches |
| Item Weight | 15.9 ounces |
8. Warranty and Support
NETUM products are designed for reliability and performance. For warranty information and technical support, please refer to the warranty card included in your product package or contact NETUM customer service directly.
You can also visit the official NETUM brand store for more information and support resources: NETUM Brand Store