Introduction
This instruction manual provides detailed guidance for the proper installation and use of the Picture Hang Solutions Frame Lock Security Hanging Kit. This kit is designed to secure framed artwork, mirrors, and other wall decor, preventing accidental dislodgement and unauthorized removal. Each kit supports items weighing up to 15 pounds.
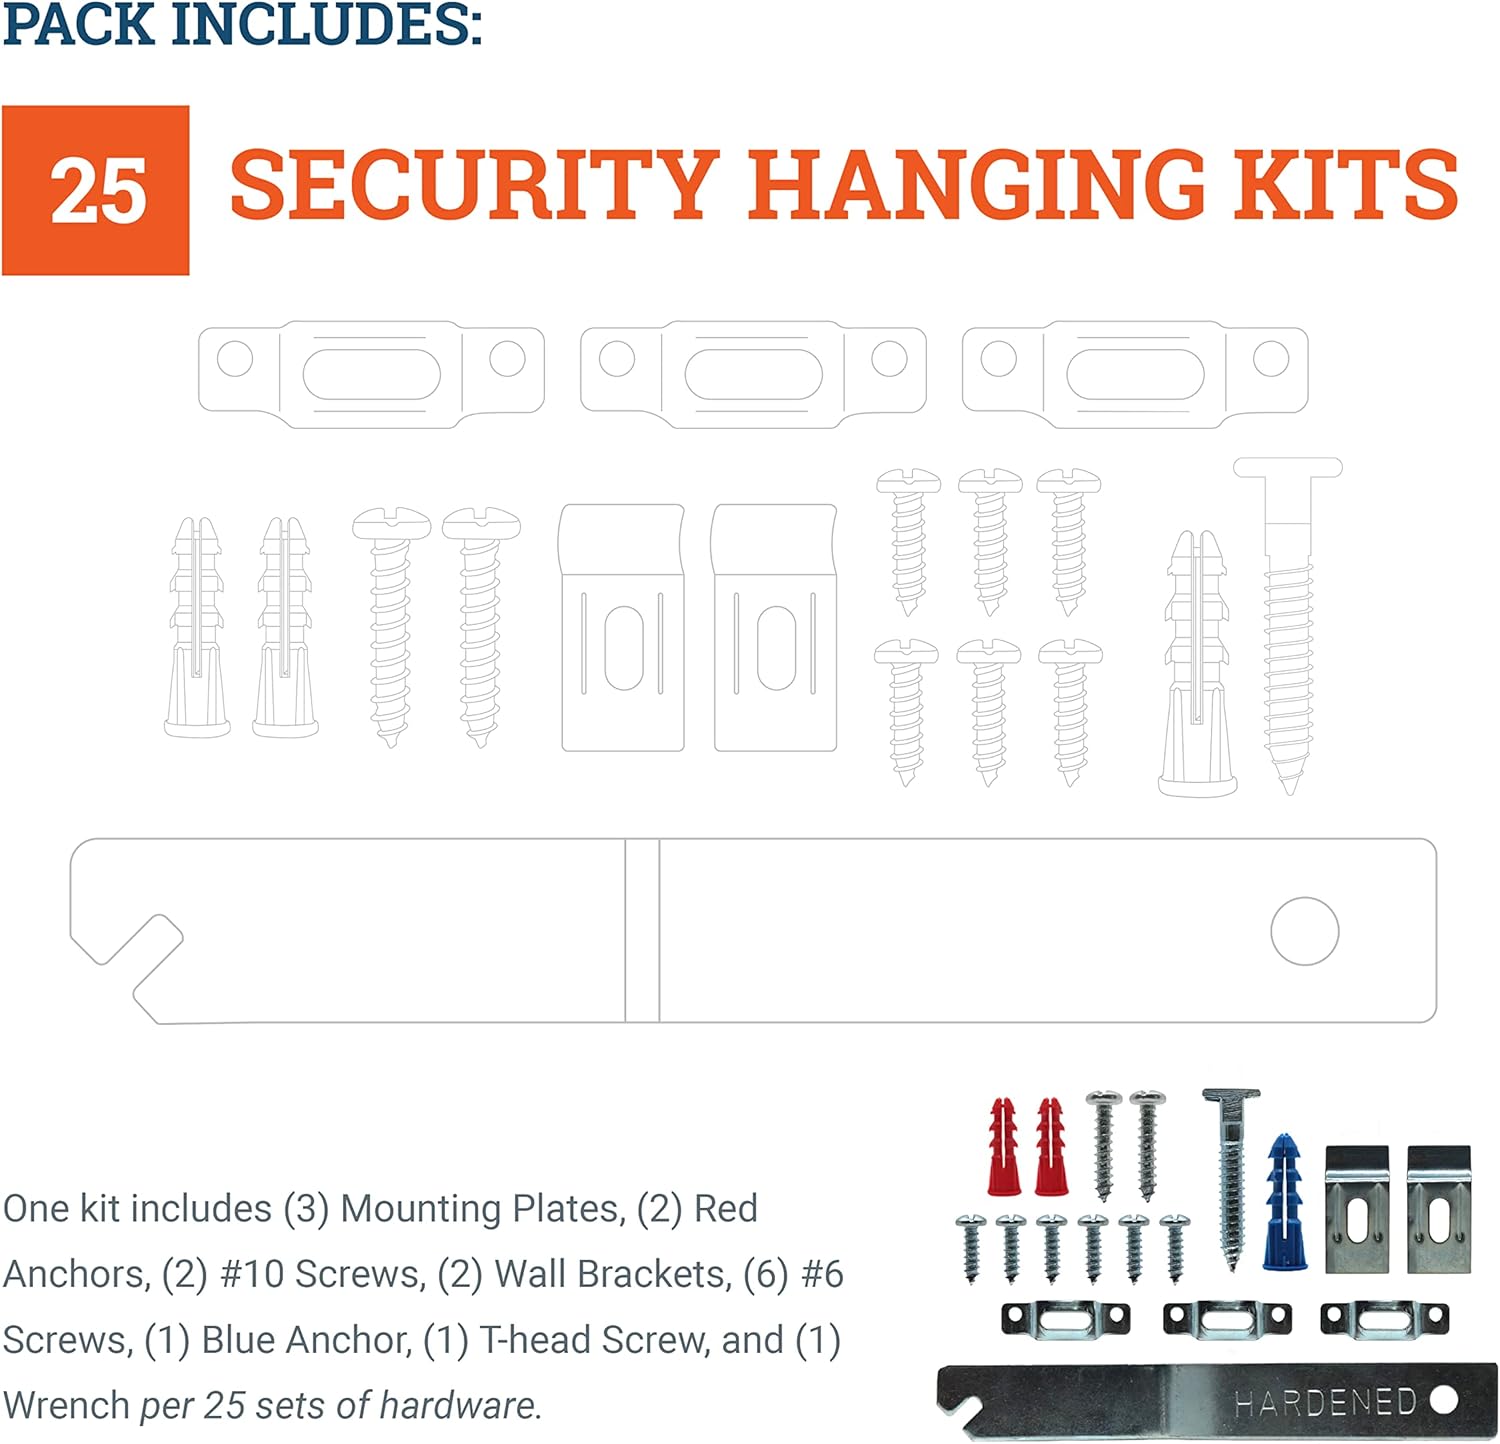
Components Included (Per 25-Pack Kit)
The 25-pack kit contains hardware sufficient for 25 frames. Each individual frame installation requires the following components:
- (2) 3/4" x 1 1/2" Wall Brackets
- (2) #10 x 1" Screws
- (2) Wall Bracket Plastic Anchors (Red)
- (1) 1 3/4" T-Head Screw
- (1) Security Screw Plastic Anchor (Blue)
- (3) 5/8" x 2" Mounting Plates
- (6) #6 x 1/2" Screws
- (1) Security Wrench (one wrench is included per 25-pack)

Setup and Installation
This kit is suitable for wood frames up to 24 inches wide and can be installed on drywall or wood-paneled walls. Ensure the wall type is appropriate for anchor use.
Installation Steps:
Attach Mounting Plates to the Frame: Secure the three 5/8" x 2" mounting plates to the top and bottom rails of the frame using the #6 x 1/2" screws. Ensure they are evenly spaced and firmly attached. The plates should be positioned so they will align with the wall brackets.

Figure 3: Attaching mounting plates to the frame. Install Wall Brackets: Mark the desired hanging location on the wall. Using the two 3/4" x 1 1/2" wall brackets as a guide, mark the screw holes. Drill pilot holes if necessary and insert the red plastic anchors. Secure the wall brackets to the wall using the #10 x 1" screws. Ensure the brackets are level and spaced to align with the mounting plates on the frame.
Hang Frame and Mark T-Head Screw Position: Carefully hang the frame onto the installed wall brackets. While the frame is hanging, mark the center point of the bottom frame rail where the T-Head screw will be installed. This ensures the frame is properly seated before marking the security screw location.
Install T-Head Screw: Remove the frame from the wall. At the marked position on the wall, drill a pilot hole and insert the blue plastic anchor. Install the 1 3/4" T-Head screw into the anchor, leaving a small gap between the screw head and the wall. The T-Head screw will pass through the bottom mounting plate on the frame.
Final Hanging and Locking: Re-hang the frame onto the wall brackets, ensuring the T-Head screw passes through the bottom mounting plate. Use the provided security wrench to turn the T-Head screw 90 degrees, locking the frame securely against the wall. This prevents the frame from being lifted off the wall brackets.

Figure 4: Visual guide for the installation process. 
Figure 5: The hidden security feature, showing the T-Head screw locking the frame.
Operating the Security System
Once installed, the Frame Lock Security Hanging Kit provides a concealed locking mechanism. To remove the secured frame, insert the security wrench into the slot of the T-Head screw and turn it 90 degrees to align the screw head with the slot in the mounting plate. This will allow the frame to be lifted off the wall brackets.
This system is designed to prevent casual theft and tampering, making it suitable for public spaces like galleries, hotels, and restaurants, as well as private residences.
Maintenance
The Picture Hang Solutions Frame Lock Security Hanging Kit requires minimal maintenance. Periodically inspect the installed hardware for any signs of loosening or damage. Ensure the T-Head screw and wall brackets remain securely fastened. Keep the security wrench in a safe, accessible location.
Troubleshooting
- Frame does not sit flush against the wall: Ensure all wall brackets and mounting plates are installed correctly and are not bent. Verify that the T-Head screw is not overtightened or misaligned.
- Difficulty locking/unlocking the T-Head screw: Confirm that the security wrench is fully inserted and that the T-Head screw is properly aligned with the mounting plate slot. Do not force the wrench.
- Frame feels unstable: Re-check all screw connections on both the frame and the wall. Ensure appropriate anchors were used for your wall type and that the weight of the item does not exceed the 15 lb capacity.
Specifications
| Feature | Detail |
|---|---|
| Brand | Picture Hang Solutions |
| Model Number | B095813D88 |
| Fastener Type | Hook (for wall brackets), Screw (for T-Head and mounting plates) |
| Unit Count | 25 Kits |
| Weight Capacity | Up to 15 pounds per kit |
| Surface Recommendation | Drywall, Wood |
| Material | Brass, Plastic |
| Color | Silver (hardware) |
| Installation Type | Screw-In |


Warranty and Support
For warranty information, product support, or assistance with choosing the correct hardware for your specific needs, please contact Picture Hang Solutions directly. Their team has extensive experience in hanging and installation and is available to provide practical solutions.
Visit the official Picture Hang Solutions store on Amazon for more information: Picture Hang Solutions Store