1. Introduction
This manual provides comprehensive instructions for the Davitu Smart Temperature Control Remote, models YLE-2601V-2 and YLE-2001. Please read this manual carefully before using the device to ensure proper operation, maximize its lifespan, and understand its features. Keep this manual for future reference.
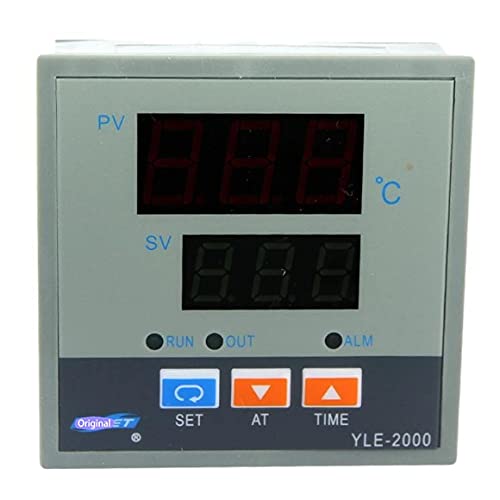
Figure 1: Davitu Smart Temperature Control Remote. This image displays the front view of the remote control unit, showing its buttons and display area.
2. Setup
2.1 Battery Installation
- Locate the battery compartment cover on the back of the remote control.
- Slide or unclip the cover to open the compartment.
- Insert the required batteries (typically AAA or AA, refer to the compartment label) ensuring correct polarity (+ and -).
- Replace the battery compartment cover securely.
2.2 Initial Connection / Pairing
The Davitu Smart Temperature Control Remote is designed for universal use and features 433 MHz wireless communication, potentially with cable control options. Follow the instructions specific to the device you intend to control for pairing or connection.
- For Wireless Operation (433 MHz): Ensure the receiving device is in pairing mode. Press and hold the designated pairing button on the remote (if available) or follow the pairing sequence provided by the device manufacturer.
- For Cable Control: If your model supports cable control, connect the appropriate cable from the remote to the designated port on the temperature control unit.
3. Operation
3.1 Power On/Off
Press the POWER button once to turn the controlled device on or off.
3.2 Setting Temperature
- Use the UP (▲) and DOWN (▼) arrow buttons to adjust the desired temperature.
- The current temperature setting will typically be displayed on the remote's screen or the controlled device.
3.3 Mode Selection
If your controlled device supports multiple modes (e.g., heating, cooling, auto), use the MODE button to cycle through the available options.
4. Maintenance
4.1 Cleaning
- Wipe the remote control with a soft, dry cloth.
- Do not use liquid cleaners, aerosols, or abrasive cleaning agents, as these can damage the remote's surface or internal components.
4.2 Battery Replacement
Replace batteries when the remote's performance degrades or if the low battery indicator (if present) illuminates. Always replace all batteries at the same time with new ones of the same type.
4.3 Storage
When not in use for extended periods, remove the batteries to prevent leakage and store the remote in a cool, dry place away from direct sunlight and extreme temperatures.
5. Troubleshooting
| Problem | Possible Cause | Solution |
|---|---|---|
| Remote not responding | Dead or incorrectly installed batteries. Out of range. Obstruction between remote and device. | Replace batteries, ensuring correct polarity. Move closer to the controlled device. Remove any obstructions. Re-pair the remote if necessary. |
| Incorrect temperature displayed/set | Incorrect mode selected. Device malfunction. | Verify the correct operating mode (heating/cooling). Consult the controlled device's manual for troubleshooting. |
| Buttons unresponsive | Dirty contacts. Internal fault. | Clean the remote surface. If problem persists after battery replacement, contact support. |
6. Specifications
- Brand: DAVITU
- Models: YLE-2601V-2, YLE-2001
- Part Number: DVT-1068DCD6A5713DFF3FA3E68A542DFBBE
- Usage: Universal
- Wireless Communication: 433 MHz (may include cable control options)
- Support Application: No
- Channel: 1
- Material: Other
- Origin: JP (Japan)
- Certification: None
7. Warranty and Support
Warranty information for the Davitu Smart Temperature Control Remote is not provided within this product's available details. For specific warranty terms, technical support, or service inquiries, please contact your retailer or the manufacturer directly using the contact information provided at the point of purchase.