1. Product Overview
The JELLYSUB Picture Hanging Strips provide a strong, damage-free solution for mounting frames and decorations on various indoor surfaces. These adhesive hook and loop fasteners eliminate the need for nails or hammers, ensuring a clean removal without leaving holes, marks, or sticky residue.
1.1 What's Included
- 32 Pairs of Medium, White Picture Hanging Strips (64 Strips Total)
- Mini Level (for accurate placement)
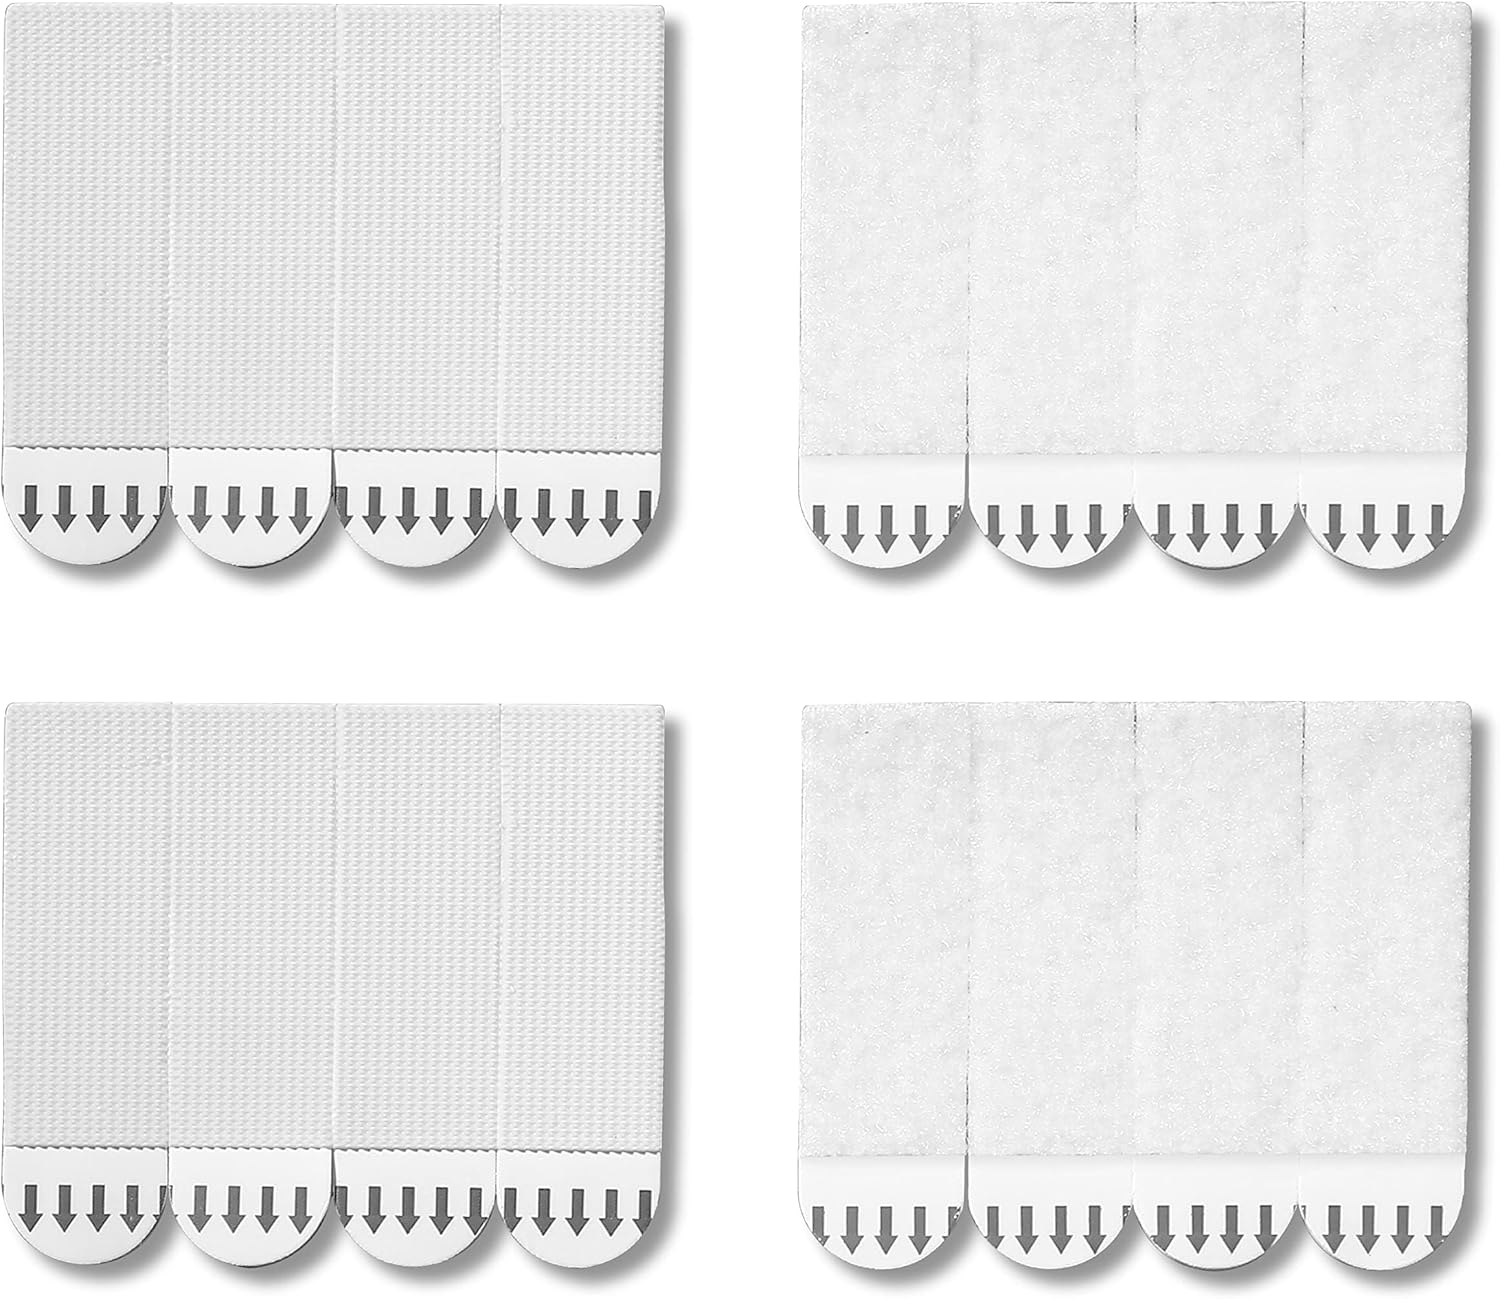
Image: Packaging of JELLYSUB Picture Hanging Strips, showing the box, a bag of strips, and the included mini level.
1.2 Product Features
- Damage-Free Hanging: No nails, no holes, no sticky residue upon removal.
- Strong Hold: Double-sided adhesive hook and loop fasteners ensure items stay securely in place.
- Easy Application: Simple peel-and-stick process.
- Versatile: Suitable for a variety of smooth indoor surfaces.
2. Specifications
| Attribute | Detail |
|---|---|
| Unit Count | 32 Pairs (64 Strips Total) |
| Maximum Weight Recommendation | 14 Pounds |
| Surface Recommendation | Concrete, Glass, Metal, Tile, Finished Wood (Painted or Varnished Shiplap, Cabinets, or Doors), Laminates, and other smooth solid surfaces. |
| Material | Rubber |
| Color | White |
| Installation Type | Self-Adhesive |
| Fastener Type | Hook and Loop |
| Product Dimensions (per strip) | 2.8 x 0.8 x 0.1 inches (approx. 69mm x 19mm) |
| Item Weight | 6.4 ounces (total package) |

Image: Detailed dimensions of a single JELLYSUB Picture Hanging Strip, showing its length and width.
3. Setup & Installation
Follow these steps carefully to ensure optimal adhesion and damage-free removal.
- Prepare the Surface: Wipe the wall surface with rubbing alcohol. Ensure the surface is completely dry and clean before application.
- Attach Strips to Frame: Separate the hook and loop strips. Stick one side (e.g., the hook side) onto the back of your picture frame. Ensure even placement for stability.
- Combine Strips: Press the corresponding loop strip onto the hook strip already on the frame.
- Position on Wall: Remove the remaining liner from the strips. Carefully align the frame on the wall and press it firmly into place.
- Reinforce Adhesion: To ensure a strong adhesive hold, temporarily remove the frame from the wall. Rub and press each strip firmly on the wall for 30 seconds.
- Curing Time: Wait 12 hours or more before reinstalling the frame. This allows the adhesive to fully bond with the wall surface. After the waiting period, align the strips and press the frame firmly to the wall.

Image: Visual guide illustrating the six steps for applying the picture hanging strips to a frame and wall.
3.1 Applicable Surfaces
These strips are designed for indoor use on damage-free hanging surfaces such as:
- Glass
- Metal
- Tile
- Varnished Wood (Painted or Varnished Shiplap, Cabinets, or Doors)
- Painted Concrete Cinder Block
- Laminates
- Other smooth solid surfaces (most plastics like Acrylic, PVC, PE, PP)
3.2 Surfaces Not Recommended
Do NOT use on:
- Painted walls, especially textured or powder walls.
- Wallpaper
- Fabrics
- Wet surfaces
- Other rough or non-stick surfaces.

Image: Visual representation of surfaces suitable and unsuitable for the picture hanging strips.
4. Usage Guidelines
- Ensure the weight of the item does not exceed 14 pounds per pair of strips.
- Do not hang valuable, dangerous, or breakable items.
- Do not hang items over beds.
- Use indoors within a temperature range of +10°C to +40°C (50°F to 104°F) and humidity below 85%.
5. Removal Instructions
To remove the strips cleanly and without damage, follow these steps:
- Remove Frame: Gently grab the bottom corners of the frame and peel it away from the wall. Do not pull straight off.
- Stretch the Strip: Locate the tab on the bottom of each strip. Slowly stretch the strip downwards, parallel to the wall. Do not pull the strip towards you or straight down.
- Release: Continue stretching slowly until the strip releases from the wall.
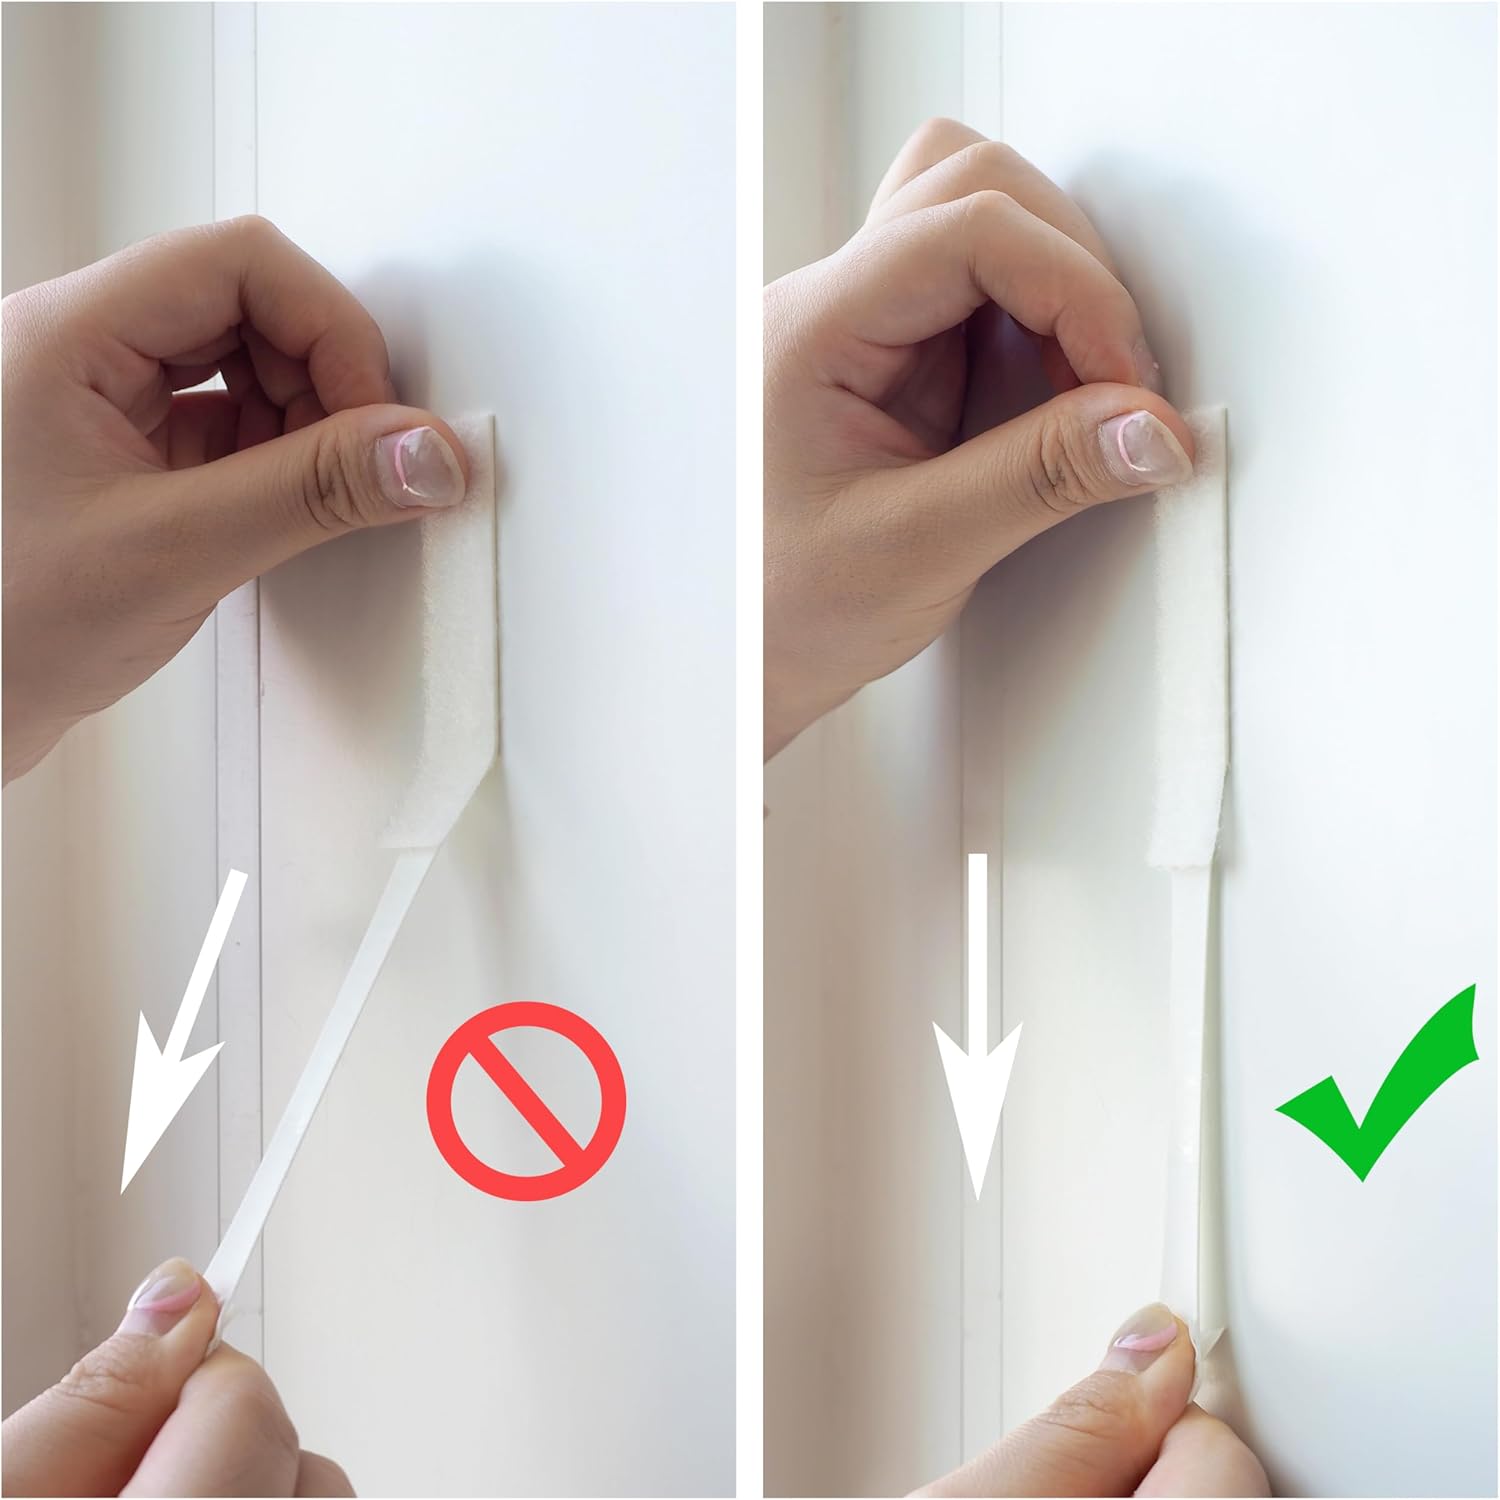
Image: Illustration showing the correct method of stretching the strip downwards for clean removal, and an incorrect method of pulling straight off.
6. Maintenance
JELLYSUB Picture Hanging Strips are designed for single-use application. Once removed, their adhesive properties may be compromised, and re-use is not recommended. Store unused strips in a cool, dry place away from direct sunlight and extreme temperatures to preserve their adhesive quality.
7. Troubleshooting
- Strips not sticking:
- Ensure the surface was cleaned with rubbing alcohol and was completely dry before application.
- Verify the surface is smooth and non-porous (refer to "Applicable Surfaces" section).
- Ensure sufficient pressure was applied for 30 seconds during installation.
- Allow the full 12-hour curing time before hanging the frame.
- Frame is crooked:
- Use the included mini level during initial placement to ensure straight alignment.
- If already installed, carefully remove the frame (following removal instructions) and reapply, paying close attention to alignment.
- Damage upon removal:
- Ensure you are stretching the strip slowly downwards, parallel to the wall, as instructed. Pulling straight off or at an angle can cause damage.
- Confirm the surface is an "Applicable Surface" and not a "Surface Not Recommended" (e.g., textured paint, wallpaper).
8. Warranty & Support
For any questions, concerns, or support regarding your JELLYSUB Picture Hanging Strips, please contact JELLYSUB customer service. While specific warranty details are not provided in this manual, JELLYSUB is committed to customer satisfaction.
Please refer to the product packaging or the official JELLYSUB website for the most current warranty information and contact details.