Litemove AE1301
Litemove AE-130 E-Bike LED Headlight Instruction Manual
Model: AE1301
1. Introduction
Thank you for choosing the Litemove AE-130 E-Bike LED Headlight. This manual provides essential information for the safe and correct installation, operation, and maintenance of your new E-bike headlight. Please read this manual thoroughly before use and retain it for future reference.
2. Safety Information
WARNING:
- Always ensure the headlight is securely mounted before riding. A loose headlight can cause distraction or fall off, leading to accidents.
- Connect the headlight only to an E-bike system within the specified voltage range (6-13V). Incorrect voltage can damage the unit or the E-bike system.
- Do not look directly into the light beam when the headlight is on, as it can cause temporary vision impairment.
- Adjust the headlight beam to avoid dazzling oncoming pedestrians or vehicles. The cut-off line beam is designed to prevent glare, but proper aiming is crucial.
- Regularly check the headlight for any damage or loose connections, especially after impacts or falls.
- This product is water-resistant (IP56), but it is not designed for submersion. Avoid high-pressure water jets directly on the unit.
3. Package Contents
Please verify that all items are present in your package:
- Litemove AE-130 E-Bike LED Headlight Unit
- Control Switch (2-piece)
- Mounting Bracket(s) (e.g., fork, stem, handlebar compatible)
- Necessary Fasteners and Hardware
4. Specifications
| Feature | Specification |
|---|---|
| Model | AE1301 |
| Brightness (High Beam) | 130 Lux / 500 Lumens |
| Brightness (Low Beam) | 90 Lux / 380 Lumens |
| Beam Distance | Up to 230m |
| Beam Width | 8m |
| Power Source | E-bike motor system (6-13V) |
| Power Consumption | Up to 13 Watt |
| Material | Aluminium |
| Lens Material | PMMA |
| Lens Type | Aspheric |
| Water Resistance | IP56 |
| Product Dimensions | 5.95 x 4.6 x 4.6 cm |
| Item Weight | 120 g |
5. Setup (Installation)
5.1 Headlight Mounting
The Litemove AE-130 headlight offers versatile mounting options to suit various E-bike configurations. It can be installed on the fork, stem, or handlebar, and is compatible with GoPro mounting systems.
- Choose Mounting Location: Determine the optimal position on your E-bike (fork, stem, or handlebar) for best visibility and beam projection.
- Attach Bracket: Secure the appropriate mounting bracket to your chosen location using the provided hardware. Ensure it is tightened sufficiently to prevent movement during riding.
- Mount Headlight: Attach the Litemove AE-130 headlight unit to the installed bracket. Verify that it is firmly seated and can be adjusted for beam angle.

Image: Litemove AE-130 headlight mounted on the front fork of an E-bike, showing a secure installation.

Image: Litemove AE-130 headlight mounted on the handlebar of an E-bike, positioned centrally.
5.2 Electrical Connection
The headlight is electric-powered and designed to integrate with your E-bike's motor system.
- Identify Power Output: Locate the designated lighting power output from your E-bike's motor system. This typically provides 6-13V DC. Consult your E-bike's manual if unsure.
- Connect Headlight Cable: Carefully connect the headlight's power cable to the E-bike's lighting output. Ensure correct polarity if applicable. If you are unsure, it is recommended to have this step performed by a qualified bicycle technician.
5.3 Control Switch Installation
The 2-piece control switch allows for easy operation of the high/low beam function.
- Position Switch: Mount the control switch on either the right or left handlebar, in a position that is easily accessible with your thumb without compromising grip or braking.
- Secure Switch: Use the provided hardware to securely fasten the control switch to the handlebar.
- Connect Switch Cable: Connect the control switch cable to the corresponding input on the headlight unit or E-bike wiring harness, as per your E-bike's specific setup.
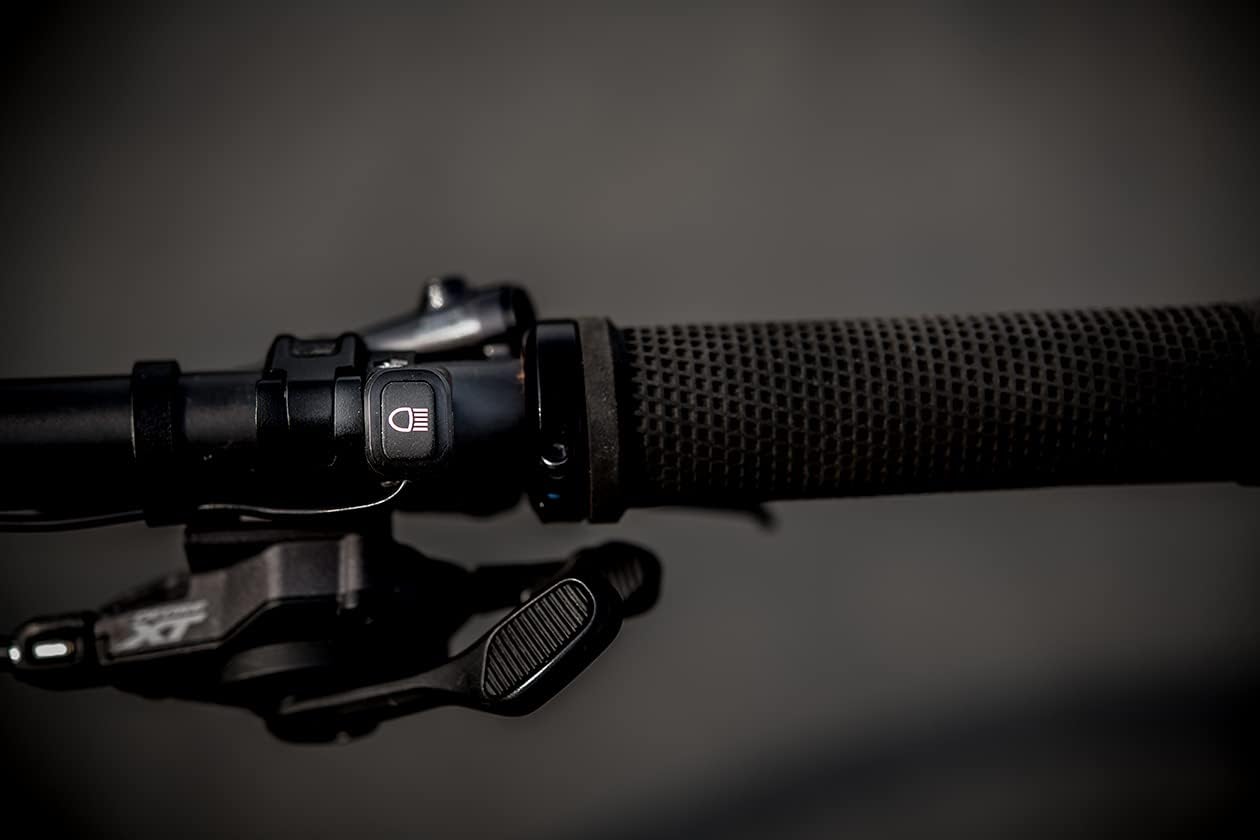
Image: Close-up of the Litemove AE-130 control switch mounted on an E-bike handlebar, showing its ergonomic placement near the grip.
6. Operating Instructions
6.1 Powering On/Off
The Litemove AE-130 headlight is powered by your E-bike's system. It will typically turn on or off with your E-bike's main power or lighting control, depending on your E-bike's specific wiring and features.
6.2 High/Low Beam Function
The headlight features both high and low beam settings for optimal illumination in various riding conditions.
- Low Beam: Provides 90 Lux / 380 Lumens, suitable for general riding and urban environments, designed to illuminate the path without causing excessive glare to others.
- High Beam: Provides 130 Lux / 500 Lumens, offering maximum illumination for unlit roads or trails, extending visibility up to 230 meters.
To switch between high and low beam, press the button on the handlebar-mounted control switch. The switch allows for quick and easy toggling between modes while riding.
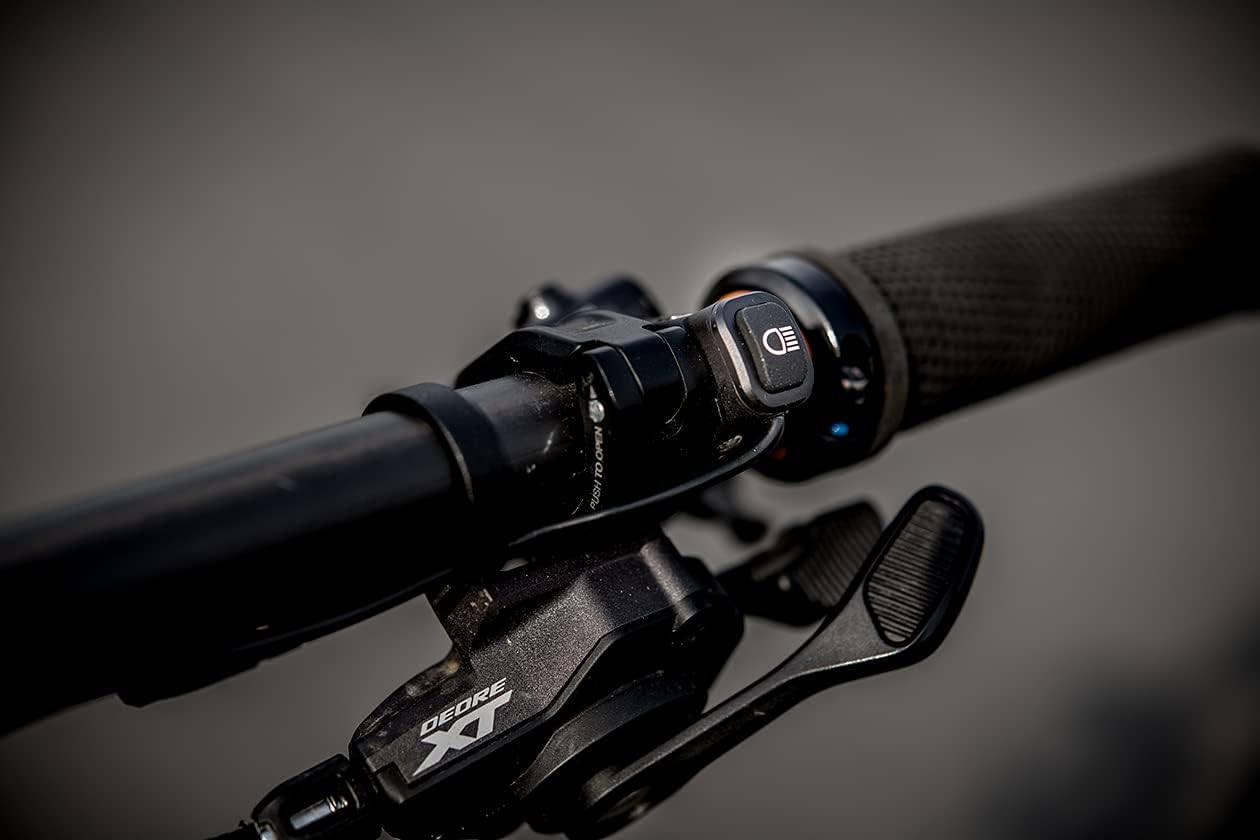
Image: Detailed view of the Litemove AE-130 control switch button, which activates the high/low beam function.
7. Maintenance
7.1 Cleaning
To maintain optimal performance and appearance:
- Wipe the headlight lens and body with a soft, damp cloth.
- Avoid using abrasive cleaners or solvents, as these can damage the lens or finish.
- Ensure the lens is clean for maximum light output.
7.2 Inspection
Periodically inspect the following:
- Mounting: Check that the headlight and control switch are securely mounted and not loose.
- Cables: Examine power and switch cables for any signs of wear, cuts, or damage. Ensure connections are firm.
- Housing: Look for cracks or damage to the headlight housing that could compromise its water resistance.
8. Troubleshooting
| Problem | Possible Cause | Solution |
|---|---|---|
| Headlight does not turn on. | No power from E-bike system. Loose or incorrect wiring connection. Faulty control switch. | Ensure E-bike power is on and lighting function is activated. Check all electrical connections for secure fit and correct polarity. Consult E-bike manual. Test the control switch. If issues persist, contact support. |
| Light is dim or flickers. | Insufficient power supply. Loose connection. Dirty lens. | Verify E-bike system is providing adequate power. Check all wiring connections. Clean the headlight lens thoroughly. |
| High beam not activating. | Control switch malfunction. Wiring issue to switch. | Ensure the control switch is properly connected and functioning. Try pressing it firmly. Inspect the wiring from the switch to the headlight. |
9. Warranty and Support
Litemove products are manufactured to high-quality standards. For information regarding warranty coverage, please refer to the warranty card included with your purchase or visit the official Litemove website. If you encounter any issues not covered in this manual or require technical assistance, please contact Litemove customer support through their official channels.
Litemove Official Website: Visit the Litemove Store on Amazon