1. Introduction
The TP-Link VIGI NVR1016H is a 16-channel Network Video Recorder designed to coordinate with camera systems for comprehensive video surveillance. It enables users to view, store, and playback video footage, providing a reliable solution for continuous monitoring and data security.
This manual provides detailed instructions for the setup, operation, maintenance, and troubleshooting of your VIGI NVR1016H.
2. Package Contents
Upon unboxing, verify that all components are present:
- VIGI Network Video Recorder (NVR1016H)
- Power Adapter
- HDD Screws
- Mouse
- Quick Installation Guide
3. Physical Overview

Figure 3.1: Front Panel of VIGI NVR1016H
This image displays the front panel of the VIGI NVR1016H, showing the TP-Link VIGI logo, the "16 Channel Network Video Recorder" label, and the front-facing USB ports with indicator lights for USB, LAN, HDD, and Power.

Figure 3.2: Rear Panel of VIGI NVR1016H
This image shows the rear panel of the VIGI NVR1016H, highlighting the various ports including Audio In, Audio Out, Power input, VGA, HDMI, and LAN port for Ethernet connection.
The NVR features front-facing USB ports for mouse and external storage, and rear ports for audio input/output, video output (VGA, HDMI), and network connectivity.
4. Setup Guide
4.1. Hardware Installation
- Install Hard Disk Drive (HDD): The NVR supports one SATA HDD up to 10 TB (or 16 TB based on some marketing materials, refer to latest specifications for exact maximum). Power off the NVR before installing the HDD. Use the provided HDD screws to secure the drive inside the NVR chassis.
- Connect Peripherals:
- Connect a monitor to the NVR's HDMI or VGA port.
- Connect the included mouse to a USB port on the NVR.
- Connect the NVR to your network router/switch using an Ethernet cable.
- Connect the power adapter to the NVR and then to a power outlet.
- Connect Cameras: Connect your VIGI or ONVIF-compatible IP cameras to the same network as the NVR.
4.2. Initial Configuration
Upon first boot, the NVR will guide you through the initial setup wizard. Follow the on-screen prompts to:
- Set up administrator password.
- Configure network settings (DHCP or Static IP).
- Initialize the HDD for recording.
- Search for and add connected IP cameras.
For detailed steps, refer to the Quick Installation Guide included in your package.
5. Operation
5.1. Live View
The NVR supports a 16-channel real-time live view, allowing simultaneous display of video feeds from up to 16 cameras. The sharp image definition supports up to 8MP resolution per channel.

Figure 5.1: 16-Channel Live View Interface
This image illustrates the NVR's interface displaying live feeds from multiple cameras simultaneously, demonstrating its 16-channel real-time viewing capability.
5.2. Recording
The VIGI NVR1016H provides 24/7 continuous recording. Footage is stored on the installed HDD, securing your data for quick and convenient access. The NVR utilizes H.265+ video compression technology, which significantly reduces disk space usage and network loads without compromising image quality.

Figure 5.2: H.265+ Compression Efficiency
This diagram visually compares the storage efficiency of H.265+, H.265, and H.264 video coding technologies, highlighting the superior compression offered by H.265+.
5.3. Playback and Search
The NVR offers quick lookup and playback features. You can easily find target footage by date, event types, and custom tags. Playback can be done with variable speeds to quickly review recorded video.

Figure 5.3: Playback and Search Interface
This image shows the NVR's playback interface, demonstrating options for searching footage by date, event types, and tags, along with variable playback speed controls.
5.4. Remote Monitoring
For remote access and monitoring, the dedicated VIGI app is available. This app provides convenience for viewing live feeds, playing back recordings, and managing your NVR system from anywhere.
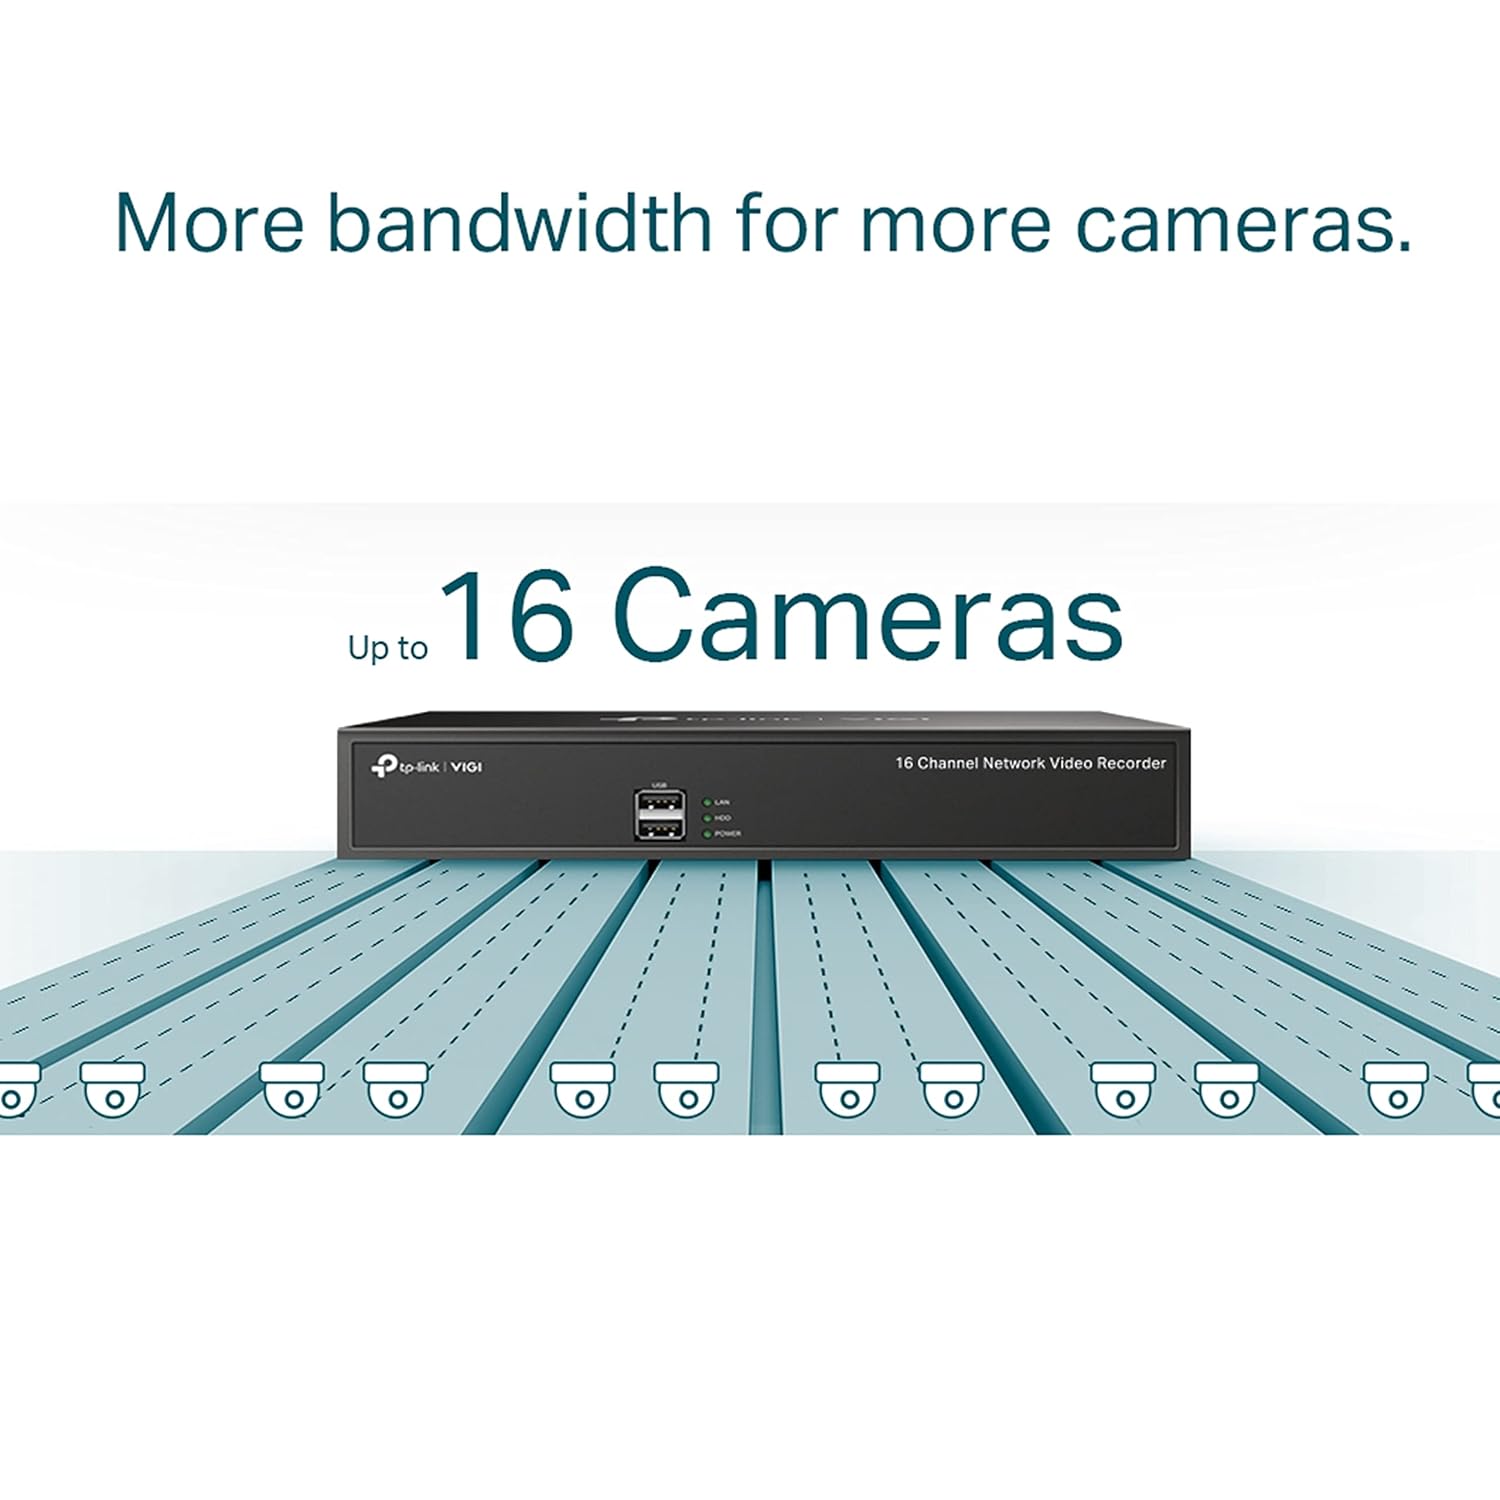
Figure 5.4: VIGI App for Remote Monitoring
This image depicts a smartphone screen showing the VIGI app interface, illustrating its capability for remote monitoring of camera feeds and NVR management. The image also includes QR codes for app download and a link to the VIGI app download page: Download VIGI App.
5.5. Two-Way Audio
With voice intercom support, the NVR allows for two-way conversations while watching your feed. This feature is suitable for management and direct communication through connected cameras that support audio.
5.6. ONVIF Compatibility
The VIGI NVR1016H ensures broad compatibility with ONVIF-compliant IP cameras. This allows you to easily integrate cameras from VIGI and other brands, establishing a powerful and varied surveillance network.
6. Maintenance
6.1. Hard Disk Drive Management
The NVR stores footage locally on a SATA hard drive. Regularly check the HDD status through the NVR's interface to ensure optimal performance and prevent data loss. The NVR supports up to 10 TB (or 16 TB) of storage, providing ample space for extended recording periods.
6.2. Firmware Updates
Periodically check for firmware updates for your NVR. Firmware updates can provide new features, performance improvements, and security enhancements. Updates can typically be performed via the NVR's web interface or the VIGI app.
6.3. General Care
Keep the NVR in a well-ventilated area to prevent overheating. Avoid exposing the device to extreme temperatures, humidity, or direct sunlight. Clean the exterior with a soft, dry cloth as needed.
7. Troubleshooting
This section addresses common issues you might encounter with your VIGI NVR1016H.
7.1. No Video Output on Monitor
- Ensure the HDMI/VGA cable is securely connected to both the NVR and the monitor.
- Verify the monitor is powered on and set to the correct input source.
- Try a different cable or monitor to rule out hardware issues.
7.2. Cameras Not Connecting/Displaying
- Confirm that cameras are powered on and properly connected to the network.
- Ensure the NVR and cameras are on the same network segment.
- Verify camera IP addresses and login credentials are correct in the NVR's camera management settings.
- Check if cameras are ONVIF compliant if they are not VIGI brand.
- Restart both the NVR and the cameras.
7.3. No Recording or Playback Issues
- Check if the HDD is properly installed and initialized.
- Verify that recording schedules are configured correctly for each camera.
- Ensure there is sufficient free space on the HDD.
- Check the status of the HDD in the NVR's system settings for any errors.
7.4. Remote Monitoring Not Working
- Ensure the NVR has an active internet connection.
- Verify that the VIGI app is installed correctly on your mobile device and you are logged in with the correct account.
- Check network settings on the NVR, including port forwarding if required by your network configuration.
For further assistance, consult the TP-Link support website or contact their technical support.
8. Specifications
| Feature | Detail |
|---|---|
| Model Number | NVR1016H |
| Channels | 16 Channel |
| Video Compression | H.265+, H.265, H.264+, H.264 |
| Max Resolution | Up to 8MP |
| HDD Interface | 1 SATA interface (supports up to 10 TB, some sources indicate 16 TB) |
| Connectivity | Wired (Ethernet) |
| Video Output | HDMI, VGA |
| Audio | Two-Way Audio (Audio In/Out ports) |
| USB Ports | Multiple USB ports (for mouse, external storage) |
| Dimensions | 24 x 69 x 2.5 cm |
| Weight | 1 kg |
| Power Consumption | 4.25 Watts |
| ONVIF Support | Yes |
9. Warranty and Support
TP-Link products typically come with a manufacturer's warranty. For specific warranty terms and conditions, please refer to the warranty card included with your product or visit the official TP-Link website.
For technical support, product registration, and additional resources, please visit the TP-Link support page or contact their customer service. Contact details for India are provided in the product specifications:
- Importer: TP-LINK India Private Limited
- Address: Green Industrial Park, Dongri Pada, Poman, Kaman-Bhiwandi Road, Vasai East, Palghar, Maharashtra – 401208
- Toll Free: 1800 2094 168
- Email: support.in@tp-link.com
Always ensure you have your product model number (NVR1016H) and serial number ready when contacting support.