1. Introduction
Thank you for choosing the FORGING MOUNT Full Motion TV Wall Mount. This manual provides detailed instructions for the safe and proper installation, operation, and maintenance of your new TV wall mount. Please read this manual thoroughly before installation and retain it for future reference. This mount is designed to securely hold most 32-75 inch flat screen, LED, and 4K TVs, with a maximum weight capacity of 132 lbs (60 kg) and VESA compatibility up to 600x400mm. It is suitable for installation on 8", 12", and 16" wood studs, as well as concrete and brick walls.
2. Safety Information
WARNING: Failure to read and follow all instructions, warnings, and cautions in this manual may result in serious personal injury, property damage, or voiding of your warranty.
- Do not begin installation until you have read and understood all instructions and warnings contained in this installation sheet. If you have any questions regarding any of the instructions or warnings, please contact your local distributor for assistance.
- This mounting bracket is designed to be installed on wood stud walls, solid concrete walls, or brick walls. Do not install on drywall alone.
- The wall must be capable of supporting five times the weight of the TV and the mount combined.
- Always use a stud finder to locate wood studs accurately.
- Ensure all screws are tightened securely, but do not overtighten. Overtightening can damage the screws and reduce their holding capacity.
- Never exceed the maximum load capacity of 132 lbs (60 kg).
- This product contains small items that could be a choking hazard if swallowed. Keep these items away from children.
- Always use two people for installation and lifting the TV.
3. Package Contents
Please verify that all components are present and undamaged before beginning installation. If any parts are missing or damaged, do not attempt to install. Contact customer support for replacement parts.
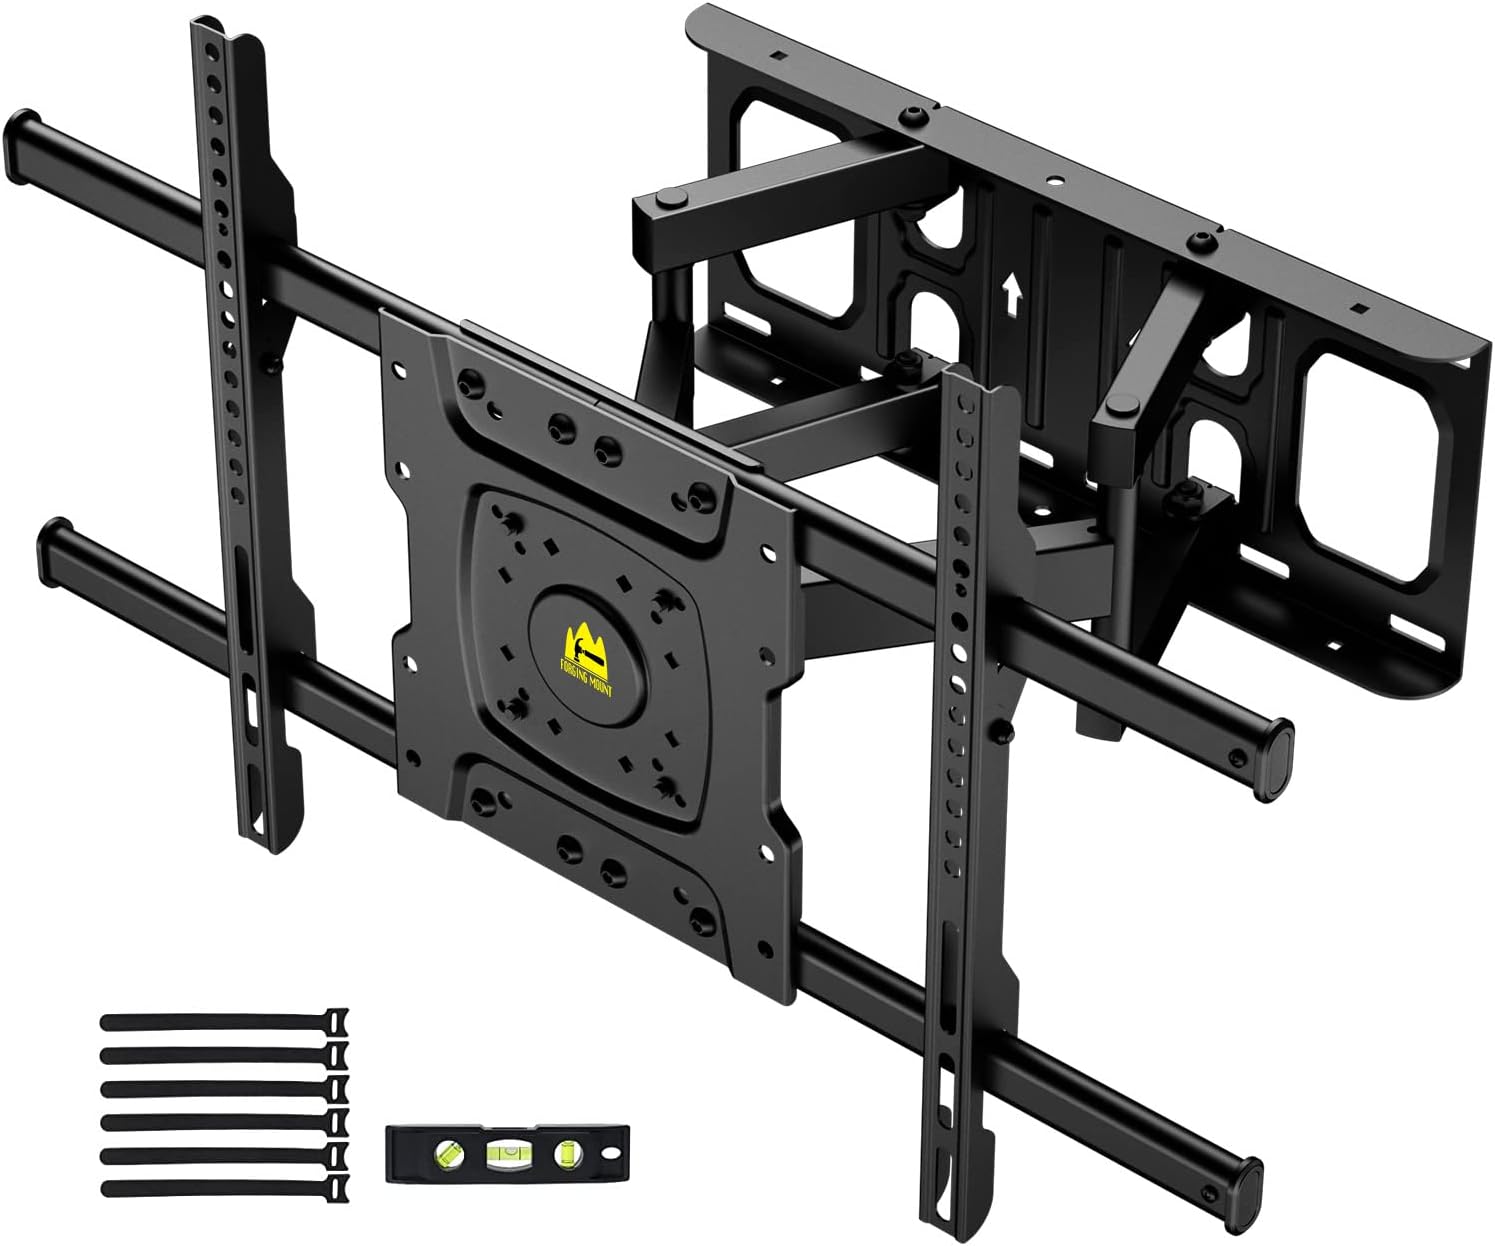

The package typically includes:
- Wall Plate Assembly with Articulating Arms
- TV Brackets (2 pieces)
- Hardware Kit (various screws, washers, spacers, concrete anchors)
- Bubble Level
- Cable Ties
4. Setup and Installation
4.1 Pre-Installation Checks
Before mounting, ensure your TV and wall are compatible with the mount.

- TV Size: This mount is suitable for TVs between 32 and 75 inches.
- TV Weight: Ensure your TV weighs no more than 132 lbs (60 kg).
- VESA Pattern: Check the four mounting holes on the back of your TV. Measure the horizontal and vertical distance between them. This mount supports VESA patterns from 100x100mm up to 600x400mm.
- Cable Outlet: Verify that the TV brackets will not block any cable outlets on the back of your TV.
- Wall Type: This mount is designed for installation on wood studs (8", 12", 16" spacing), solid concrete, or brick walls. DO NOT mount on drywall alone.
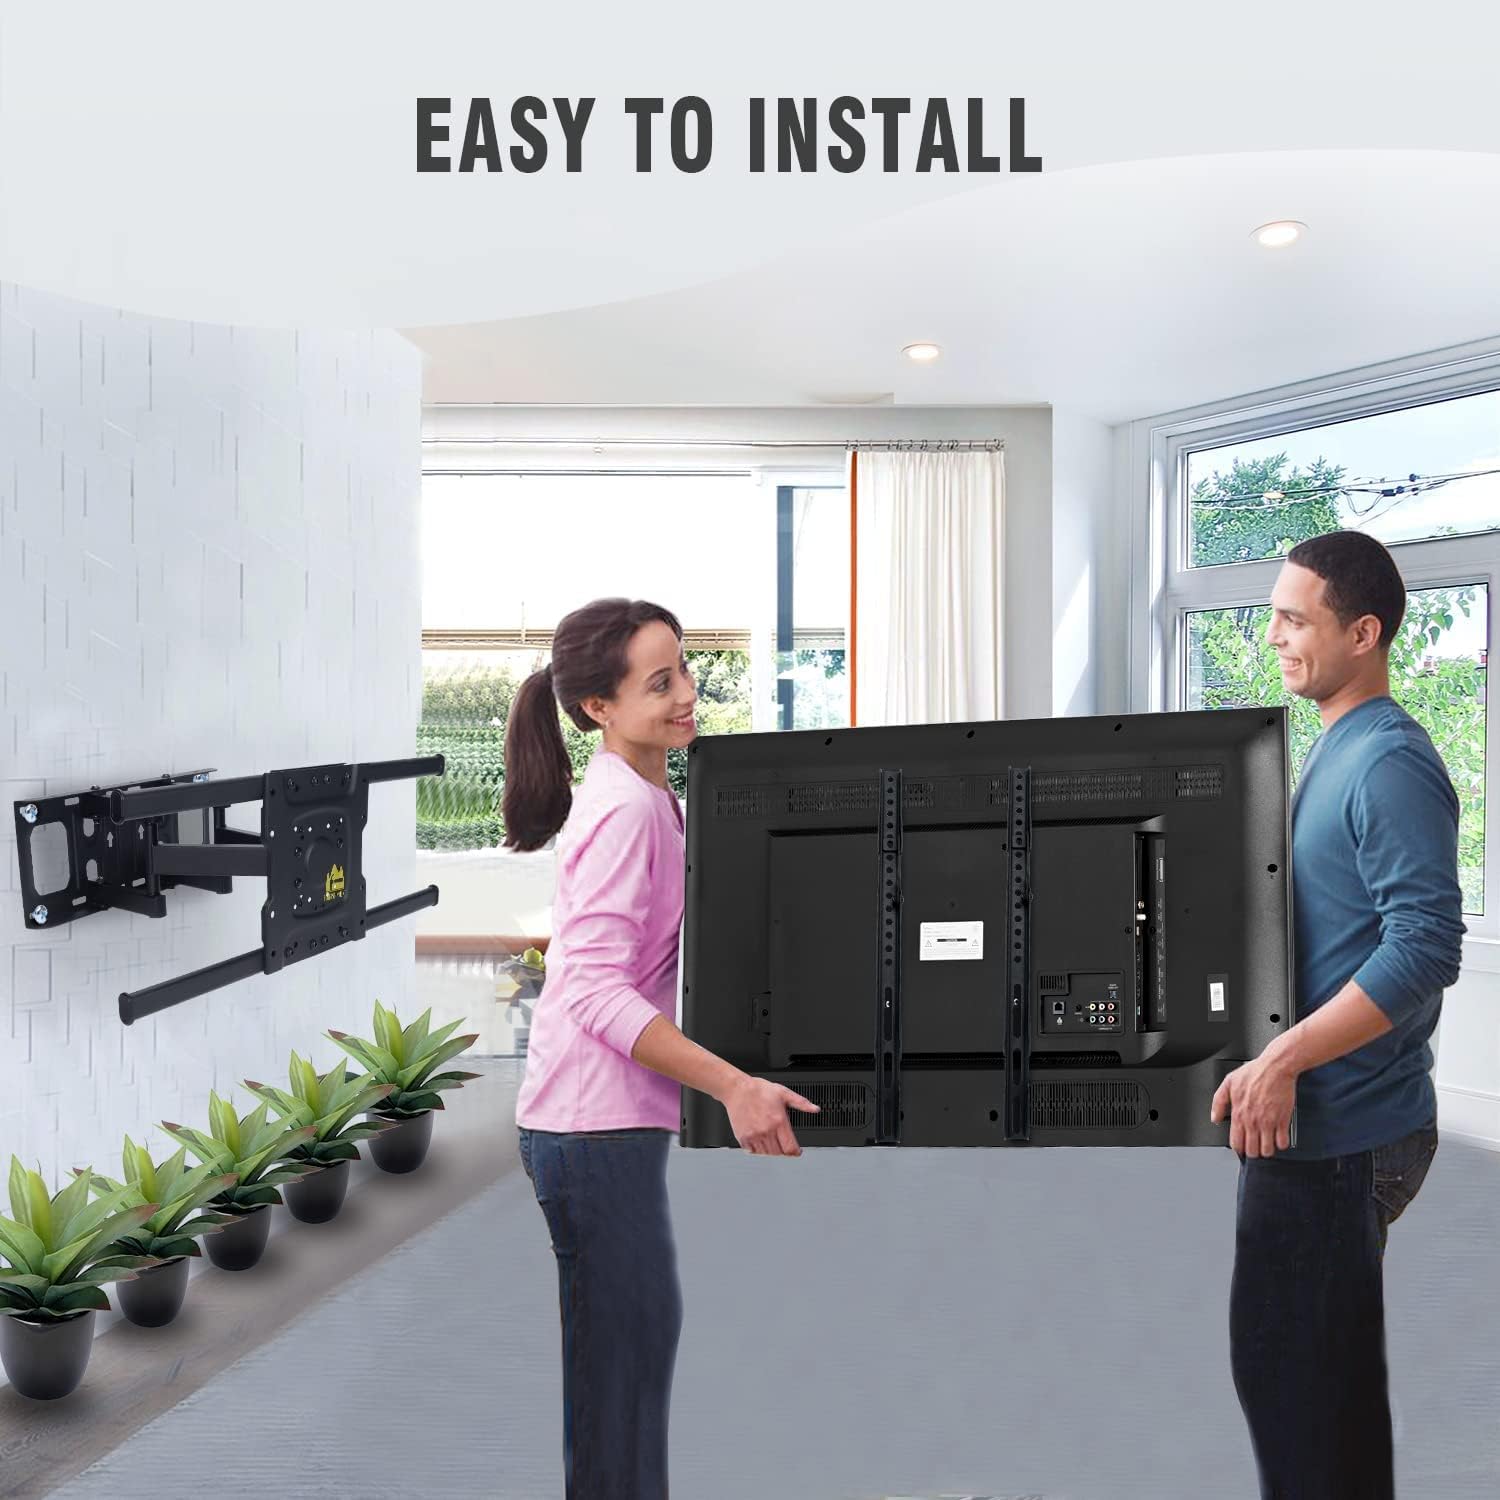
4.2 Installation Steps
Follow these steps carefully for a secure installation. It is highly recommended to have two people for this process.


- Mark Drilling Locations: Determine the desired height for your TV. Use the wall plate as a template to mark the drilling points on your wall. For wood studs, use a stud finder to locate the center of the studs and mark the holes accordingly. For concrete/brick walls, ensure the marked points are level.
- Drill Pilot Holes: For wood studs, drill pilot holes using a 7/32" (5.5mm) drill bit. For concrete/brick walls, use a 3/8" (10mm) masonry drill bit and insert the concrete anchors flush with the wall surface.
- Attach Wall Plate: Secure the wall plate to the wall using the lag bolts (for wood studs) or concrete anchors and lag bolts (for concrete/brick walls). Ensure the wall plate is level using the included bubble level.
- Attach TV Brackets to TV: Carefully place your TV face down on a soft, clean surface. Attach the two vertical TV brackets to the back of your TV using the appropriate screws, washers, and spacers from the hardware kit. Ensure the brackets are centered and securely fastened.
- Hang TV on Wall Plate: With the help of another person, carefully lift the TV and hook the TV brackets onto the wall plate. Ensure the brackets are properly seated on the wall plate's hooks.
- Secure TV to Mount: Locate the security screws or locking mechanisms on the bottom of the TV brackets. Tighten these screws to secure the TV to the wall mount, preventing accidental dislodgement.
5. Operating Instructions
The FORGING MOUNT Full Motion TV Wall Mount offers various adjustments for optimal viewing experience.


- Extension/Retraction: The mount features articulating arms that allow the TV to extend up to 15.2 inches (38.6 cm) from the wall and retract to a minimum distance of 2.8 inches (7.1 cm) to save space. Gently pull or push the TV to achieve the desired distance.
- Swivel Adjustment: The TV can be swiveled up to 60 degrees left or right. Carefully rotate the TV horizontally to adjust the viewing angle.
- Tilt Adjustment: The mount allows for a tilt range of +5 degrees (upward) to -10 degrees (downward). Loosen the tilt adjustment knobs on the TV brackets, adjust the screen to the desired vertical angle, and then re-tighten the knobs to secure the position.
- Level Adjustment: After installation, if the TV is not perfectly level, you can make a fine-tune adjustment of +/- 3 degrees. This feature allows for minor rotational adjustments to ensure the TV is perfectly horizontal.
6. Maintenance
Regular maintenance ensures the longevity and safe operation of your TV wall mount.
- Periodic Checks: Periodically check that all screws and connections are secure. If any screws feel loose, tighten them carefully without overtightening.
- Cleaning: Clean the mount with a soft, dry cloth. Do not use abrasive cleaners or solvents, as they may damage the finish.
- Lubrication: The articulating joints are designed for smooth movement and generally do not require lubrication. If movement becomes stiff, contact customer support for advice.
7. Troubleshooting
If you encounter any issues during or after installation, refer to the following common problems and solutions.
| Problem | Possible Cause | Solution |
|---|---|---|
| TV is not level after installation. | Minor rotational misalignment. | Use the built-in level adjustment feature (+/- 3 degrees) to fine-tune the TV's horizontal position. |
| Mount feels unstable or wobbly. | Screws not fully tightened; incorrect wall type; mount overloaded. | Ensure all wall plate and TV bracket screws are securely tightened. Verify the mount is installed on a compatible wall type (wood stud, concrete, brick). Check TV weight against maximum capacity (132 lbs). |
| TV does not fit the mount. | Incorrect VESA pattern or TV size/weight. | Verify your TV's VESA pattern is within 100x100mm to 600x400mm. Confirm TV size is between 32-75 inches and weight is under 132 lbs. |
| Difficulty adjusting tilt or swivel. | Tilt knobs are too tight; joints are stiff. | Loosen the tilt adjustment knobs before attempting to tilt. For stiff joints, ensure no cables are obstructing movement. If issues persist, contact customer support. |
If the problem persists or is not listed here, please contact FORGING MOUNT customer support for further assistance.
8. Specifications
| Feature | Specification |
|---|---|
| Brand | FORGING MOUNT |
| Model Number | HY9301-B-NEW |
| Material | Alloy Steel |
| TV Size Compatibility | 32 - 75 inches |
| Maximum Weight Capacity | 132 lbs (60 kg) |
| VESA Compatibility | 100x100mm to 600x400mm |
| Tilt Angle | +5° to -10° |
| Swivel Angle | ±60° |
| Level Adjustment | ±3° |
| Extension from Wall | 2.8 inches (retracted) to 15.2 inches (extended) |
| Wall Compatibility | Wood Studs (8", 12", 16" spacing), Solid Concrete, Brick |
| Product Dimensions | 16 x 16 x 15 inches (approximate, when folded) |
| Item Weight | 11 pounds |
| UPC | 746608619496 |
9. Warranty and Support
FORGING MOUNT is committed to providing high-quality products and excellent customer service. While specific warranty terms may vary by region and retailer, we stand behind the quality of our products.
- Customer Support: For any questions, missing parts, or technical assistance, please contact FORGING MOUNT customer support. Refer to the product packaging or the FORGING MOUNT official website for contact information.
- Protection Plans: Extended protection plans may be available for purchase through your retailer to provide additional coverage beyond the standard warranty.