Introduction
This manual provides essential information for the safe and efficient operation of your Ariston Mobis 8 portable air conditioner. Please read these instructions carefully before installation and use, and keep them for future reference. Proper use and maintenance will ensure optimal performance and extend the lifespan of your unit.
Important Safety Instructions
To reduce the risk of fire, electric shock, or injury when using your air conditioner, follow these basic precautions:
- Always connect the unit to a properly grounded electrical outlet.
- Do not operate the unit with a damaged power cord or plug.
- Do not block air inlets or outlets. Maintain at least 30 cm clearance around the unit.
- Keep children and pets away from the unit during operation.
- Do not insert objects into the air vents.
- Unplug the unit before cleaning or performing any maintenance.
- Do not use the unit in wet environments or near water.
- Ensure the unit is placed on a flat, stable surface to prevent tipping.
- This appliance uses R-290 refrigerant, which is flammable. Handle with care and ensure proper ventilation during installation and maintenance.
What's Included
Verify that all components are present in the packaging:
- Ariston Mobis 8 Portable Air Conditioner Unit
- Infrared Remote Control
- Exhaust Hose
- Window Kit (adapter, plate)
- User Manual (this document)
- Drainage Hose
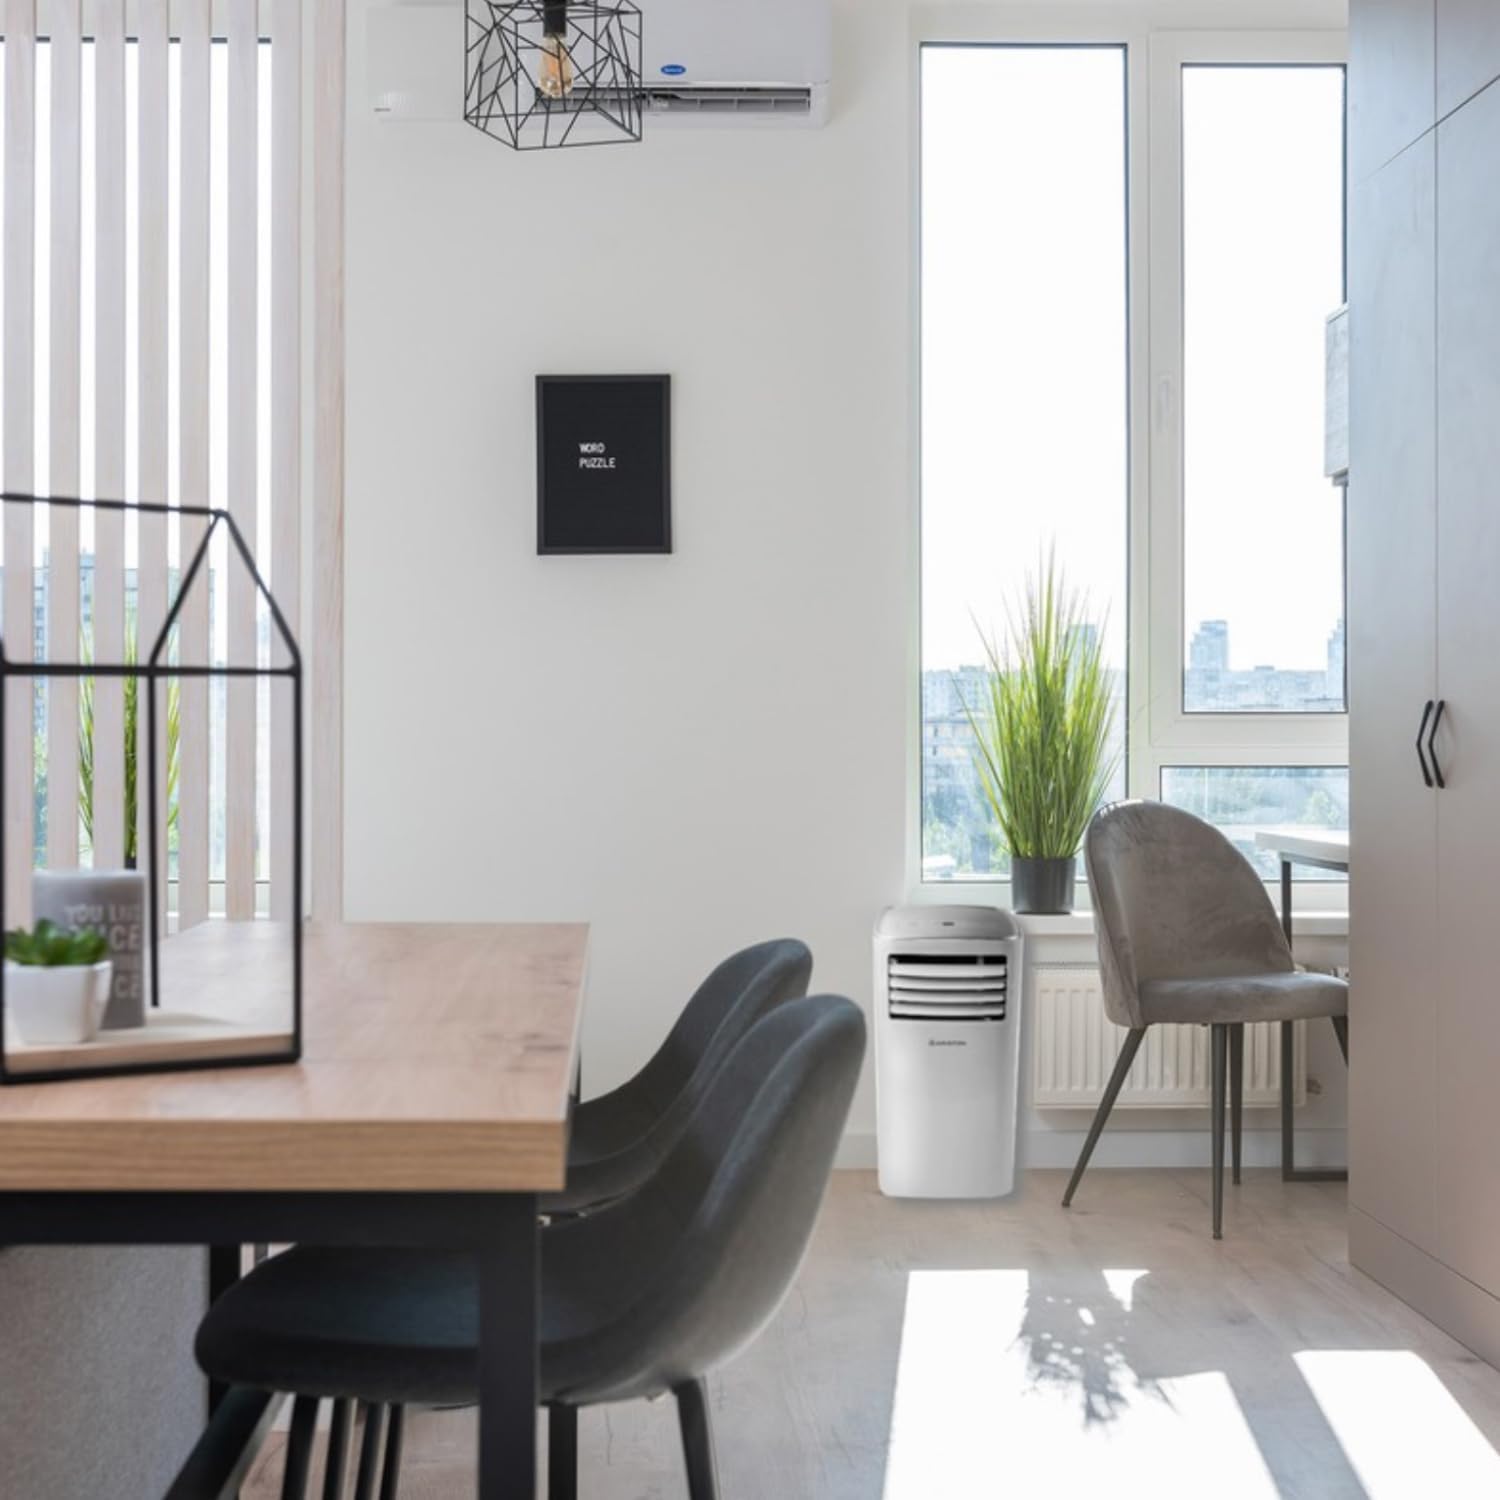
Product Overview
Familiarize yourself with the main parts of your Ariston Mobis 8 portable air conditioner.


Installation Guide
1. Placement
Place the air conditioner on a firm, level surface in the room you wish to cool. Ensure there is at least 30 cm of space around the unit for proper airflow.
2. Exhaust Hose Installation
- Attach the exhaust hose to the outlet on the back of the air conditioner.
- Extend the exhaust hose to the nearest window.
- Install the window kit components (adapter and plate) into the window opening.
- Connect the exhaust hose to the window kit adapter, ensuring a secure seal to prevent hot air from re-entering the room.
- Minimize bends in the exhaust hose to maintain optimal airflow and efficiency.
3. Power Connection
Plug the power cord into a grounded electrical outlet. Ensure the voltage matches the specifications of the unit.
Operating Your Air Conditioner
1. Control Panel and Remote Control
The unit can be operated using the control panel on top of the unit or the provided remote control. The remote control offers full functionality, including timer and sleep modes.
2. Operating Modes
- Cooling Mode: Press the 'Mode' button until the 'Cool' indicator lights up. Use the '+' and '-' buttons to set your desired temperature.
- Fan Mode: Press the 'Mode' button until the 'Fan' indicator lights up. In this mode, the unit circulates air without cooling.
- Dehumidification Mode: Press the 'Mode' button until the 'Dry' indicator lights up. This mode helps reduce humidity in the room.
3. Temperature and Fan Speed Adjustment
In Cooling mode, use the '+' and '-' buttons to adjust the temperature. The digital display will show the set temperature. Fan speed can typically be adjusted via the remote control in Fan mode.
4. Timer Function
The timer function allows you to set the unit to turn on or off automatically after a specified period. Refer to the remote control section of the full manual for detailed instructions on setting the timer.
Care and Maintenance
1. Cleaning the Air Filter
Regular cleaning of the air filter is crucial for efficient operation. A dirty filter can reduce cooling capacity and increase energy consumption.
- Unplug the air conditioner from the power outlet.
- Locate and remove the air filter from the back of the unit.
- Wash the filter with warm, soapy water. Rinse thoroughly.
- Allow the filter to air dry completely before reinserting it into the unit.
- Clean the filter every two weeks or more frequently if the unit is used often.
2. Draining Water
During dehumidification or in very humid conditions, water will accumulate inside the unit. The unit has a self-evaporating system, but manual drainage may be required if the internal tank becomes full. Connect the drainage hose to the drainage outlet at the bottom rear of the unit and place the other end into a suitable container or floor drain.
3. Storage
Before storing the unit for an extended period, ensure it is completely drained of water and the filter is clean and dry. Store the unit upright in a cool, dry place, covered to protect it from dust.
Troubleshooting Guide
Before contacting customer support, please refer to the following table for common issues and their solutions.
| Problem | Possible Cause | Solution |
|---|---|---|
| Unit does not turn on | No power; Power cord not plugged in; Circuit breaker tripped; Full water tank. | Check power supply; Plug in power cord; Reset circuit breaker; Drain water tank. |
| Insufficient cooling | Dirty air filter; Blocked air intake/outlet; Room too large; Exhaust hose not properly installed; Doors/windows open. | Clean air filter; Clear obstructions; Ensure room size is within unit capacity; Secure exhaust hose; Close doors/windows. |
| Unit is noisy | Unit not on a level surface; Fan speed too high; Internal components vibrating. | Place on a level surface; Reduce fan speed; This is normal for portable AC units. |
| Water leakage | Drainage plug loose; Drainage hose not connected properly; Unit tilted. | Secure drainage plug; Connect drainage hose correctly; Ensure unit is level. |
Technical Specifications
Key technical details for the Ariston Mobis 8 portable air conditioner.
| Feature | Specification |
|---|---|
| Brand | Ariston |
| Model Name | Mobis 8 |
| Model Number | 3381430 |
| Cooling Capacity | 8000 BTU |
| Dimensions (DxWxH) | 34.5P x 34.5l x 70.3H cm |
| Weight | 24.7 Kilograms |
| Energy Class | A |
| Noise Level | 62 Decibels |
| Refrigerant | R-290 |
| Control Method | Remote |
| Filter Type | Antibacterial Filter |


Warranty and Customer Support
Your Ariston Mobis 8 portable air conditioner comes with a 2-year manufacturer's warranty. This warranty covers defects in materials and workmanship under normal use.
For warranty claims, technical assistance, or any questions not covered in this manual, please contact Ariston customer support. Refer to the official Ariston website or your purchase documentation for contact details specific to your region.


