1. Introduction
Welcome to the world of stand-up paddleboarding with your new Physionics SUP Board. This manual provides essential information for the safe and effective use, setup, and maintenance of your inflatable paddle board. Please read this manual thoroughly before first use to ensure a safe and enjoyable experience.

Image: The Physionics Stand Up Paddle Board with its complete set of accessories, including the adjustable paddle, hand pump, backpack, and repair kit.
2. Package Contents
Upon opening your package, please verify that all the following components are included:
- 1 x Physionics Stand Up Paddle Board
- 1 x Adjustable Paddle
- 1 x Hand Pump with Pressure Gauge
- 1 x Backpack
- 1 x Ankle Safety Leash
- 3 x Fins (1 large central fin, 2 smaller side fins)
- 1 x Repair Kit
- 1 x Multilingual Assembly Instructions

Image: A visual representation of all included components: the three-piece adjustable paddle, backpack, hand pump with pressure gauge, ankle leash, and repair kit.
3. Setup
3.1. Inflating the SUP Board
- Unroll the SUP board on a clean, flat surface.
- Locate the air valve, typically positioned near the tail of the board. Ensure the inner pin of the valve is in the 'up' position (closed for inflation). If it's down, press it once to pop it up.
- Connect the hose of the hand pump to the valve by twisting it clockwise until secure.
- Begin pumping. The board will start to take shape. Continue pumping until the pressure gauge reads 12-15 PSI (Pounds per Square Inch). Do not overinflate.
- Once inflated, quickly disconnect the pump hose and ensure the valve cap is securely fastened to prevent air leakage.

Image: A person demonstrating the use of the hand pump to inflate the paddle board, highlighting the pressure gauge for accurate inflation.
3.2. Attaching the Fins
Your Physionics SUP board comes with three fins for stability and tracking. The large central fin is removable, while the two smaller side fins are fixed.
- Slide the large central fin into its fin box located at the rear underside of the board.
- Secure the fin by pushing down the locking clip or pin, depending on the fin system. Ensure it clicks into place.

Image: A detailed view of the board's features, including the convenient handle, the bungee storage area, and the smart-lock fin system.
3.3. Assembling the Paddle
The adjustable paddle consists of three sections.
- Connect the blade section to the middle shaft section.
- Insert the top handle section into the middle shaft.
- Adjust the paddle length to your height. A good starting point is to stand the paddle next to you; the handle should reach your wrist when your arm is extended overhead. Secure the adjustment clamp.
3.4. Attaching the Ankle Leash
The ankle leash is a crucial safety device that keeps you connected to your board. Attach one end of the leash to the D-ring at the tail of the board and the other end to your ankle (or calf) using the comfortable cuff.
4. Operating Instructions
4.1. Getting Started
- Always wear a personal flotation device (PFD) when paddleboarding.
- Choose calm water conditions for your first few attempts.
- Start by kneeling on the board to get a feel for its stability.
4.2. Standing Up
- From a kneeling position, place your hands on the board in front of you, shoulder-width apart.
- Place one foot where your knee was, then the other, keeping your feet parallel and hip-width apart, centered on the board.
- Slowly stand up, keeping your knees slightly bent and your core engaged. Look towards the horizon, not at your feet.
4.3. Paddling Techniques
- Hold the paddle with one hand on the top handle and the other on the shaft.
- The blade should be angled away from you.
- To go straight, paddle on one side for a few strokes, then switch to the other side.
- To turn, paddle on one side only, or use a sweep stroke (paddling in a wide arc).

Image: A person enjoying paddleboarding on a calm lake, demonstrating proper standing posture and paddle technique.
5. Maintenance
5.1. Cleaning and Drying
- After each use, rinse your SUP board with fresh water to remove salt, sand, or dirt.
- Wipe the board dry with a soft cloth. Ensure it is completely dry before deflating and storing to prevent mold and mildew.
5.2. Deflation and Storage
- Open the valve cap. Press the inner pin down and twist it to lock it in the 'open' position. Air will begin to escape.
- You can gently roll the board from the nose towards the tail to push out remaining air.
- Once deflated, ensure the valve pin is in the 'up' position (closed) before replacing the cap.
- Store the board in its backpack in a cool, dry place, away from direct sunlight and extreme temperatures.
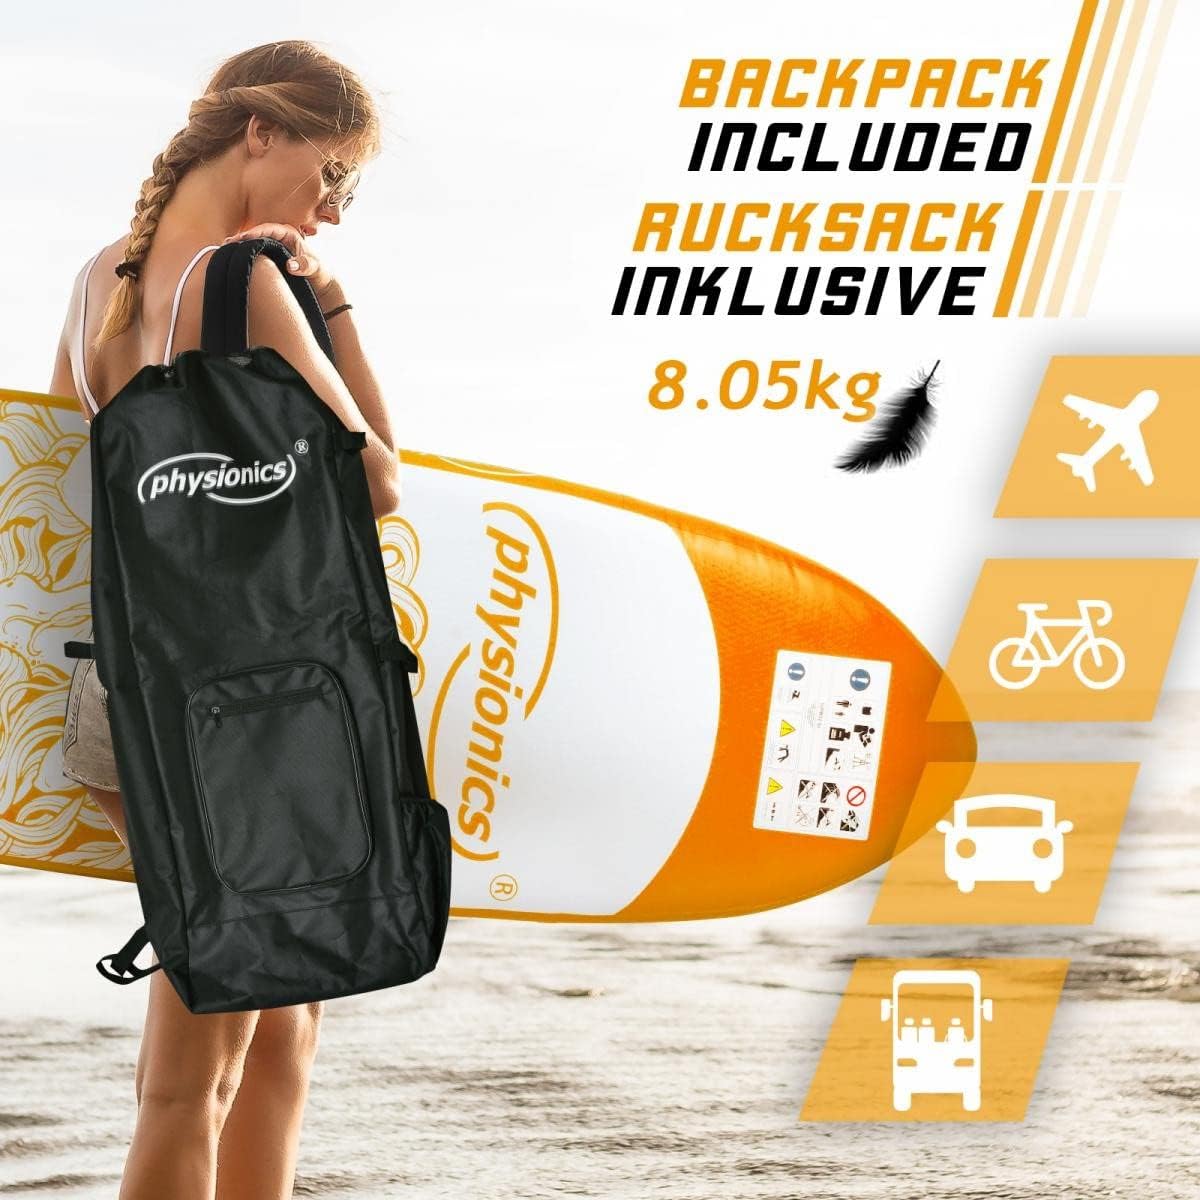
Image: A person carrying the deflated paddle board in its included backpack, demonstrating its portability and ease of storage.
5.3. Repair Kit Usage
Your repair kit contains patches and glue for minor punctures. For detailed instructions on using the repair kit, refer to the separate multilingual assembly instructions provided with your product.
6. Troubleshooting
6.1. Board Not Holding Air
- Valve Pin Position: Ensure the inner valve pin is in the 'up' (closed) position after inflation and the valve cap is tightly secured.
- Valve Leak: Check if the valve is properly tightened. Use the valve wrench (if included in your repair kit) to tighten it.
- Puncture: Inspect the board for any visible punctures. Use soapy water to locate small leaks (bubbles will appear). Use the repair kit for minor repairs. For larger damage, professional repair may be required.
6.2. Board Feels Unstable
- Inflation Pressure: Ensure the board is inflated to the recommended 12-15 PSI. Under-inflation can lead to instability.
- Fin Attachment: Verify that the central fin is securely attached. An improperly installed fin can affect tracking and stability.
- Body Position: Ensure your feet are centered and hip-width apart. Practice kneeling first to build balance.
7. Specifications
| Feature | Specification |
|---|---|
| Model Number | SUP02-or |
| Dimensions (L x W x H) | 320 x 80 x 15 cm |
| Board Weight | Approximately 13.6 kg |
| Maximum Recommended Load | 120 kg |
| Maximum Air Pressure | 15 PSI |
| Material (Board) | PVC Drop-Stitch Construction, EVA Foam Deck |
| Material (Paddle) | Aluminum, Polypropylene |
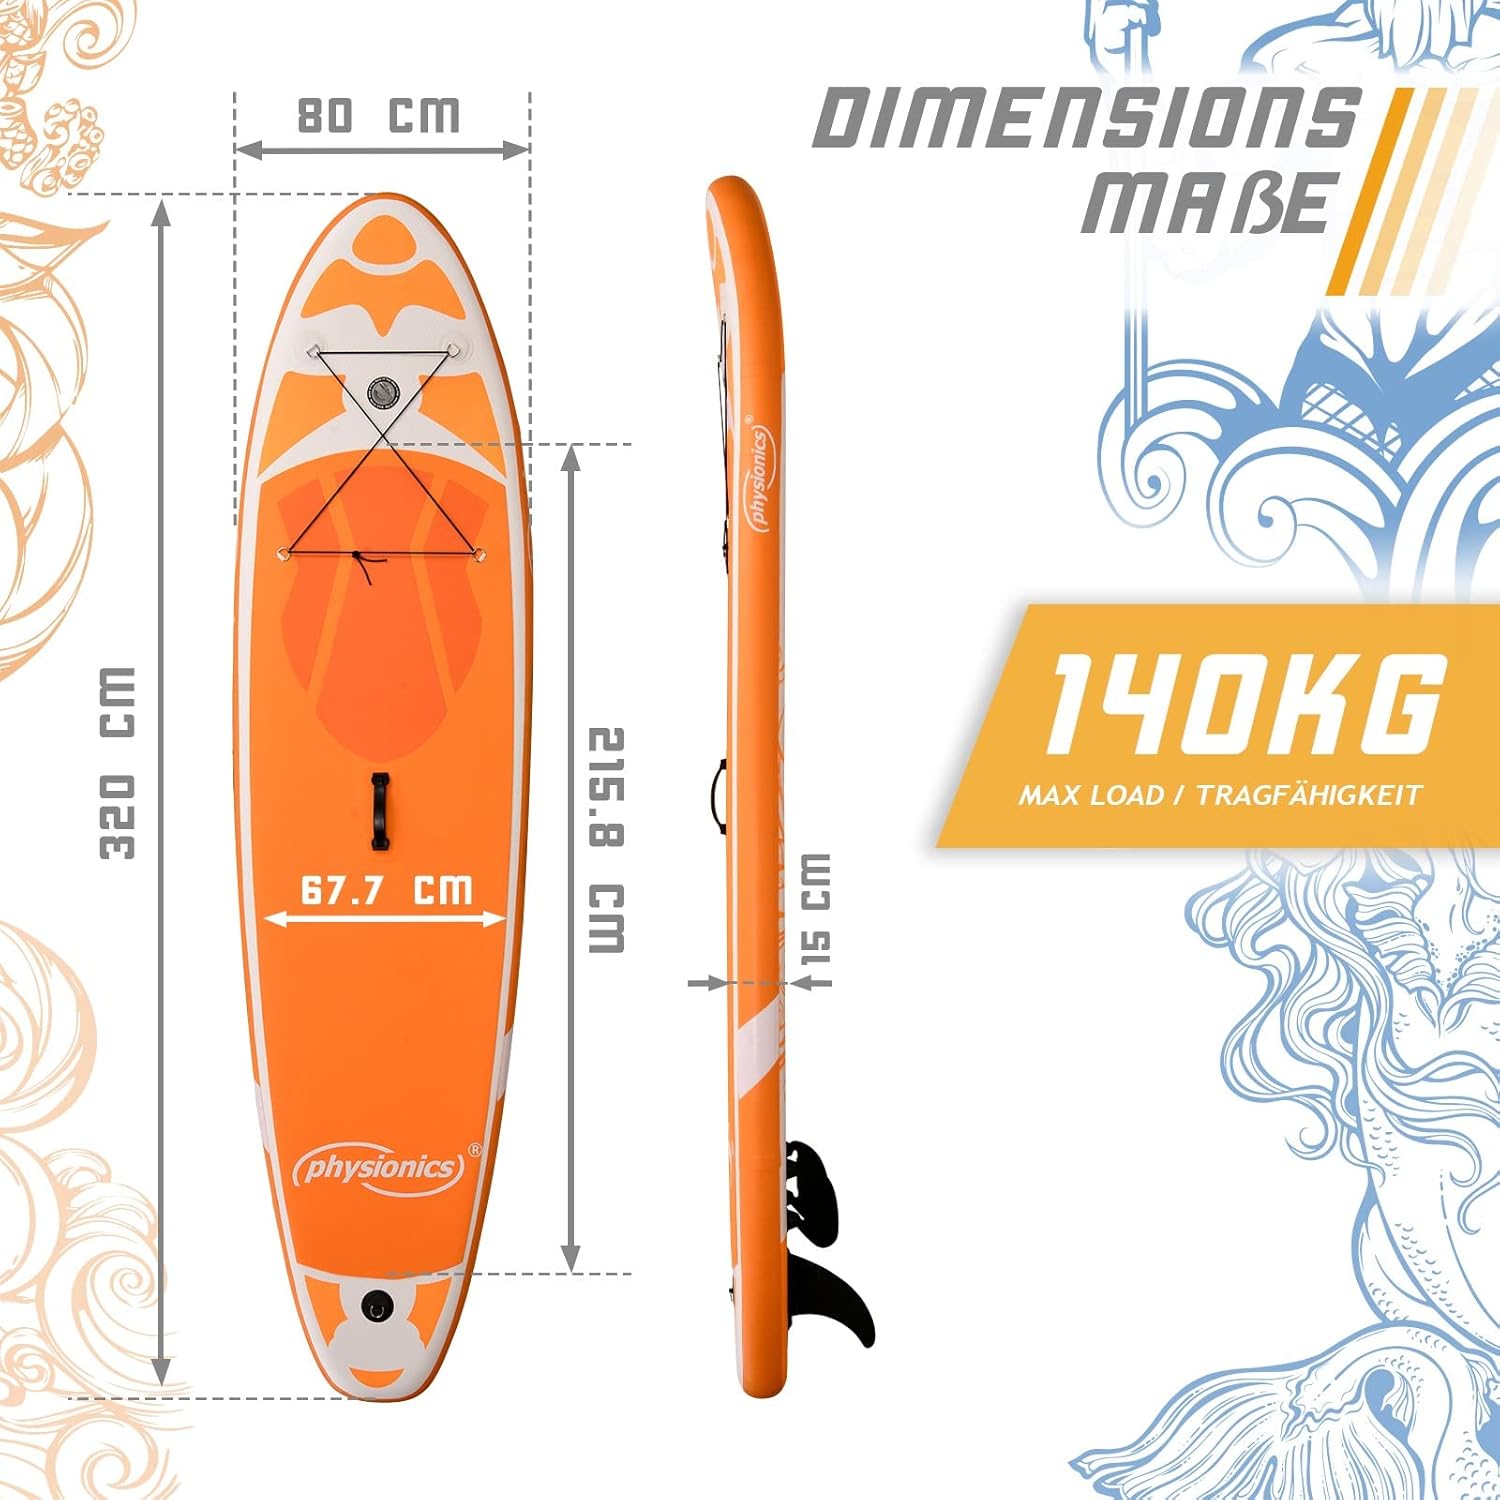
Image: A diagram illustrating the key dimensions of the Physionics Stand Up Paddle Board, including length, width, and thickness, along with the maximum load capacity.

Image: An exploded view showing the high-quality material layers used in the construction of the Physionics SUP board, including the Drop-Stitch technology and EVA pad.
8. Warranty and Support
For information regarding warranty coverage and customer support, please refer to the purchase documentation or contact your retailer. Keep your proof of purchase for any warranty claims.
For further assistance or inquiries, please visit the official Physionics website or contact their customer service department.


