Introduction
This manual provides essential instructions for the installation and proper handling of the SRJTEK LCD Display Touch Screen Digitizer Assembly Glass for the Samsung Galaxy S7 Edge (Model G935F). Please read all instructions carefully before proceeding with the installation.
Product Overview
The SRJTEK screen replacement kit includes:
- 1 x LCD Display with Touch Screen for Samsung Galaxy S7 Edge G935F
- 1 x Screen Protector
- 1 x Repair Tool Kit (including opening tools)
- 1 x Adhesive

Image 1: Contents of the SRJTEK screen replacement kit, showing the LCD assembly, a screen protector, various repair tools, and adhesive.
Safety Information and Important Considerations
- Professional Installation Recommended: Due to the delicate nature of smartphone components and the complexity of the installation process, professional installation is highly recommended. Incorrect installation can damage the device or the replacement screen.
- Static Electricity: Discharge any static electricity from your body before handling electronic components.
- Battery Disconnection: Always disconnect the phone's battery before beginning any repair to prevent short circuits.
- Flex Cables: Handle flex cables with extreme care. They are fragile and can be easily damaged, leading to display or touch functionality issues. Ensure correct alignment and connection to the motherboard.
- Data Backup: It is advisable to back up all important data on your device before attempting any repair.
Tools Required
The provided repair tool kit includes most necessary items. Additional tools that may be useful:
- Heat gun or hairdryer (for softening adhesive)
- Suction cup (for lifting the screen)
- Plastic spudgers or opening picks (included in kit)
- Small Phillips head screwdriver (included in kit)
- Tweezers
- Clean, lint-free cloth
Installation Procedure (Setup)
This section outlines the general steps for replacing the screen. Specific disassembly and reassembly instructions for the Samsung Galaxy S7 Edge G935F should be referenced from a reliable repair guide or video tutorial, as this manual provides a high-level overview.
- Preparation:
- Power off your Samsung Galaxy S7 Edge completely.
- Remove the SIM card tray.
- Heat the edges of the phone to soften the adhesive holding the back glass panel.
- Back Panel Removal:
- Carefully pry open the back glass panel using a suction cup and plastic opening tools. Be gentle to avoid damaging internal components or the panel itself.
- Disconnect any flex cables connected to the back panel (e.g., fingerprint sensor).
- Internal Disassembly:
- Remove all screws securing the mid-frame and any protective shields.
- Disconnect the battery flex cable first to cut power to the device.
- Disconnect the display flex cable and digitizer flex cable from the motherboard.
- Old Screen Removal:
- Apply heat to the front edges of the phone to soften the adhesive holding the damaged screen.
- Carefully use a suction cup and opening tools to separate the old screen assembly from the frame.
- Clean any remaining adhesive from the phone frame.
- New Screen Installation:
- Test Fit: Before applying adhesive, connect the new screen's flex cables to the motherboard. Reconnect the battery and power on the phone to test display functionality, touch response, and any other relevant features.
- Power off the phone and disconnect the battery again after testing.
- Apply the provided adhesive evenly around the phone frame where the screen will sit.
- Carefully align and place the new screen assembly onto the frame, ensuring the flex cables are properly routed and connected.
- Press gently around the edges to secure the screen with the adhesive.
- Reassembly:
- Reconnect all internal components and flex cables.
- Replace all screws and protective shields.
- Reattach the back glass panel, ensuring its flex cables are connected if applicable. Apply new adhesive if necessary.
- Insert the SIM card tray.
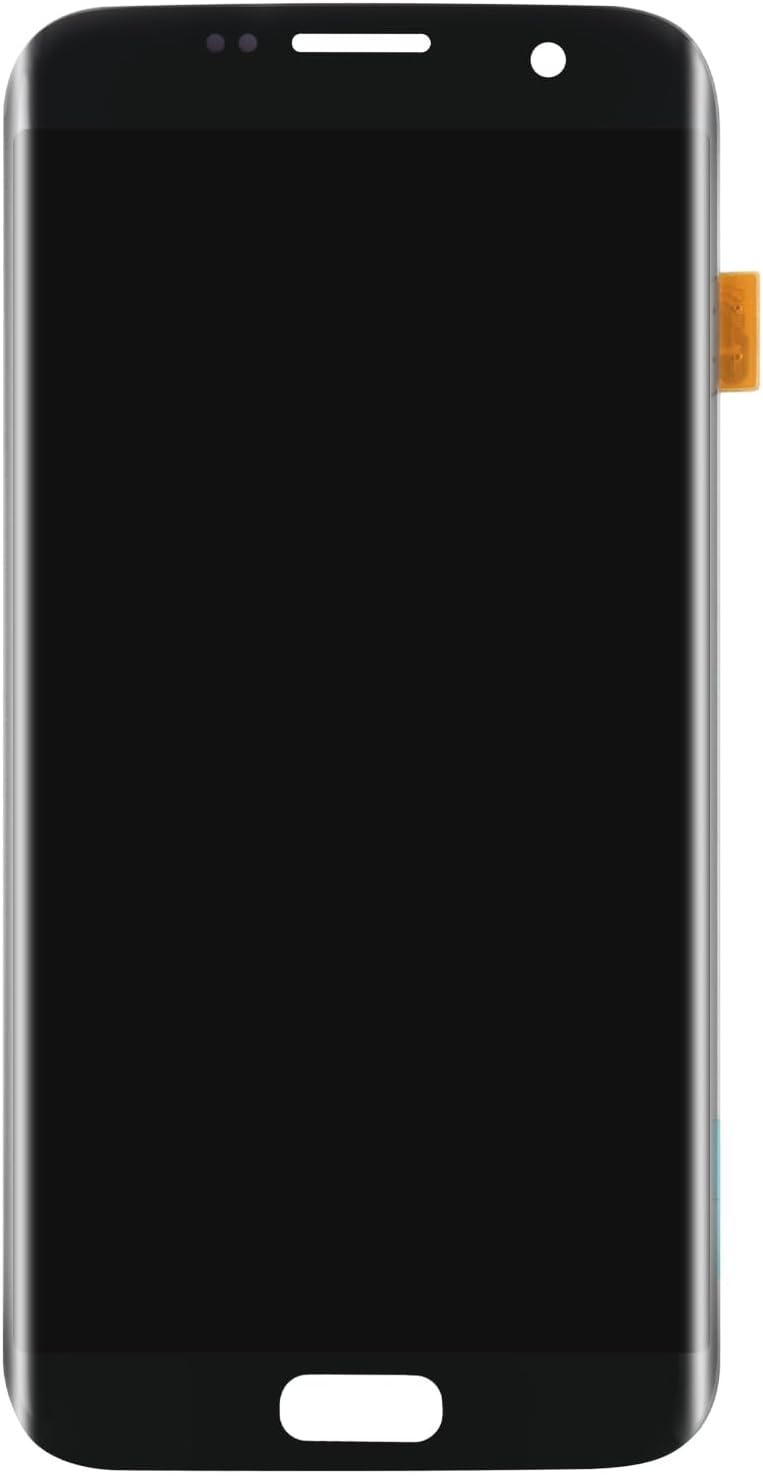
Image 2: Front view of the SRJTEK replacement LCD display, showing the screen surface and home button area.

Image 3: Back view of the SRJTEK replacement LCD display, highlighting the flex cables and connection points for the motherboard.
Operating and Testing
After installation, perform the following checks:
- Power On: Press and hold the power button to turn on the device.
- Display Check: Verify that the screen displays images correctly, without dead pixels, lines, or discoloration.
- Touch Functionality: Test the touch response across the entire screen, including edges and corners. Drag an app icon around the screen to ensure consistent touch detection.
- Brightness and Color: Adjust screen brightness and check color reproduction.
- Front Camera/Sensors: Ensure the front camera, proximity sensor, and ambient light sensor are functioning correctly and not obstructed.
- Home Button/Navigation Keys: Test the physical home button and capacitive navigation keys.

Image 4: Illustration demonstrating display clarity and color consistency when viewed from various angles, highlighting the screen's optical performance.

Image 5: Depiction of a finger interacting with the screen, illustrating the responsiveness and smoothness of the touch function.
Maintenance
- Cleaning: Use a soft, lint-free cloth, slightly dampened with water or a screen cleaner, to gently wipe the screen. Avoid harsh chemicals or abrasive materials.
- Screen Protector: Apply the included screen protector to help prevent scratches and minor impacts.
- Avoid Pressure: Do not apply excessive pressure to the screen, especially when carrying the phone in pockets or bags.
- Temperature: Avoid exposing the device to extreme temperatures, which can affect screen performance and adhesive integrity.
Troubleshooting
- Screen Not Turning On:
- Ensure the battery is charged.
- Check that the display flex cable is securely connected to the motherboard.
- Verify the battery is properly connected.
- Touch Not Responding:
- Ensure the digitizer flex cable is securely connected.
- Restart the device.
- Clean the screen surface.
- Display Issues (Lines, Discoloration, Dead Pixels):
- This may indicate a faulty screen or damage during installation. Recheck flex cable connections. If issues persist, contact customer support.
- Screen Lifting:
- Ensure sufficient adhesive was applied and allowed to cure properly. Apply gentle pressure or use clamps for a few hours after installation.
Specifications
| Feature | Detail |
|---|---|
| Compatibility | Samsung Galaxy S7 Edge G935F |
| Type | LCD Display Touch Screen Digitizer Assembly Glass |
| Package Dimensions | 0.3 x 0.3 x 0.3 inches |
| Item Weight | 0.32 ounces |
| Manufacturer | SRJTEK |
Warranty and Support
SRJTEK offers a 6-month after-sale service for this product. If you encounter any problems with the item received, please contact SRJTEK customer service for assistance. They will provide a new replacement or a satisfactory solution.
For support, please refer to the contact information provided with your purchase or visit the official SRJTEK store on Amazon: SRJTEK Amazon Store