Introduction
Thank you for choosing the Beacon Pet Portable Countertop Ice Maker Machine. This manual provides essential information for the safe and efficient operation, maintenance, and troubleshooting of your new ice maker. Please read these instructions thoroughly before first use and retain them for future reference.
Important Safety Instructions
- Read all instructions before operating the appliance.
- Do not operate any appliance with a damaged cord or plug, or after the appliance malfunctions or has been damaged in any manner.
- Do not immerse the power cord, plug, or any part of the appliance in water or other liquids.
- Ensure the appliance is placed on a stable, level surface away from direct sunlight or heat sources.
- Keep children away from the appliance during operation.
- Unplug the appliance before cleaning or when not in use.
- Use only potable water in the ice maker.
Package Contents
Upon unpacking, please ensure all items listed below are present and in good condition:
- 1 x Ice Maker Machine
- 1 x Ice Scoop
- 1 x Ice Basket
- 1 x User Manual
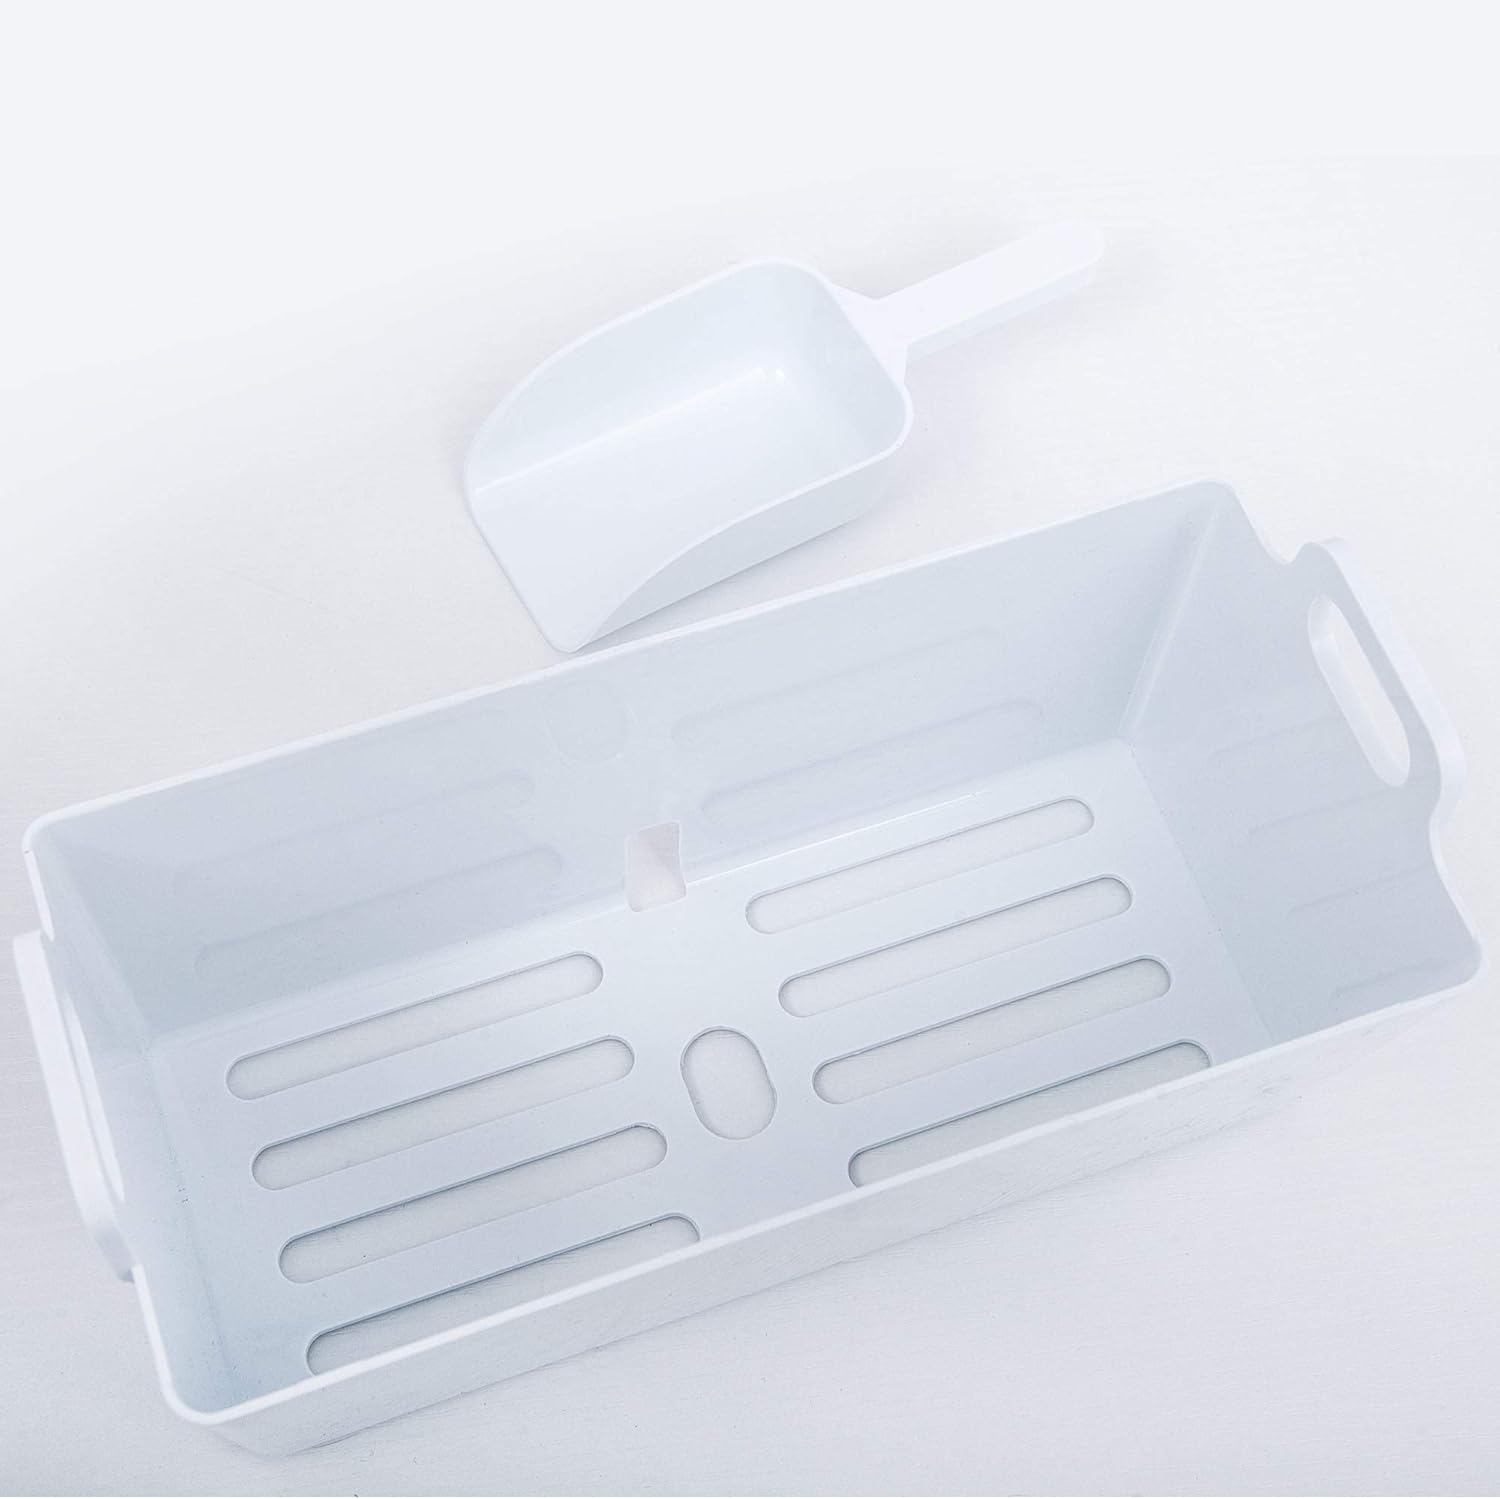
Figure 1: Included ice scoop and basket.
Specifications
| Product Name | Portable Countertop Ice Maker Machine |
| Model Number | B0946TRY7F |
| Main Color | Silver |
| Product Dimensions (L x W x H) | 11.2” x 14.4” x 13.8” |
| Product Net Weight | 24 lbs |
| Ice Production per Cycle | 24 ice cubes (0.5 lbs) |
| Daily Ice Production | Up to 48 lbs / 24 hours |
| Ice Cube Size | 22 x 22 x 22 mm (Bullet Ice) |
| Ice Basket Capacity | 2.4 lbs |
| Water Tank Capacity | 2.2 L |
| Installation Type | Countertop |
| Material Type | Stainless Steel |
| Rated Voltage/Frequency | 115V/60Hz |
| Refrigerant/Volume | R600a/32g |

Figure 2: Product dimensions for placement reference.
Setup
- Unpacking: Carefully remove the ice maker from its packaging. Remove all packing materials, including any tape or protective film.
- Placement: Place the ice maker on a flat, stable, and level surface. Ensure there is adequate ventilation around the unit. Avoid placing it near heat sources or in direct sunlight.
- Initial Rest Period: After receiving the machine, allow it to stand upright for at least 24 hours before plugging it in and starting operation. This allows the refrigerant to settle.
- First Cleaning: Before first use, clean the interior of the ice maker. Refer to the "Maintenance" section for detailed cleaning instructions.
Operating Instructions
- Add Water: Open the lid and remove the ice basket. Pour potable water into the water tank, ensuring the water level does not exceed the "MAX" fill line.
- Replace Basket and Close Lid: Place the ice basket back into position and close the lid securely.
- Power On: Plug the ice maker into a grounded electrical outlet. Press the "ON/OFF" button on the control panel to start the ice making process.
- Ice Cube Size Selection: If your model supports different ice cube sizes, use the "SELECT" button to choose your preferred size (e.g., small or large). The video demonstrates selecting a large ice mode.
- Ice Production: The ice maker will begin producing ice. The first batch of ice may take slightly longer. Subsequent batches will be produced more quickly.
- Harvesting Ice: Once ice is made, it will drop into the ice basket. Use the provided ice scoop to remove ice from the basket. If not used immediately, transfer ice to a freezer to prevent melting.
- Water Refill Indicator: The ice maker will automatically stop and an indicator light will illuminate when the water level is low. Refill the water tank to resume ice production.
- Ice Full Indicator: The ice maker will automatically stop when the ice basket is full. Remove ice to resume production.

Figure 3: Water reservoir access for filling.
Video 1: Demonstration of adding water and starting ice production (Note: This video is from Mooye US, but demonstrates general ice maker operation relevant to this product type).

Figure 4: Control panel and ice production area.

Figure 5: Ice formation on the evaporator rods.
Maintenance
Regular cleaning and maintenance will ensure the longevity and optimal performance of your ice maker.
- Daily Cleaning: After each use, wipe the interior with a soft cloth and mild detergent. Rinse thoroughly and dry.
- Self-Cleaning Function: Your ice maker is equipped with a self-cleaning mode.
- Ensure the water tank is filled with clean water.
- Press the 'clean' button on the control panel (refer to the control panel diagram for location).
- The machine will run a cleaning cycle.
- Once the cycle is complete, unplug the rubber drain plug located at the bottom of the unit to drain the water.
- Replace the drain plug securely.
- External Cleaning: Wipe the exterior of the ice maker with a soft, damp cloth. Do not use abrasive cleaners or solvents.
- Air Vent Cleaning: Periodically clean the air vents on the side or back of the unit to ensure proper airflow and prevent overheating.
- Storage: If storing the ice maker for an extended period, ensure it is thoroughly cleaned and dried. Drain all water from the tank and store in a cool, dry place.
Video 2: Demonstration of using the self-cleaning function and draining water (Note: This video is from Mooye US, but demonstrates a common self-cleaning process relevant to this product type).

Figure 6: High-speed exhaust fan for efficient heat dissipation.
Troubleshooting
If you encounter issues with your ice maker, please consult the following common troubleshooting steps before contacting customer support.
- Ice Maker Not Turning On:
- Ensure the power cord is securely plugged into a working electrical outlet.
- Check if the outlet has power by plugging in another appliance.
- No Ice Production:
- Check if the water tank is filled to the appropriate level.
- Ensure the ambient temperature is within the recommended operating range.
- Verify that the ice basket is not full, triggering the "ice full" sensor.
- Ice Cubes are Small or Soft:
- Ensure the water tank is filled with cold water.
- Clean the water tank and ice-making components to remove any mineral buildup.
- Check if the air vents are clear and not obstructed, allowing for proper heat dissipation.
- Unusual Noise:
- Ensure the unit is on a level surface.
- Check for any foreign objects inside the ice maker.
Warranty and Customer Support
For warranty information or technical assistance, please refer to the warranty card included with your product or contact Beacon Pet customer support. You can also visit the official Beacon Pet Store on Amazon for more information.