Logilink BP0145
Logilink BP0145 Monitor Wall Mount User Manual
Model: BP0145 | Brand: Logilink
Introduction
This manual provides detailed instructions for the installation, operation, and maintenance of your Logilink BP0145 Monitor Wall Mount. This wall mount is designed to securely attach your monitor directly to the wall, offering full range of motion with tilt, swivel, and rotate capabilities. The integrated gas lift mechanism ensures smooth and flexible position adjustments, optimizing your workspace.
Safety Information
- Ensure the wall structure can support the combined weight of the mount and your monitor. Consult a professional if unsure.
- Do not exceed the maximum load capacity of 9 kg (19.8 lbs).
- Always use appropriate safety gear during installation, including eye protection.
- Keep small parts away from children to prevent choking hazards.
- Follow all installation steps carefully to prevent injury or damage to equipment.
- Do not attempt to modify the mount.
Package Contents
Please verify that all components are present before beginning installation:
- 1 x Monitor Wall Mount
- 1 x User Manual (English)
- 1 x Screw Set (various sizes for monitor and wall attachment)

Image: The Logilink BP0145 monitor wall mount shown next to its retail packaging box, illustrating the product as received.
Setup and Installation
Before starting, ensure you have the necessary tools (e.g., drill, stud finder, level, screwdriver). This mount is designed for wall installation and supports VESA patterns of 75x75mm and 100x100mm.
Step 1: Wall Plate Installation
Locate a suitable mounting position on your wall, preferably a wall stud for maximum security. Use a level to ensure the wall plate is straight before marking and drilling pilot holes. Secure the wall plate firmly using the appropriate screws from the included screw set.
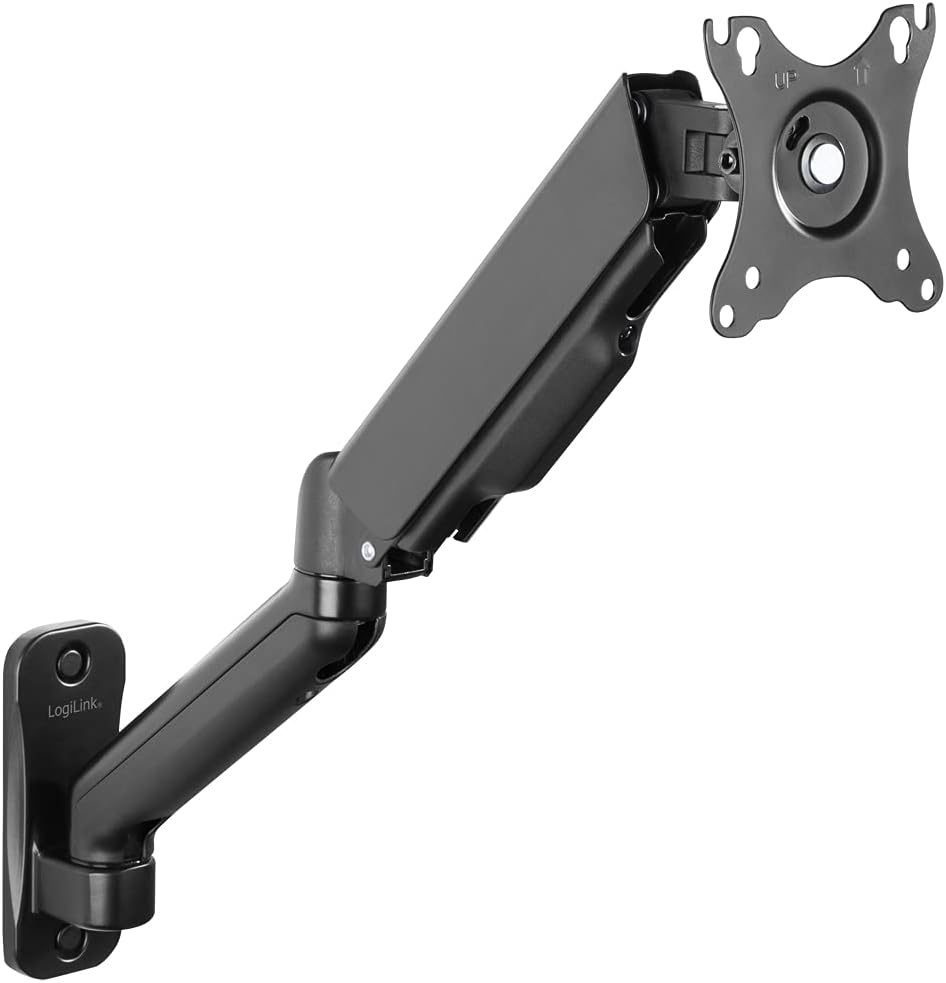
Image: The Logilink BP0145 monitor wall mount, highlighting the wall-mounted base and the articulated arm extending from it.
Step 2: Attaching the Monitor
Attach the VESA plate of the mount to the back of your monitor using the screws provided. Ensure the screws are tightened securely but do not overtighten. Once the VESA plate is attached to the monitor, carefully slide or clip the monitor onto the arm's VESA head until it locks into place.

Image: A monitor attached to the Logilink BP0145 wall mount, demonstrating how the monitor sits flush against the arm when fully retracted.
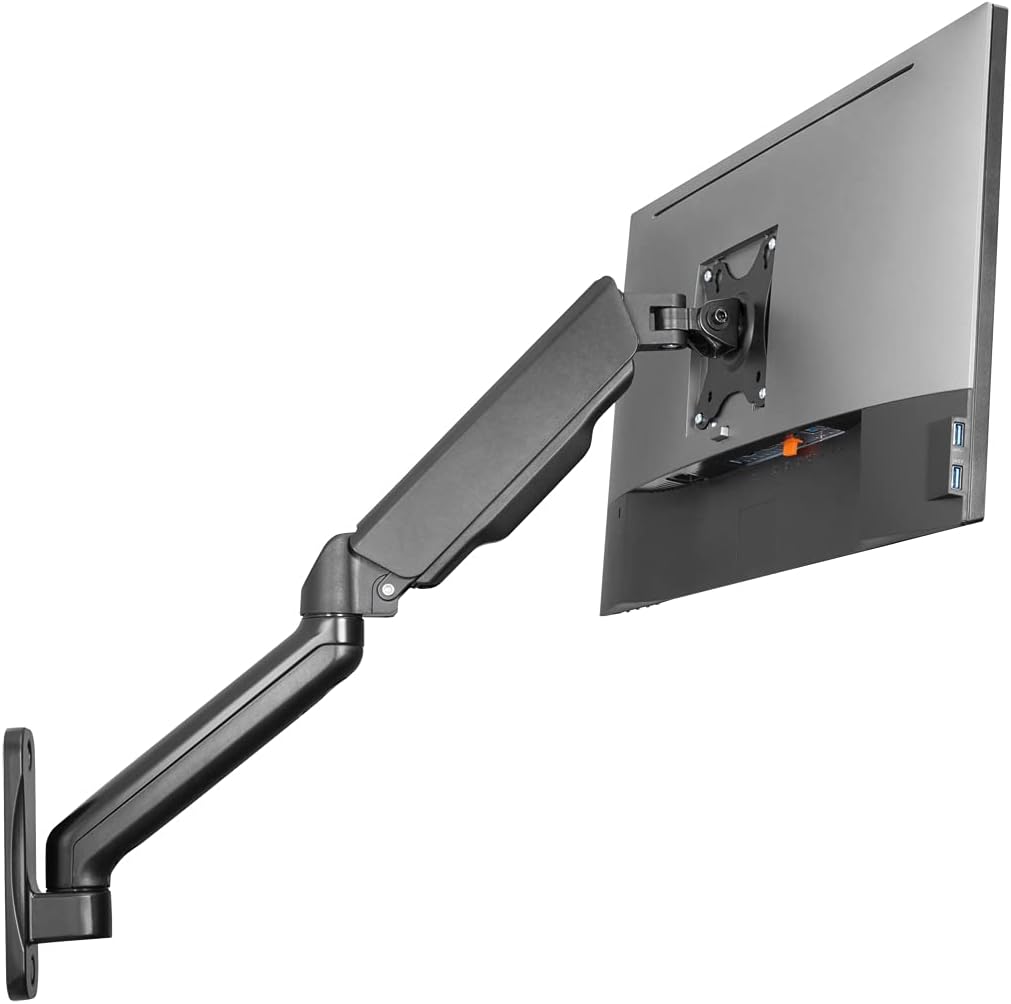
Image: A monitor mounted on the Logilink BP0145 wall mount, showing the monitor positioned in front of a desk with a keyboard and mouse.
Operating and Adjustment
The Logilink BP0145 offers extensive adjustability for optimal viewing comfort.
Gas Spring Tension Adjustment
The gas spring tension may need to be adjusted based on the weight of your monitor. If the monitor sags or floats up, use the included Allen key to adjust the tension screw located on the arm. Turn clockwise to increase tension for heavier monitors, and counter-clockwise to decrease tension for lighter monitors.

Image: A hand using an Allen key to adjust the gas spring tension screw on the upper part of the monitor arm, ensuring proper weight balance.
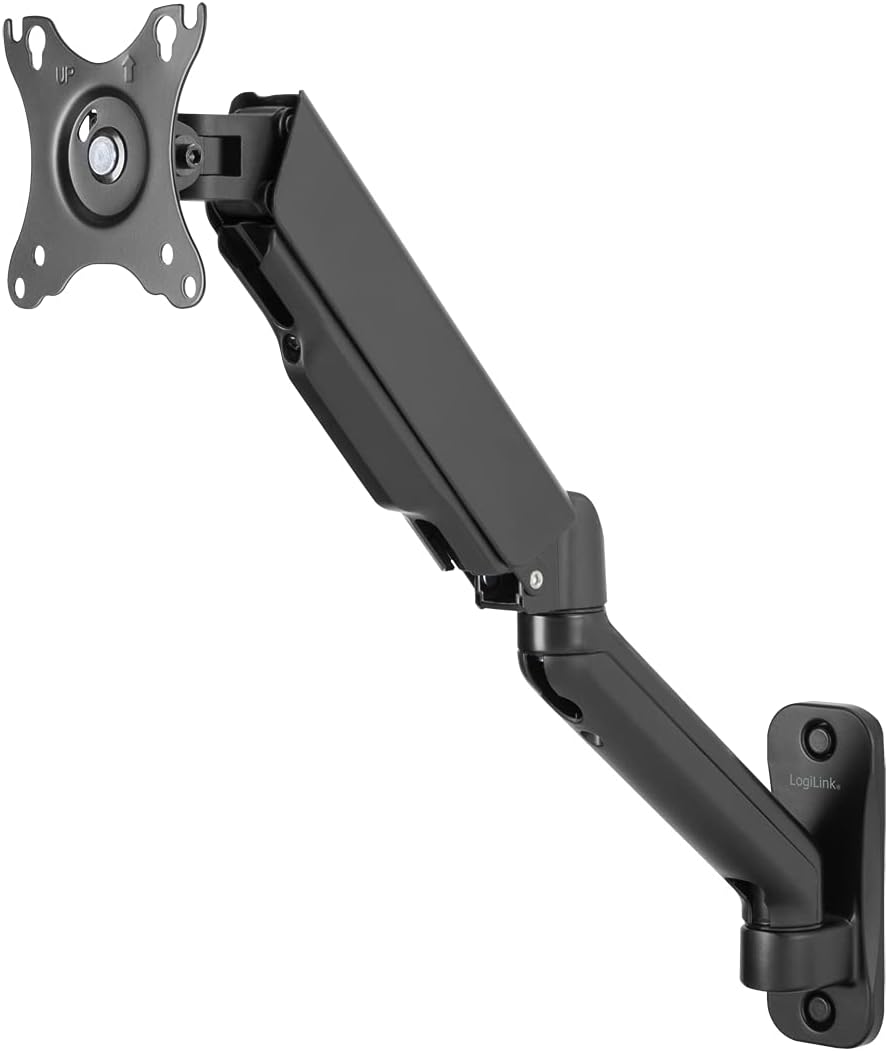
Image: A hand using an Allen key to adjust the tilt tension screw located on the VESA plate, allowing for precise control over the monitor's vertical angle.
Movement Capabilities
- Tilt: Adjust the monitor angle from -45° to +90° to reduce glare and optimize viewing.
- Swivel: Rotate the monitor arm -90° to +90° horizontally to share your screen or change viewing angles.
- Rotation: The front panel can be rotated 360° for portrait or landscape orientation.
- Extension: The arm extends from a wall clearance of 90mm up to 540mm.

Image: The Logilink BP0145 monitor wall mount demonstrating its full range of extension and retraction, with a ghosted image showing the retracted position.

Image: The Logilink BP0145 monitor wall mount illustrating the tilt functionality, with a ghosted image showing the monitor tilted downwards.
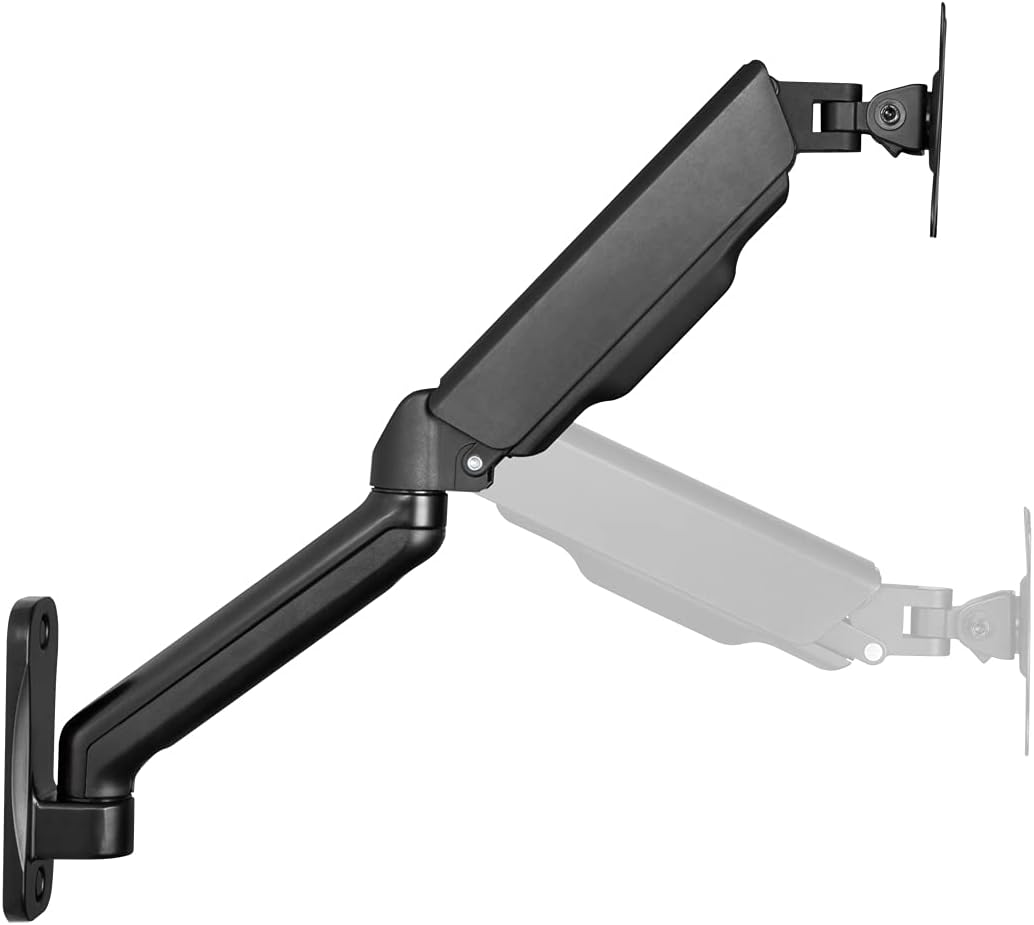
Image: The Logilink BP0145 monitor wall mount demonstrating its swivel capability, with a ghosted image showing the arm swiveled to the side.

Image: The Logilink BP0145 monitor wall mount with a monitor rotated 90 degrees into portrait orientation, showcasing the 360-degree rotation feature.
Cable Management
The mount features integrated cable management to keep your cables organized and out of sight. Route your monitor cables through the designated channels along the arm for a clean and tidy setup.
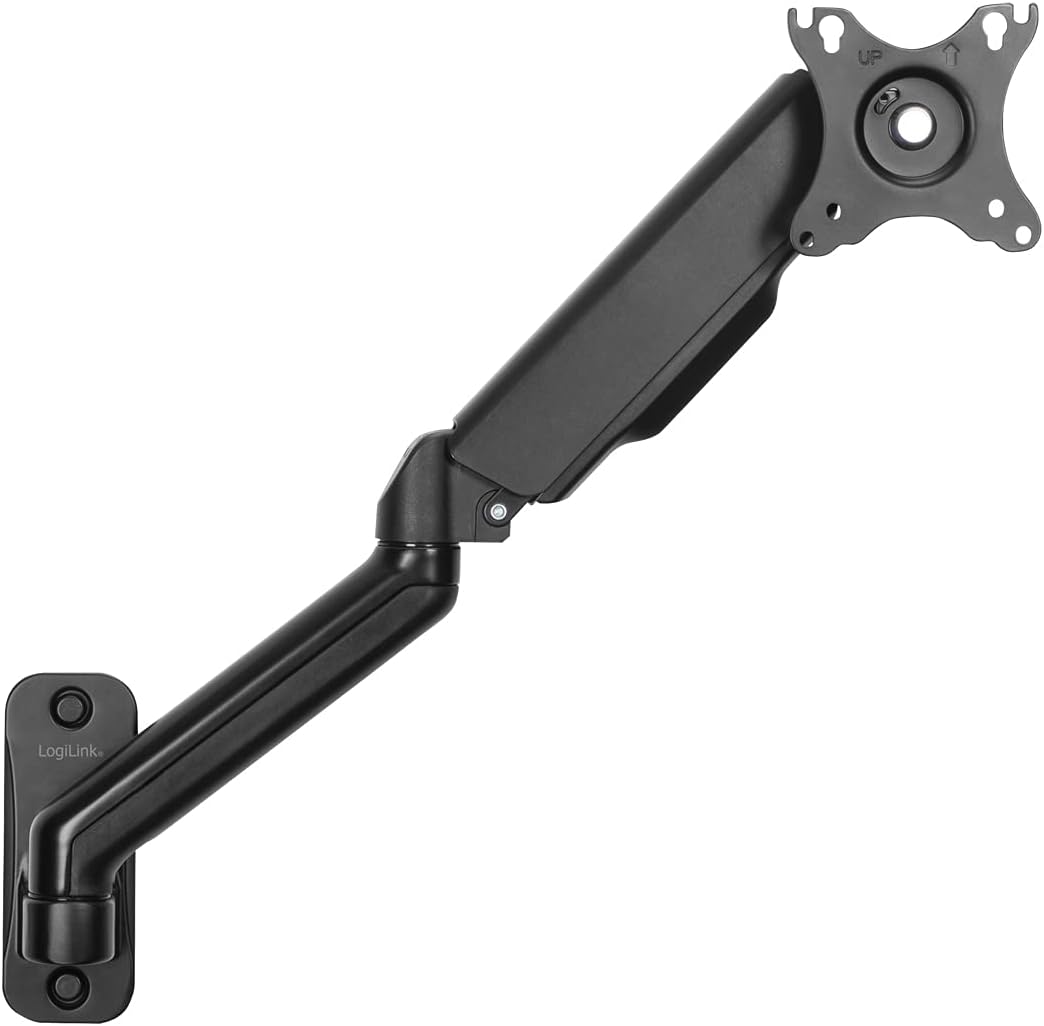
Image: The Logilink BP0145 monitor wall mount with a yellow cable routed along the underside of the arm, demonstrating the integrated cable management system.
Maintenance
- Regularly check all screws and connections to ensure they remain tight and secure.
- Clean the mount with a soft, dry cloth. Avoid abrasive cleaners or solvents.
- Do not lubricate the gas spring mechanism.
Troubleshooting
| Problem | Possible Cause | Solution |
|---|---|---|
| Monitor sags or drops | Gas spring tension is too low for monitor weight. | Increase gas spring tension using the Allen key (turn clockwise). |
| Monitor floats up or is hard to push down | Gas spring tension is too high for monitor weight. | Decrease gas spring tension using the Allen key (turn counter-clockwise). |
| Monitor wobbles after installation | Screws are not tightened sufficiently or wall support is inadequate. | Check all mounting screws (wall plate and VESA plate) and tighten. Ensure wall structure is robust. |
| Difficulty with tilt adjustment | Tilt mechanism tension is too tight. | Adjust the tilt tension screw on the VESA plate. |
Specifications
| Feature | Detail |
|---|---|
| Model Number | BP0145 |
| Screen Size Compatibility | 17-32 inches (flat/curved screens) |
| Mounting Type | Wall Mount |
| Load Capacity | Max. 9 kg (19.8 lbs) |
| VESA Compatibility | 75x75mm, 100x100mm |
| Arm Length (Max) | 450 mm |
| Wall Clearance | 90-540 mm |
| Tilt Angle | -45° to +90° |
| Swivel Angle | -90° to +90° |
| Screen Rotation | 360° (portrait/landscape) |
| Material | Metall |
| Color | Black |
| Product Dimensions | 4.61 x 18.7 x 19.33 inches |
| Item Weight | 3.53 pounds |
Warranty and Support
For warranty information or technical support, please contact Logilink customer service. Refer to the product packaging or the official Logilink website for the most current contact details.
Manufacturer: 2direct GmbH
Ask a question about this manual
Ask about setup, troubleshooting, compatibility, parts, safety, or missing instructions. Manuals+ will review the question and use this page’s manual context to help answer it.