BROTHER DCP-T720DW
Brother Wireless All In One Ink Tank Printer User Manual
Model: DCP-T720DW
1. Introduction
This manual provides essential information for setting up, operating, and maintaining your Brother DCP-T720DW Wireless All-In-One Ink Tank Printer. Please read this manual thoroughly before using the printer to ensure safe and efficient operation.
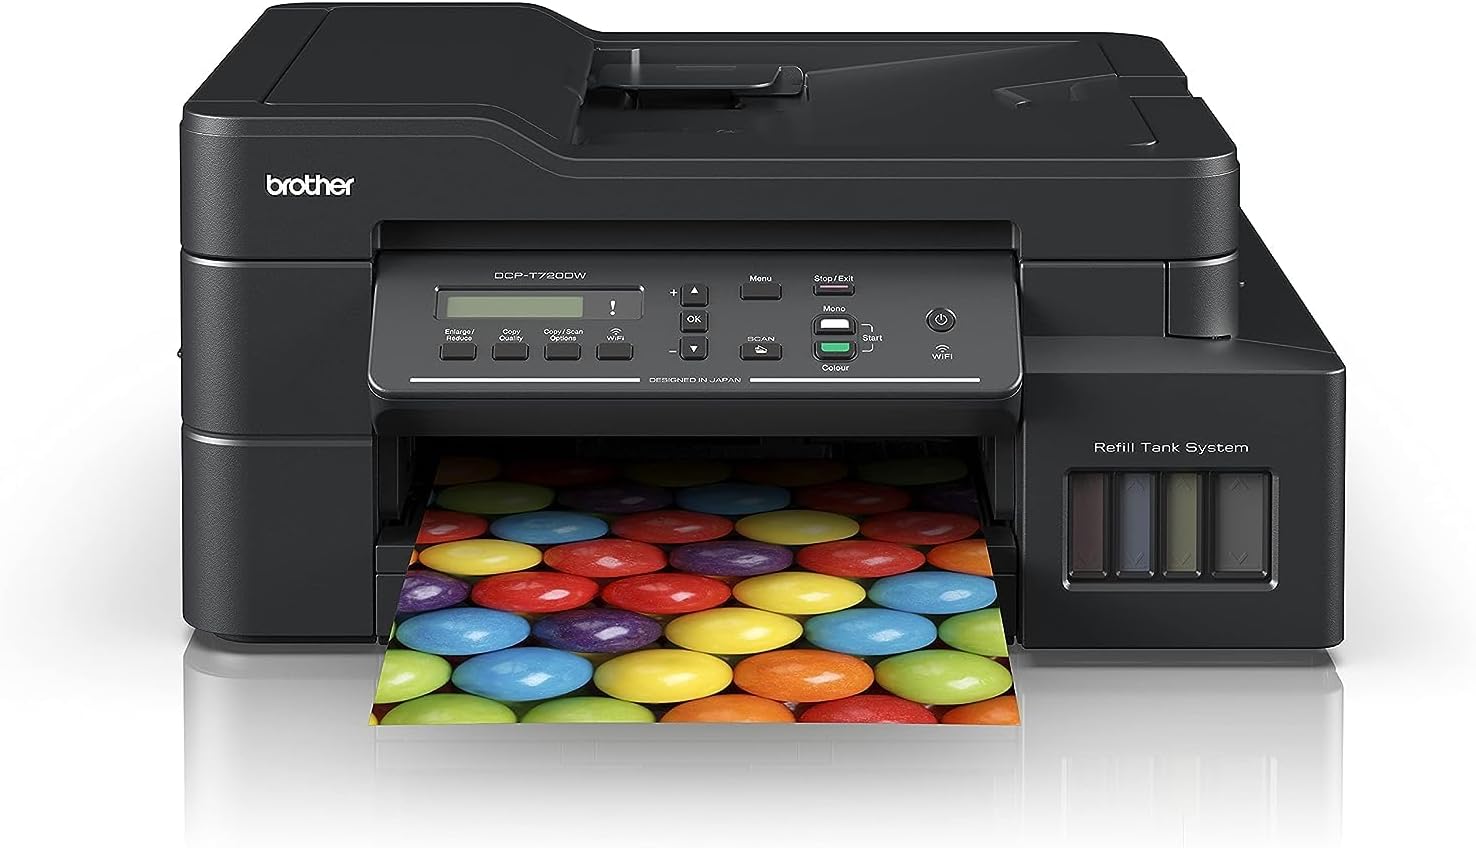
Image: Front view of the Brother DCP-T720DW printer, showcasing its compact design and front-loading paper tray.
2. Setup
2.1 Unboxing and Component Check
Carefully remove all components from the packaging. Ensure the following items are present:
- Brother DCP-T720DW Printer Unit
- Ink Bottles (Black, Cyan, Magenta, Yellow)
- Power Cord
- USB Cable
- Setup Guide
- Product Safety Guide
2.2 Filling the Ink Tanks
Before initial use, the ink tanks must be filled. Follow these steps:
- Open the ink tank cover located on the right side of the printer.
- Uncap the corresponding ink bottle (e.g., Black ink for the Black tank).
- Carefully invert the ink bottle over the tank's filling port. The ink will flow automatically.
- Once the tank is full, remove the bottle and securely close the tank cap.
- Repeat for all four colors.

Image: A hand carefully pouring ink from a Brother ink bottle into the printer's ink tank, demonstrating the refill process.
2.3 Power Connection and Initial Setup
Connect the power cord to the printer and then to a power outlet. Press the power button to turn on the printer. Follow the on-screen instructions on the LCD display to select your language and perform initial print head alignment.
2.4 Software and Driver Installation
Insert the installation CD (if provided) into your computer's CD-ROM drive, or download the latest drivers and software from the official Brother support website. Run the installer and follow the prompts to install the necessary drivers and utilities for printing, scanning, and copying.
2.5 Network Setup (Wi-Fi)
To connect your printer to a wireless network:
- On the printer's control panel, navigate to Network settings.
- Select WLAN and then Setup Wizard.
- The printer will search for available networks. Select your network's SSID from the list.
- Enter your network password (security key) using the printer's keypad.
- Confirm the settings. The printer will connect to your Wi-Fi network.

Image: The Brother DCP-T720DW printer with a Wi-Fi symbol indicating its wireless connectivity feature, ready for network setup.
3. Operating Instructions
3.1 Printing Documents
To print from your computer, open the document you wish to print, select Print from the application's menu, choose the Brother DCP-T720DW as your printer, and adjust settings as needed before clicking Print. For mobile printing, use the Brother iPrint&Scan app or other compatible mobile printing services like Apple AirPrint or Mopria Print Service.
3.2 Copying Documents
Place the document face down on the scanner glass or face up in the Automatic Document Feeder (ADF). On the printer's control panel, press the Copy button. Use the arrow keys to select the number of copies and adjust settings like color/mono, quality, or duplex. Press Start to begin copying.
3.3 Scanning Documents
Place the document on the scanner glass or in the ADF. You can initiate a scan from the printer's control panel by pressing Scan and selecting a destination (e.g., PC, Email, Cloud), or from your computer using the Brother iPrint&Scan software or other scanning applications. Ensure your computer is connected and the software is running.

Image: A person placing a document onto the scanner glass of the Brother DCP-T720DW printer, preparing for a scan operation.
3.4 Automatic 2-Sided (Duplex) Printing
The DCP-T720DW supports automatic duplex printing. When printing from your computer, select the duplex printing option in your printer driver settings. For copying, select the 2-sided copy option on the printer's control panel.
4. Maintenance
4.1 Checking Ink Levels and Refilling
Regularly check the ink levels through the transparent ink tanks on the front of the printer or via the printer's LCD display. Refill tanks when ink levels are low to prevent air from entering the ink tubes, which can affect print quality.
4.2 Cleaning the Print Head
If print quality degrades (e.g., missing lines, faded colors), perform a print head cleaning. From the printer's menu, navigate to Maintenance or Ink, then select Cleaning. Follow the on-screen prompts. You may need to perform this multiple times for optimal results.
4.3 Cleaning the Scanner Glass
Dust or smudges on the scanner glass can cause lines or spots on scanned or copied documents. Use a soft, lint-free cloth lightly dampened with glass cleaner to wipe the scanner glass and the white plastic backing. Do not spray cleaner directly onto the glass.
4.4 Clearing Paper Jams
If a paper jam occurs, the printer's LCD will display an error message. Carefully open the printer covers as indicated in the error message and gently pull out any jammed paper in the direction of the paper path. Ensure no small pieces of paper remain inside.
5. Troubleshooting
| Problem | Possible Cause | Solution |
|---|---|---|
| Printer not turning on | Power cord disconnected, power outlet issue. | Check power connections, try a different outlet. |
| Poor print quality (streaks, faded) | Low ink levels, clogged print head, incorrect paper type. | Refill ink, perform print head cleaning, use recommended paper. |
| Cannot connect to Wi-Fi | Incorrect password, out of range, router issue. | Re-enter password, move printer closer to router, restart router. |
| Paper jam error | Paper stuck in path, foreign object. | Follow on-screen instructions to clear jam, remove any debris. |
| Printer offline | Network disconnection, driver issue. | Check network connection, restart printer and computer, reinstall drivers. |
For more detailed troubleshooting, refer to the Brother support website or the full electronic manual.
6. Specifications
| Feature | Detail |
|---|---|
| Model Number | DCP-T720DW |
| Functions | Print, Copy, Scan |
| Connectivity | USB, Wi-Fi |
| Printer Technology | Inkjet |
| Maximum Print Speed (Black) | 17 ppm |
| Maximum Print Speed (Color) | 16.5 ppm |
| Maximum Print Resolution (Color) | 1200 x 6000 dpi |
| Maximum Print Resolution (Black) | 1200 dpi |
| Dual-sided Printing | Yes (Automatic) |
| Scanner Type | Flatbed |
| Maximum Sheet Capacity | 150 sheets |
| Item Dimensions (D x W x H) | 43.9D x 43.5W x 19.5H centimeters |
| Item Weight | 8.3 Kilograms |
| Included Components | Ink Bottles |
7. Warranty and Support
7.1 Warranty Information
This Brother DCP-T720DW printer comes with a 1 Year Manufacturer Warranty. Please retain your proof of purchase for warranty claims. The warranty covers defects in materials and workmanship under normal use.
7.2 Customer Support
For technical assistance, driver downloads, FAQs, or further support, please visit the official Brother support website. You can also find contact information for customer service in your region on their website.
Related Documents - DCP-T720DW
 |
Brother DCP-J1200WE Multifunction Printer with EcoPro Subscription Discover the Brother DCP-J1200WE wireless colour inkjet printer, offering mobile management via the Brother Mobile Connect app and the EcoPro ink subscription service for hassle-free printing, automatic ink delivery, and warranty. Learn about its features and specifications. |
 |
Brother Printer Quick Setup Guide for DCP-T530DW Series Step-by-step instructions for setting up Brother DCP-T530DW, DCP-T535DW, DCP-T536DW, DCP-T730DW, DCP-T735DW, DCP-T830DW, DCP-T835DW, MFC-T930DW, and MFC-T935DW printers. Includes unpacking, paper loading, connection, ink filling, and initial setup. |
 |
Brother DCP-T / MFC-T Series Quick Setup Guide This Quick Setup Guide provides essential steps for installing and setting up your Brother DCP-T or MFC-T series ink tank printer, covering unpacking, ink filling, configuration, and connectivity. |
 |
Brother DCP-T230/T236/T238/T430W/T435W/T436W/T439W Quick Setup Guide Official Quick Setup Guide for Brother DCP-T230, DCP-T236, DCP-T238, DCP-T430W, DCP-T435W, DCP-T436W, and DCP-T439W ink tank printers. Learn how to unpack, install ink, connect, and perform initial setup. |
 |
Brother DCP-T230/T236/T430W/T435W/T436W Quick Setup Guide Concise guide to setting up your Brother DCP-T230, DCP-T236, DCP-T430W, DCP-T435W, or DCP-T436W ink tank printer, including unpacking, ink filling, and initial setup. |
 |
Brother Printer Setup Guide: DCP-T220/T225/T226/T420W/T425W/T426W Quick Setup Step-by-step quick setup guide for Brother DCP-T220, DCP-T225, DCP-T226, DCP-T420W, DCP-T425W, DCP-T426W printers. Covers unpacking, ink installation, paper loading, initial cleaning, connectivity, and basic operations. |