
Important Safety Information
Please read all instructions carefully before using your ARCTIC CHEF RFR176 Retro Bar Fridge. Retain this manual for future reference.
- Electrical Safety: Ensure the refrigerator is connected to a grounded 120V, 60Hz power outlet. Do not use extension cords or ungrounded adapters. Avoid placing the power cord under carpets or near heat-generating appliances.
- Ventilation: Allow adequate space around the refrigerator for proper ventilation (at least 4 inches on sides and back, 8 inches on top) to prevent overheating and ensure efficient operation.
- Flammable Materials: Do not store explosive substances such as aerosol cans with flammable propellants in this appliance. Keep flammable materials and vapors away from the refrigerator.
- Child Safety: This appliance is not intended for use by persons (including children) with reduced physical, sensory, or mental capabilities, or lack of experience and knowledge, unless they have been given supervision or instruction concerning use of the appliance by a person responsible for their safety. Children should be supervised to ensure they do not play with the appliance.
- Disposal: When disposing of old refrigerators, remove the doors and leave shelves in place to prevent children from getting trapped inside. Dispose of the appliance according to local regulations, as it contains flammable refrigerant and insulation gas.
- Cleaning: Always unplug the refrigerator before cleaning. Use only mild, non-abrasive cleaners.
Product Overview
The ARCTIC CHEF RFR176 is a compact 1.6 cu. ft. retro-style bar fridge designed for convenient storage of beverages and snacks. It features a compressor-cooled system for efficient cooling, an adjustable thermostat for temperature control, and a reversible door for flexible placement. A built-in side bottle opener adds to its utility.
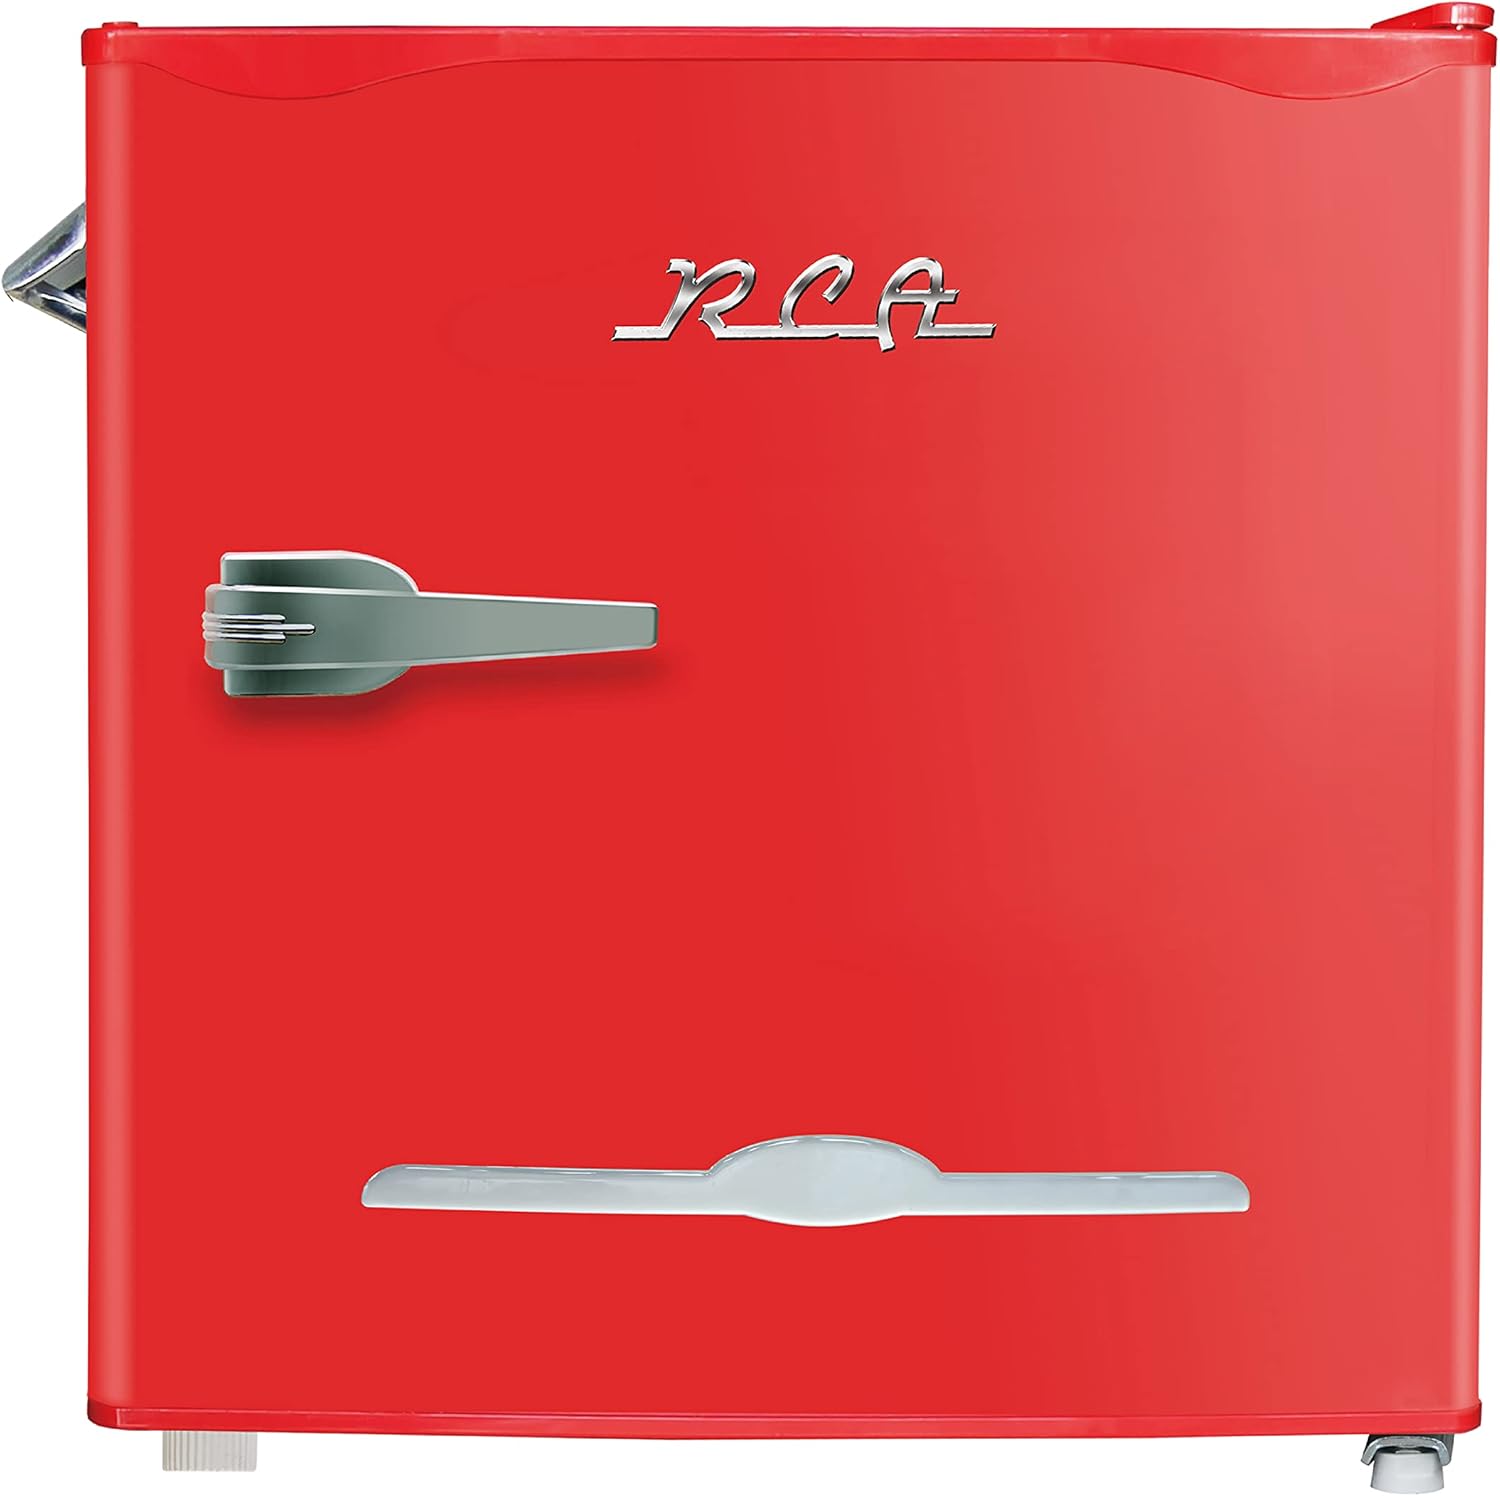
Image: Front view of the ARCTIC CHEF RFR176 1.6 cu. ft. Retro Bar Fridge in red, showcasing its classic design, handle, and integrated bottle opener.
Key Features:
- 1.6 Cubic Feet Capacity
- Compressor Cooling System
- Adjustable Thermostat
- Reversible Door
- Adjustable Leveling Feet
- Slide-Out Shelves for easy cleaning
- Integrated Side Bottle Opener
- Space-Saving Flush Back Design
- Internal Freezer Compartment
Setup Instructions
1. Unpacking:
- Remove all packaging materials, including foam and adhesive tape.
- Inspect the refrigerator for any damage during transit. Report any damage to your retailer immediately.
- Keep packaging materials out of reach of children.
2. Placement:
- Choose a location with a strong, level floor capable of supporting the refrigerator when fully loaded.
- Avoid direct sunlight or heat sources (e.g., stove, heater).
- Ensure adequate air circulation: at least 4 inches (10 cm) of space on the sides and back, and 8 inches (20 cm) on top.
- The refrigerator is designed for indoor use only.
3. Leveling:
- Adjust the leveling feet at the bottom of the refrigerator by turning them clockwise or counter-clockwise until the unit is stable and level.
- A level refrigerator ensures proper door sealing and efficient operation.
4. Initial Cleaning:
- Before plugging in, wipe the interior and exterior surfaces with a soft cloth dampened with a mild detergent solution.
- Dry thoroughly.
5. Power Connection:
- After placement and leveling, wait at least 2-4 hours before plugging the refrigerator into the power outlet. This allows the refrigerant to settle.
- Plug the refrigerator into a dedicated, grounded 120V, 60Hz electrical outlet.
6. Reversible Door (Optional):
The door hinge can be reversed to open from the left or right side. This procedure requires tools and careful handling. Refer to a detailed diagram or professional assistance if unsure.
Operating Instructions
1. Initial Operation:
- Once plugged in, the compressor will start. Allow the refrigerator to cool for approximately 2-3 hours before placing food or beverages inside.
2. Temperature Control:
- The adjustable thermostat knob is typically located inside the refrigerator compartment.
- Turn the knob to adjust the cooling intensity. Higher numbers or settings usually indicate colder temperatures.
- Start with a medium setting and adjust as needed based on ambient temperature and desired cooling.
3. Internal Freezer Compartment:
- The small internal freezer compartment is suitable for making ice cubes or storing small frozen items.
- Avoid storing items that require deep freezing for extended periods, as this is a compact freezer.
- An ice cube tray is typically included.
4. Side Bottle Opener:
- The integrated bottle opener is located on the side of the unit for convenient access.
- Use it to open standard bottle caps.
Maintenance
1. Cleaning the Interior:
- Frequency: Clean the interior regularly, or whenever spills occur.
- Procedure:
- Unplug the refrigerator from the power outlet.
- Remove all food and beverages.
- Remove shelves and wash them with a mild detergent solution. Rinse and dry thoroughly.
- Wipe the interior surfaces with a soft cloth dampened with a solution of baking soda (1 tablespoon baking soda to 1 quart of warm water) or a mild, non-abrasive cleaner.
- Rinse with clean water and dry thoroughly before plugging the unit back in.
2. Cleaning the Exterior:
- Wipe the exterior surfaces with a soft cloth and a mild detergent.
- For stainless steel finishes (if applicable), use a specialized stainless steel cleaner.
- Do not use abrasive cleaners or sharp objects, as they can scratch the surface.
3. Door Seal Maintenance:
- Regularly check the door gasket for cleanliness and proper sealing.
- Clean the gasket with a mild soap and water solution.
- A clean and properly sealing gasket ensures energy efficiency and prevents frost buildup.
4. Defrosting:
This refrigerator features an automatic defrost system for the main compartment. However, the small internal freezer compartment may require manual defrosting if ice buildup becomes excessive (more than 1/4 inch thick).
- Procedure for Manual Defrost (Freezer Compartment):
- Unplug the refrigerator.
- Remove all contents from the freezer compartment.
- Leave the refrigerator door open to allow ice to melt naturally. Place towels at the bottom to absorb water.
- Do not use sharp objects or heating devices to speed up defrosting, as this can damage the unit.
- Once defrosted, clean and dry the compartment thoroughly before plugging the unit back in.
Troubleshooting
Before contacting customer service, please review the following common issues and solutions:
| Problem | Possible Cause | Solution |
|---|---|---|
| Refrigerator does not operate. |
|
|
| Refrigerator is not cold enough. |
|
|
| Excessive noise. |
|
|
| Door does not close completely. |
|
|
Specifications
| Feature | Detail |
|---|---|
| Brand | ARCTIC CHEF |
| Model Number | RFR176 |
| Capacity | 1.6 Cubic Feet |
| Refrigerator Fresh Food Capacity | 1.4 Cubic Feet |
| Freezer Capacity | 0.2 Cubic Feet |
| Product Dimensions (D x W x H) | 20 x 22 x 65 inches |
| Item Weight | 31.4 pounds |
| Installation Type | Countertop |
| Form Factor | Compact |
| Color | Red |
| Voltage | 120 Volts |
| Annual Energy Consumption | 200 Kilowatt Hours Per Year |
| Defrost System | Automatic (main compartment) |
| Door Hinges | Reversible |
| Shelf Type | Wire |
| Number of Shelves | 2 |
| Material Type | Steel |
| Certification | ETL |
Warranty and Support
ARCTIC CHEF products are manufactured to high-quality standards and are warranted against defects in manufacturing materials and workmanship. Specific warranty terms and conditions may vary by region and retailer.
For detailed warranty information, product support, or to inquire about service, please refer to the warranty card included with your purchase or visit the official ARCTIC CHEF website. You may also contact your retailer for assistance.
Online Resources:
- Visit the ARCTIC CHEF Store on Amazon for product information and updates.