1. Introduction
This manual provides detailed instructions for the installation, operation, and maintenance of your OMAC Roof Rack Cross Bars and Side Rails Set. Please read this manual thoroughly before installation and use to ensure proper function and safety. Retain this manual for future reference.
2. Product Overview
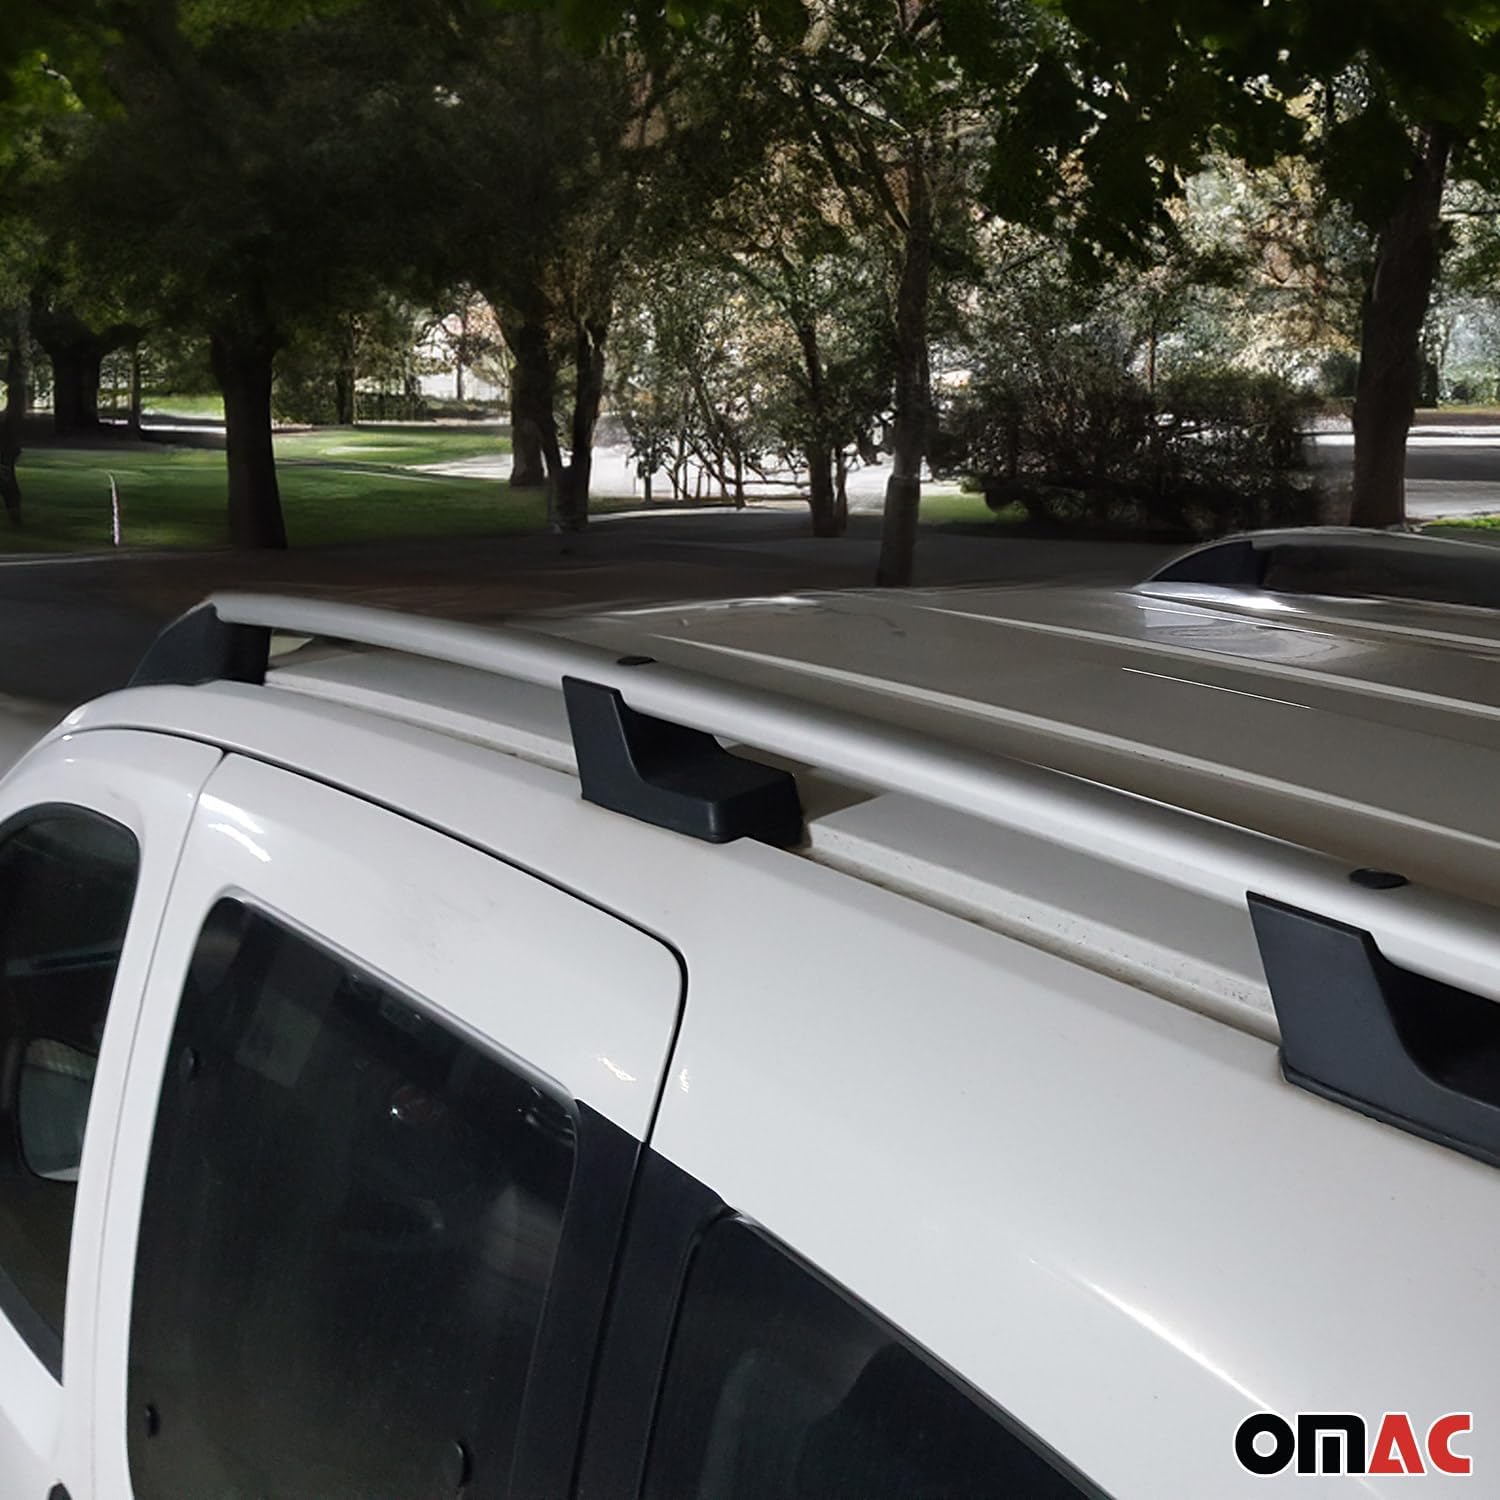
The OMAC Roof Rack Cross Bars and Side Rails Set is designed to provide additional cargo carrying capacity for your vehicle. Constructed from high-quality, lightweight, and anodized aluminum, this system offers durability and an aerodynamic profile. It is engineered to be waterproof and water-resistant, ensuring reliable performance in various weather conditions.


3. Compatibility
This roof rack system is compatible with Ford Transit models manufactured between 2014 and 2022. It is specifically designed for Long Wheelbase Models. Please verify your vehicle's year, make, model, and wheelbase before proceeding with installation.

4. Package Contents
The OMAC Roof Rack Cross Bars and Side Rails Set typically includes:
- 2 x Aluminum Roof Side Rails
- 2 x Aluminum Roof Cross Bars
- Mounting Hardware (brackets, screws, washers)
- Installation Tool (e.g., wrench)
- Instruction Guide (this manual)
5. Specifications
| Model Number | 2626931M-SET1 |
| Material | Anodized Aluminum |
| Color | Silver |
| Load Capacity | Up to 165 lbs (75 kg) |
| Product Dimensions (L x W x H) | 104.5 x 10 x 10 inches (approximate, packaged) |
| Item Weight | 20 lbs (9.07 kg) |
| T-Bolt Slot Dimensions | Width: 0.47" (12mm), Depth: 0.86" (22mm), Height: 0.24" (6.3mm) |

6. Safety Information
- Load Capacity: Do not exceed the maximum load capacity of 165 lbs (75 kg) for the roof rack system. Always consider your vehicle's roof load limit, which may be lower.
- Load Distribution: Distribute cargo evenly across the cross bars. Secure all items properly to prevent shifting during transit.
- Regular Checks: Periodically check all mounting hardware for tightness, especially after initial installation and before long trips.
- Driving Speed: Adjust driving speed according to road conditions and the weight of the cargo. Avoid sudden maneuvers.
- Clearance: Be aware of increased vehicle height when carrying cargo, especially when entering garages, car washes, or low-clearance areas.
- Installation: Ensure all components are installed correctly and securely as per the instructions. Improper installation can lead to product failure and potential hazards.
7. Setup and Installation
No cutting or drilling is required for the installation of this roof rack system. Follow these steps carefully:
- Identify Components: Unpack all components and verify against the package contents list. Familiarize yourself with the side rails, cross bars, and mounting hardware.
- Position Side Rails: Place the aluminum side rails onto the designated mounting points on your Ford Transit's roof. Ensure they align with the vehicle's pre-existing attachment points.
- Secure Side Rails: Use the provided mounting hardware to securely fasten the side rails to the vehicle. Tighten all bolts evenly.
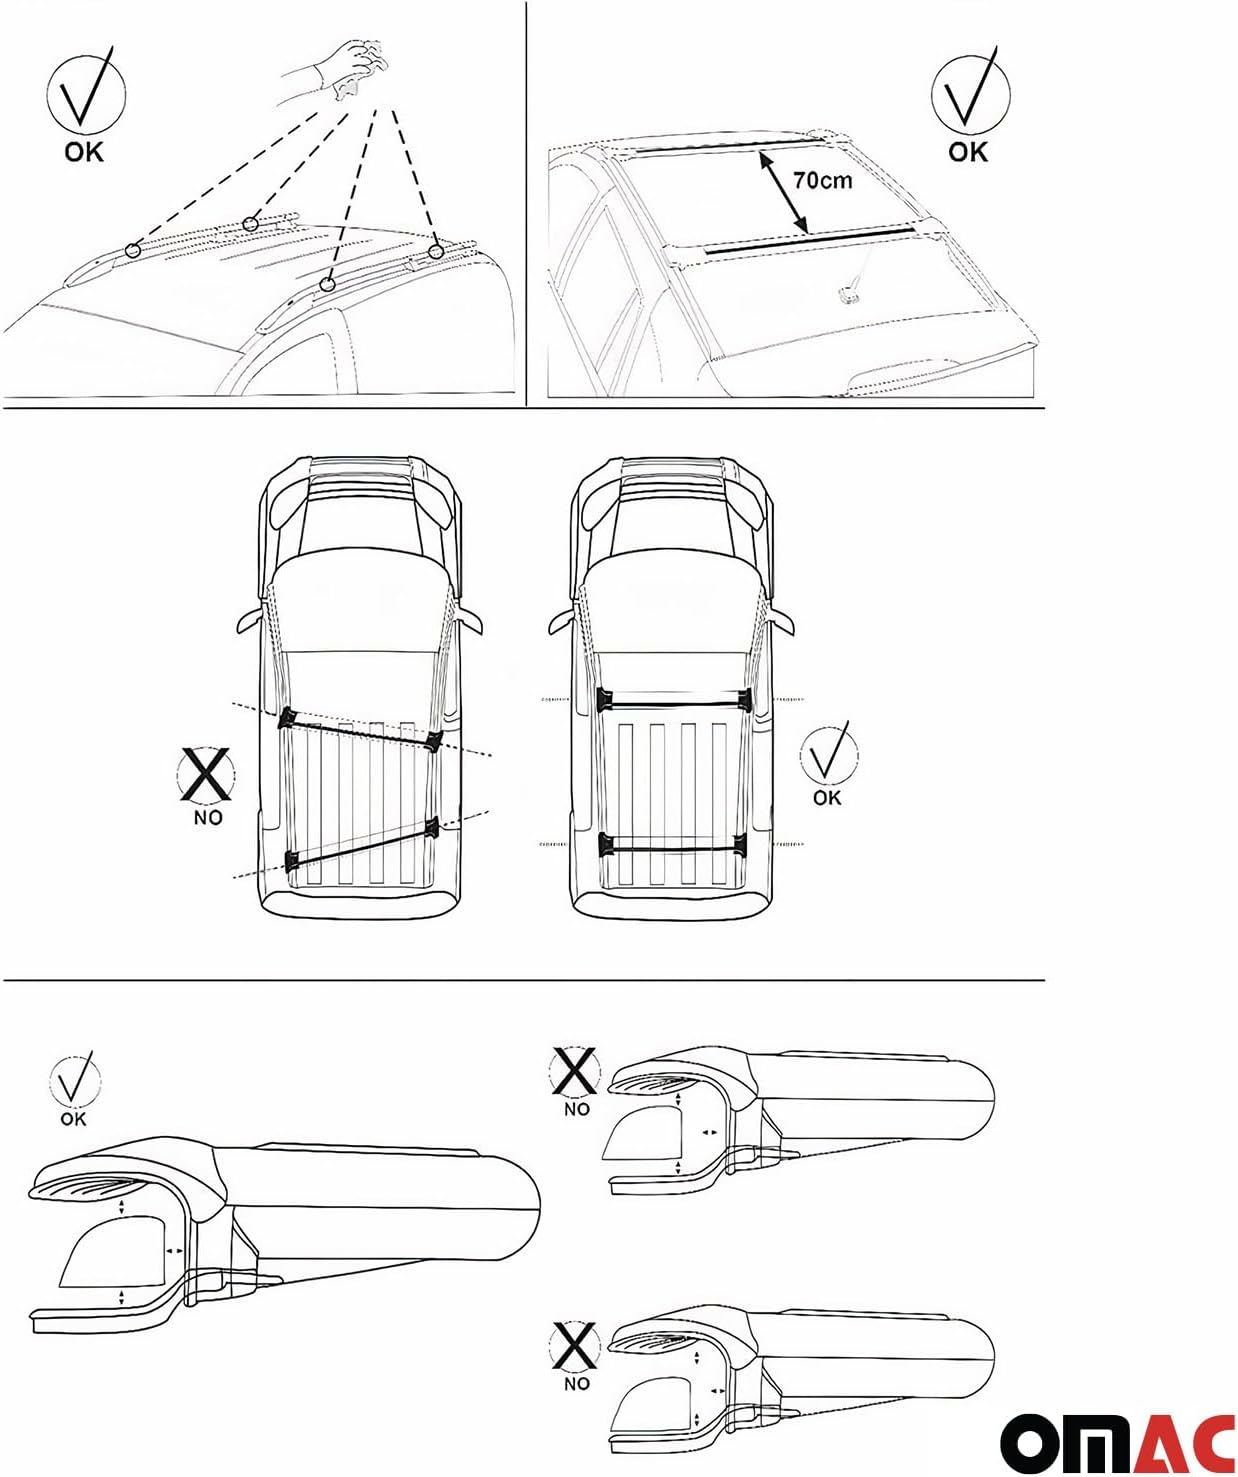
- Install Cross Bars: Attach the cross bars to the installed side rails. The cross bars are adjustable to allow for optimal positioning. Ensure they are parallel and evenly spaced. A recommended spacing of approximately 70cm (27.5 inches) between cross bars is shown in the diagram.
- Secure Cross Bars: Tighten the fasteners that secure the cross bars to the side rails. Ensure they are firmly in place and do not wobble.
- Final Check: After installation, gently shake the entire roof rack system to confirm all components are securely fastened. Re-tighten any loose connections.


8. Operating Instructions (Usage)
Once installed, your OMAC Roof Rack is ready for use. Adhere to the following guidelines:
- Loading Cargo: Place cargo evenly on the cross bars. Use appropriate tie-downs, straps, or cargo nets to secure items firmly. Ensure no part of the cargo obstructs your view or interferes with vehicle operation.
- Weight Distribution: Always distribute the weight of your cargo as evenly as possible across both cross bars and along the length of the bars. Avoid concentrating heavy loads in one spot.
- Aerodynamics: For optimal fuel efficiency and reduced wind noise, consider the aerodynamic profile of your cargo. Large, bulky items can significantly increase drag.
- Regular Inspection: Before each trip, especially when carrying cargo, inspect the roof rack and cargo for any signs of looseness or damage.
9. Maintenance
Proper maintenance will extend the life and ensure the safe operation of your roof rack system:
- Cleaning: Clean the aluminum components with mild soap and water. Avoid abrasive cleaners or solvents that could damage the anodized finish.
- Inspection: Periodically inspect all bolts, nuts, and attachment points for corrosion, wear, or damage. Replace any worn or damaged parts immediately.
- Lubrication: No specific lubrication is required for this system.
- Storage: If removing the roof rack for extended periods, store it in a dry, protected area to prevent environmental damage.
10. Troubleshooting
This section addresses common issues you might encounter:
- Issue: Roof rack feels loose after installation.
Solution: Re-check all mounting bolts and ensure they are tightened to the specified torque (if applicable, refer to vehicle manual for roof rail attachment points). Ensure the cross bars are firmly secured to the side rails. - Issue: Excessive wind noise.
Solution: Ensure cross bars are positioned correctly and not too far forward or backward. Check for any gaps or loose components that might be causing whistling. Consider adding a wind fairing (sold separately) if noise persists. - Issue: Difficulty attaching accessories to cross bars.
Solution: Verify that your accessories are compatible with the T-Bolt slot dimensions (0.47" / 12mm width). Ensure the T-bolts are inserted correctly into the slot.
11. Warranty and Support
For warranty information or technical support regarding your OMAC Roof Rack Cross Bars and Side Rails Set, please contact OMAC USA directly. Refer to your purchase documentation or the OMAC website for current contact details and warranty terms.