1. Product Overview
The PUREPLUS Backwash Whole House Spin Down Sediment Water Filter is designed to remove sediment, rust, and other particulate matter from your household water supply. This pre-filtration system protects downstream equipment and appliances by reducing the load on finer filters. Its unique spin-down and backwash features allow for easy cleaning and extended filter life without frequent cartridge replacement.
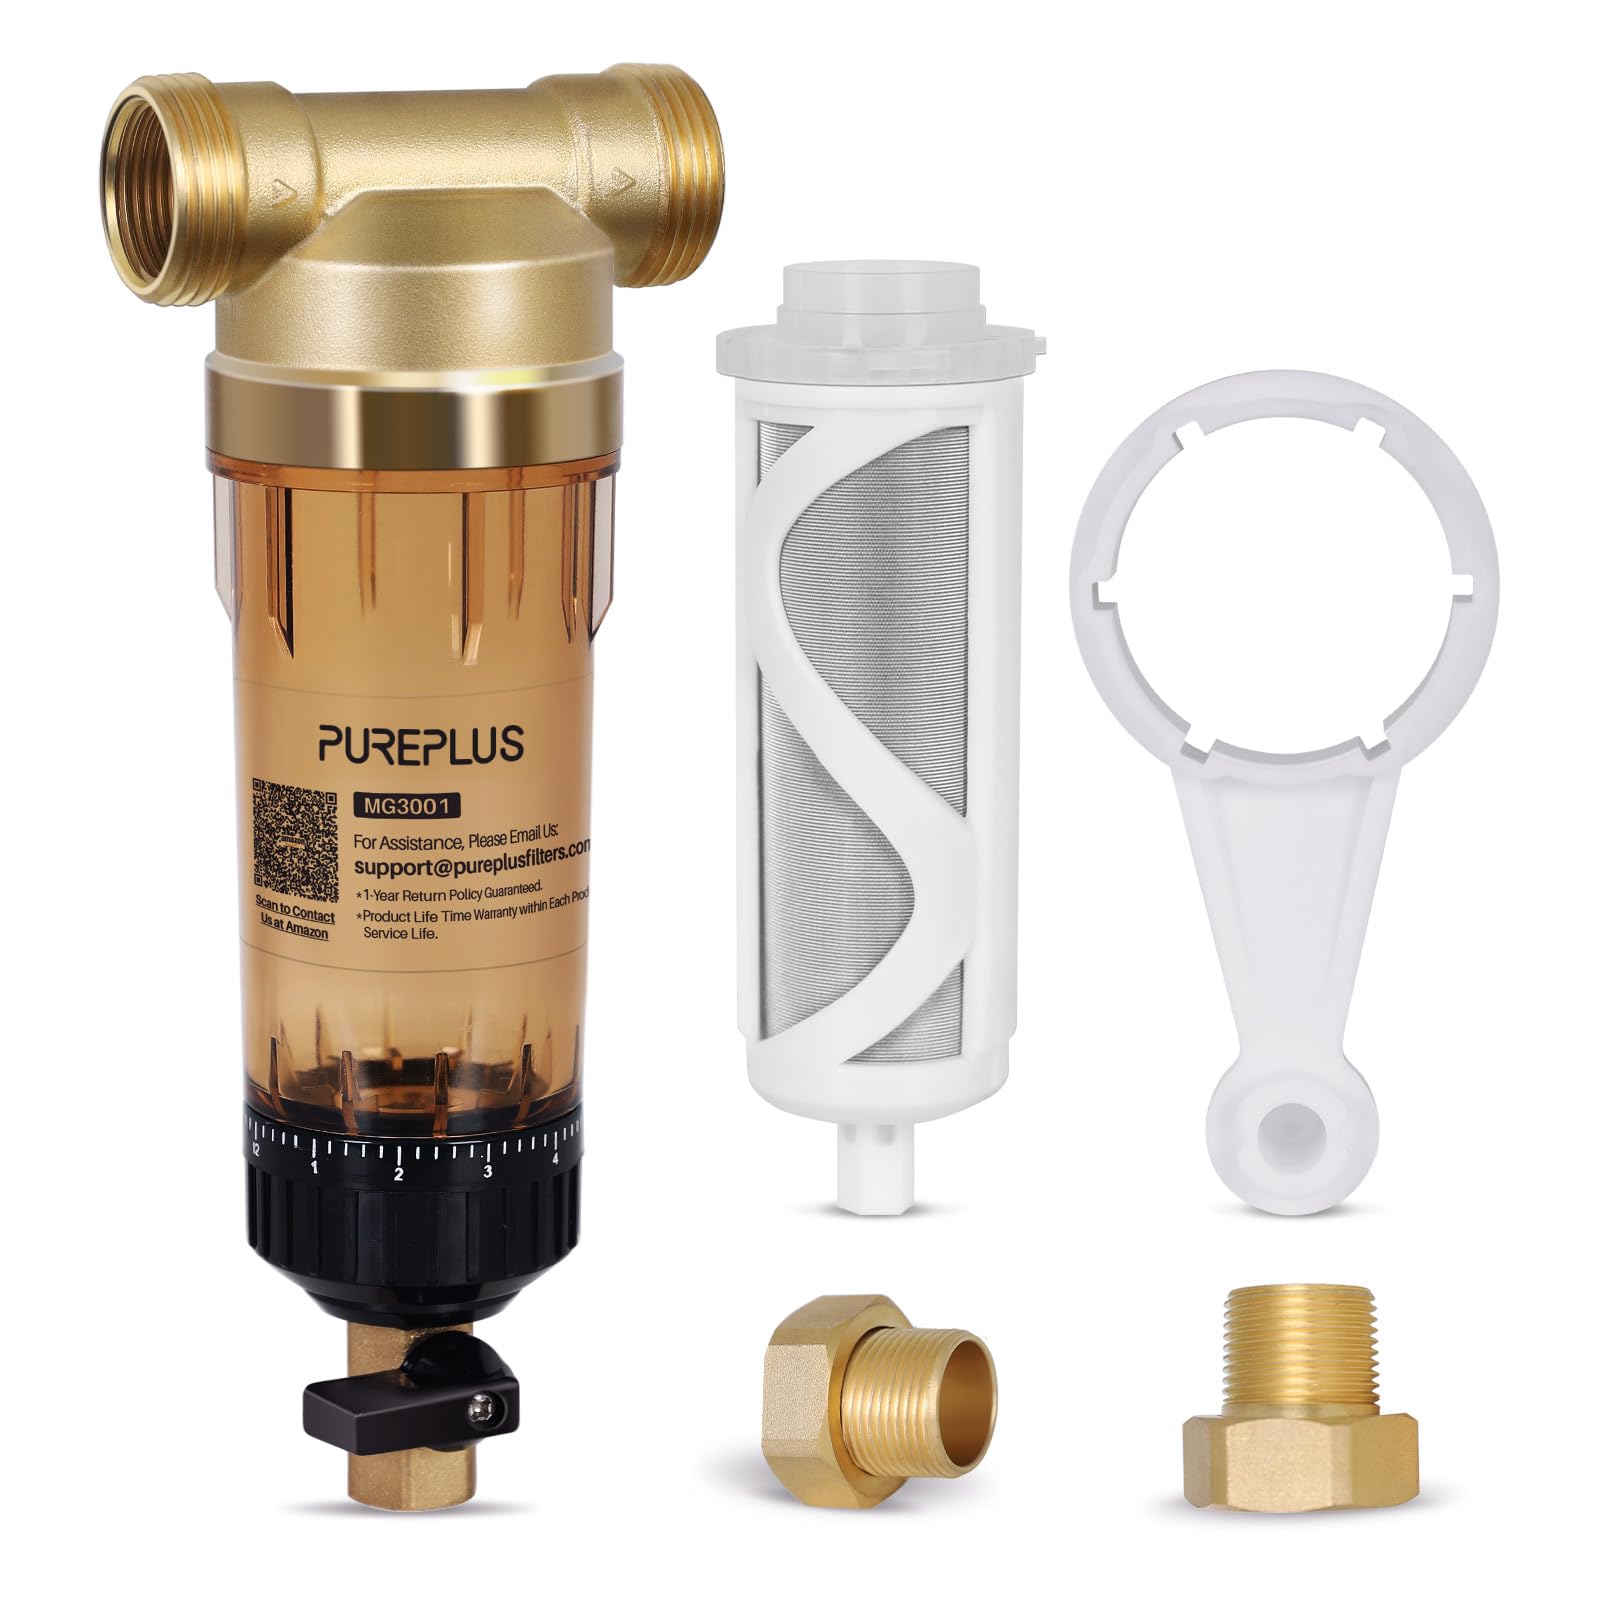
Figure 1: PUREPLUS Backwash Whole House Spin Down Sediment Water Filter. This image shows the complete filter unit with its transparent housing, brass head, and backwash valve.
2. Safety Information
Please read all instructions carefully before installation and operation. Failure to follow these guidelines may result in property damage, injury, or improper filter function.
- Always turn off the main water supply and relieve pressure before installing, servicing, or performing maintenance on the filter.
- Ensure all connections are properly sealed to prevent leaks. Use appropriate thread sealant (e.g., PTFE tape) on threaded connections.
- Do not overtighten connections, as this can damage the filter housing or plumbing.
- Install the filter in a location protected from freezing temperatures and direct sunlight.
- If you are unsure about any installation steps, consult a qualified plumber.
- Keep the filter away from electrical outlets and appliances.
- This filter is designed for cold water applications only. Do not use with hot water.
3. Package Contents
Verify that all components are present before beginning installation:
- PUREPLUS Spin Down Sediment Water Filter Unit (Brass Head, Transparent Housing, Filter Screen)
- Mounting Bracket
- Wrench for Housing Removal
- Drain Valve
- Connection Fittings (e.g., 1" MNPT, 3/4" FNPT, 3/4" MNPT adapters)
- User Manual
4. Setup and Installation
4.1 Choosing an Installation Location
Install the filter on the main cold water line entering your home, after the main shut-off valve and before any other water treatment equipment. Ensure there is sufficient clearance below the filter for backwashing and maintenance.
4.2 Installation Steps
- Turn off Water Supply: Locate your main water shut-off valve and turn off the water supply to your home. Open a faucet to relieve pressure in the lines.
- Prepare Plumbing: Cut into the main water line at your chosen installation point. Ensure the cut ends are clean and free of burrs.
- Install Mounting Bracket: Secure the mounting bracket to a sturdy surface (e.g., wall stud) using appropriate screws. Ensure the bracket is level and can support the weight of the filter when full of water.
- Connect Filter Head: Apply PTFE tape to the threaded connections of the filter head. Connect the inlet and outlet plumbing to the filter head. The filter head typically has an arrow indicating water flow direction. Ensure the filter is installed in the correct orientation. The filter supports 1" MNPT, 3/4" FNPT, and 3/4" MNPT connections.
- Attach Filter Housing: Carefully screw the transparent filter housing onto the brass filter head. Hand-tighten first, then use the provided wrench for a snug fit. Do not overtighten.
- Install Drain Valve: Attach the drain valve to the bottom of the filter housing. Ensure it is securely tightened.
- Restore Water Supply: Slowly turn on the main water supply. Check for leaks at all connections. If leaks occur, turn off the water, relieve pressure, and re-tighten connections as needed.
- Flush the System: Open the drain valve at the bottom of the filter to flush out any air and fine particles. Allow water to run for a few minutes until it runs clear. Close the drain valve.

Figure 2: Example of a typical whole house filter installation. This image illustrates the filter integrated into a home's main water line.
5. Operating Instructions
5.1 Normal Operation
Once installed and flushed, the filter operates automatically. Water flows into the filter, passes through the 40-micron stainless steel mesh screen, and exits, leaving sediment trapped inside the housing. The transparent housing allows for visual inspection of the accumulated sediment.
5.2 Backwash Function
The backwash function allows you to clean the filter screen without disassembling the unit. This process flushes accumulated sediment out of the housing.
- Prepare for Backwash: Ensure the drain valve at the bottom of the filter is connected to a suitable drain or collection bucket. Note that the entire base, including the backwash valve, rotates, which may prevent permanent drain hose attachment.
- Initiate Backwash: Slowly open the drain valve. Water pressure will reverse flow within the housing, dislodging trapped sediment from the filter screen and flushing it out through the drain valve.
- Observe Flushing: Allow water to flow through the drain valve until it runs clear, indicating that most sediment has been removed. This typically takes 30-60 seconds.
- Close Drain Valve: Slowly close the drain valve. The filter will return to normal operation.
Perform backwashing regularly, or whenever you observe significant sediment buildup in the housing or a noticeable drop in water pressure.
6. Maintenance
6.1 Regular Backwashing
Regular backwashing is the primary maintenance for this filter. The frequency depends on your water quality and sediment load. Visually inspect the housing; if you see a significant amount of sediment, perform a backwash.
6.2 Manual Cleaning (If Necessary)
If backwashing does not sufficiently clean the filter screen, or if heavy buildup occurs, manual cleaning may be required.
- Shut off Water: Turn off the main water supply and relieve pressure.
- Drain Water: Open the drain valve to empty the housing.
- Remove Housing: Use the provided wrench to carefully unscrew the transparent housing from the brass head.
- Clean Screen: Remove the filter screen and rinse it thoroughly under running water. A soft brush can be used to dislodge stubborn particles. Inspect the scraper mechanism for any debris.
- Inspect O-rings: Check the O-rings for any signs of wear, cracks, or damage. Replace if necessary. Lubricate O-rings with food-grade silicone grease to ensure a good seal.
- Reassemble: Place the clean filter screen back into the housing. Carefully screw the housing back onto the filter head, ensuring the O-ring is properly seated. Hand-tighten, then use the wrench for a snug fit. Do not overtighten.
- Restore Water: Slowly turn on the main water supply and check for leaks. Flush the system as described in Section 4.2.
7. Troubleshooting
| Problem | Possible Cause | Solution |
|---|---|---|
| Water Leakage | Loose connections, damaged O-rings, improper O-ring seating. | Turn off water, relieve pressure. Check and tighten all connections. Inspect O-rings for damage and proper seating; replace if necessary. Apply food-grade silicone grease to O-rings. |
| Filter Not Backwashing Effectively | Insufficient water pressure, drain valve partially blocked, excessive sediment buildup. | Ensure adequate water pressure. Check drain valve for obstructions. Perform manual cleaning of the filter screen (Section 6.2). |
| Reduced Water Flow | Clogged filter screen due to heavy sediment accumulation. | Perform a backwash. If flow does not improve, perform manual cleaning of the filter screen (Section 6.2). |
| Sediment Still Present in Water | Filter screen damaged, sediment too fine for 40-micron filter, improper installation. | Inspect filter screen for tears or holes; replace if damaged. Consider adding a finer secondary filter if sediment is consistently passing through. Verify correct installation and water flow direction. |
8. Specifications
- Product Dimensions: 13.4 x 6.4 x 4.1 inches
- Item Weight: 3.78 pounds
- Filter Micron Rating: 40 Micron
- Connection Sizes: 1" MNPT + 3/4" FNPT + 3/4" MNPT
- Material: Brass (head), BPA Free (housing)
- External Testing Certification: SGS, NSF
- Product Benefits: Removes sediment, rust, and other pollutants; protects downstream equipment; easy to clean with backwash function.
- Unit Count: 1 Count
9. Warranty and Support
9.1 Warranty Information
For specific warranty details, please refer to the warranty card included with your product or contact PUREPLUS customer support directly. Warranty terms typically cover manufacturing defects and material flaws under normal use and service.
9.2 Customer Support
If you have any questions, require technical assistance, or need to report an issue with your PUREPLUS filter, please contact PUREPLUS customer support through their official website or the contact information provided in your product packaging.


