Introduction
Thank you for choosing the BoostArea Floor Lamp. This 71-inch tall pole lamp features a main lamp and an adjustable gooseneck side lamp, designed to provide versatile lighting for various needs such as reading, working, or general room illumination. It incorporates an E26 base for bulbs (bulbs not included) and offers three lighting modes via a rotary switch. Its stable design ensures safety, and the modern aesthetic complements various home decors.
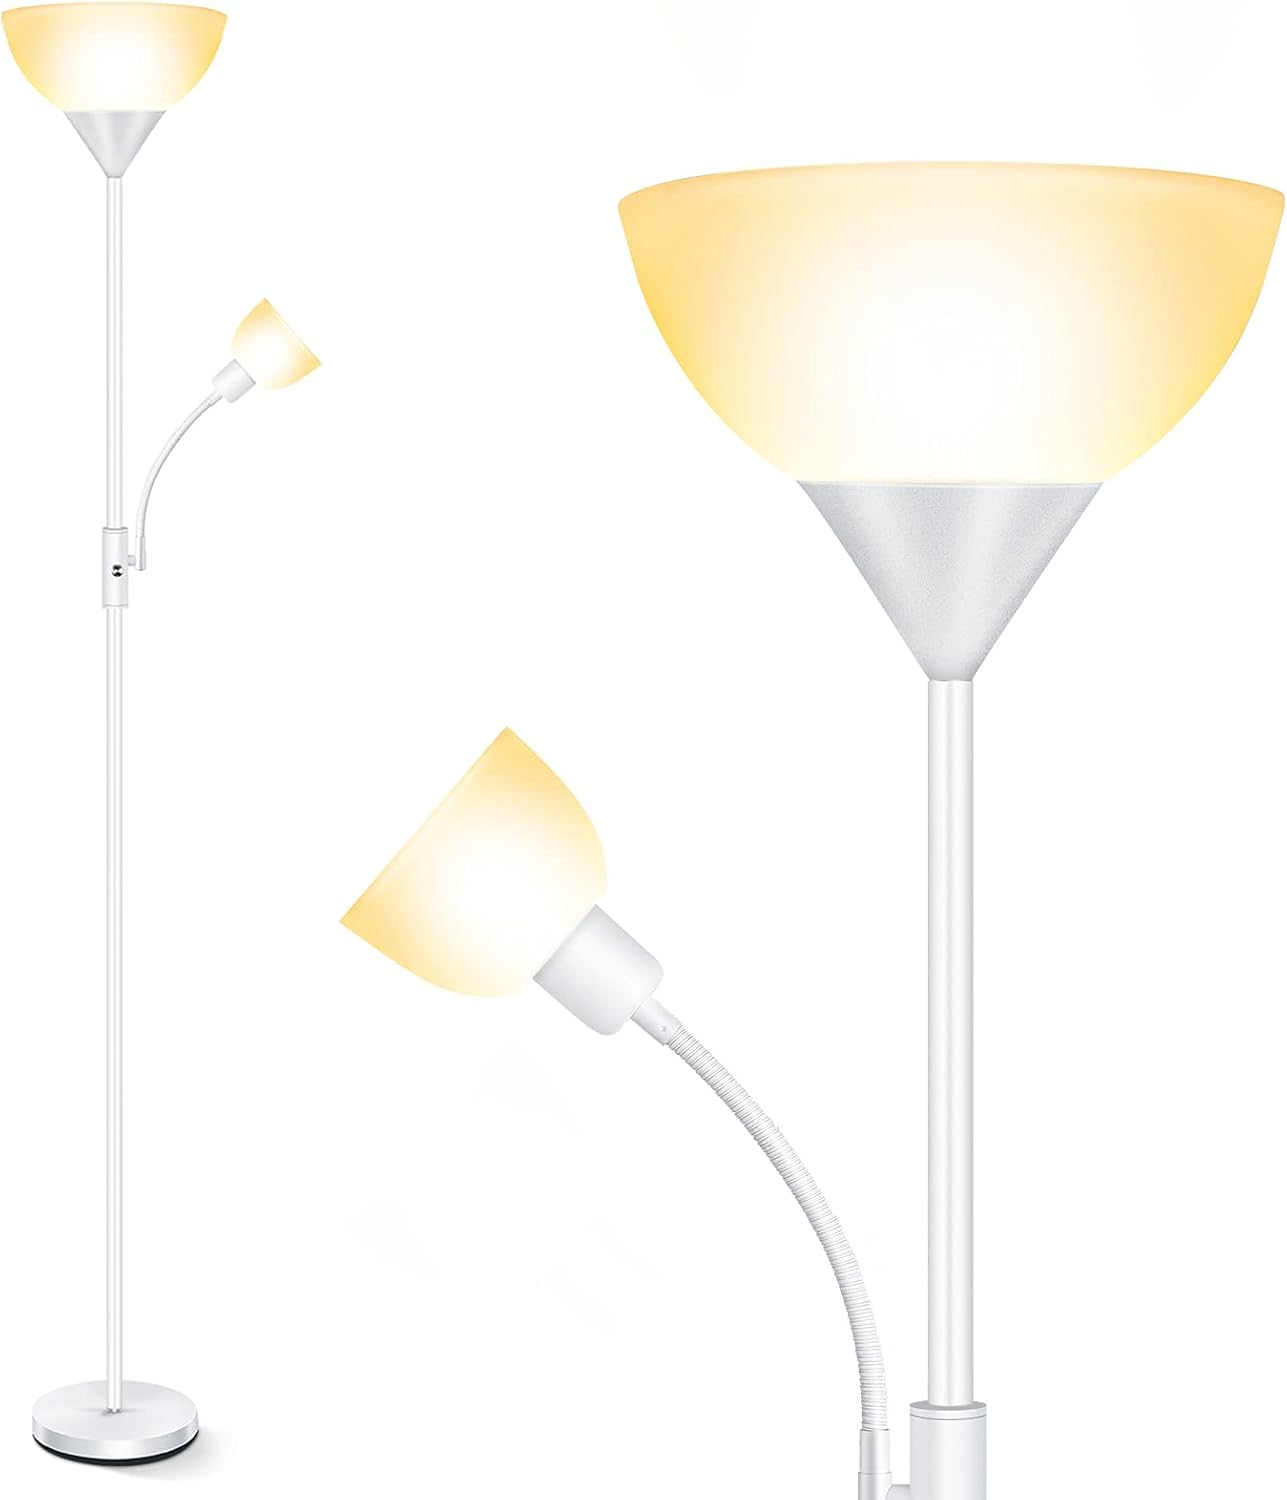
Figure 1: BoostArea Floor Lamp, showcasing its main and adjustable side light design.
Product Components
Before assembly, please ensure all components listed below are present and undamaged. Refer to the assembly diagram for visual identification.
- Lamp Base
- Lower Pole Section(s)
- Middle Pole Section(s)
- Upper Pole Section with Main Lamp Shade Holder
- Adjustable Gooseneck Side Lamp Assembly
- Main Lamp Shade
- Rotary Switch
- Power Cord
- E26 Bulb Sockets (Bulbs not included)

Figure 2: Exploded view and dimensions of the floor lamp components.
Setup & Assembly
The BoostArea Floor Lamp is designed for quick and easy assembly, typically within 5 minutes, without the need for additional tools. Follow these steps:
- Carefully unpack all components from the packaging.
- Screw the lowest pole section into the lamp base clockwise until secure.
- Continue screwing the remaining pole sections together, connecting them in sequence. Ensure each section is tightly fastened to prevent wobbling.
- Attach the upper pole section, which includes the main lamp shade holder, to the assembled pole.
- Screw the adjustable gooseneck side lamp assembly into its designated port on the main pole.
- Place the main lamp shade onto its holder.
- Insert E26 base bulbs (not included) into both the main lamp and side lamp sockets.
- Plug the power cord into a standard electrical outlet.

Figure 3: Visual guide for the simple assembly process.
Operating Instructions
The BoostArea Floor Lamp features a convenient rotary switch to control its lighting modes and an adjustable gooseneck for directional lighting.
Lighting Modes:
The rotary switch allows you to cycle through three distinct lighting options:
- Main Lamp On: Rotate the switch to illuminate only the large top lamp, providing ambient room lighting.
- Side Lamp On: Rotate the switch further to turn on only the adjustable gooseneck side lamp, ideal for focused tasks.
- Both Lamps On: A final rotation activates both the main and side lamps for maximum illumination.

Figure 4: The rotary switch offers three lighting modes: Main Lamp On, Side Lamp On, and Both Lamps On.
Adjusting the Side Lamp:
The side lamp is equipped with a flexible gooseneck. Gently bend and position the gooseneck to direct the light precisely where needed for reading, crafting, or other activities.

Figure 5: The flexible gooseneck allows for precise adjustment of the side lamp's light direction.
Smart Device Compatibility:
This floor lamp can be integrated with smart plugs (not included) or connected to a wall switch (not included) for enhanced control and home automation.
Maintenance
Proper maintenance ensures the longevity and optimal performance of your BoostArea Floor Lamp.
Cleaning:
- Always unplug the lamp from the power outlet before cleaning.
- Wipe the lamp's metal pole and base with a soft, dry cloth.
- For the plastic lampshade, use a slightly damp cloth to gently wipe away dust or smudges. Avoid abrasive cleaners or solvents, as they may damage the finish.

Figure 6: The durable plastic lampshade is easy to clean and maintain.
Bulb Replacement:
This lamp uses standard E26 base bulbs (not included). To replace a bulb:
- Ensure the lamp is unplugged and the bulb has cooled down.
- Carefully unscrew the old bulb from the E26 socket.
- Screw in a new E26 base bulb, ensuring it is securely seated.
- Reconnect the lamp to power and test.
Troubleshooting
If you encounter issues with your BoostArea Floor Lamp, please refer to the following common problems and solutions:
| Problem | Possible Cause | Solution |
|---|---|---|
| Lamp does not turn on. |
|
|
| Lamp flickers. |
|
|
| Lamp is unstable. |
|
|
Specifications
| Brand | BoostArea |
| Model Number | HD002ZMH |
| Product Dimensions | 101.6D x 101.6W x 76.2H Centimetres (approx. 71 inches tall) |
| Item Weight | 3.23 kg |
| Bulb Base | E26 (Bulbs not included) |
| Switch Type | Rotary Switch |
| Shade Material | Plastic |
| Base Material | Metal |
| Color | White |
| Style | Modern |
Warranty and Support
BoostArea products are manufactured with quality and durability in mind. For specific warranty details or technical support, please refer to the warranty card included with your purchase or contact BoostArea customer service directly. Keep your purchase receipt for warranty claims.
For further assistance, please visit the official BoostArea website or contact their customer support channels.