Introduction
This manual provides essential information for the proper installation, function, and maintenance of your Generic Hisun Oil Filter. Oil filters are critical components in hydraulic systems, designed to remove wear particles and other mechanical impurities from the engine oil. Maintaining oil circuit cleanliness is vital for extending the service life of your UTV or ATV engine.
This oil filter is manufactured using premium materials, offering high filtration precision, excellent corrosion resistance, and durability. It ensures sufficient circulation capacity for extended continuous operation, protecting your engine from wear and tear.
Product Features

The Generic Hisun Oil Filter is engineered with several key features to ensure optimal engine protection:
- High Quality Construction: Built with premium materials for reliable performance.
- Special Structure: Designed for strong filtration capacity, effectively capturing impurities.
- Enhanced Oil Cleanliness: Guarantees cleaner oil circulation, reducing engine wear.
- Corrosion Resistance: Durable design withstands harsh operating conditions.
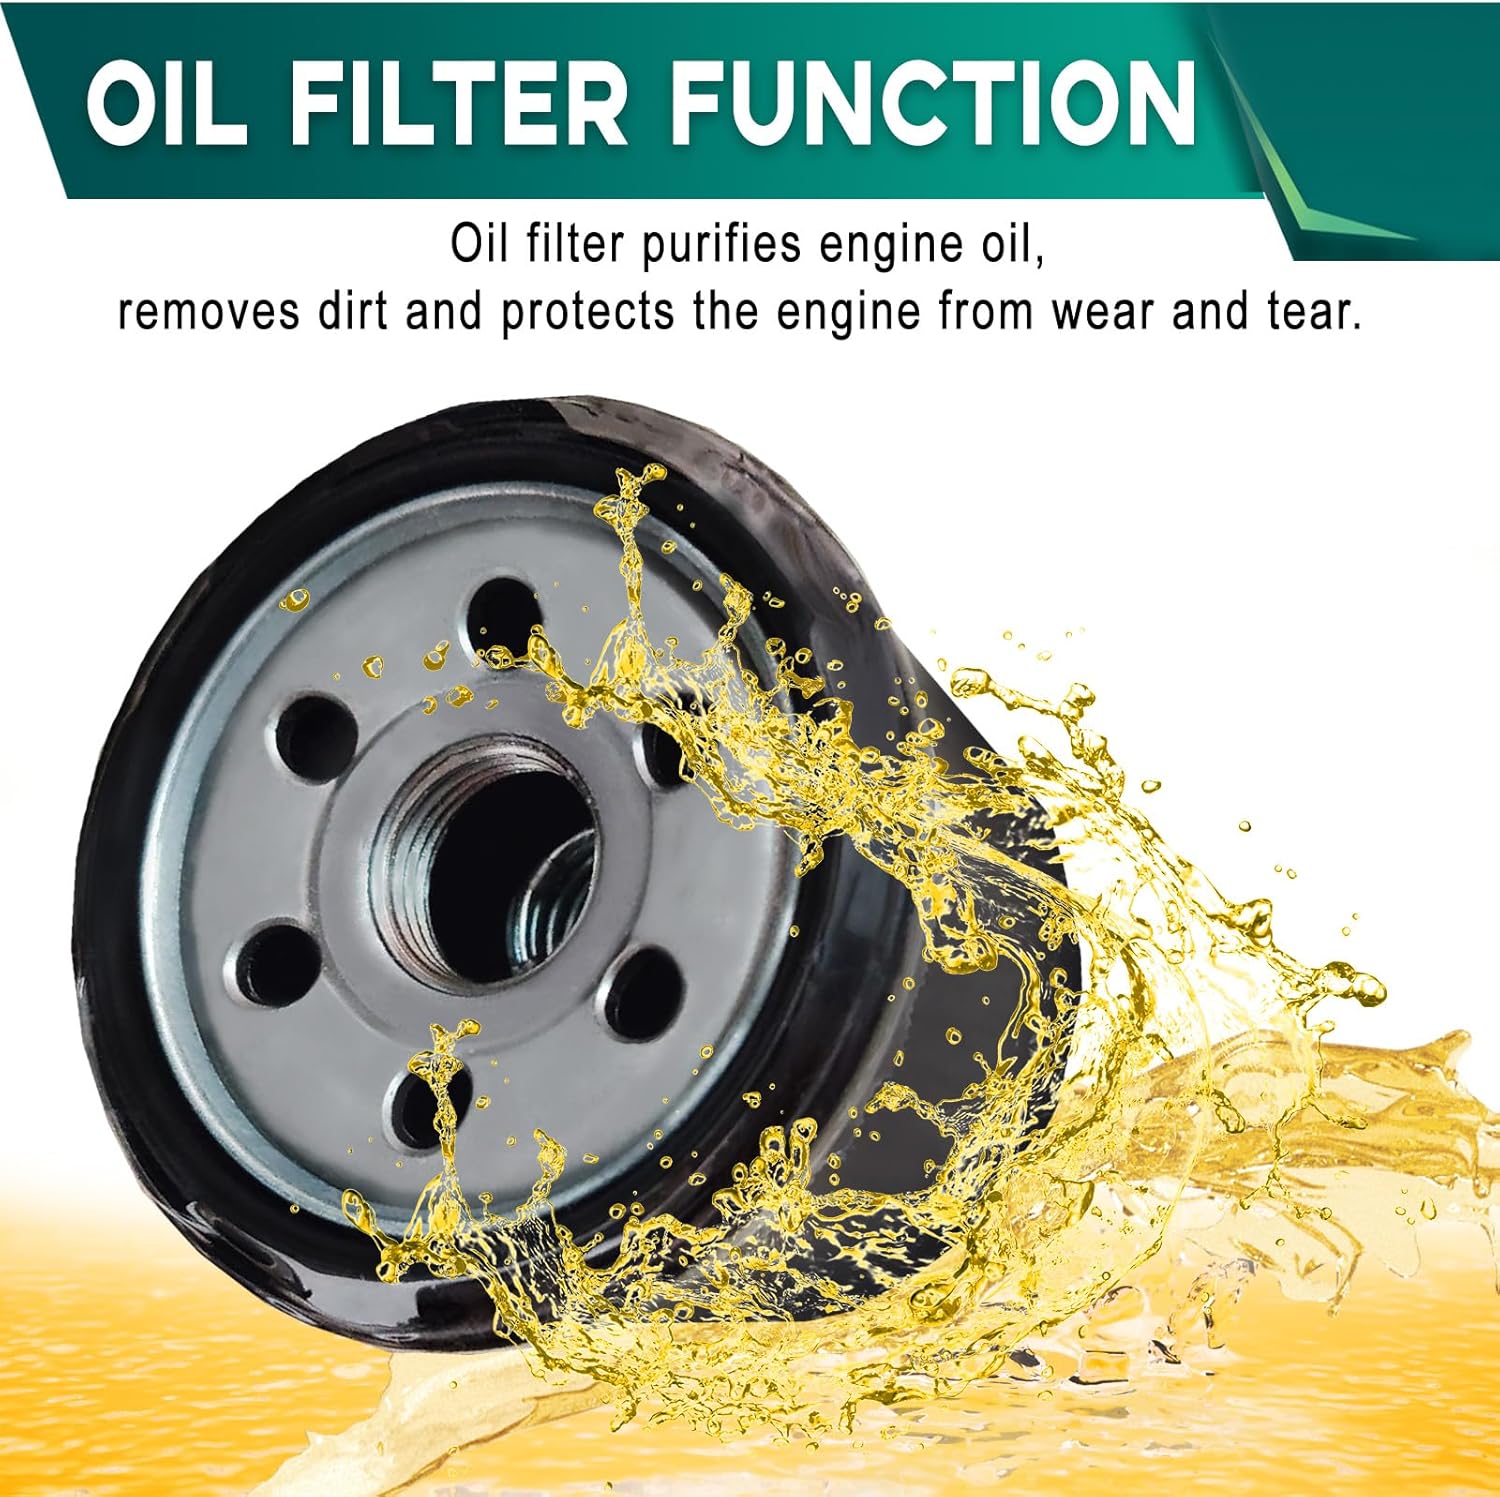
The primary function of this oil filter is to purify engine oil by removing dirt and protecting the engine from premature wear and tear. This process is crucial for maintaining engine health and longevity.
Compatibility and Fitment
This oil filter is compatible with a wide range of Hisun engines, UTVs, and ATVs, as well as models from other manufacturers. Please verify your vehicle's specific requirements before installation.

Compatible Hisun Models:
- Hisun UTVs and ATVs: 250, 400, 450, 500, 550, 700, 750, 750Crew
Compatible Other Makes/Models:
- Massimo: MSU400, MSU500, MSU700, MSU700-2, MSU800, Alligator 500, Alligator 700, Outfitter 400, Outfitter 500, Outfitter 700
- Bennche: Cowboy 250, Cowboy 400, Cowboy 500, Cowboy 700, Bighorn 400, Bighorn 500, Bighorn 700
- Challenger: 500, 550, 700, 750
- Yardsport: YS 500, YS 700
- Also compatible with models from Co-leman, TSC, Menards, Supermach, Q-link, Rural King.
Note: Not suitable for Axis x550 or xs750 models.
Installation Instructions
Proper installation of the oil filter is crucial for its effective operation and to prevent oil leaks. Always refer to your vehicle's service manual for specific instructions and safety precautions.
- Prepare the Vehicle: Ensure the engine is cool. Place a drain pan under the oil filter and drain plug.
- Remove Old Filter: Carefully unscrew the old oil filter. Be prepared for residual oil to drain out. Dispose of the old filter responsibly.
- Prepare New Filter: Apply a thin film of clean engine oil to the rubber gasket of the new filter. This helps ensure a proper seal.
- Install New Filter: Screw the new oil filter onto the engine by hand until the gasket makes contact with the engine block.
- Tighten Filter: Using an oil filter wrench, tighten the filter an additional 8-12 Nm (Newton-meters) or as specified in your vehicle's manual. Do not overtighten.
- Refill Oil: Refill the engine with the recommended type and amount of engine oil.
- Check for Leaks: Start the engine and let it run for a few minutes. Carefully check around the oil filter for any signs of oil leaks. If leaks are present, turn off the engine and re-check the filter's tightness.
- Verify Oil Level: Turn off the engine, wait a few minutes for the oil to settle, and then check the oil level using the dipstick. Add more oil if necessary.

The image illustrates the oil intake and outlet ports on the filter, demonstrating the path of oil flow during filtration. Ensure these areas are clean and free from debris before installation.
Maintenance and Replacement
Regular oil filter replacement is essential for maintaining engine performance and longevity. The oil filter effectively filters impurities, but its capacity is finite.

- Function: Effective filtration of oil impurities for better engine protection.
- Recommended Replacement: It is recommended to replace the oil filter every 5,000 to 10,000 kilometers (or approximately 3,000 to 6,000 miles), or as specified in your vehicle's owner's manual. Factors such as driving conditions and oil type may influence the optimal replacement interval.
Troubleshooting
If you encounter issues after replacing your oil filter, consider the following common problems and solutions:
- Oil Leaks:
- Cause: Improperly tightened filter, damaged gasket, or debris on the sealing surface.
- Solution: Ensure the filter is tightened correctly (do not overtighten). Check the gasket for damage and ensure the mating surface on the engine is clean.
- Low Oil Pressure:
- Cause: Incorrect filter type, clogged filter (if not new), or improper oil level.
- Solution: Verify the filter is the correct model for your vehicle. Check oil level and add if necessary. If the issue persists, consult a qualified mechanic.
- Engine Warning Lights:
- Cause: Can be related to oil pressure issues or other engine problems.
- Solution: Address any oil pressure issues immediately. If the light remains, seek professional diagnosis.
Specifications

| Brand | Generic |
| Manufacturer Part Numbers | 15200-003-0000, 15200-F39-0000, P003152000000 |
| Material | Paper |
| Product Grade | Performance Part |
| Vehicle Service Type | All-Terrain-Vehicles (ATV), Utility Task Vehicles (UTV) |
| Thread Size | M16 x 1.5 |
| Item Weight | 0.52 Kilograms (1.14 pounds) |
| Package Dimensions | 5.94 x 4.21 x 3.35 inches |
| UPC | 734770255475 |


