1. Introduction
The Avidsen HomeCam Battery is a 100% wireless outdoor surveillance camera designed for easy installation and robust home protection. Featuring 1080P Full HD resolution, a solar panel for continuous power, night vision, and two-way audio, this camera allows you to monitor your property remotely via a smartphone application without any subscription fees. This manual provides detailed instructions for setting up, operating, and maintaining your camera.
2. What's in the Box
Please check that all components are present in the package:
- 1 x Avidsen HomeCam Battery IP WiFi Camera
- 1 x Solar Panel (PV module)
- 2 x 18650 Batteries
- 1 x Camera Sealing Gasket
- Mounting Screws and Wall Plugs

Image: The Avidsen HomeCam Battery camera and its accompanying solar panel, unmounted, showing the main components included in the box.
3. Setup Guide
3.1. Battery Installation
- Locate the battery compartment on the camera.
- Insert the two 18650 batteries, ensuring correct polarity (+/-).
- Close the battery compartment securely.
3.2. Mounting the Camera and Solar Panel
The camera and solar panel are designed for outdoor use and can be mounted separately or together. Choose a location that provides optimal sunlight exposure for the solar panel and a clear view for the camera.
- Camera Mounting: The camera features an innovative magnetic mount for precise orientation. Secure the base of the mount to a wall using the provided screws and wall plugs. Attach the camera to the magnetic base and adjust its angle.
- Solar Panel Mounting: Mount the solar panel in a location that receives direct sunlight for several hours a day. Connect the solar panel cable to the camera's charging port.
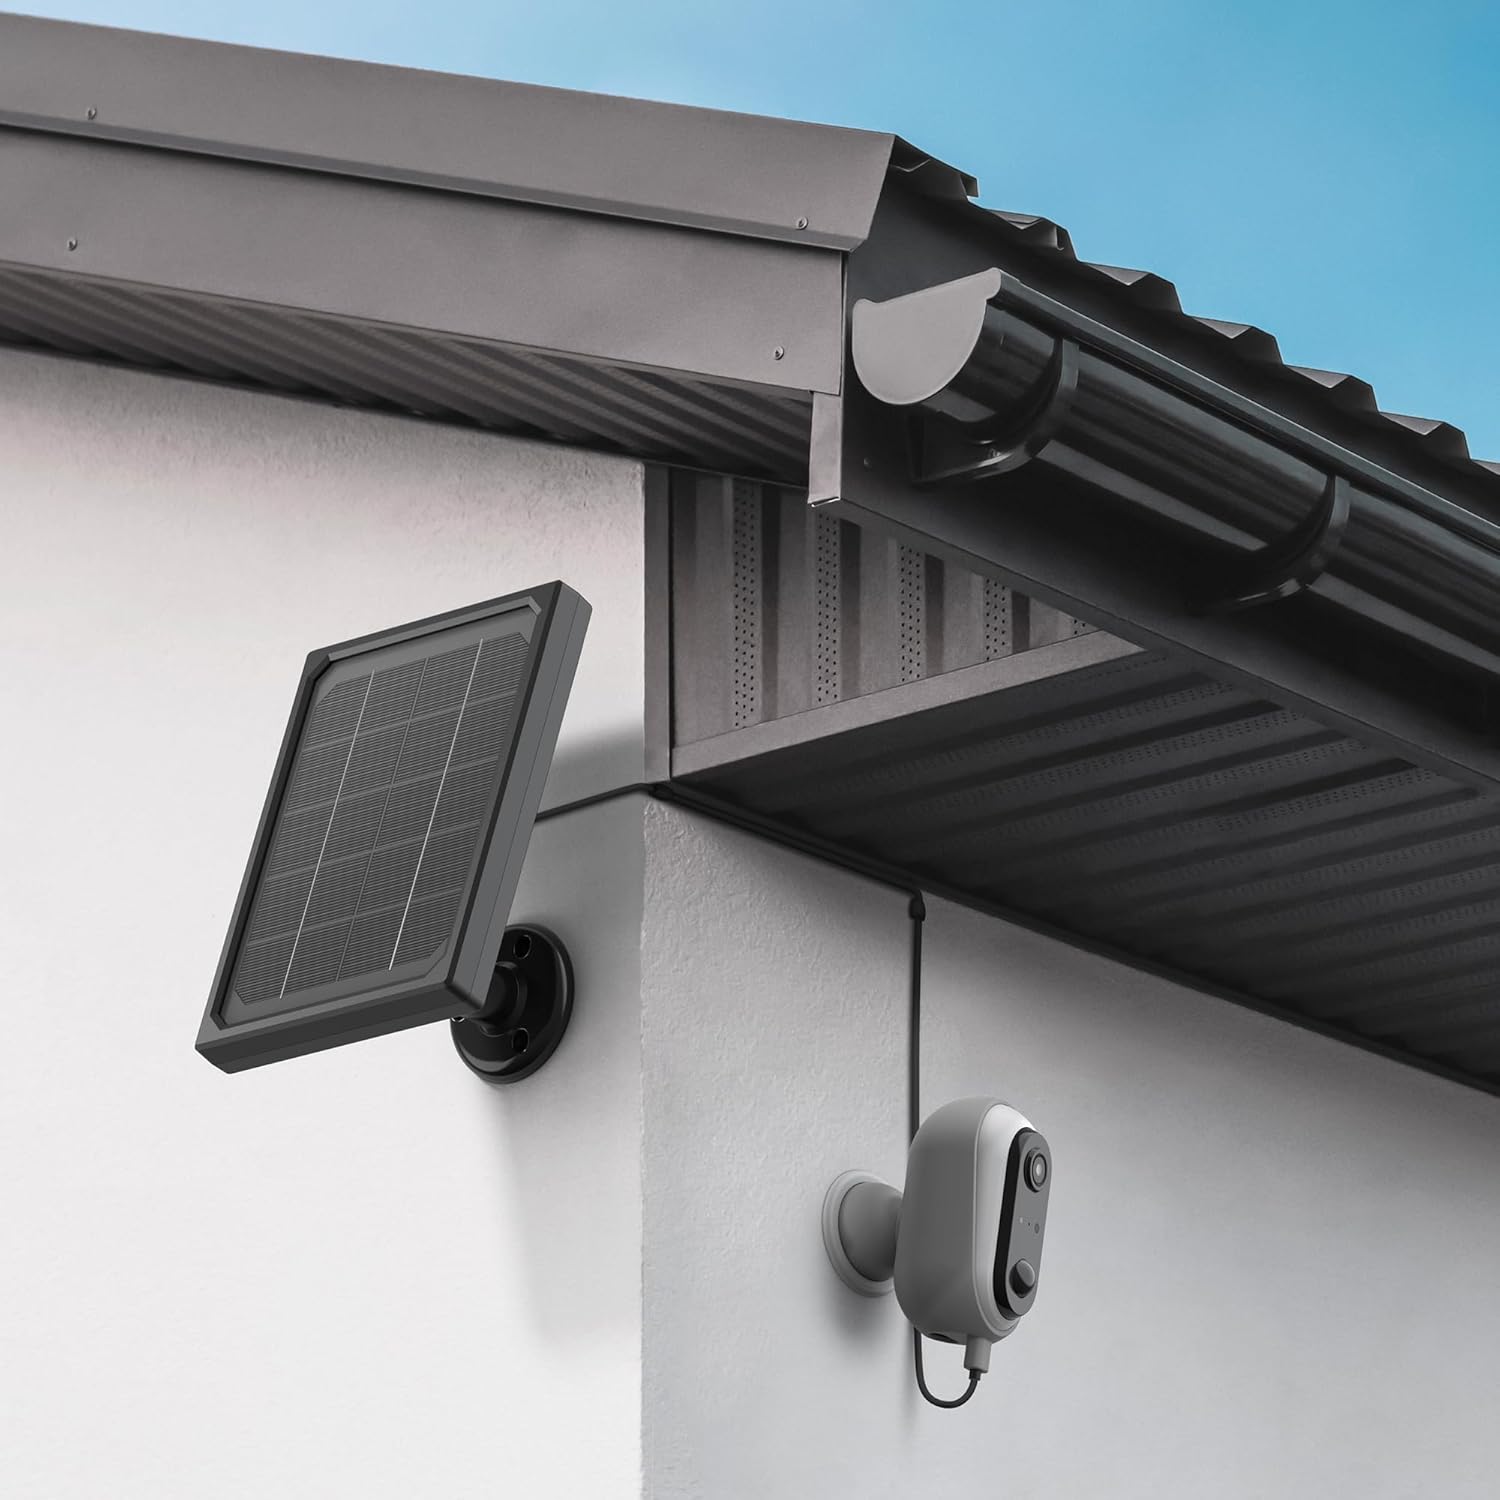
Image: The Avidsen HomeCam Battery camera and its solar panel are shown securely mounted on an exterior wall, positioned to capture sunlight and monitor the area.

Image: A close-up view of the Avidsen HomeCam Battery camera, highlighting its adjustable magnetic mount which allows for flexible positioning and angle adjustments.
3.3. App Download and Initial Pairing
- Download the "Avidsen Home" application from your smartphone's app store (available on Google Play and Apple App Store).
- Open the app and create an account or log in if you already have one.
- Follow the in-app instructions to add a new device. This typically involves scanning a QR code on the camera or manually selecting the device type.
- Ensure your smartphone is connected to a 2.4GHz Wi-Fi network during the pairing process.
3.4. Wi-Fi Connection
During the app pairing process, you will be prompted to connect the camera to your home Wi-Fi network.
- Enter your Wi-Fi network name (SSID) and password when requested by the app.
- The camera supports 2.4GHz Wi-Fi networks only. Ensure your router is configured accordingly.
- Once connected, the camera's indicator light will change, and the app will confirm successful pairing.
4. Operating the Camera
4.1. Live View and Controls
Once connected, open the Avidsen Home app to access the live feed from your camera.
- Live Video: Tap on the camera in the app to view the real-time video stream.
- Two-Way Audio: Use the microphone icon in the app to speak through the camera's speaker and the speaker icon to listen to audio from the camera's microphone.
- Recording: Manually record video or capture screenshots directly from the live view interface.
- Playback: Access recorded footage stored on the MicroSD card (not included) via the app's playback feature.

Image: A smartphone screen showing the Avidsen Home app, with options for live view, screenshot, two-way talk, recording, playback, and photo album.
4.2. Motion Detection and Notifications
The camera features motion detection to alert you to activity.
- Enable/Disable: In the app settings for your camera, you can enable or disable motion detection.
- Sensitivity: Adjust the motion detection sensitivity to minimize false alarms.
- Notifications: When motion is detected, you will receive a notification on your smartphone.
- Recording: Motion-triggered events are automatically recorded to the MicroSD card (if installed).
4.3. Night Vision
The integrated infrared LEDs provide clear visibility up to 8 meters in total darkness.
- Night vision activates automatically in low-light conditions.
- The camera provides a clear black and white image in night vision mode.
4.4. Local Storage (MicroSD Card)
The camera supports local storage via a MicroSD card (up to 128GB, not included).
- Insert the MicroSD card into the designated slot on the camera.
- Ensure the card is formatted correctly (FAT32 recommended).
- All recordings, including motion-triggered events, will be saved to this card.
4.5. Smart Home Integration
The Avidsen HomeCam Battery is compatible with Amazon Alexa and Google Assistant.
- Link your Avidsen Home account with your Alexa or Google Assistant app.
- Use voice commands to view your camera feed on compatible smart displays.
5. Maintenance
5.1. Cleaning
- Regularly clean the camera lens and the surface of the solar panel with a soft, damp cloth to ensure optimal performance.
- Avoid using harsh chemicals or abrasive materials that could damage the surfaces.
5.2. Battery Care
- The solar panel is designed to keep the batteries charged. Ensure the panel is free from obstructions and receives adequate sunlight.
- If the camera's battery level drops significantly, consider repositioning the solar panel or manually charging the batteries if possible (refer to specific battery charging instructions if applicable).
5.3. Connection Check
- Periodically check the physical connection between the solar panel and the camera to ensure it is secure and free from corrosion.
- Verify the camera's Wi-Fi connection status in the Avidsen Home app.
6. Troubleshooting
6.1. No Power / Camera Not Turning On
- Ensure the 18650 batteries are correctly inserted with the right polarity.
- Check if the batteries are charged. If not, ensure the solar panel is connected and receiving sunlight, or try charging the batteries externally if possible.
- Verify the power button (if any) is pressed.
6.2. Cannot Connect to Wi-Fi
- Confirm your Wi-Fi network is 2.4GHz. The camera does not support 5GHz networks.
- Ensure the Wi-Fi password entered in the app is correct.
- Move the camera closer to your Wi-Fi router to improve signal strength.
- Restart your router and the camera.
- If issues persist, try resetting the camera to factory settings (refer to the reset procedure in the app or device manual) and re-pairing.
6.3. Poor Image Quality
- Clean the camera lens to remove any dirt or smudges.
- Ensure there are no obstructions in front of the lens.
- Check your Wi-Fi signal strength; a weak signal can affect video streaming quality.
6.4. Motion Detection Not Working or Too Many False Alarms
- Verify motion detection is enabled in the Avidsen Home app.
- Adjust the motion detection sensitivity settings in the app. Lower sensitivity for fewer false alarms, higher for more sensitive detection.
- Ensure the camera's field of view is clear and not obstructed by moving objects like tree branches.
7. Specifications
| Model Name | HOME CAM BATTERY (127070) |
| Resolution | 1080p Full HD |
| Connectivity | Wireless (Wi-Fi 2.4GHz) |
| Power Source | Solar Panel (5V 3W), 2x 18650 Batteries |
| Night Vision Range | Up to 8 meters |
| Field of View | 130° |
| IP Rating | IP65 (Outdoor use) |
| Storage | MicroSD card (up to 128GB, not included) |
| Special Features | Motion Detection, Two-Way Audio, Smart Home Compatibility (Alexa, Google Assistant) |
| Dimensions | 31.5 x 21 x 8.5 cm |
| Weight | 1100 Grams |
8. Warranty & Support
8.1. Manufacturer's Warranty
This Avidsen product is covered by a 2-year manufacturer's warranty from the date of purchase. Please retain your proof of purchase for warranty claims. The warranty covers defects in materials and workmanship under normal use.
8.2. Technical Support
For technical assistance, troubleshooting, or further inquiries, please visit the official Avidsen website or contact their customer support. You can find contact information and FAQs on their website: