1. Introduction
Thank you for choosing the Casio TQ-329-2DF Analog Rectangular Alarm Clock. This clock is designed for desktop use, offering reliable timekeeping and a convenient alarm function. It features an analog display, a bell sound alarm with snooze, and a microlight for visibility in low light conditions. This manual provides essential information for setup, operation, maintenance, and troubleshooting to ensure optimal performance of your device.
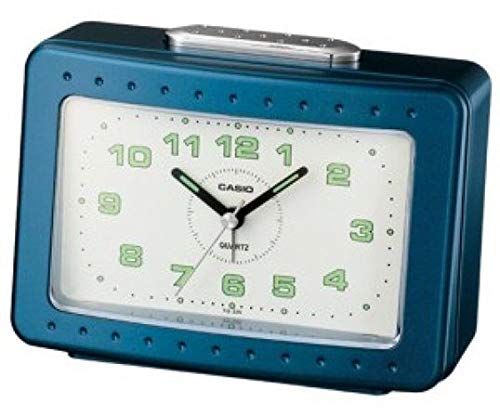
Figure 1: Front view of the Casio TQ-329-2DF Analog Rectangular Alarm Clock.
2. Safety Precautions
- Do not expose the clock to extreme temperatures, direct sunlight, or high humidity.
- Avoid strong impacts or dropping the clock.
- Keep batteries out of reach of children. If swallowed, seek medical attention immediately.
- Do not mix old and new batteries, or different types of batteries.
- Remove batteries if the clock will not be used for an extended period to prevent leakage.
- Dispose of used batteries according to local regulations.
3. Package Contents
Please check that all items are present in the package:
- Casio TQ-329-2DF Analog Rectangular Alarm Clock (1 unit)
- Instruction Manual (this document)
Note: Batteries are not included and must be purchased separately.
4. Setup
4.1. Battery Installation
- Open the battery compartment cover located on the back of the clock.
- Insert one (1) R14P (C-size) battery, ensuring the correct polarity (+ and -) as indicated inside the compartment.
- Close the battery compartment cover securely.
4.2. Setting the Time
- Locate the TIME SET knob on the back of the clock.
- Rotate the TIME SET knob in either direction to move the hour and minute hands to the current time.
- For best accuracy, set the time slightly ahead and then turn the knob backward to the exact time.
5. Operating Instructions
5.1. Setting the Alarm
- Locate the ALARM SET knob on the back of the clock.
- Rotate the ALARM SET knob to move the alarm hand to your desired alarm time.
- Ensure the ALARM ON/OFF switch (usually on the side or back) is in the 'ON' position to activate the alarm.
5.2. Using the Snooze Function
- When the alarm sounds, press the large SNOOZE/LIGHT button located on the top of the clock.
- The alarm will temporarily stop and sound again after approximately 5 minutes.
- To fully stop the alarm, move the ALARM ON/OFF switch to the 'OFF' position.
5.3. Using the Microlight
To illuminate the clock face in the dark, press and hold the SNOOZE/LIGHT button on the top of the clock. The light will remain on as long as the button is pressed.
6. Maintenance
6.1. Cleaning the Clock
Wipe the clock with a soft, dry cloth. Do not use abrasive cleaners, solvents, or chemical sprays, as these may damage the casing or display.
6.2. Battery Replacement
When the clock hands begin to move slowly, the alarm sound weakens, or the microlight dims, it is time to replace the battery. Follow the battery installation steps in Section 4.1. It is recommended to replace the battery approximately every 12 months for optimal performance.
7. Troubleshooting
| Problem | Possible Cause | Solution |
|---|---|---|
| Clock hands do not move or move slowly. | Battery is low or incorrectly installed. | Replace the battery with a new R14P (C-size) battery, ensuring correct polarity. |
| Alarm does not sound. | Alarm switch is OFF, alarm time is not set, or battery is low. | Ensure the ALARM ON/OFF switch is ON. Set the alarm time correctly. Replace battery if low. |
| Microlight does not work. | Battery is low or depleted. | Replace the battery. |
| Incorrect timekeeping. | Battery is low or clock was exposed to strong magnetic fields. | Replace the battery. Move the clock away from electronic devices that may emit strong magnetic fields. |
8. Specifications
- Model: TQ-329-2DF
- Display Type: Analog
- Accuracy: Approximately ±20 seconds per month
- Alarm Type: Bell Sound Alarm
- Special Features: Snooze function, Microlight
- Battery Type: 1 x R14P (C-size)
- Battery Life: Approximately 12 months
- Dimensions (H x W x D): 99 x 135 x 66 mm
- Weight: 260 g
- Power Source: Battery Powered
- Mounting Type: Tabletop
9. Warranty and Support
Casio products are manufactured to high-quality standards. For information regarding warranty coverage, please refer to the warranty card included with your purchase or visit the official Casio website for your region. For technical support or inquiries, please contact Casio customer service through their official channels.