1. Introduction
This manual provides comprehensive instructions for the safe and effective use of your Canal Toys Photo Creator CLK 001 Instant Printing Camera. Please read this manual thoroughly before operating the device and retain it for future reference.

Image 1.1: The Canal Toys Photo Creator CLK 001 camera in its retail packaging.

Image 1.2: Front view of the camera packaging, highlighting key features.
2. Package Contents
Verify that all items listed below are included in your package:
- 1 x Photo Creator Camera
- 1 x USB Charging Cable
- 1 x Wrist Strap
- 4 x Thermal Paper Rolls (BPA-free)
- 4 x Felt Tip Pens
- 1 x Sticker Sheet

Image 2.1: All components included with the Photo Creator camera.

Image 2.2: Detailed view of the camera and its accessories.

Image 2.3: Rear packaging displaying the list of included items and product information.
3. Setup
3.1 Charging the Camera
- Connect the included USB charging cable to the camera's charging port.
- Connect the other end of the USB cable to a DC 5V power source (e.g., computer USB port, USB wall adapter).
- During charging, the device indicator light next to the screen will illuminate red. Ensure this light is visible to confirm charging is active.
- The camera has a built-in 1000 mAh battery. Charging time may vary.
3.2 Inserting Thermal Paper
- Locate the paper compartment on the camera.
- Open the compartment cover.
- Insert a thermal paper roll, ensuring the paper feeds correctly into the printing mechanism. The paper should exit through the designated slot.
- Close the compartment cover securely.
3.3 Optional: Inserting a MicroSD Card
A microSD card (not included) is not required for printing photos. However, it allows you to save photos and videos for later review or transfer.
- Locate the microSD card slot on the camera.
- Gently insert a compatible microSD card into the slot until it clicks into place.
4. Operating Instructions
4.1 Power On/Off
- To turn on the camera, press and hold the ON/OFF button for 3 seconds.
- To turn off the camera, press and hold the ON/OFF button again until the device powers down.
4.2 Navigation and Display
The camera features a 2.4-inch color LCD display for navigating menus, framing shots, and reviewing content.
- Use the directional buttons to move through menu options.
- Press the 'OK' or 'Shutter' button to confirm selections or take a photo.
4.3 Taking Photos
The camera is equipped with front and rear dual lenses for various photo modes.
- Select your desired lens (front for selfies, rear for standard photos) via the camera's menu.
- Frame your shot using the LCD display.
- You can apply 4 different filters and 22 frames to customize your photos before printing. Navigate through these options using the directional buttons.
- Press the Shutter button to capture the image.
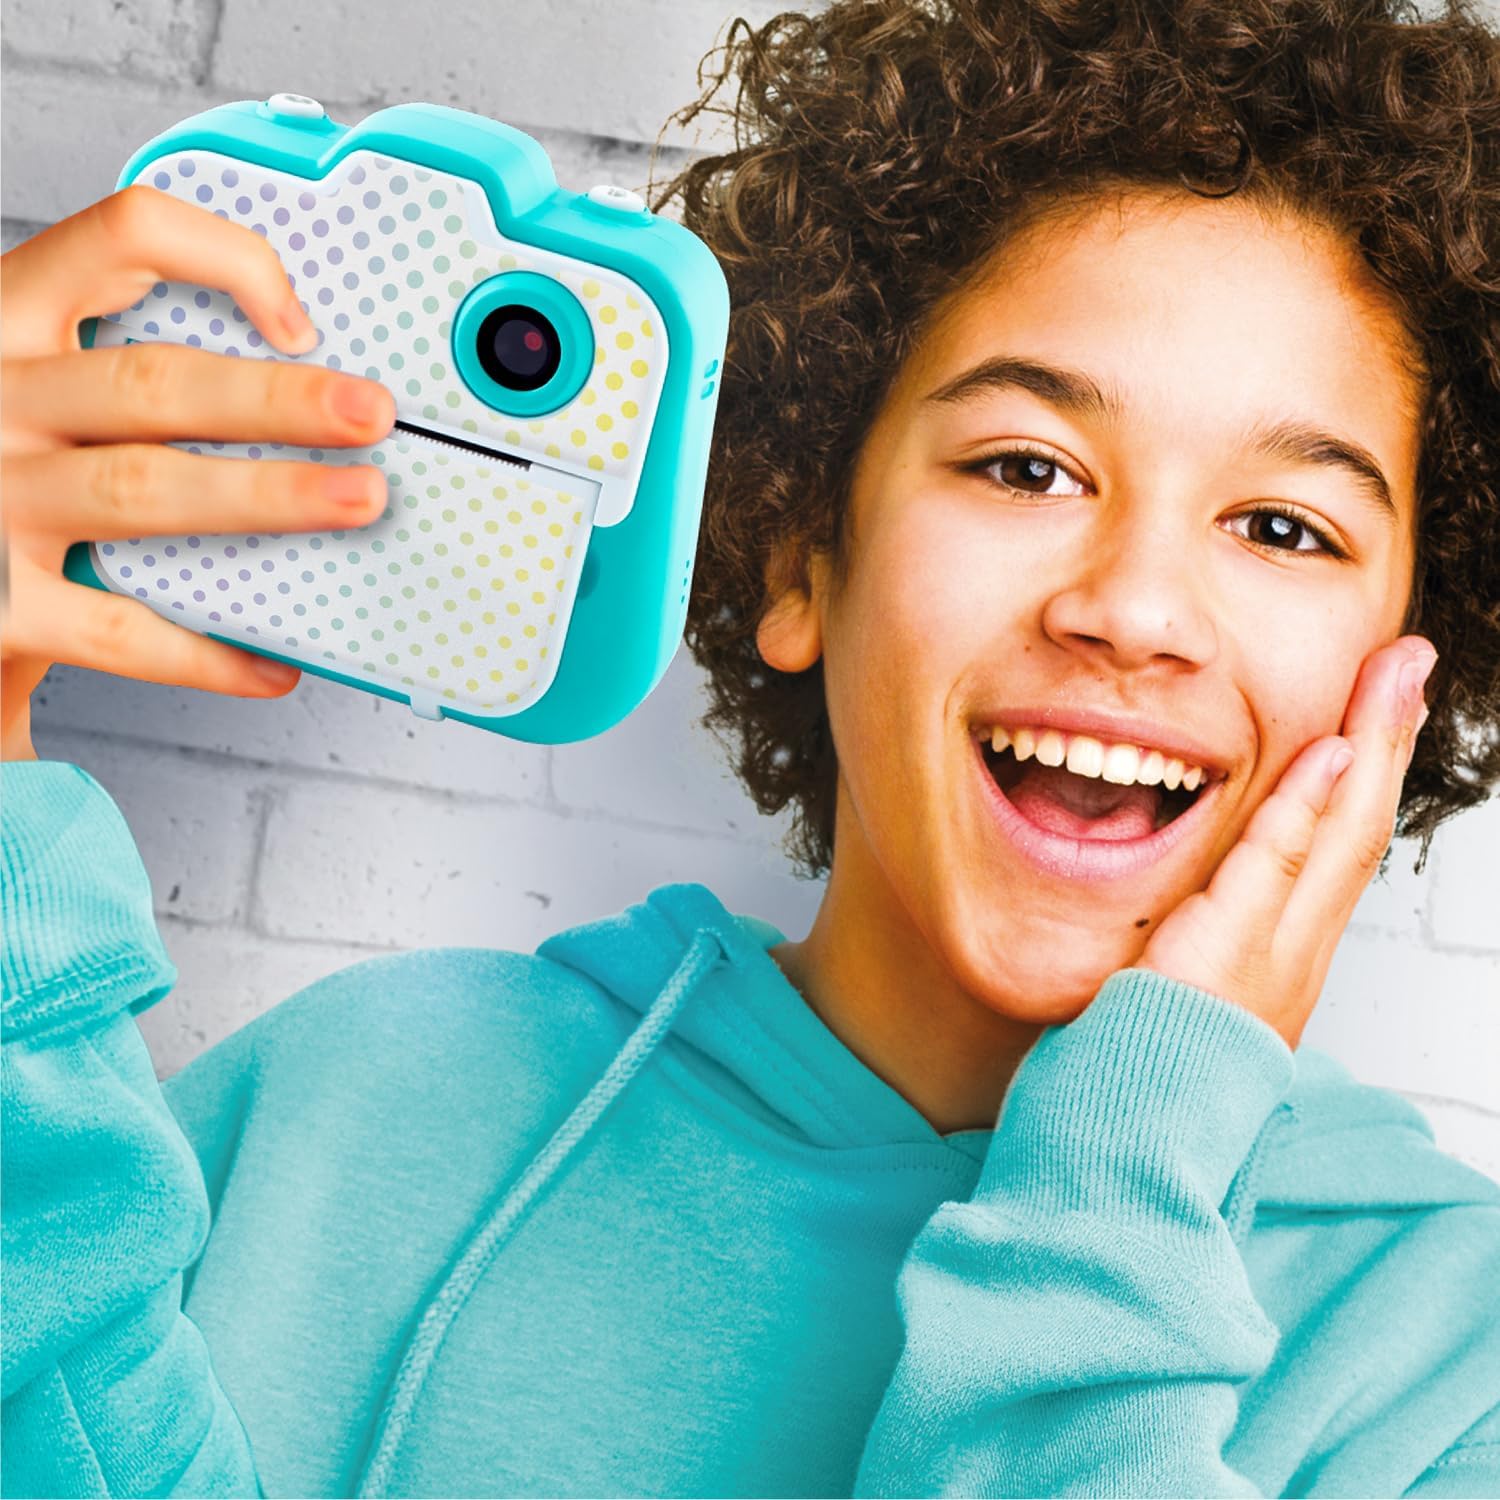
Image 4.1: A child demonstrating the camera's selfie function.

Image 4.2: Multiple children using the camera for group photos.
4.4 Printing Photos
The camera uses thermal transfer technology for instant black and white printing, requiring no ink or drying time.
- After taking a photo or selecting one from your gallery (if a microSD card is inserted), choose the print option from the menu.
- Confirm your selection to initiate printing. The photo will emerge from the camera's print slot.
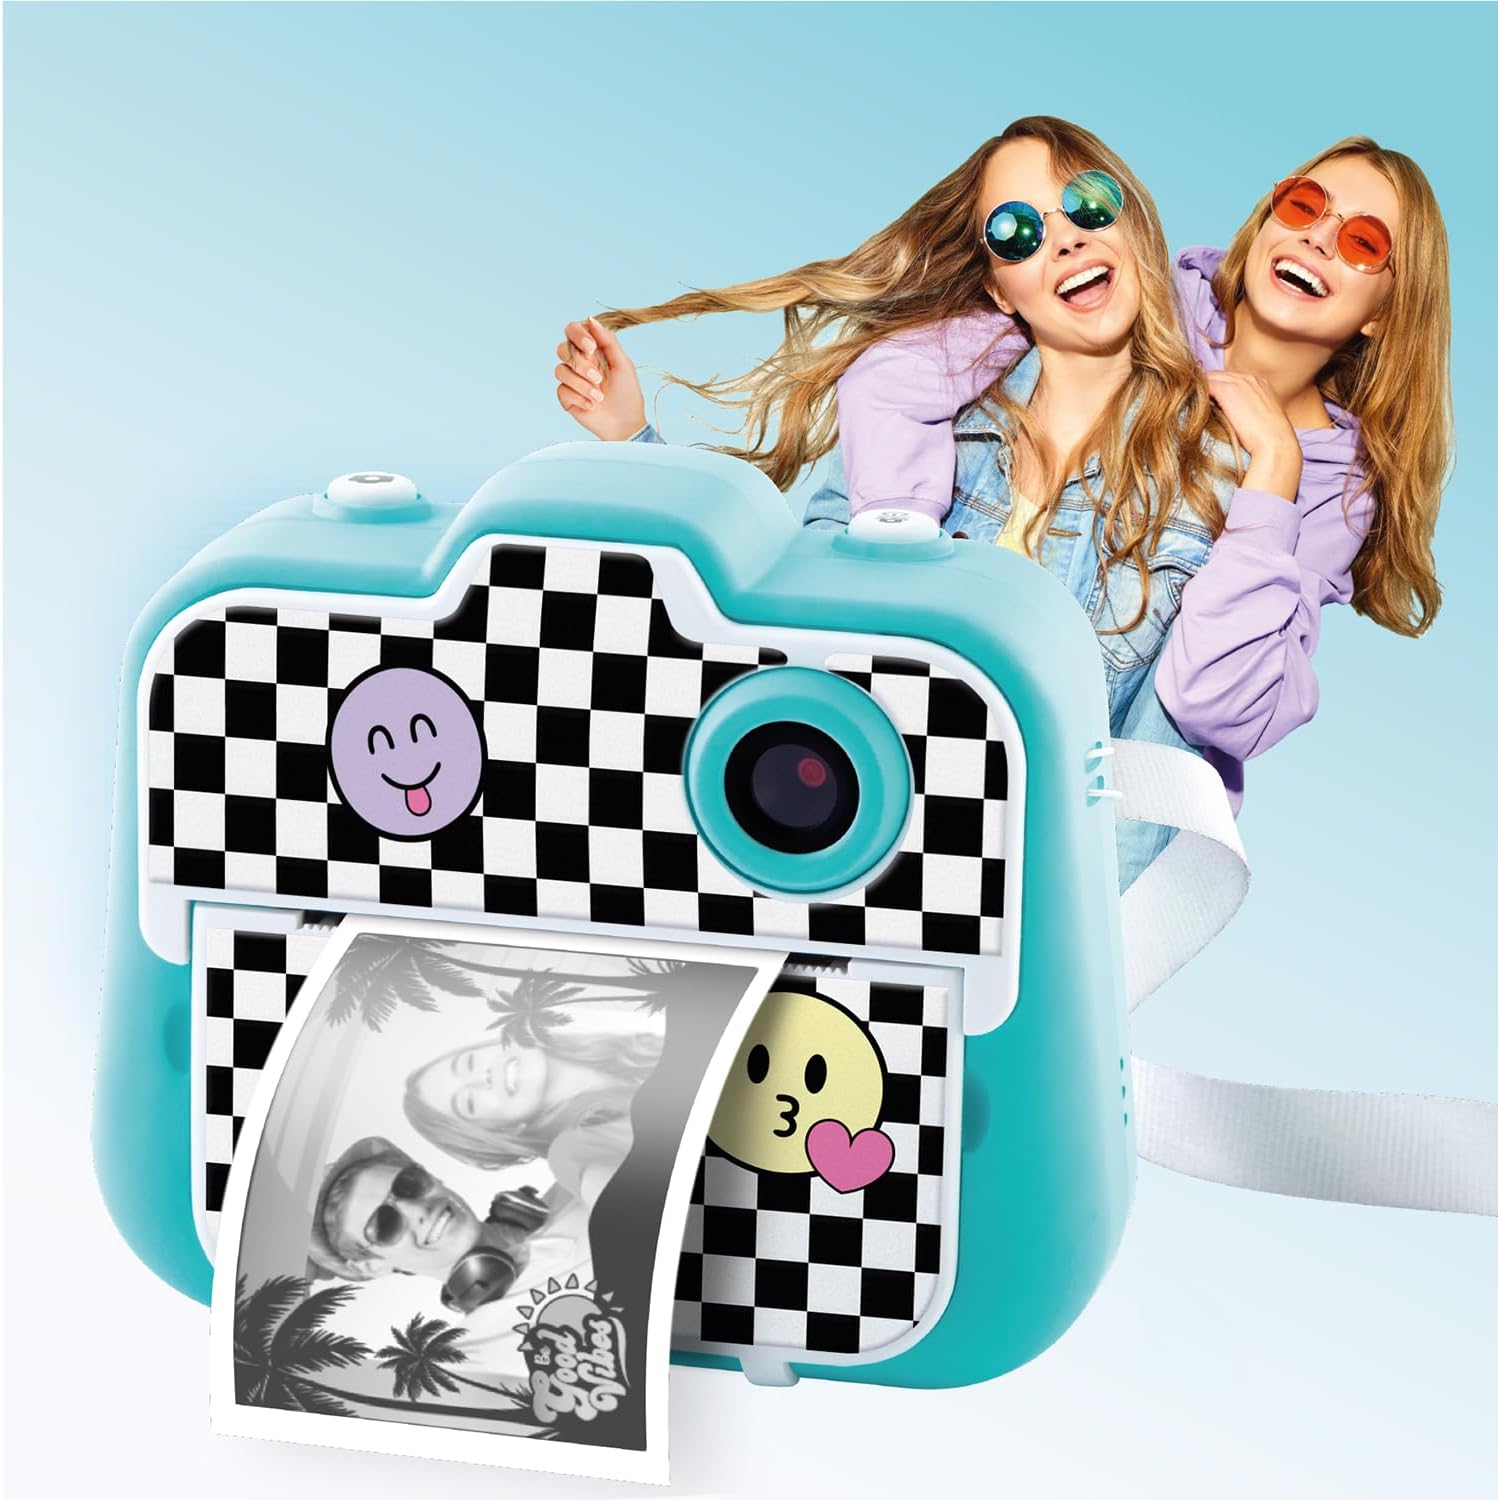
Image 4.3: The camera in the process of printing a photo.

Image 4.4: A user holding the camera and a printed image.

Image 4.5: The camera printing, with examples of customized prints.
4.5 Recording Videos
If a microSD card is inserted, you can record videos with your Photo Creator camera.
- Navigate to the video recording mode using the camera's menu.
- Press the Shutter button to start recording. A 'REC' indicator will appear on the screen.
- Press the Shutter button again to stop recording. Videos will be saved to the microSD card.

Image 4.6: The camera's LCD display in video recording mode.
4.6 Customizing Printed Photos
Use the included felt tip pens and sticker sheet to personalize your printed photos.

Image 4.7: Customizing a printed photo with a felt tip pen.
5. Maintenance
5.1 Cleaning the Camera
- Ensure the camera is powered off before cleaning.
- Use a soft, dry cloth to wipe the exterior of the camera.
- For the lens, use a specialized lens cleaning cloth to avoid scratches.
- Do not use liquid cleaners or abrasive materials.
5.2 Thermal Paper Replacement
When the current thermal paper roll is depleted, replace it with a new one following the instructions in Section 3.2.
5.3 Battery Care
- Charge the camera regularly to maintain battery health.
- Avoid fully discharging the battery frequently.
- Store the camera in a cool, dry place when not in use for extended periods.
6. Troubleshooting
- Camera not turning on: Ensure the camera is sufficiently charged. Press and hold the ON/OFF button for 3 seconds. If the issue persists, connect to a power source and check if the red charging indicator light appears.
- Printing problems: Verify that the camera is charged. Check if thermal paper is correctly inserted and that there is enough paper remaining. Ensure the paper compartment is closed properly.
- Poor print quality: Ensure the thermal paper is correctly loaded. Print quality is 200 DPI.
- Cannot save photos/videos: Ensure a compatible microSD card is inserted correctly into the slot. The camera does not have internal storage for saving media without a microSD card.
- Charging indicator not lighting up: Check the power supply and the USB cable connection. Ensure the cable is securely plugged into both the camera and the power source.
7. Specifications
| Model Name | CLK 001 |
| Brand | Canal Toys |
| Resolution | 12 Megapixels |
| Lenses | Front and Rear Dual Lenses |
| Print Quality | 200 DPI |
| Display | 2.4 inch Color LCD Screen |
| Customization | 4 Filters, 22 Frames |
| Storage Media | MicroSD Card (not included) |
| Battery | Built-in 1000 mAh Lithium Ion |
| Charging | DC 5V via USB Cable |
| Product Dimensions | 13.1 x 4 x 9.5 cm (Camera); 24 x 6 x 20 cm (Box) |
| Weight | 630 g (Boxed) |

Image 7.1: Packaging dimensions of the Photo Creator camera.
8. Warranty and Support
Specific warranty information is not provided in the product details. For warranty claims or technical support, please contact Canal Toys customer service directly or refer to the product packaging for contact details.
You may also visit the official Canal Toys website for further assistance: Canal Toys Official Website
9. Safety Information
- This product is recommended for ages 8 and up.
- Keep the camera away from water and excessive moisture.
- Do not attempt to disassemble or repair the camera yourself. Refer to qualified personnel for service.
- Use only the provided USB cable for charging.
- Dispose of batteries and electronic components responsibly according to local regulations.