1. Introduction
The eSynic 16-inch Digital Angle Finder Protractor is a versatile tool designed for precise angle measurement in various applications. It features a digital LCD display, magnetic base, and is built to withstand challenging environments with its IP54 waterproof and dust-proof rating. This manual provides instructions for proper setup, operation, and maintenance of your device.
2. Package Contents
- 1 x eSynic 16-inch Digital Angle Finder Protractor
- 2 x AAA Batteries (pre-installed or included separately)
- 1 x User Manual
3. Product Overview
Familiarize yourself with the components and controls of your digital angle finder.

Figure 3.1: Product Diagram. This image illustrates the key components including the Vertical Bubble, Horizontal Bubble, Battery Compartment, On/Off Button, H/L Button, M/B Button, Zero Button, LCD Display, and Hanging Hole.
- On/Off Button: Powers the device on or off.
- Zero Button: Used to set the current position as the zero reference for relative measurements.
- M/B Button: Short press to switch measurement units (degrees, %, slope, in/ft). Long press to activate/deactivate the audible alarm.
- H/L Button: Short press to hold the current measurement on the display. Long press to turn the backlight on or off.
- LCD Display: Shows angle readings, measurement units, and battery status.
- Vertical & Horizontal Bubbles: Traditional spirit levels for quick visual checks.
- Magnetic Base: Allows the tool to attach to metallic surfaces for hands-free operation.
4. Setup
4.1. Battery Installation
- Locate the battery compartment cover on the back of the device.
- Slide or unclip the cover to open.
- Insert two AAA batteries, ensuring correct polarity (+/-) as indicated inside the compartment.
- Close the battery compartment cover securely.
4.2. Powering On/Off
Press the On/Off button once to turn the device on. Press and hold the On/Off button for a few seconds to turn it off.
5. Operation
5.1. Basic Angle Measurement
Place the base of the angle finder on the surface you wish to measure. The LCD display will show the angle relative to the horizontal plane. For best accuracy, ensure the tool is stable.
5.2. Switching Measurement Units/Modes
The device supports 5 setting modes: degrees (°), percentage (%), slope, and in/ft (fractions/decimal).
- With the device powered on, short press the M/B button.
- Each short press will cycle through the available measurement units on the LCD display.

Figure 5.1: Five Measurement Modes Display. This image demonstrates the various units available on the LCD, including mm/m, degrees, percentage, and two formats for in/ft.
5.3. Relative Measurement Mode (Zeroing)
To measure the angle between two surfaces, use the relative measurement mode:
- Place the angle finder on the first surface.
- Press the Zero button. The display will show "0.00°" and an indicator for relative mode.
- Move the angle finder to the second surface. The display will now show the angle difference between the first and second surfaces.
- To exit relative measurement mode, press the Zero button again.
5.4. Data Hold Function
To temporarily freeze the current measurement on the display:
- Short press the H/L button. A "HOLD" indicator will appear on the display.
- The displayed value will remain fixed even if the angle finder is moved.
- Short press the H/L button again to release the hold and resume live measurement.
5.5. Backlight Control
The LCD display features a backlight for improved visibility in low-light conditions.
Long press the H/L button to toggle the backlight on or off.
5.6. Audible Alarm Function
The device can emit an audible alarm that increases in frequency as the measurement approaches 0° or 90°.
Long press the M/B button to activate or deactivate the audible alarm.
5.7. Using the Magnetic Base
The integrated magnetic base allows for convenient, hands-free operation on ferrous metal surfaces.

Figure 5.2: Magnetic Base in Use. This image shows the angle finder securely attached to a vertical metal surface, demonstrating its magnetic capability.
Simply place the magnetic base firmly against a metallic surface. This frees your hands for other tasks, such as holding materials or operating tools.
5.8. IP54 Waterproof and Dust-proof Rating
The IP54 rating indicates that the device is protected from dust ingress sufficient to prevent interference with the satisfactory operation of the equipment and from water spray from any direction.
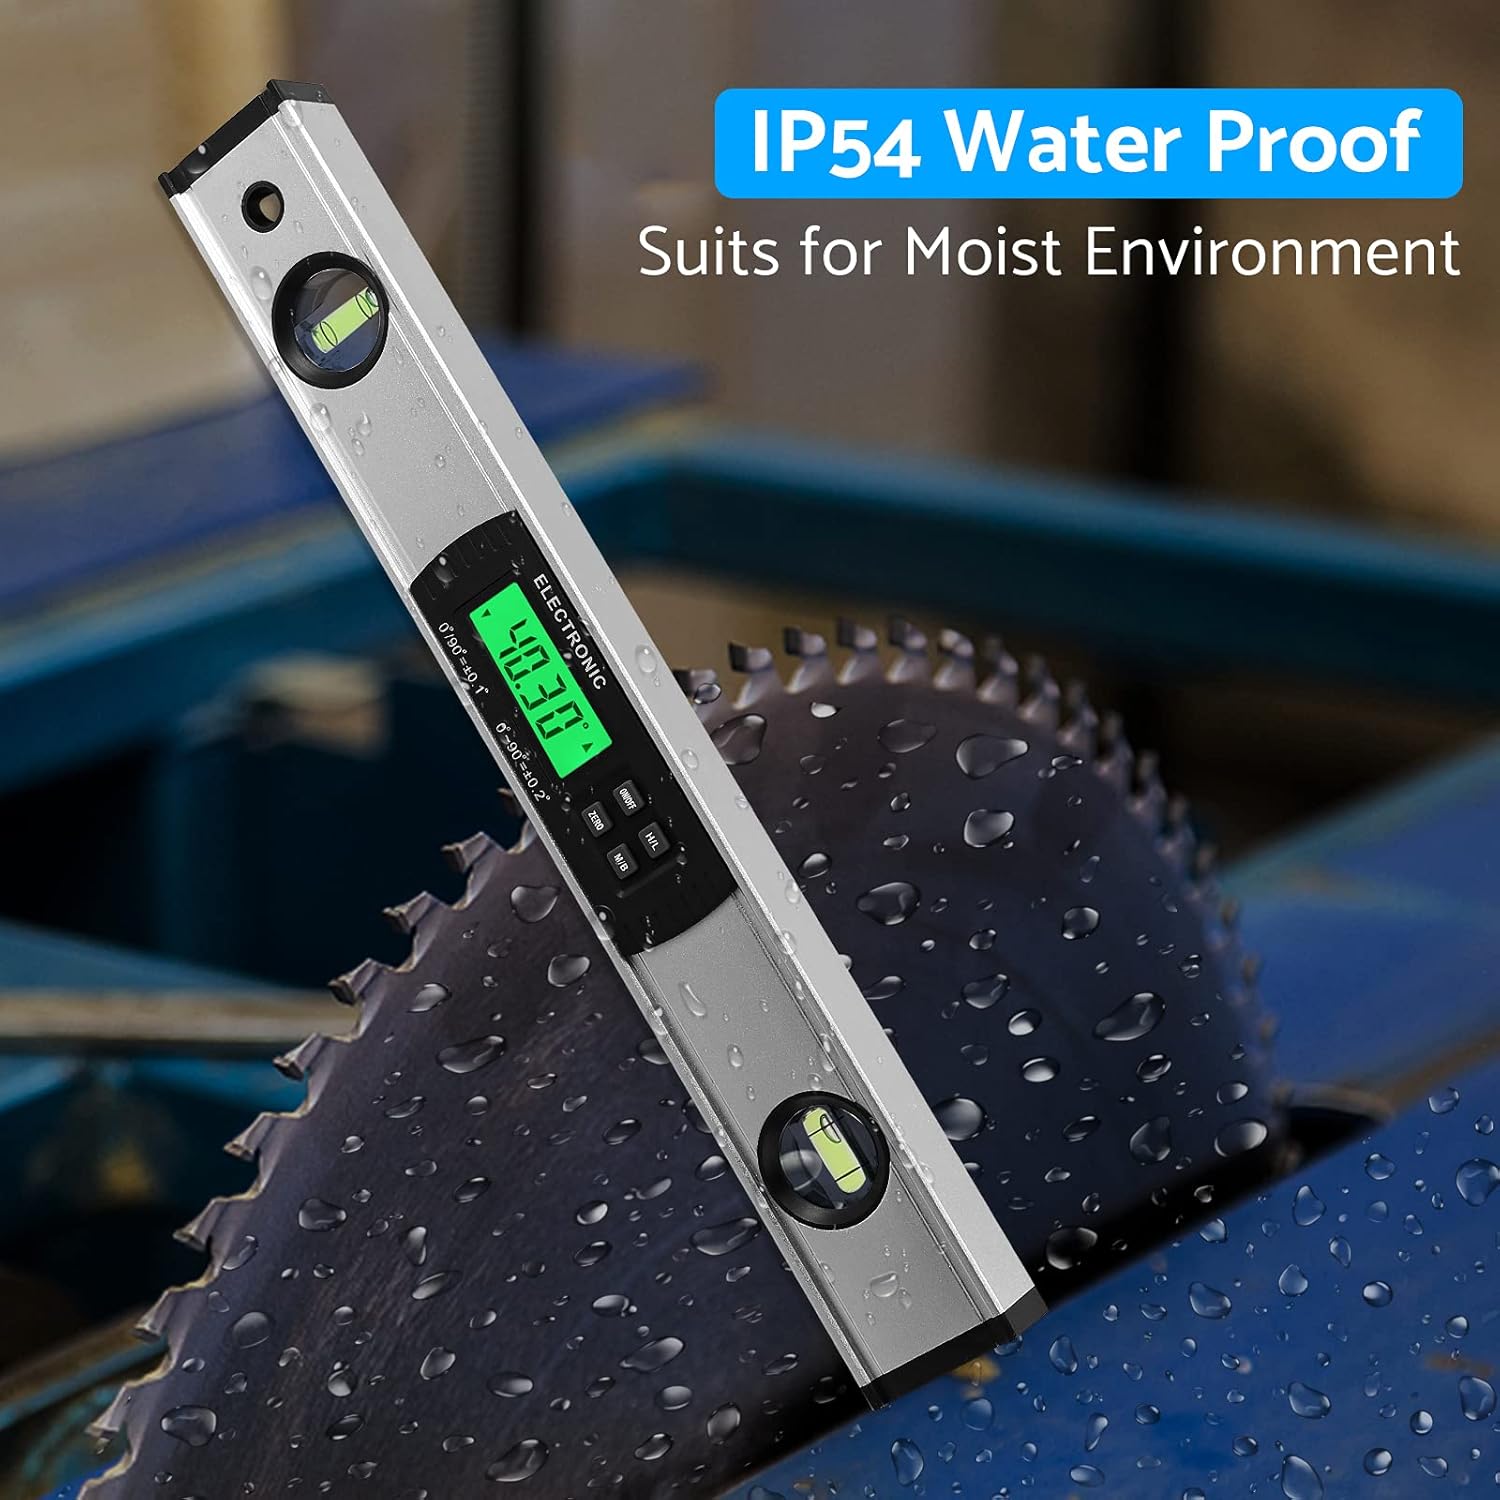
Figure 5.3: IP54 Water Resistance. This image depicts the angle finder in an environment with splashing water, highlighting its IP54 waterproof and dust-proof design suitable for moist conditions.
While resistant to splashes and dust, it is not designed for immersion in water. Avoid prolonged exposure to heavy rain or submersion.
6. Maintenance
6.1. Cleaning
Wipe the device with a soft, damp cloth. Do not use abrasive cleaners, solvents, or immerse the device in water. Ensure the LCD display is clean for clear readings.
6.2. Storage
When not in use, store the angle finder in a dry, cool place, away from direct sunlight and extreme temperatures. If storing for extended periods, remove the batteries to prevent leakage.
6.3. Battery Replacement
When the battery indicator on the LCD shows low power, replace both AAA batteries promptly to ensure accurate operation. Follow the battery installation steps in Section 4.1.
7. Troubleshooting
- Device does not power on:
- Check if batteries are installed correctly with proper polarity.
- Replace with new AAA batteries.
- Inaccurate readings:
- Ensure the measurement surface is clean and flat.
- Perform a zero calibration on a known flat surface.
- Check for any physical damage to the device.
- LCD display is dim or flickering:
- Replace batteries.
- Ensure the backlight is not set to a low brightness (if applicable) or is turned on.
If problems persist, please contact customer support.
8. Specifications

Figure 8.1: Product Dimensions. The angle finder measures approximately 40cm (15.75 inches) in length, 5cm (1.97 inches) in height, and 3.8cm (1.5 inches) in width.
| Feature | Specification |
|---|---|
| Brand | eSynic |
| Model Number | ESYWT069 |
| Material | Aluminum |
| Color | Silver |
| Length | 16 inches (approx. 40 cm) |
| Accuracy | ±0.1° at 0° and 90°, ±0.2° at 1-89° |
| Measurement Modes | Degrees, %, Slope, in/ft (Fractions/Decimal) |
| Display | Backlit LCD |
| Power Source | 2 x AAA Batteries |
| Water/Dust Protection | IP54 |
| Special Features | Magnetic Base, Data Hold, Horizontal Bubble, Vertical Bubble, Audible Alarm |
| Item Weight | 14.1 ounces |
| Package Dimensions | 17.32 x 2.64 x 1.61 inches |
9. Warranty and Support
eSynic products are manufactured to high-quality standards. For information regarding warranty coverage and terms, please refer to the documentation included with your purchase or visit the official eSynic website.
For technical support, troubleshooting assistance, or any inquiries, please contact eSynic customer service through the retailer where the product was purchased or via the contact information provided on the eSynic brand store page.
