
Introduction
This manual provides detailed instructions for the installation, operation, and maintenance of your Gazechimp Wireless Motorcycle Tire Pressure Monitoring System (TPMS). This system is designed to enhance riding safety by monitoring your motorcycle's tire pressure and temperature in real-time, providing alerts for abnormal conditions, and offering additional features like battery voltage monitoring and USB charging.
Product Features
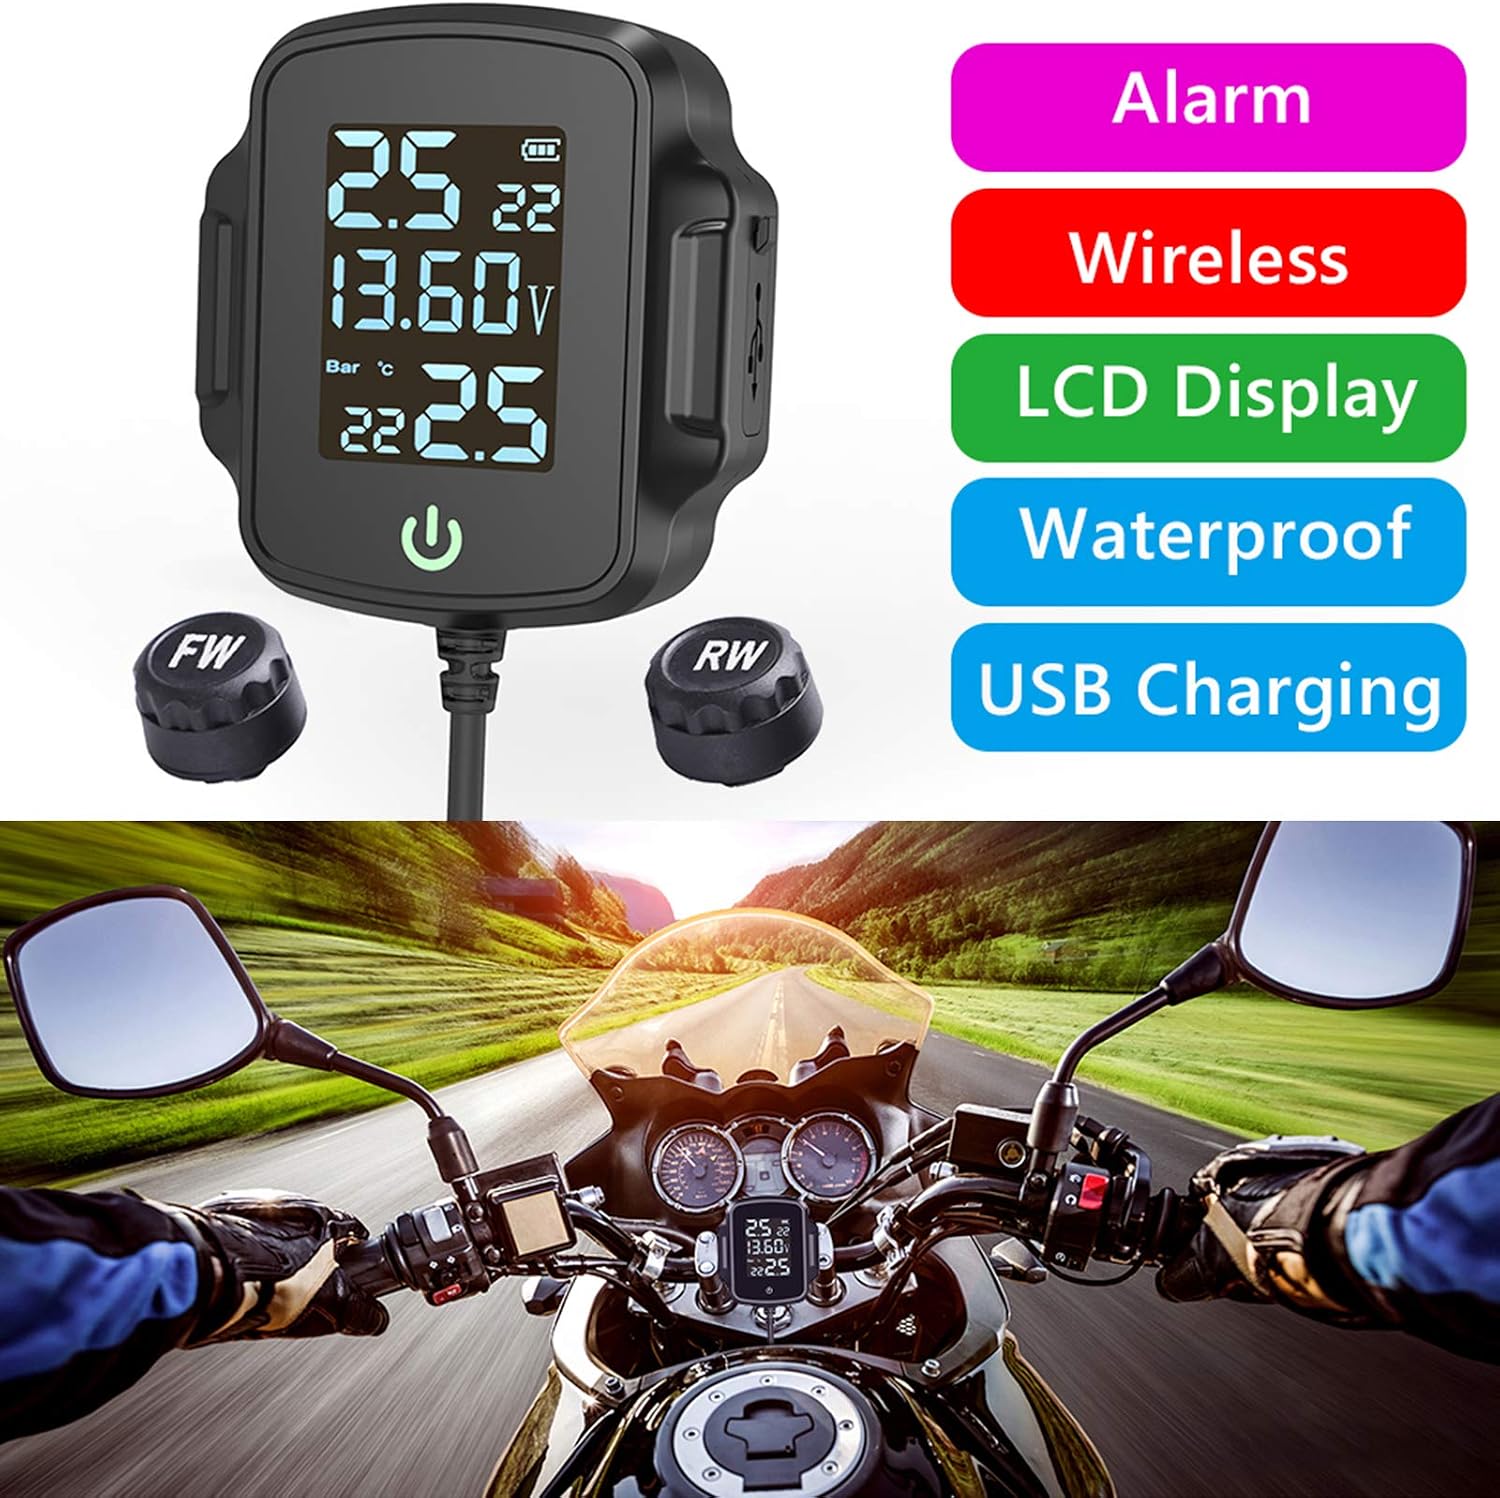
- Real-time Tire Pressure Display: Continuously monitors and displays front and rear tire pressure.
- Tire Temperature Warning: Alerts the rider to abnormal tire temperatures.
- Battery Voltage Monitoring: Displays the motorcycle's battery voltage.
- Audible Buzzer Alarm: Provides an audible alert for critical conditions.
- Replaceable Sensor Batteries: External sensors feature user-replaceable batteries for convenience.
- Easy Installation: Designed for straightforward setup on most motorcycles.
- Waterproof Design: The main unit and sensors are built to withstand various weather conditions.
- USB Charging (QC3.0): Integrated USB port for charging external devices.
- LCD Display: Clear and easy-to-read display for all monitored parameters.

Setup
1. Main Unit Installation
Mount the main display unit securely on your motorcycle's handlebars using the provided bracket. Ensure the unit is positioned for clear visibility while riding and does not obstruct your view or controls.

2. Power Connection
Connect the power cable of the main unit to a 12V power source on your motorcycle. It is recommended to connect it to a switched positive wire (e.g., ignition-controlled) so the unit powers on and off with the motorcycle. Ensure proper polarity and secure connections.
3. Sensor Installation
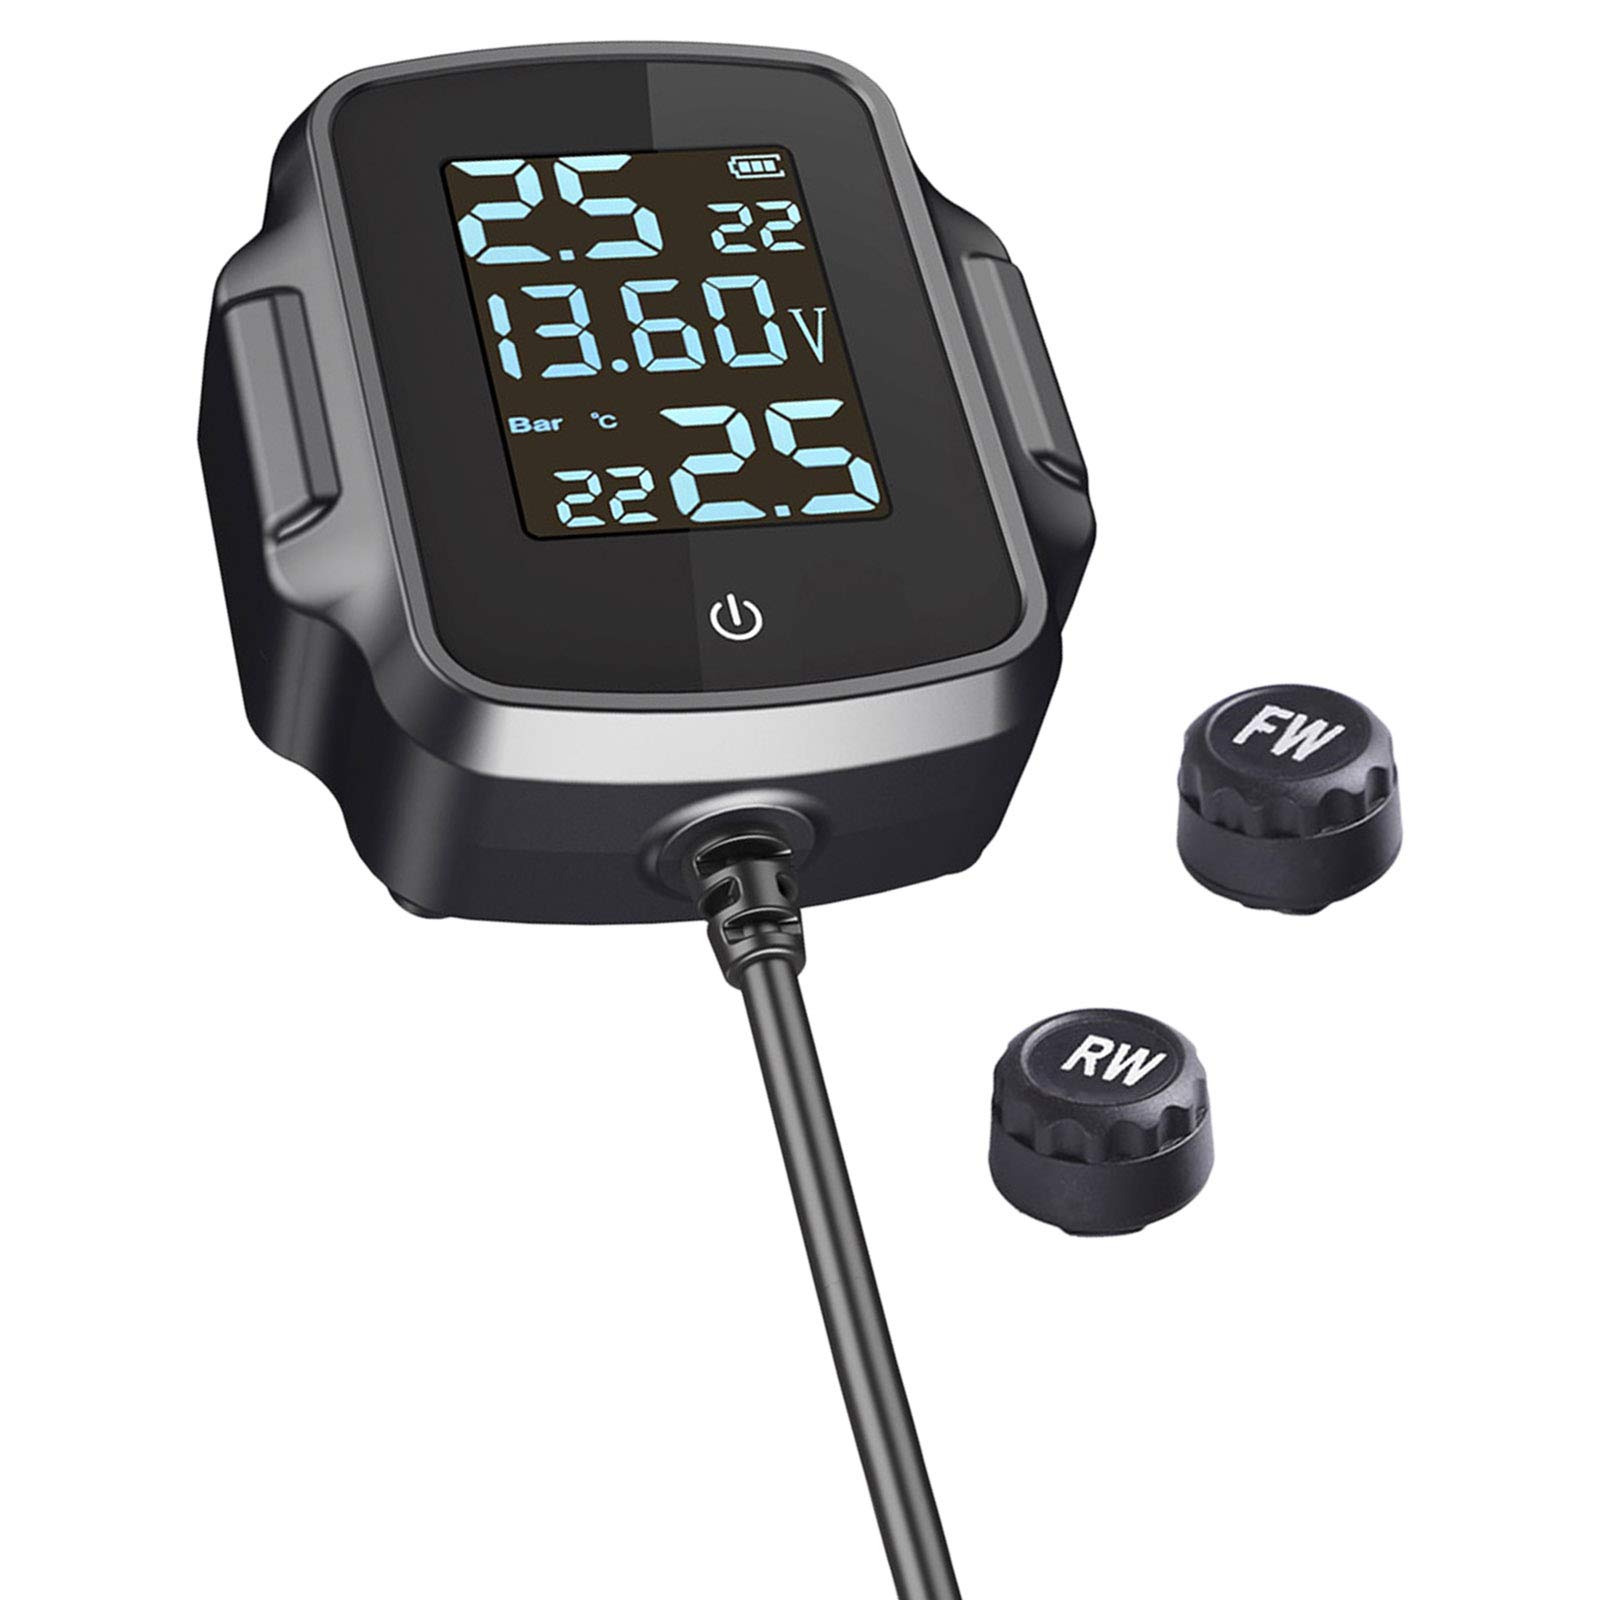
- Identify the front (FW) and rear (RW) sensors.
- Remove the original valve caps from your motorcycle tires.
- Screw the corresponding sensor (FW for front, RW for rear) onto the tire valve stem. Tighten securely to prevent air leakage.
- After installation, check for any air leaks.

Operating Instructions
Power On/Off
The unit will power on automatically when the motorcycle's ignition is turned on (if wired to a switched power source). To manually power on/off, press and hold the power button on the unit.
Display Information
The LCD display shows real-time data for both front and rear tires, including pressure (in Bar or PSI) and temperature (in °C or °F). It also displays the motorcycle's battery voltage.
Alarm Functions
The system will trigger an audible buzzer alarm and display a visual warning under the following conditions:
- High Pressure Alarm: Tire pressure exceeds the preset high limit.
- Low Pressure Alarm: Tire pressure falls below the preset low limit.
- High Temperature Alarm: Tire temperature exceeds the preset high limit.
- Low Voltage Alarm: Motorcycle battery voltage drops below a critical level.
- Sensor Battery Low Alarm: Indicates that a sensor battery needs replacement.
- Sensor Signal Loss Alarm: Occurs if a sensor stops transmitting data.
USB Charging
The integrated QC3.0 USB port can be used to charge compatible electronic devices while the motorcycle is running.
Maintenance
Sensor Battery Replacement
When a sensor battery low alarm is triggered, replace the battery in the affected sensor. Typically, these sensors use standard coin cell batteries (e.g., CR1632). Unscrew the sensor cap, carefully remove the old battery, and insert a new one with the correct polarity. Re-tighten the cap securely.
Cleaning
Clean the main unit and sensors with a soft, damp cloth. Do not use abrasive cleaners or solvents, as these can damage the display or housing.
Regular Checks
Periodically check the tightness of the sensors on the valve stems and the security of the main unit's mounting bracket and power connections.
Troubleshooting
| Problem | Possible Cause | Solution |
|---|---|---|
| No display/Unit not powering on | Loose power connection, no power from motorcycle, faulty unit. | Check power cable connections. Ensure motorcycle ignition is on. Verify 12V power supply. |
| No tire pressure/temperature reading | Sensor not installed correctly, sensor battery low/dead, sensor out of range, interference. | Ensure sensors are tightly screwed on. Replace sensor battery. Move motorcycle to reduce interference. Re-pair sensors if necessary (refer to advanced settings in full manual). |
| Inaccurate readings | Sensors not calibrated, external factors (extreme heat/cold). | Verify tire pressure with a reliable gauge and compare. Allow sensors to stabilize after installation. |
| Alarm sounds frequently | Tire pressure/temperature outside preset limits, low sensor battery. | Check tire pressure and temperature. Adjust tire pressure to recommended levels. Replace sensor battery if indicated. |
| Water ingress | Improper sealing, extreme weather conditions. | Ensure all caps and connections are tightly sealed. While waterproof, avoid prolonged submersion or high-pressure washing directly on the unit. |
Specifications
- Brand: Gazechimp
- Model: B091DSNNC8
- Weight: 190 g
- Dimensions (Main Unit): Approximately 10 cm (width) x 14 cm (height) x 4 cm (depth)
- Pressure Monitoring Range: (Typically 0-4.5 Bar / 0-65 PSI - Specific range not provided, common for motorcycle TPMS)
- Temperature Monitoring Range: (Typically -20°C to 80°C / -4°F to 176°F - Specific range not provided)
- Operating Voltage: 12V DC
- USB Output: QC3.0 (Quick Charge 3.0)
- Sensor Battery Type: CR1632 (or similar coin cell)
- Waterproof Rating: (Typically IP67 for sensors, IPX7 for main unit - Specific rating not provided, inferred from "Waterproof" feature)

Warranty and Support
For warranty information and technical support, please refer to the documentation included with your purchase or contact Gazechimp customer service directly. Keep your proof of purchase for warranty claims.
For further assistance, visit the official Gazechimp website or contact your retailer.