1. Introduction
This manual provides essential information for the proper installation, operation, and maintenance of your SRAM Apex 1 Left Brake Lever. Please read this manual thoroughly before attempting installation or use to ensure safe and optimal performance of your bicycle component. For additional technical support or detailed diagrams, refer to the official SRAM website or consult a professional bicycle mechanic.
2. Safety Information
WARNING: Improper installation or maintenance of bicycle components can lead to serious injury or death. If you are unsure about any part of the installation or adjustment process, seek assistance from a qualified bicycle mechanic.
- Always wear appropriate safety gear, including eye protection, when working on your bicycle.
- Ensure all bolts and fasteners are tightened to the manufacturer's specified torque settings. Overtightening can damage components; undertightening can lead to component failure.
- Regularly inspect your brake lever and associated components for wear, damage, or loose connections. Replace worn or damaged parts immediately.
- Test brake function thoroughly before riding. Ensure both front and rear brakes engage effectively and smoothly.
3. Package Contents
Verify that all items are present in the package before proceeding with installation:
- SRAM Apex 1 Left Brake Lever (Drop Bar Individual)
- Associated mounting hardware (e.g., clamp bolt)
Note: Brake cables, housing, and calipers are typically sold separately and are not included with the brake lever.
4. Features
The SRAM Apex 1 Left Brake Lever is designed with the following key features:
- Ergonomic Design: Features SRAM's ErgoFit textured body for a confident grip and comfort during extended rides.
- Durable Construction: Forged aluminum construction provides an optimal balance of lightweight performance and increased durability.
- Compatibility: Engineered for seamless short pull actuation, compatible with SRAM road calipers.
- Adjustable Reach: Allows riders to customize leverage and feel for tailored comfort and control.
- Aesthetic Finish: Sleek black finish complements various bike aesthetics.
5. Setup and Installation
This section outlines the general steps for installing the SRAM Apex 1 Left Brake Lever. Specific torque values and detailed procedures can be found in the comprehensive SRAM technical manual for road components.
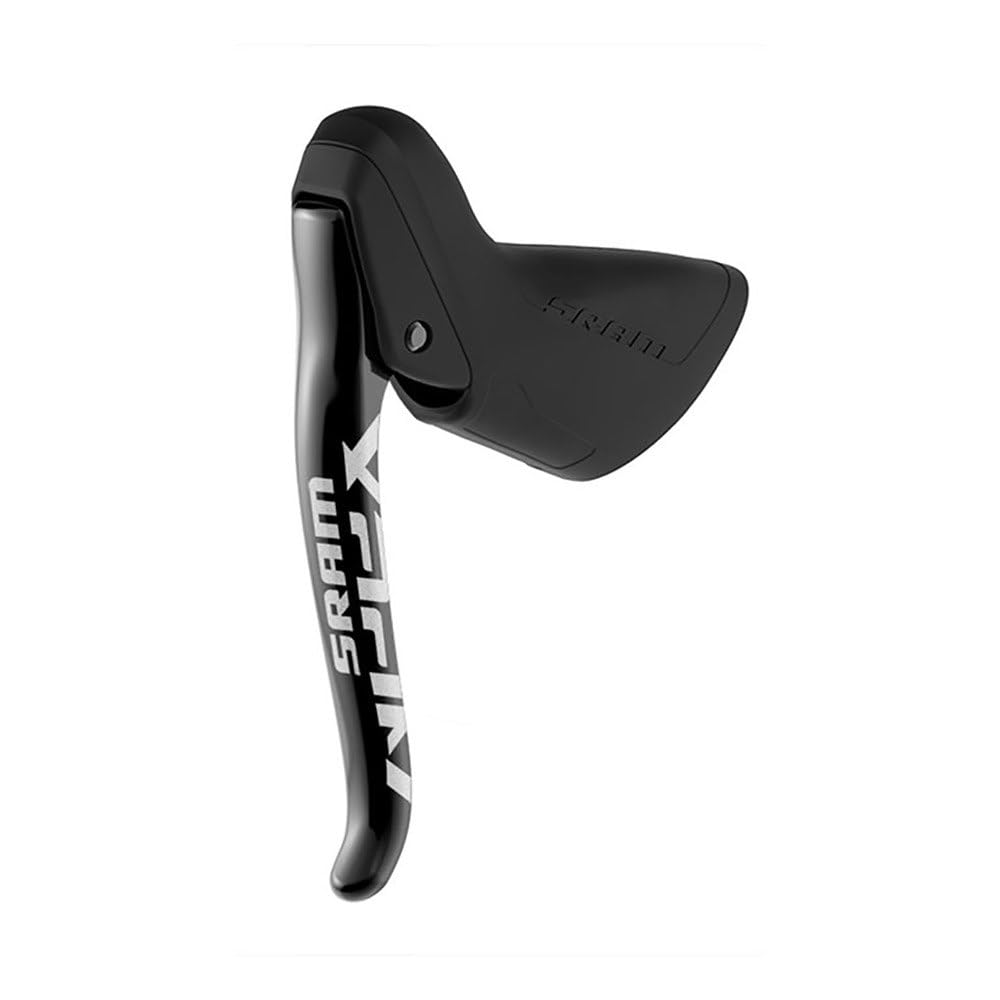
Figure 1: SRAM Apex 1 Left Brake Lever. This image shows the overall design and ergonomic shape of the brake lever.
- Prepare Handlebars: Ensure your handlebars are clean and free of grease or debris where the lever will be clamped.
- Position the Lever: Slide the brake lever onto the left side of the handlebar. Position it ergonomically for comfortable reach and braking. The lever should be positioned so that your fingers can comfortably reach the lever blade from your preferred riding position.
- Secure the Clamp: Using an appropriate hex key, tighten the clamp bolt to the manufacturer's specified torque. Refer to the SRAM technical manual for the exact torque specification. Do not overtighten.
- Install Brake Cable: Route the brake cable through the lever body and connect it to your brake caliper according to the caliper manufacturer's instructions. Ensure the cable moves freely within the housing.
- Adjust Reach (if applicable): If your lever features reach adjustment, use the designated adjustment screw (typically located on the lever body) to set the lever's distance from the handlebar to your preference.
- Test Functionality: Before riding, thoroughly test the brake's function. Ensure the lever pulls smoothly, the brake engages firmly, and the lever returns to its original position without sticking. Check for proper cable tension and ensure there is no excessive play.
It is highly recommended to have installation performed or checked by a certified bicycle mechanic.
6. Operation
The SRAM Apex 1 Left Brake Lever operates as a standard mechanical brake lever for drop bar bicycles. It is designed for use with a single chainring (1x) drivetrain setup, where the left lever is dedicated solely to braking.
- Braking: Squeeze the lever blade towards the handlebar to actuate the front brake. The amount of braking force is proportional to the pressure applied to the lever.
- Modulation: Practice modulating your braking force to control speed effectively without locking up the wheel.
- Reach Adjustment: If you find the lever too far or too close, adjust the reach as described in the "Setup and Installation" section to optimize comfort and control.
7. Maintenance
Regular maintenance ensures the longevity and safe operation of your brake lever.
- Cleaning: Wipe down the lever body and blade with a clean, damp cloth. Avoid using harsh chemicals or solvents that could damage the finish or internal components.
- Cable Inspection: Periodically check the brake cable and housing for fraying, kinks, or corrosion. Replace cables and housing as needed to maintain smooth braking performance.
- Pivot Points: Apply a small amount of light lubricant to the lever pivot points annually or as needed to ensure smooth operation.
- Bolt Torque: Occasionally check the clamp bolt and any other fasteners for proper torque.
- Wear and Damage: Inspect the lever for any signs of cracks, bends, or excessive wear. Replace the lever if any damage is detected.
8. Troubleshooting
This section addresses common issues you might encounter with your brake lever.
| Problem | Possible Cause | Solution |
|---|---|---|
| Brake lever feels spongy or soft. | Loose brake cable, stretched cable, worn brake pads, air in hydraulic system (if applicable to caliper). | Check cable tension and adjust. Inspect and replace brake pads. If hydraulic, bleed the brake system (professional service recommended). |
| Brake lever does not return fully. | Friction in cable/housing, dirty pivot points, damaged return spring. | Lubricate pivot points. Inspect and replace cable/housing. Consult a mechanic if spring is damaged. |
| Brake lever is stiff or hard to pull. | Friction in cable/housing, dirty pivot points, incorrect cable routing. | Inspect and replace cable/housing. Clean and lubricate pivot points. Re-route cable correctly. |
If troubleshooting steps do not resolve the issue, contact SRAM customer support or consult a professional bicycle mechanic.
9. Specifications
Key specifications for the SRAM Apex 1 Left Brake Lever (Model 00.5218.013.000):
- Brand: SRAM
- Model Number: 00.5218.013.000
- Material: Forged Aluminum
- Color: Black
- Hand Orientation: Left
- Handle Type: Lever
- Compatibility: SRAM road calipers (short pull actuation)
- Features: ErgoFit body, Adjustable Reach
- Item Weight: Approximately 0.75 Pounds (0.34 kg)
- UPC: 710845806506
10. Warranty and Support
Limited Warranty: This SRAM product is covered by a limited warranty against defects in materials and workmanship. The specific terms and duration of the warranty may vary by region and product. Please retain your proof of purchase.
For detailed warranty information, claims, or technical support, please visit the official SRAM website or contact your authorized SRAM dealer.