1. Introduction
This manual provides detailed instructions for the setup, operation, and maintenance of your Other Digital Red LED Wall Clock, Model 3615. Please read this manual thoroughly before using the product to ensure proper function and longevity.
2. Package Contents
Upon unpacking, please verify that all items listed below are present and in good condition:
- Other Digital Red LED Wall Clock Model 3615
- Power Adapter (Corded Electric)
- User Manual (this document)
3. Product Overview
The Model 3615 is a digital wall clock featuring a clear red LED display. It provides time, date, day of the week, and temperature information. The clock is designed for wall mounting and operates via a corded electric power source.
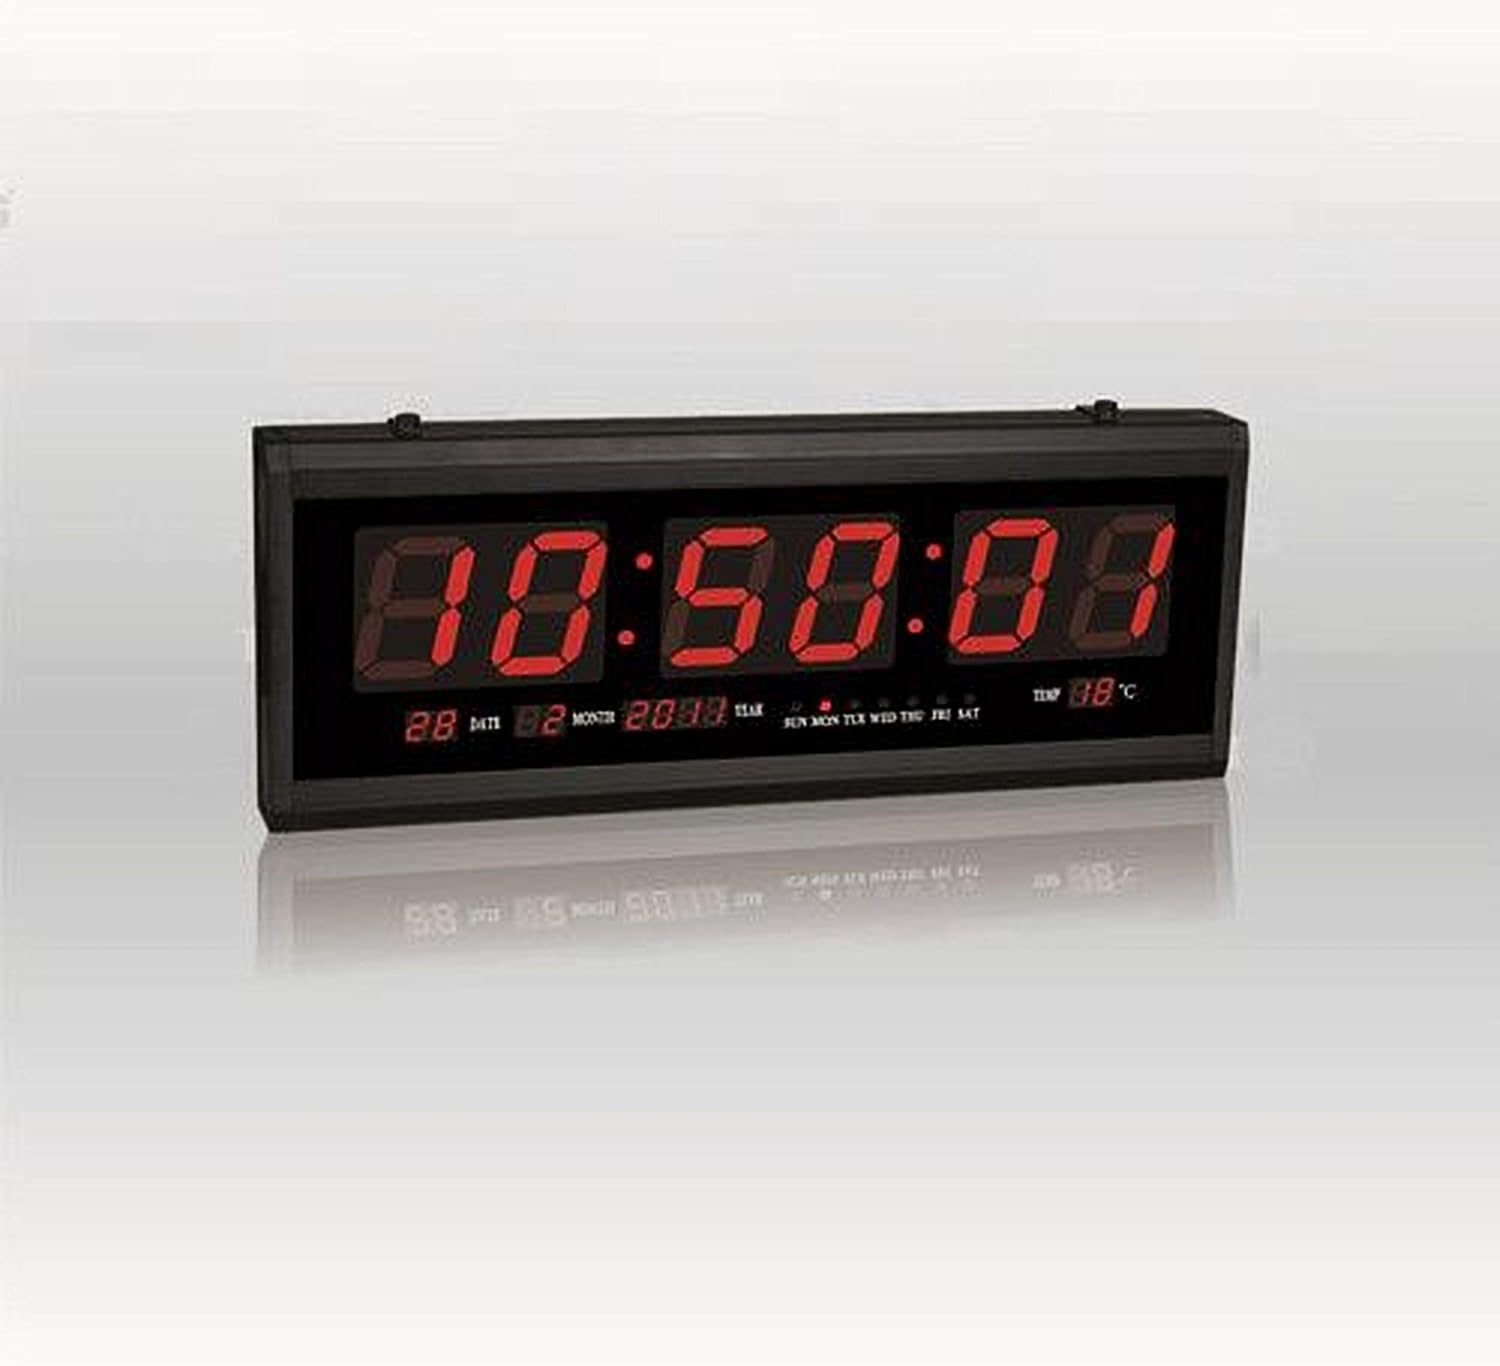
Figure 1: Front view of the Digital Red LED Wall Clock Model 3615. The display shows the current time prominently, with smaller indicators for date (day and month), year, day of the week (SUN MON TUE WED THU FRI SAT), and temperature in Celsius.
Display Elements:
- Time: Large red LED digits (HH:MM:SS format).
- Date: Day and Month (e.g., 28 02).
- Year: (e.g., 2088).
- Day of Week: Indicators for SUN, MON, TUE, WED, THU, FRI, SAT.
- Temperature: Displays ambient temperature in Celsius (e.g., 88°C).
- Alarm: Built-in alarm function.
4. Setup
4.1 Wall Mounting
- Select a suitable location on a wall, ensuring it is within reach of a power outlet.
- Use appropriate hardware (screws, anchors – not included) to securely mount the clock to the wall. The clock features mounting points on its rear casing.
- Ensure the clock is level before tightening the mounting hardware.
4.2 Power Connection
- Locate the power input port on the clock.
- Connect the provided power adapter to the clock.
- Plug the power adapter into a standard electrical outlet. The clock display should illuminate.
5. Operating Instructions
The clock typically features control buttons on its side or rear for setting time, date, and alarm. Refer to the specific button labels on your device (e.g., SET, UP, DOWN, MODE).
5.1 Setting Time
- Press the MODE or SET button until the time digits begin to flash.
- Use the UP and DOWN buttons to adjust the hour.
- Press MODE or SET again to move to the minute setting, then adjust with UP and DOWN.
- Repeat for seconds if applicable.
- Press MODE or SET to confirm and exit time setting mode.
5.2 Setting Date and Day of Week
- From normal display, press MODE or SET repeatedly until the date or year digits flash.
- Adjust the year, month, and day using the UP and DOWN buttons, pressing MODE or SET to cycle between them.
- The day of the week should automatically update once the date is set correctly. If not, there may be a separate setting for the day of the week, which can be adjusted similarly.
- Press MODE or SET to confirm and exit date setting mode.
5.3 Setting Alarm
- Press the ALARM or MODE button until the alarm time digits flash.
- Use the UP and DOWN buttons to set the desired alarm hour.
- Press ALARM or MODE again to set the alarm minute.
- Press ALARM or MODE to confirm.
- To activate/deactivate the alarm, there is usually a dedicated switch or a long press function on one of the buttons. A small indicator on the display may show if the alarm is active.
5.4 Temperature Display
The clock automatically displays the ambient temperature. No user adjustment is typically required for this feature.
6. Maintenance
6.1 Cleaning
To clean the clock, gently wipe the display and casing with a soft, dry, or slightly damp cloth. Avoid using abrasive cleaners, solvents, or excessive moisture, as these can damage the display or internal components.
6.2 Power Disconnection
If the clock will not be used for an extended period, disconnect it from the power outlet.
7. Troubleshooting
- Display is blank:
- Ensure the power adapter is securely plugged into both the clock and a working electrical outlet.
- Check if the power outlet is functional by plugging in another device.
- Incorrect time/date:
- Follow the instructions in Section 5.1 and 5.2 to reset the time and date.
- Alarm not sounding:
- Ensure the alarm is activated (check for an alarm indicator on the display).
- Verify the alarm time is set correctly.
- Temperature reading seems inaccurate:
- Ensure the clock is not placed near heat sources or in direct sunlight, which can affect sensor readings.
8. Specifications
| Brand | Other |
| Model | 3615 |
| Display Type | Digital, Red LED |
| Material | Plastic & Glass (Frame: Plastic) |
| Power Source | Corded Electric |
| Special Features | Alarm, Time, Date, Day of Week, Temperature |
| Mounting Type | Wall Mount |
| Item Weight | 850 g |
| Package Dimensions | 34 x 19.2 x 7 cm |
| Batteries Included | No |
9. Warranty and Support
For warranty information or technical support, please refer to the documentation provided at the time of purchase or contact the seller/manufacturer directly. Keep your purchase receipt as proof of purchase.