SONGMICS ULGR096B01
SONGMICS 6-Tier Storage Shelves Instruction Manual
Model: ULGR096B01 | Brand: SONGMICS
1. Introduction
Thank you for choosing the SONGMICS 6-Tier Storage Shelves. This versatile wire shelving unit is designed to provide robust and adjustable storage solutions for various spaces such as kitchens, garages, and living rooms. Its durable steel construction, adjustable shelves, and additional features like shelf liners and S-hooks make it an ideal choice for organizing your belongings efficiently.
This manual provides detailed instructions for assembly, operation, maintenance, and troubleshooting to ensure safe and optimal use of your new storage unit.
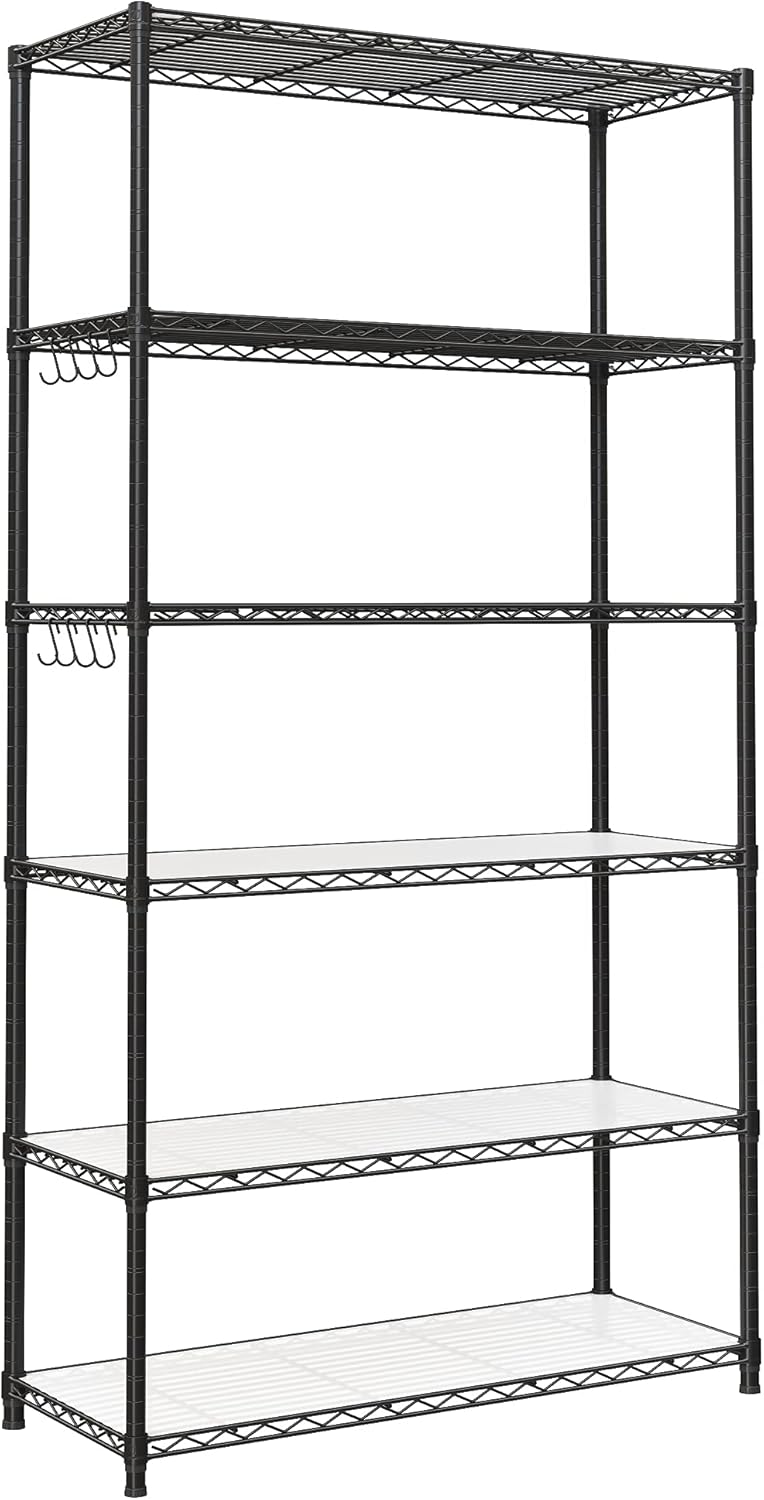
Figure 1: Fully assembled SONGMICS 6-Tier Storage Shelves.
2. Safety Warnings
Please read and understand all safety warnings before assembly and use.
- The maximum static load capacity per shelf is 250 lb (113 kg). Do not exceed this weight limit.
- The total maximum static load capacity for the entire unit is 1500 lb (680 kg).
- Always use the product against a wall and install the included anti-tip kit for safety to prevent accidental tipping.
- To ensure each shelf is horizontal, verify that the plastic clips for each shelf are installed at the same level on all four poles.
- When assembling the plastic clips, ensure the "TOP" arrow on the clip is facing upwards.
- After assembly, check all clips and connections to ensure they are secure and do not move up or down.
3. Package Contents
Before beginning assembly, please ensure all parts are present and in good condition. If any parts are missing or damaged, please contact customer support.
| Item | Quantity |
|---|---|
| Storage Shelf Unit (disassembled) | 1 Set |
| PP Shelf Liners | 6 |
| S-Hooks | 8 |
| Anti-Tip Kit | 1 |
| Instructions Manual | 1 |
4. Setup and Assembly
Assembly of this 6-tier wire shelving unit is designed to be straightforward and requires no tools. Follow these steps carefully:
- Unpack and Identify Parts: Lay out all components and identify them according to the package contents list. Ensure all poles, shelves, clips, and accessories are accounted for.
- Assemble Lower Poles: Screw the adjustable leveling feet into the bottom of the lower pole sections. Connect the lower pole sections to the upper pole sections by screwing them together.
- Attach Plastic Clips: Snap the two-part plastic clips around the grooves on the poles at your desired shelf height. Ensure that the "TOP" arrow on each clip faces upwards and that clips on all four poles are at the exact same height for a level shelf.
- Install First Shelf: Slide the first wire shelf down over the poles, ensuring the corners of the shelf fit snugly over the plastic clips. Gently press down on the shelf corners until it is securely seated on the clips.
- Continue Installing Shelves: Repeat step 3 and 4 for the remaining shelves, adjusting the height of the plastic clips as needed for each shelf. Remember to keep the clips at the same level on all four poles for each shelf.
- Install Anti-Tip Kit: For enhanced safety, especially in homes with children or pets, install the included anti-tip kit to secure the shelving unit to a wall. Follow the specific instructions provided with the anti-tip kit.
- Adjust Leveling Feet: Once assembled, adjust the leveling feet at the bottom of the unit to ensure stability on uneven surfaces. Rotate the feet clockwise or counter-clockwise until the unit is stable and level.

Figure 2: Proper attachment of plastic clips with "TOP" arrow facing up.

Figure 3: Overview of the shelving unit assembly process.
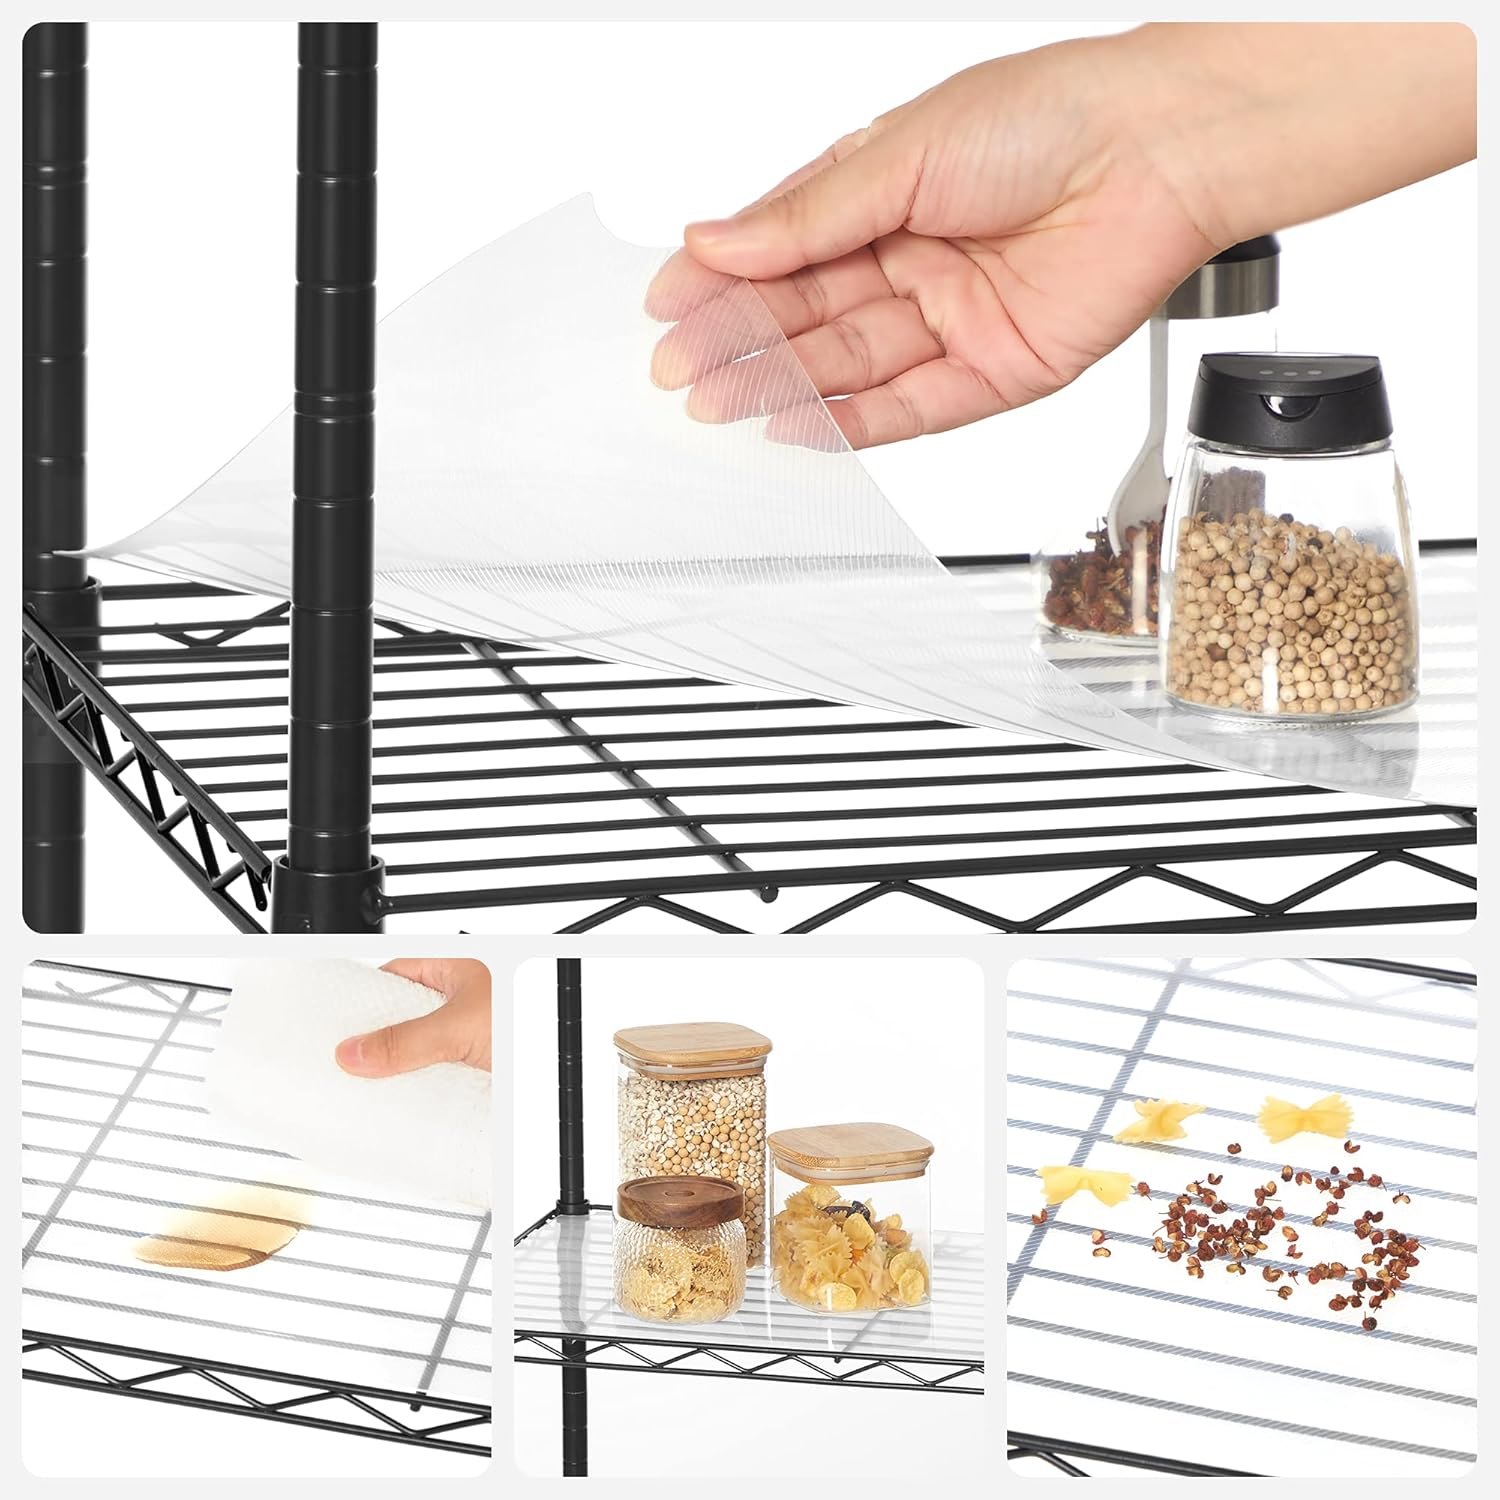
Figure 4: Adjustable feet for stability and S-hooks for hanging items.
5. Operating Instructions
5.1 Adjusting Shelf Height
The shelves can be adjusted to accommodate items of various heights. To adjust a shelf, remove any items from it, lift the shelf off the plastic clips, reposition the clips to the desired height on all four poles, and then lower the shelf back onto the clips until it is securely seated.
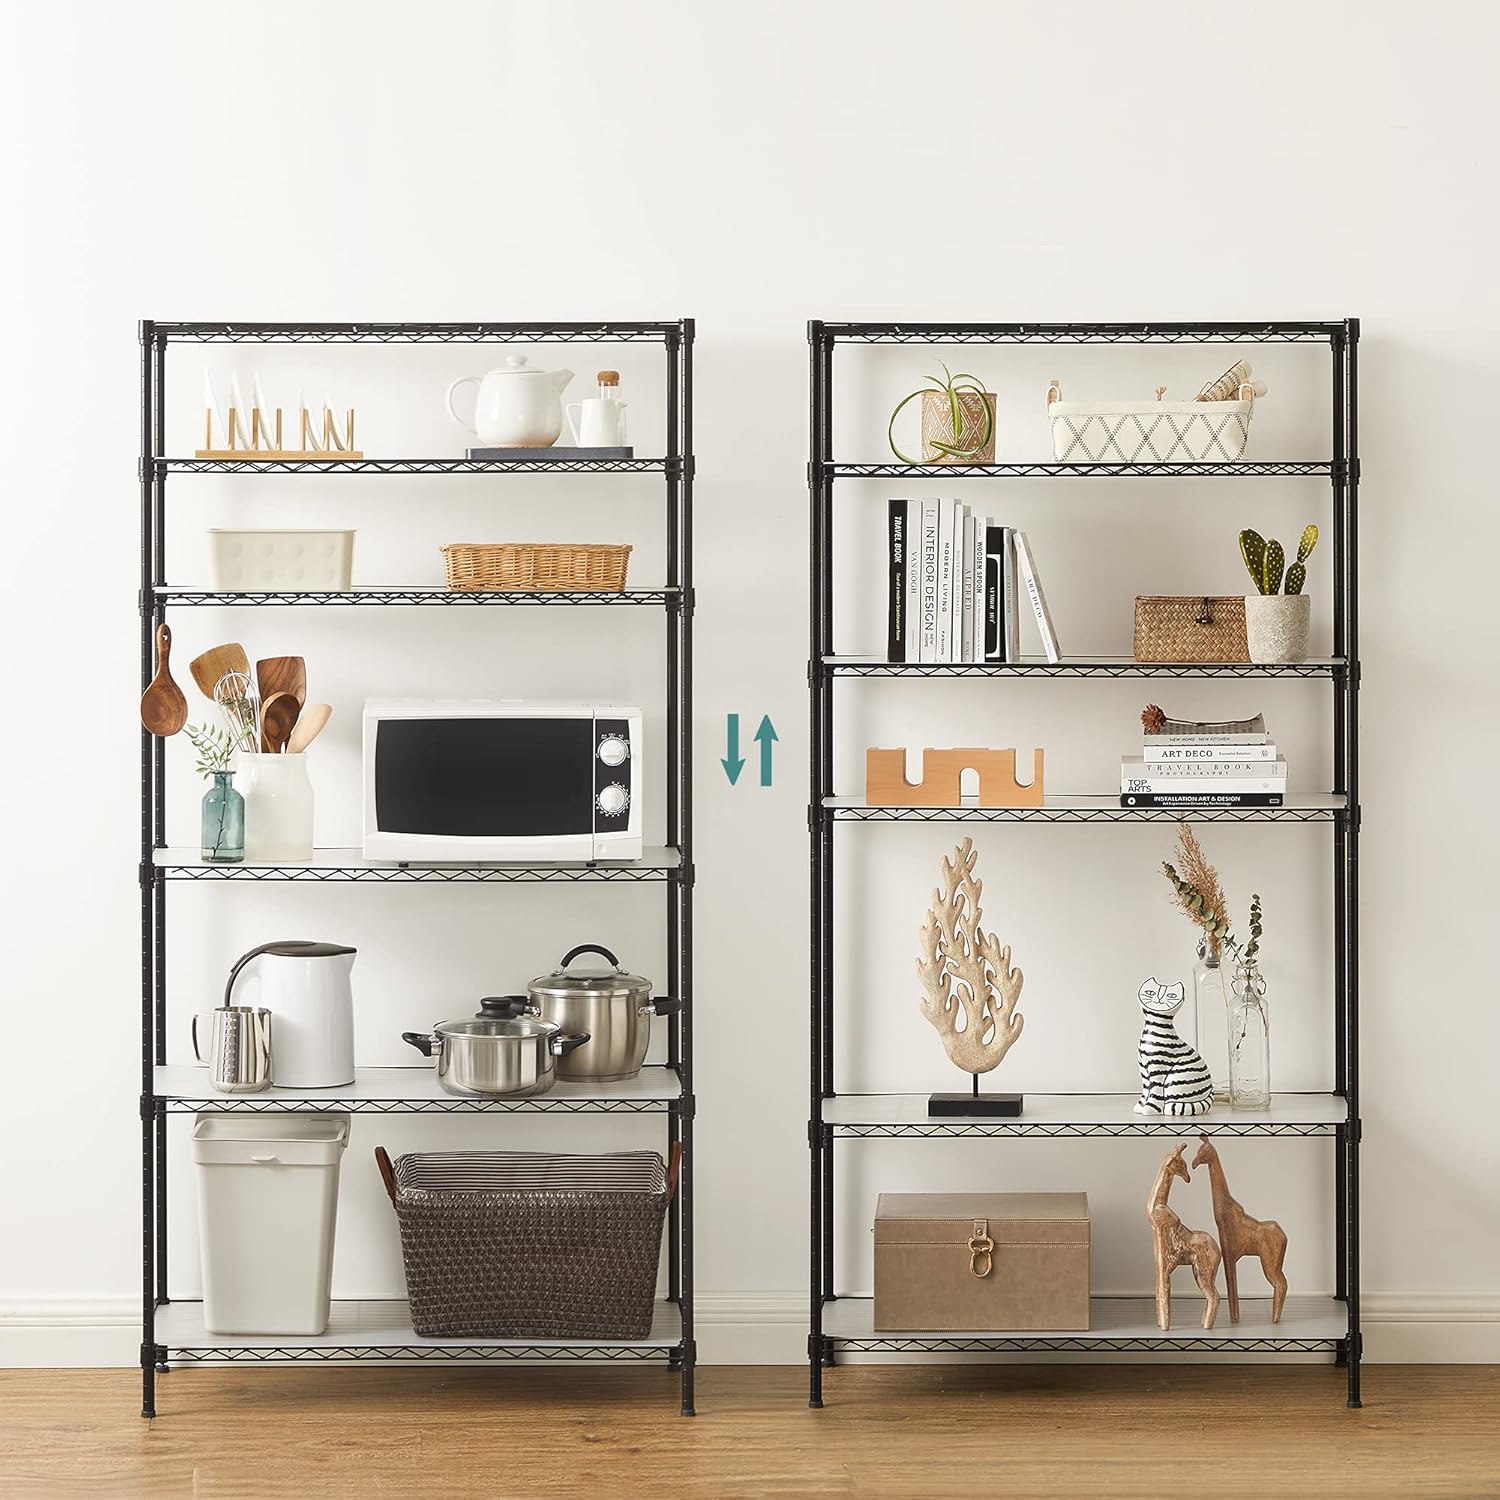
Figure 5: Demonstrating the adjustable nature of the shelves.
5.2 Separating into Two Units
For increased versatility, this 6-tier unit can be separated into two 3-tier storage shelves. Simply unscrew the middle pole connectors and assemble each half as a standalone 3-tier unit. This is ideal for storage in different rooms or for creating lower, wider storage solutions.
5.3 Using Shelf Liners
The included PP shelf liners provide a flat surface on each tier, preventing small items from falling through the wire grid and making cleaning easier. Simply place them on top of the wire shelves. The textured side of the liners can be placed facing up to help prevent items from sliding.

Figure 6: Shelf liners provide a flat surface and prevent small items from falling.
5.4 Utilizing S-Hooks
The 8 included S-hooks can be hung on the sides of the wire shelves, providing convenient hanging storage for items like oven mitts, kitchen utensils, or small tools. This helps to keep frequently used items close at hand and frees up countertop space.

Figure 7: Shelving unit in a kitchen, demonstrating the use of S-hooks for hanging items.
6. Maintenance
To maintain the appearance and longevity of your SONGMICS storage shelves, follow these simple care instructions:
- Cleaning: Wipe the metal frame and shelves with a dry cloth to remove dust and dirt. For more stubborn marks, a slightly damp cloth can be used, followed by immediate drying to prevent rust.
- Shelf Liners: The PP shelf liners are easy to clean. They can be wiped down with a damp cloth or rinsed with water and mild soap. Ensure they are completely dry before placing them back on the shelves.
- Regular Checks: Periodically check all connections, especially the pole connectors and shelf clips, to ensure they remain tight and secure. Re-tighten or re-seat as necessary.
- Avoid Harsh Chemicals: Do not use abrasive cleaners or harsh chemicals, as these can damage the finish of the metal.
7. Troubleshooting
7.1 Unit is Wobbly or Uneven
- Check Leveling Feet: Ensure the adjustable leveling feet at the bottom of the unit are properly adjusted to compensate for uneven floor surfaces. Rotate them until the unit is stable.
- Verify Shelf Placement: Confirm that all shelves are seated correctly and evenly on their respective plastic clips. The clips on all four poles for each shelf must be at the exact same height.
- Inspect Pole Connections: Ensure all pole sections are securely screwed together. Loose connections can lead to instability.
7.2 Shelves Do Not Sit Level
- Re-check Plastic Clips: The most common cause is uneven placement of the plastic clips. Remove the shelf, re-position the clips ensuring they are all at the identical groove level on each pole, and then re-seat the shelf.
- "TOP" Arrow Orientation: Ensure the "TOP" arrow on each plastic clip is facing upwards. Incorrect orientation can prevent the shelf from seating properly.
7.3 Items Falling Through Wire Shelves
- Use Shelf Liners: The included PP shelf liners are designed to prevent small items from falling through the wire grid. Ensure they are placed on the shelves.
8. Specifications
| Feature | Detail |
|---|---|
| Model Name | 6-Tier Storage Shelves |
| Model Number | ULGR096B01 |
| Color | Black |
| Material | Alloy Steel, Metal |
| Product Dimensions (D x W x H) | 13.8" x 35.4" x 69.7" (35 x 90 x 177 cm) |
| Number of Shelves | 6 |
| Product Weight | 26.2 lb (11.9 kg) |
| Max. Static Load Capacity per Tier | 250 lb (113 kg) |
| Total Max. Static Load Capacity | 1500 lb (680 kg) |
| Assembly Required | Yes (Tool-free) |
| Special Features | Adjustable Shelves, Separable into 2 units, Shelf Liners, 8 S-Hooks, Adjustable Feet, Anti-Tip Kit |
| Recommended Uses | Garage, Kitchen, Living Room, Storage |

Figure 8: Key dimensions and load capacities of the shelving unit.
9. Warranty and Support
SONGMICS is committed to providing high-quality products. For any questions, concerns, or issues regarding your 6-Tier Storage Shelves, please refer to the contact information provided with your purchase or visit the official SONGMICS website for customer support. Please retain your proof of purchase for any warranty claims.
Ask a question about this manual
Ask about setup, troubleshooting, compatibility, parts, safety, or missing instructions. Manuals+ will review the question and use this page’s manual context to help answer it.