1. Introduction and Overview
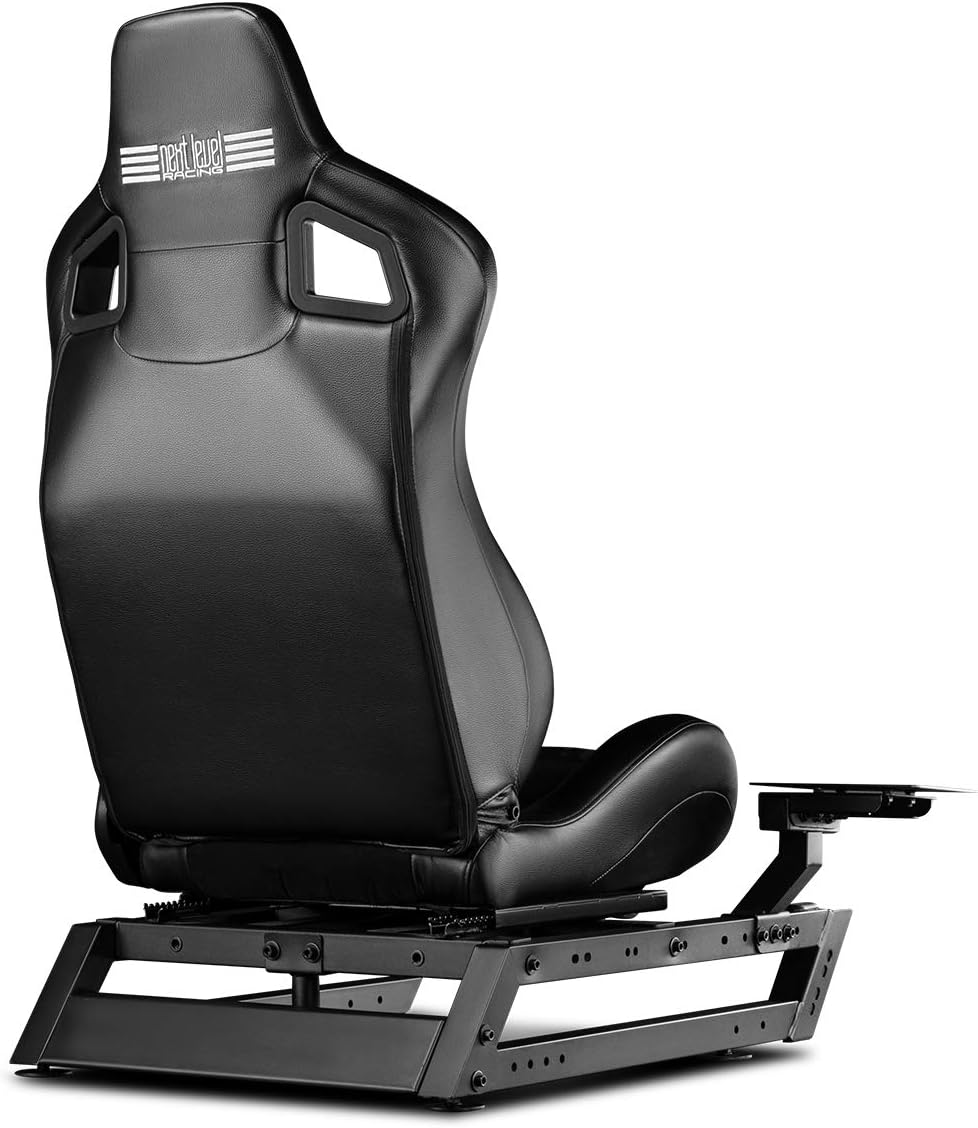
The Next Level Racing GT Seat Add-On (NLR-S024) is designed to convert compatible Next Level Racing Wheel Stands, such as the Wheel Stand DD or Wheel Stand 2.0, into a full racing cockpit. This add-on provides a dedicated racing seat for an immersive simulation experience. It is engineered for compatibility with various motion platforms, including the Motion Platform V3 and Traction Plus Platform.
Key features include:
- Converts a compatible wheel stand into a full racing cockpit.
- Designed with breathable fabric and leather trim for durability and comfort.
- Features a custom reclining chair with angle and distance adjustment capabilities.
- Compatible with Next Level Racing Motion Platform V3 and Traction Plus Platform.
2. Safety Information
Please read and understand all safety instructions before assembly and use. Failure to follow these instructions may result in injury or damage to the product.
- Ensure all bolts and fasteners are securely tightened before use. Regularly check for loose connections.
- Keep hands and fingers clear of moving parts during adjustment.
- Do not exceed the recommended weight capacity (if specified in the full product manual).
- Use the product on a stable, level surface to prevent tipping.
- Keep packaging materials away from children to prevent suffocation hazards.
3. Package Contents
Verify that all components are present before beginning assembly. If any parts are missing or damaged, contact Next Level Racing support.
- GT Seat
- Seat Frame/Base
- Mounting Hardware (bolts, washers, nuts)
- Assembly Tools (e.g., wrench, hex keys)
- Instruction Manual (this document)
4. Setup and Assembly
Assembly of the GT Seat Add-On involves attaching the seat to its frame and then integrating this assembly with a compatible Next Level Racing Wheel Stand. Follow the detailed steps provided in the included physical manual for precise instructions. The general process is outlined below:
- Unpack Components: Carefully remove all parts from the packaging and lay them out on a clean, flat surface. Verify against the package contents list.
- Assemble Seat to Frame: Attach the GT Seat to its dedicated frame using the provided bolts and tools. Ensure the seat sliders are correctly oriented.
- Integrate with Wheel Stand: Connect the assembled GT Seat and frame to your Next Level Racing Wheel Stand (e.g., Wheel Stand DD or 2.0). This typically involves aligning mounting points and securing with bolts. Refer to your specific wheel stand's manual for compatible attachment points.
- Initial Adjustments: Once assembled, perform initial adjustments for seat recline and distance to ensure a comfortable and stable setup.


5. Operating Instructions
The GT Seat Add-On is designed for user-friendly adjustments to optimize your racing position.
- Seat Recline: Locate the recline lever on the side of the seat. Pull the lever up to adjust the seat back angle. Release the lever to lock the seat in the desired position.
- Seat Distance: Use the slider bar located under the front of the seat to adjust the seat's forward or backward position. Pull the lever to unlock, slide the seat to the desired distance, and release the lever to lock.
- Wheel Stand Adjustments: For optimal positioning, you may also need to adjust the height and angle of your connected Next Level Racing Wheel Stand. Refer to your wheel stand's instruction manual for these adjustments.
6. Maintenance
Regular maintenance ensures the longevity and optimal performance of your GT Seat Add-On.
- Cleaning: Wipe down the seat fabric and leather trim with a damp cloth. For stubborn stains, use a mild, non-abrasive cleaner. Avoid harsh chemicals.
- Hardware Check: Periodically inspect all bolts, nuts, and connections to ensure they remain tight. Re-tighten any loose fasteners.
- Moving Parts: Ensure seat sliders and recline mechanisms operate smoothly. If they become stiff, a small amount of silicone-based lubricant can be applied, avoiding contact with fabric.
7. Troubleshooting
If you encounter issues with your GT Seat Add-On, consider the following common solutions:
- Instability: Ensure the seat add-on is correctly and securely attached to the wheel stand. Verify all bolts are tightened. Check that the wheel stand itself is stable on a level surface.
- Difficulty Adjusting Seat: Check for any obstructions in the seat slider rails or recline mechanism. Ensure the levers are fully engaged or disengaged when attempting to adjust.
- Squeaking Noises: Identify the source of the noise. It may be a loose bolt requiring tightening, or a moving part that could benefit from a small amount of lubricant.
For persistent issues, refer to the contact information in the Warranty and Support section.
8. Specifications
| Specification | Detail |
|---|---|
| Model Number | NLR-S024 |
| Product Dimensions | 51.2 x 28.3 x 33.1 inches |
| Product Weight | 55.1 Pounds |
| Manufacturer | Next Level Racing |
| First Available | March 1, 2021 |
9. Warranty and Support
Next Level Racing products come with a manufacturer's warranty. For specific warranty terms, duration, and conditions, please refer to the warranty card included with your product or visit the official Next Level Racing website. For technical support, troubleshooting assistance, or to inquire about replacement parts, please contact Next Level Racing customer service through their official channels.
Official Website: nextlevelracing.com