1. Introduction
Thank you for purchasing the YUNYODA Digital Projection Alarm Clock. This device combines a digital alarm clock with FM radio, time projection, and a USB charging port. Please read this manual carefully to ensure proper setup and operation of your new alarm clock.
2. Package Contents
Please check the package for the following items:
- 1 x YUNYODA Digital Projection Alarm Clock
- 1 x USB Power Cable
- 1 x Button Cell Battery (pre-installed for backup)
- 1 x User Manual (this document)

Image: Package contents showing the alarm clock, USB cable, and user manual.
3. Product Overview
The YUNYODA Digital Projection Alarm Clock features a large, curved LED display and a rotatable projector. It is designed for ease of use and clear visibility.

Image: Front view of the alarm clock with its digital display and active time projection.
Key Features:
- 7-inch Curved LED Display: Provides clear time readability from multiple angles.
- Adjustable Display Brightness: Four levels of brightness to suit your preference.
- Dual Alarms: Set two independent alarms for different schedules.
- Snooze Function: Allows for an additional 9 minutes of sleep.
- FM Radio: Digital FM radio with a frequency range of 76-108 MHz and 15 preset stations.
- 180° Adjustable Time Projection: Projects the time onto a wall or ceiling.
- USB Charging Port: Conveniently charge your mobile devices (USB adapter not included).
- 12/24 Hour Format: Select your preferred time display format.
- Battery Backup: Maintains time settings during power outages (button cell battery included).

Image: Product dimensions and feature icons for the alarm clock.
4. Setup
4.1 Power Connection
- Connect the provided USB power cable to the DC 5V input port on the back of the alarm clock.
- Plug the other end of the USB cable into a standard USB power adapter (not included) and then into a wall outlet.
- The display will light up, indicating the clock is powered on. The pre-installed button cell battery provides backup power for time settings during power interruptions.
4.2 Initial Time Setting
Upon first power-up or after a prolonged power loss, you may need to set the current time.
- Press and hold the TIME SET button (location may vary, typically on the top or back) until the hour digits begin to flash.
- Use the +/- buttons (or similar UP/DOWN buttons) to adjust the hour.
- Press TIME SET again to confirm the hour and move to minute adjustment.
- Use the +/- buttons to adjust the minutes.
- Press TIME SET one more time to confirm the minutes and exit time setting mode.
4.3 12/24 Hour Format Selection
To switch between 12-hour (AM/PM) and 24-hour formats:
- While in normal time display mode, press the 12/24H button (or the TIME SET button briefly after initial setup) to toggle between the two formats.
5. Operating Instructions
5.1 Alarm Setting (Dual Alarms)
This clock supports two independent alarms (Alarm 1 and Alarm 2).

Image: Visual representation of setting two distinct alarms for different activities.
- Press the ALARM 1 button once. The alarm hour digits will flash.
- Use the +/- buttons to adjust the desired alarm hour.
- Press ALARM 1 again to confirm the hour and move to minute adjustment.
- Use the +/- buttons to adjust the desired alarm minutes.
- Press ALARM 1 one more time to confirm the minutes and activate Alarm 1. An alarm icon (e.g., '1') will appear on the display.
- Repeat the process using the ALARM 2 button to set the second alarm.
5.2 Snooze Function
When an alarm sounds, press the large SNOOZE button (usually on top) to temporarily silence the alarm for 9 minutes. The alarm will sound again after 9 minutes. To turn off the alarm completely, press any other button.

Image: Demonstrating the snooze function with a person waking up.
5.3 FM Radio Operation
The alarm clock includes an FM radio with automatic scanning and preset station memory.

Image: Display showing FM radio frequency range and preset capabilities.
- Turn On/Off: Press the FM button (or RADIO button) to turn the radio on or off.
- Auto Scan & Save: Press and hold the FM button for a few seconds. The radio will automatically scan for available stations and save them to presets (up to 15 stations).
- Tune Stations: Briefly press the +/- buttons to manually tune to the next available station.
- Select Presets: Press the MEM button to cycle through saved preset stations.
- Volume Adjustment: Use the VOL +/- buttons to adjust the radio volume.
5.4 Time Projection Function
The clock can project the time onto a wall or ceiling for easy viewing.

Image: Alarm clock projecting time onto a wall, highlighting the 180° rotation and optimal projection distance.
- Activate/Deactivate: Press the PROJECTOR button (or a dedicated projection button) to turn the projection on or off.
- Adjust Angle: The projector lens can be rotated up to 180 degrees (-90° to 90°) to direct the time display to your desired surface (wall or ceiling).
- Adjust Focus: Rotate the focus ring around the projector lens to sharpen the projected image.
- Optimal Distance: For best clarity, the optimal projection distance is between 2 to 3 meters (6.5 to 9.8 feet).
5.5 Display Brightness Adjustment
The main LED display has multiple brightness levels.

Image: Comparison of the alarm clock display at three different brightness levels.
- Press the DIMMER button (or a dedicated brightness button) repeatedly to cycle through the available brightness levels (e.g., Bright, Medium, Dim, Off).
5.6 USB Charging Port
A USB charging port is located on the back of the unit for charging external devices.
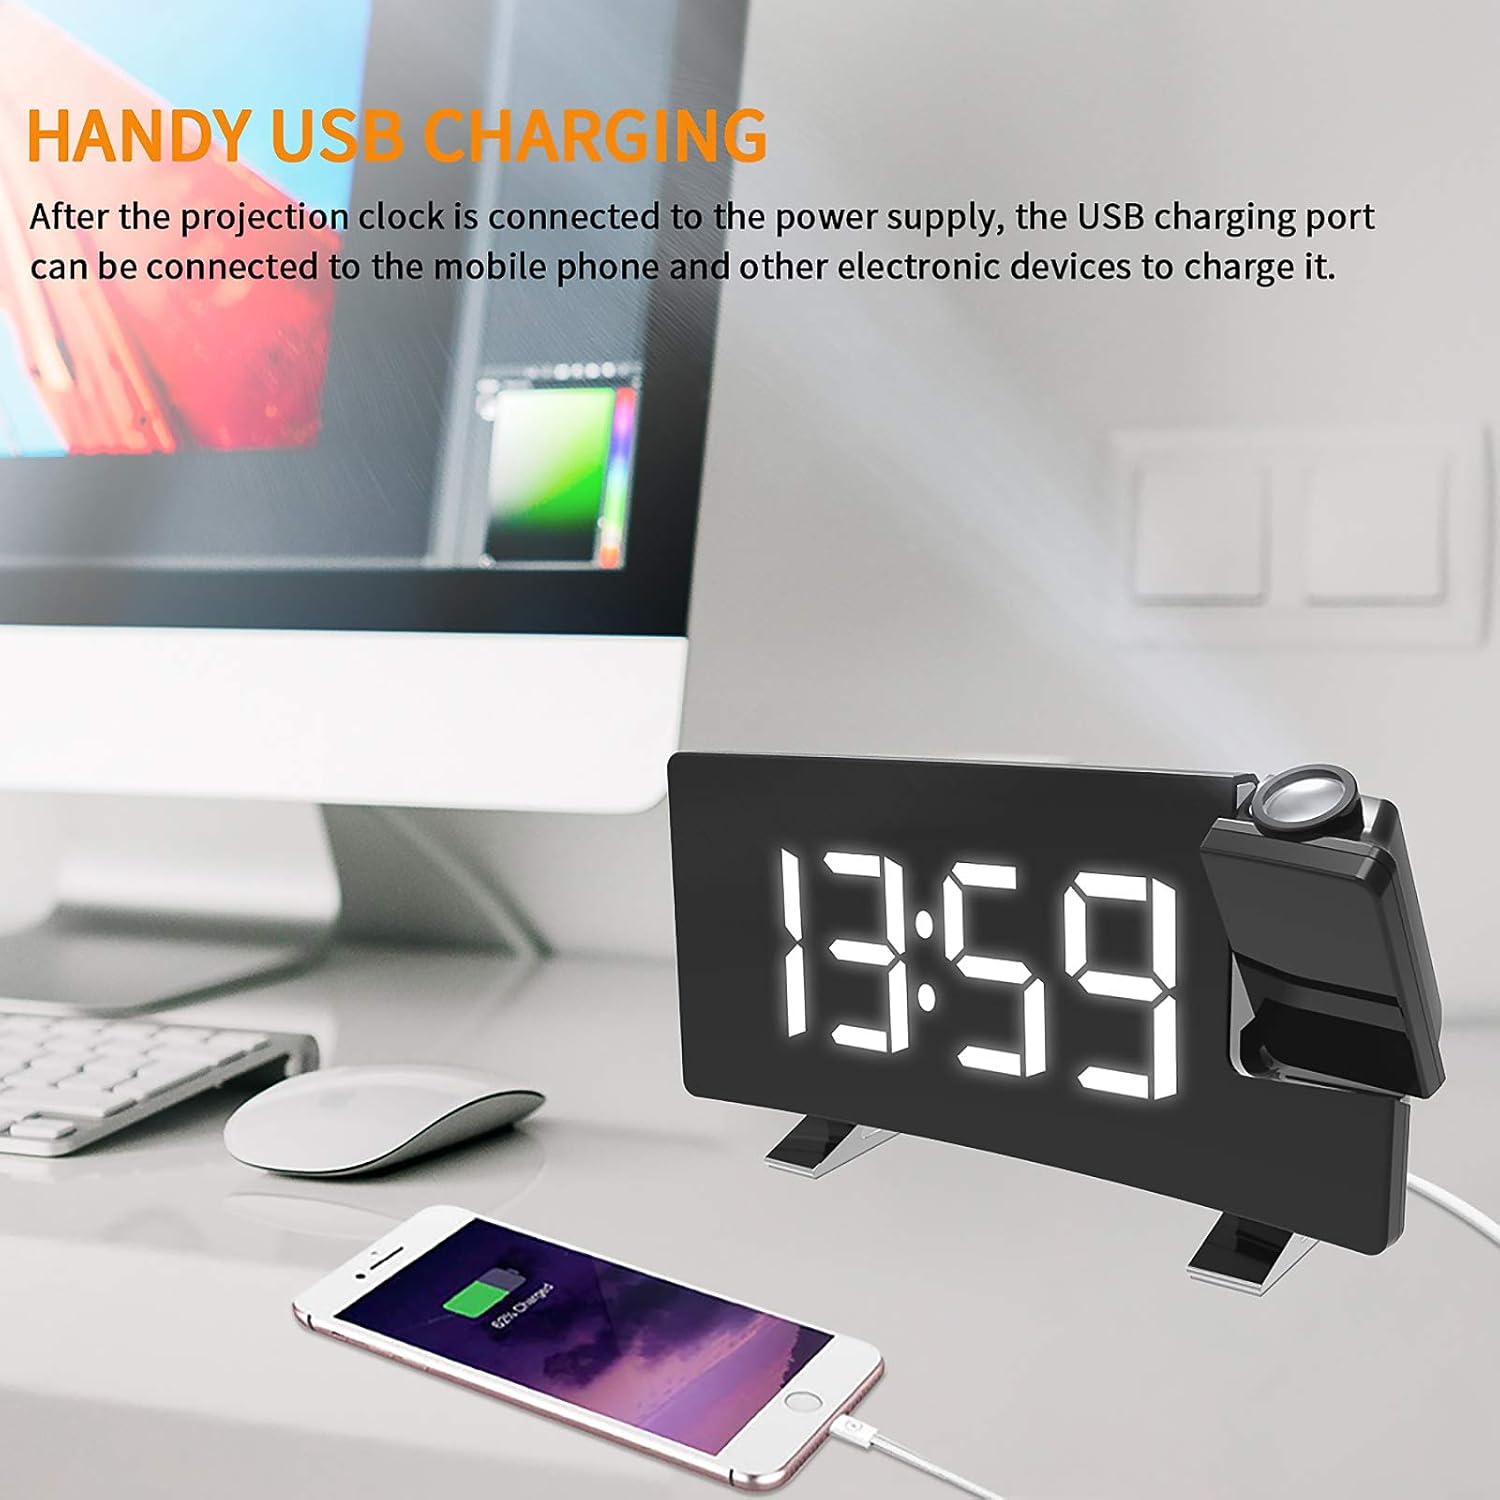
Image: A smartphone being charged via the alarm clock's USB port.
- Connect your mobile phone or other USB-powered device to the USB output port using its charging cable.
- The clock must be connected to a power source for the USB charging port to function.
6. Maintenance
- Cleaning: Wipe the clock with a soft, dry cloth. Do not use abrasive cleaners or solvents.
- Placement: Place the clock on a stable, flat surface away from direct sunlight, heat sources, and moisture.
- Battery Replacement: If the backup battery needs replacement, open the battery compartment on the bottom of the unit and replace the button cell battery with a new one of the same type.
7. Troubleshooting
| Problem | Possible Cause | Solution |
|---|---|---|
| Clock display is blank. | No power supply. | Ensure the USB cable is securely connected to both the clock and a working power adapter/outlet. |
| Alarm does not sound. | Alarm not activated or volume too low. | Verify the alarm icon is displayed. Check alarm volume settings. |
| Projected time is blurry. | Focus not adjusted or projection distance too far/close. | Rotate the focus ring on the projector lens. Adjust the clock's distance from the projection surface (optimal 2-3 meters). |
| FM radio reception is poor. | Weak signal or antenna not extended. | Extend the FM antenna fully. Try repositioning the clock for better reception. |
| USB charging not working. | Clock not powered or cable issue. | Ensure the clock is connected to main power. Try a different USB cable or device. |
8. Specifications
- Brand: YUNYODA
- Model Number: 0L2311DW0618XF0
- Color: White
- Dimensions (L x W x H): 20 x 10 x 6 cm (7.1 x 3.6 x 1.8 inches)
- Weight: 342 g (12.0 oz)
- Material: Acrylonitrile Butadiene Styrene (ABS)
- Power Input: DC 5V (via USB cable)
- Backup Battery: 1 x Button Cell Battery (included)
- Display Type: Digital LED
- FM Frequency Range: 76 - 108 MHz
- Projection Distance: Optimal 2 - 3 meters
9. Warranty and Support
For warranty information or technical support, please refer to the retailer where you purchased the product or contact YUNYODA customer service through their official channels. Please retain your proof of purchase for warranty claims.