1. Introduction
Thank you for choosing the IN-HOMEXL Flat Shoe Cabinet. This cabinet is designed to provide a practical and stylish storage solution for your footwear, helping you organize your entryway or living space efficiently. Its flat design and height-adjustable shelves make it versatile for various shoe types, from sneakers to high boots. This manual provides essential information for assembly, operation, maintenance, and troubleshooting to ensure you get the most out of your product.
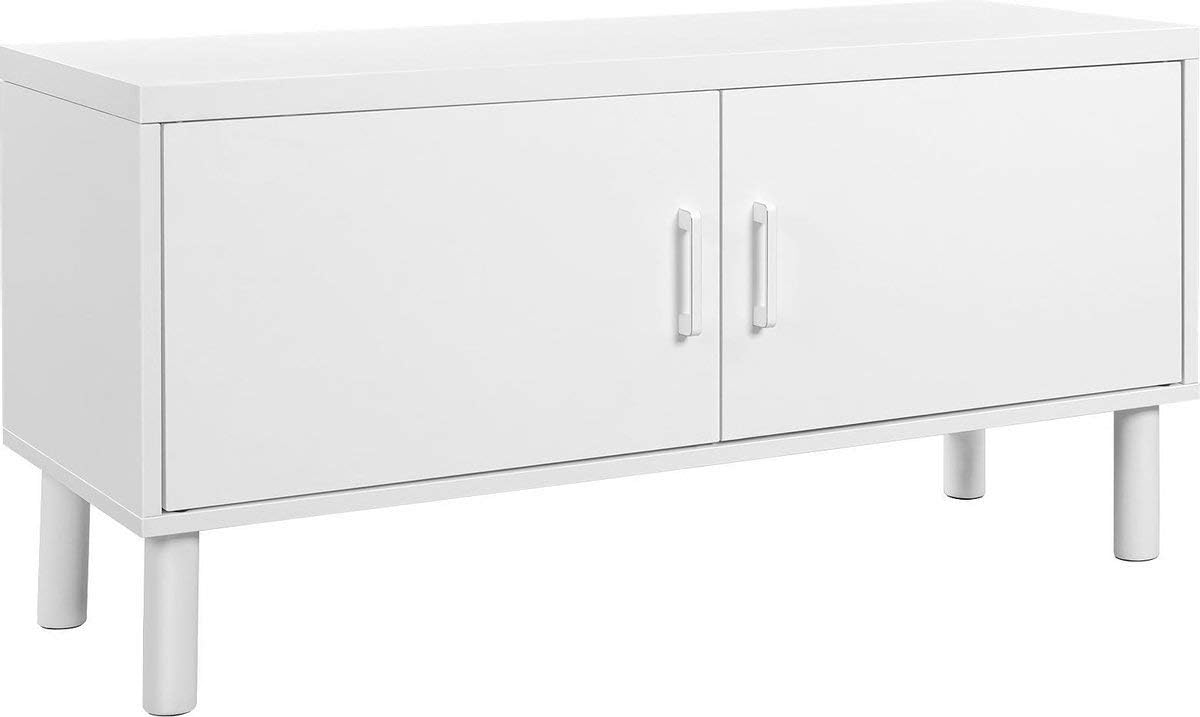
Image 1.1: Front view of the IN-HOMEXL Flat Shoe Cabinet in white, showcasing its sleek, minimalist design with two doors and four sturdy legs.

Image 1.2: The shoe cabinet positioned in a hallway, demonstrating its compact size and how it complements other furniture, providing a functional and aesthetic addition to an entryway.
2. Safety Instructions
Please read and understand all safety instructions before assembly and use. Failure to follow these instructions may result in injury or damage to the product.
- Keep all packaging materials, especially plastic bags, away from children to prevent suffocation.
- Assemble the unit on a soft, clean surface (e.g., carpet) to prevent scratches.
- Ensure all screws and fasteners are securely tightened before use. Periodically check and re-tighten if necessary.
- Do not stand or climb on the cabinet.
- Distribute weight evenly on shelves to prevent tipping.
- If wall-mounting hardware is included (not specified for this model, but common for furniture), use it to secure the cabinet to a wall to prevent tipping, especially in homes with children.
- Keep the cabinet away from direct heat sources and excessive moisture.
3. Package Contents
Before beginning assembly, please verify that all parts listed below are present and undamaged. If any parts are missing or damaged, contact customer support immediately.
- Cabinet Panels (Top, Bottom, Sides, Back)
- Doors (2)
- Adjustable Shelves (Quantity may vary, typically 2-4)
- Legs (4)
- Handles (2)
- Assembly Hardware (Screws, dowels, shelf pins, hinges, etc.)
- Assembly Instructions Manual (This document)
4. Setup and Assembly
Assembly is required for this shoe cabinet. Please follow the included detailed assembly instructions provided in the separate manual (English, German, French, Spanish, Italian). The general steps are outlined below.
- Prepare the Area: Clear a spacious, clean, and soft area for assembly to prevent damage to the cabinet parts or your floor.
- Identify Parts: Lay out all components and hardware, comparing them with the parts list in the separate assembly manual.
- Assemble the Frame: Connect the side panels to the bottom and top panels using the provided screws and dowels. Ensure all connections are snug.
- Attach Back Panel: Secure the back panel to the assembled frame. This adds stability to the structure.
- Install Legs: Attach the four legs to the bottom of the cabinet.
- Install Shelf Pins: Insert the shelf pins into the desired holes on the inner side panels. The shelves are height-adjustable, allowing you to customize the storage space.
- Place Shelves: Carefully place the adjustable shelves onto the installed shelf pins.
- Attach Hinges to Doors: Secure the hinges to the cabinet doors.
- Mount Doors: Attach the doors to the cabinet frame using the hinges. Adjust as necessary for proper alignment.
- Attach Handles: Secure the handles to the front of the doors.
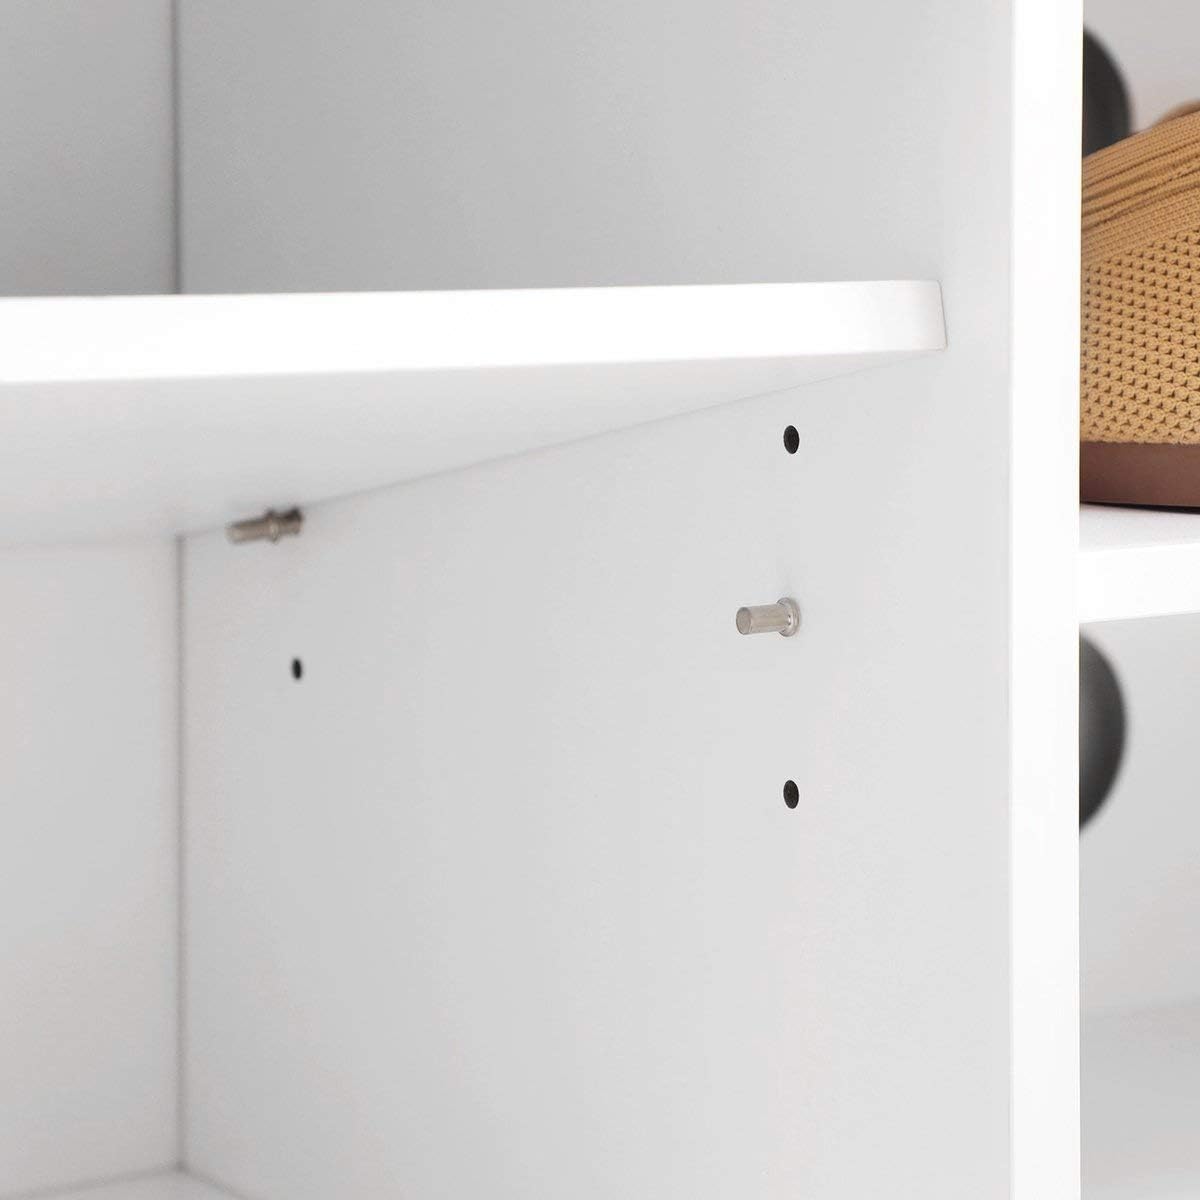
Image 4.1: A close-up view of the pre-drilled holes for the adjustable shelf pins inside the cabinet, illustrating the flexibility in shelf placement to accommodate different shoe heights.

Image 4.2: A detailed shot of the cabinet handles, showing their design and how they are attached to the doors, providing a clear visual for assembly.
5. Operating Instructions
The IN-HOMEXL Flat Shoe Cabinet is designed for straightforward use.
- Opening/Closing Doors: Use the handles to gently open and close the cabinet doors. Avoid forcing them.
- Adjusting Shelves: To adjust the shelf height, carefully remove all items from the shelf. Lift the shelf slightly and remove the shelf pins. Reinsert the pins into the desired holes at the same height on both sides, then place the shelf back onto the pins. This feature allows you to customize storage for various shoe types, from flat shoes to high boots.
- Storage Capacity: Organize your shoes neatly on the shelves. The flat design allows for efficient use of space.
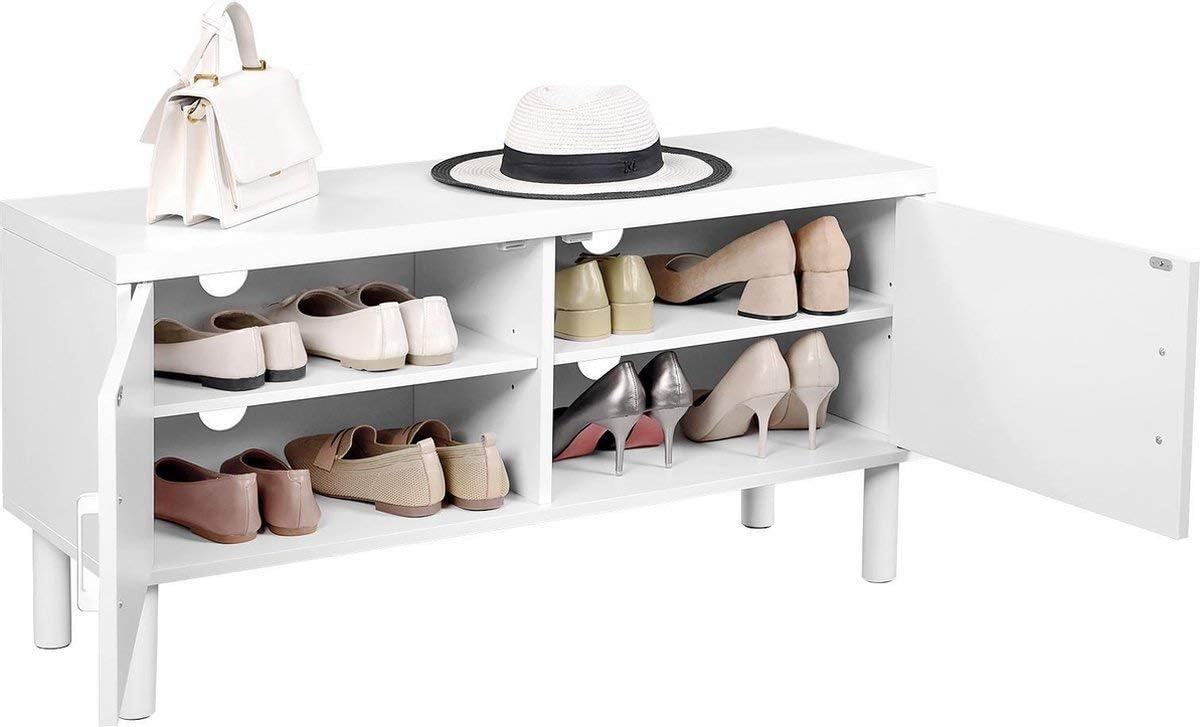
Image 5.1: The shoe cabinet with its doors open, revealing the interior shelves filled with various types of shoes. This image demonstrates the practical storage capacity and the adjustable nature of the shelves.
6. Maintenance
Proper care will extend the life and maintain the appearance of your shoe cabinet.
- Cleaning: Wipe surfaces with a soft, damp cloth. Avoid abrasive cleaners or harsh chemicals, which can damage the finish. For stubborn marks, a mild soap solution can be used, followed by wiping with a clean, dry cloth.
- Dusting: Regularly dust the cabinet with a dry, soft cloth.
- Spills: Clean up spills immediately to prevent staining or damage to the particle board material.
- Hardware Check: Periodically check all screws and fasteners to ensure they remain tight. Re-tighten if necessary to maintain stability.

Image 6.1: A view of the top surface of the shoe cabinet, adorned with a decorative vase and glass. This highlights the cabinet's potential as a display surface and emphasizes the importance of keeping it clean.
7. Troubleshooting
If you encounter any issues with your shoe cabinet, refer to the common problems and solutions below.
| Problem | Possible Cause | Solution |
|---|---|---|
| Cabinet is wobbly/unstable. | Loose fasteners; uneven floor. | Ensure all screws and bolts are tightened. If on an uneven floor, place shims under the legs to level the cabinet. |
| Doors do not align properly. | Hinges not adjusted correctly; cabinet not level. | Adjust the screws on the hinges to align the doors. Ensure the cabinet is level. |
| Shelves are not level or fall out. | Shelf pins not inserted correctly or at uneven heights. | Ensure shelf pins are fully inserted into the corresponding holes on both sides and are at the same height. |
8. Specifications
Detailed specifications for the IN-HOMEXL Flat Shoe Cabinet.
| Feature | Detail |
|---|---|
| Manufacturer | InHomeXL |
| Product Dimensions (H x W x D) | 38 cm x 100 cm x 35 cm |
| Package Dimensions | 109 x 44 x 16 cm |
| Weight | 18.2 kilograms |
| Color | White |
| Finish Type | Varnished |
| Material | Metal and Particle Board |
| Frame Material | Metal |
| Installation Type | Freestanding |
| Mounting Type | Floor Mount |
| Door Style | Slab |
| Assembly Required | Yes |

Image 8.1: A diagram illustrating the key dimensions of a shoe cabinet. While this image shows 50 cm height and 110 cm width, please refer to the product title and specifications for the accurate dimensions of this specific model, which are 38 cm (Height) x 100 cm (Width) x 35 cm (Depth).
9. Warranty and Support
For information regarding warranty, returns, or technical support, please refer to the purchase documentation or contact your retailer directly. The assembly instructions manual is included in English, German, French, Spanish, and Italian.
Spare parts availability information is not provided by the manufacturer. For any missing or damaged parts upon delivery, please contact your point of purchase immediately.