
ANYCUBIC Wash Cure Machine Plus
ANYCUBIC Wash Cure Machine Plus User Manual
Model: Wash Cure Machine Plus
1. Introduction
The ANYCUBIC Wash Cure Machine Plus is a versatile 2-in-1 device designed for post-processing 3D resin prints. It integrates both washing and UV curing functionalities into a single unit, streamlining the workflow for resin 3D printing. This manual provides comprehensive instructions for the safe and efficient operation, maintenance, and troubleshooting of your Wash Cure Machine Plus.

Figure 1: ANYCUBIC Wash Cure Machine Plus, showcasing its primary function of washing and curing 3D resin models.
2. Safety Information
Please read all safety warnings and instructions carefully before using the ANYCUBIC Wash Cure Machine Plus to prevent injury or damage to the device.
- Always wear appropriate personal protective equipment (PPE), such as gloves and safety glasses, when handling uncured resin or cleaning solutions.
- Ensure the device is placed on a stable, level surface away from direct sunlight and heat sources.
- Do not operate the machine with a damaged power cord or plug.
- Keep the device away from children and pets.
- Use only recommended cleaning solutions (e.g., isopropyl alcohol) and ensure proper ventilation during use.
- The anti-UV light hood blocks 99.95% of 405nm UV light. For safety, the curing process will automatically pause if the hood is removed during operation.

Figure 2: The anti-UV light hood provides significant UV protection during operation.

Figure 3: The machine features a sensor that pauses operation if the hood is removed for safety.
3. Package Contents
Verify that all components are present in the package:
- ANYCUBIC Wash Cure Machine Plus Unit
- Washing Container with Lid
- Washing Basket
- Curing Platform (Turntable)
- Reflective Sheet for Curing Platform
- Power Adapter
- User Manual (this document)
4. Product Overview
Familiarize yourself with the main components of the Wash Cure Machine Plus.
Figure 4: Main components of the Wash Cure Machine Plus.
- Control Panel: Features a display, mode switch button (Wash/Cure), and a rotary knob for time adjustment and start/stop.
- UV Light Tower: Contains L-shaped UV lamp beads for comprehensive curing. The top section is adjustable.
- Washing Container: A large, sealed container for holding cleaning solution and models during washing.
- Washing Basket: Used to hold models during the washing process.
- Curing Platform: A rotating platform for even UV exposure during curing.
- Anti-UV Light Hood: Protects against UV exposure and pauses operation when removed.
5. Setup
Follow these steps for initial setup of your Wash Cure Machine Plus.
- Unpacking: Carefully remove all components from the packaging.
- Placement: Place the main unit on a stable, flat, and well-ventilated surface.
- Power Connection: Connect the power adapter to the machine and then to a power outlet.
- Initial Check: Ensure the anti-UV light hood is properly seated on the unit.
6. Operating Instructions
6.1. Switching Modes and Adjusting Time
The machine features a simple interface for switching between Wash and Cure modes and adjusting operation time.
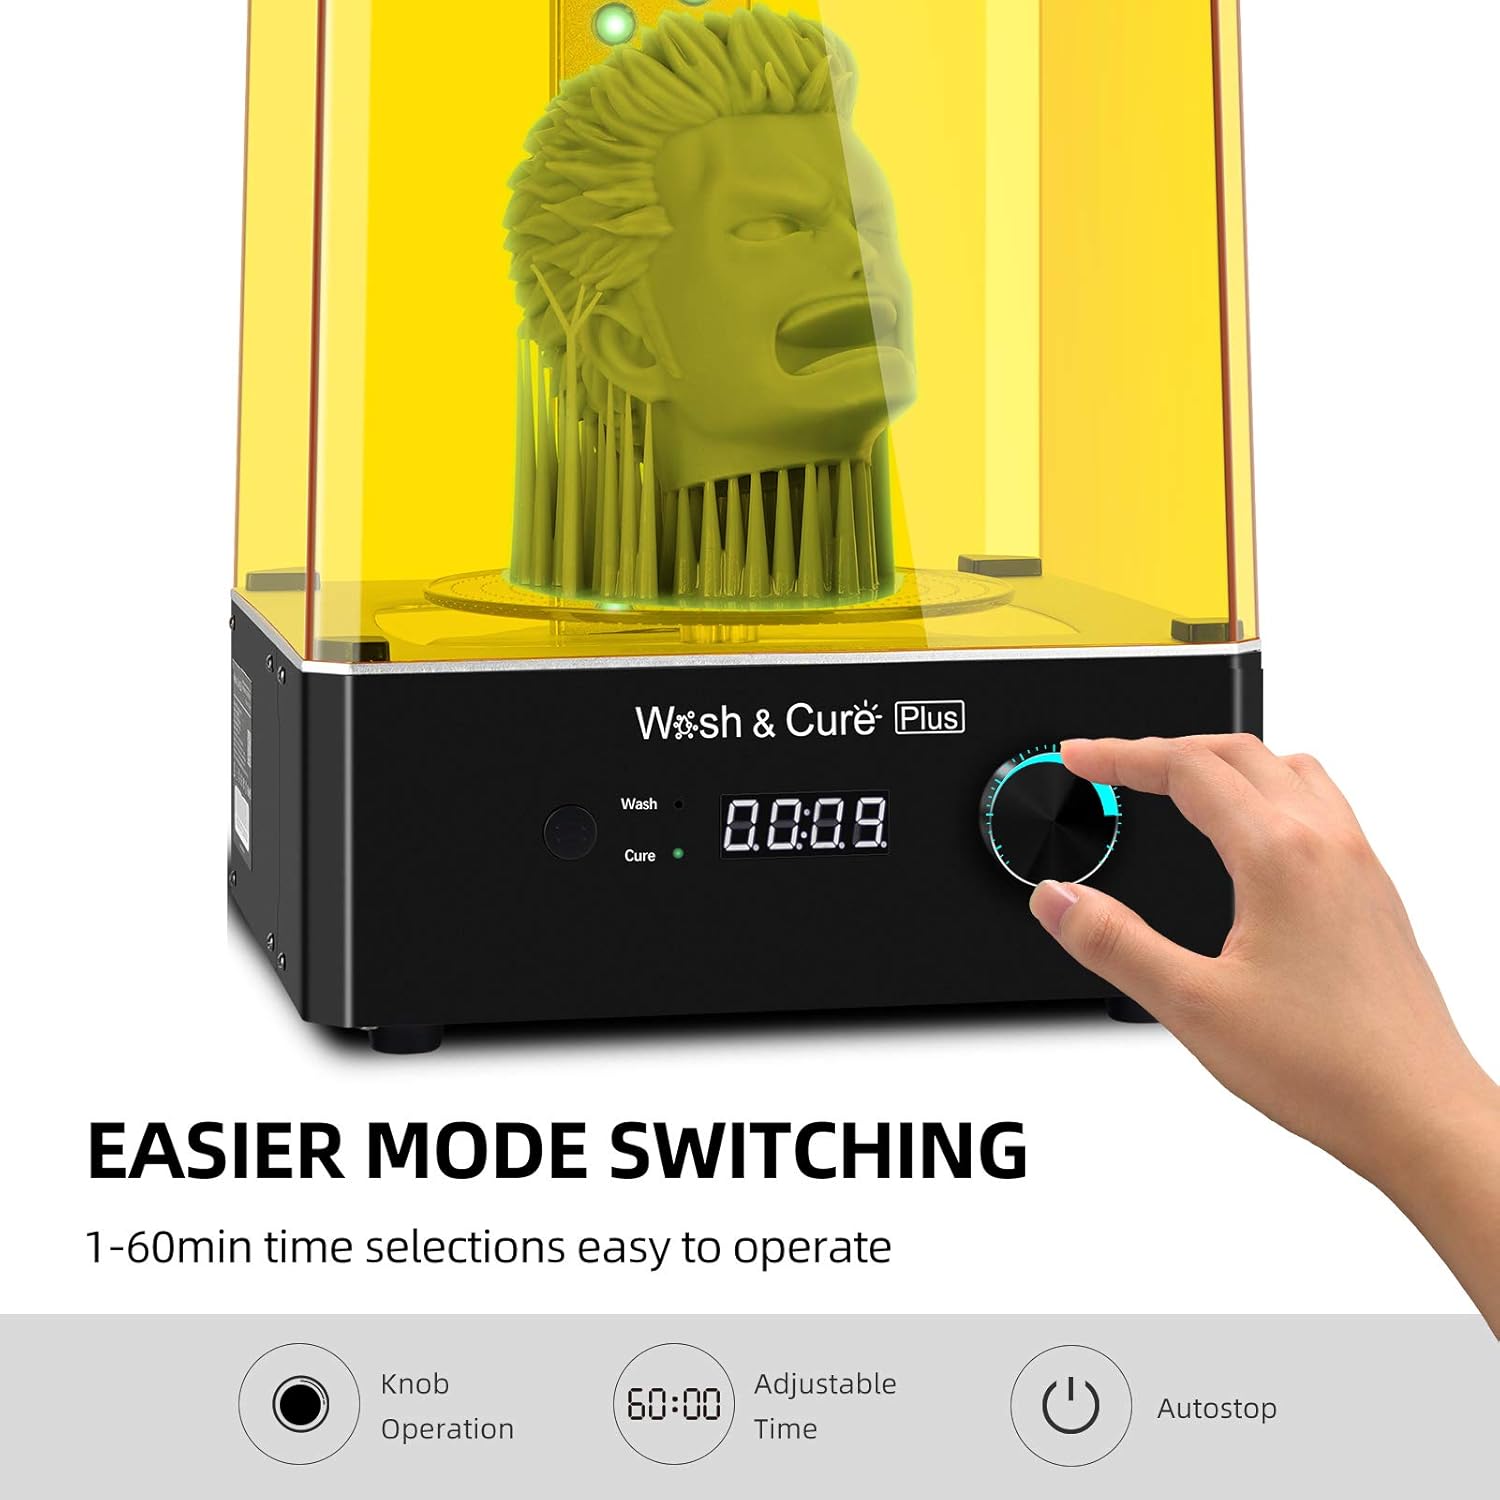
Figure 5: The rotary knob allows for easy time adjustment and mode selection.
- Press the "Wash/Cure" button to toggle between washing and curing modes. The active mode will be indicated on the display.
- Rotate the large knob to adjust the operation time from 1 to 60 minutes.
- Press the knob to start or pause the operation. The machine will automatically stop when the set time expires.
6.2. Washing Mode
The washing function effectively removes uncured resin from your 3D prints.

Figure 6: Two methods for washing models: using the basket or hanging the build plate.
- Prepare Cleaning Solution: Fill the washing container with an appropriate cleaning solution (e.g., isopropyl alcohol) up to the indicated maximum fill line.
- Place Model:
- Basket Washing: Carefully remove the 3D print from the build plate and place it into the washing basket. Lower the basket into the washing container.
- Hanging Cleaning: For larger models or to clean the build plate directly, hang the build plate with the print still attached onto the cleaning rack within the washing container.
- Secure Container: Place the lid on the washing container and then place the container securely onto the machine's base.
- Select Wash Mode: Ensure the machine is in "Wash" mode using the mode button.
- Set Time: Adjust the washing time using the rotary knob (recommended 1-10 minutes, depending on model size and resin type).
- Start Washing: Press the rotary knob to begin the washing cycle. The machine will create a powerful vortex to clean the model.
- Finish: Once the cycle is complete, carefully remove the container, take out the washed model, and allow it to dry completely before curing.
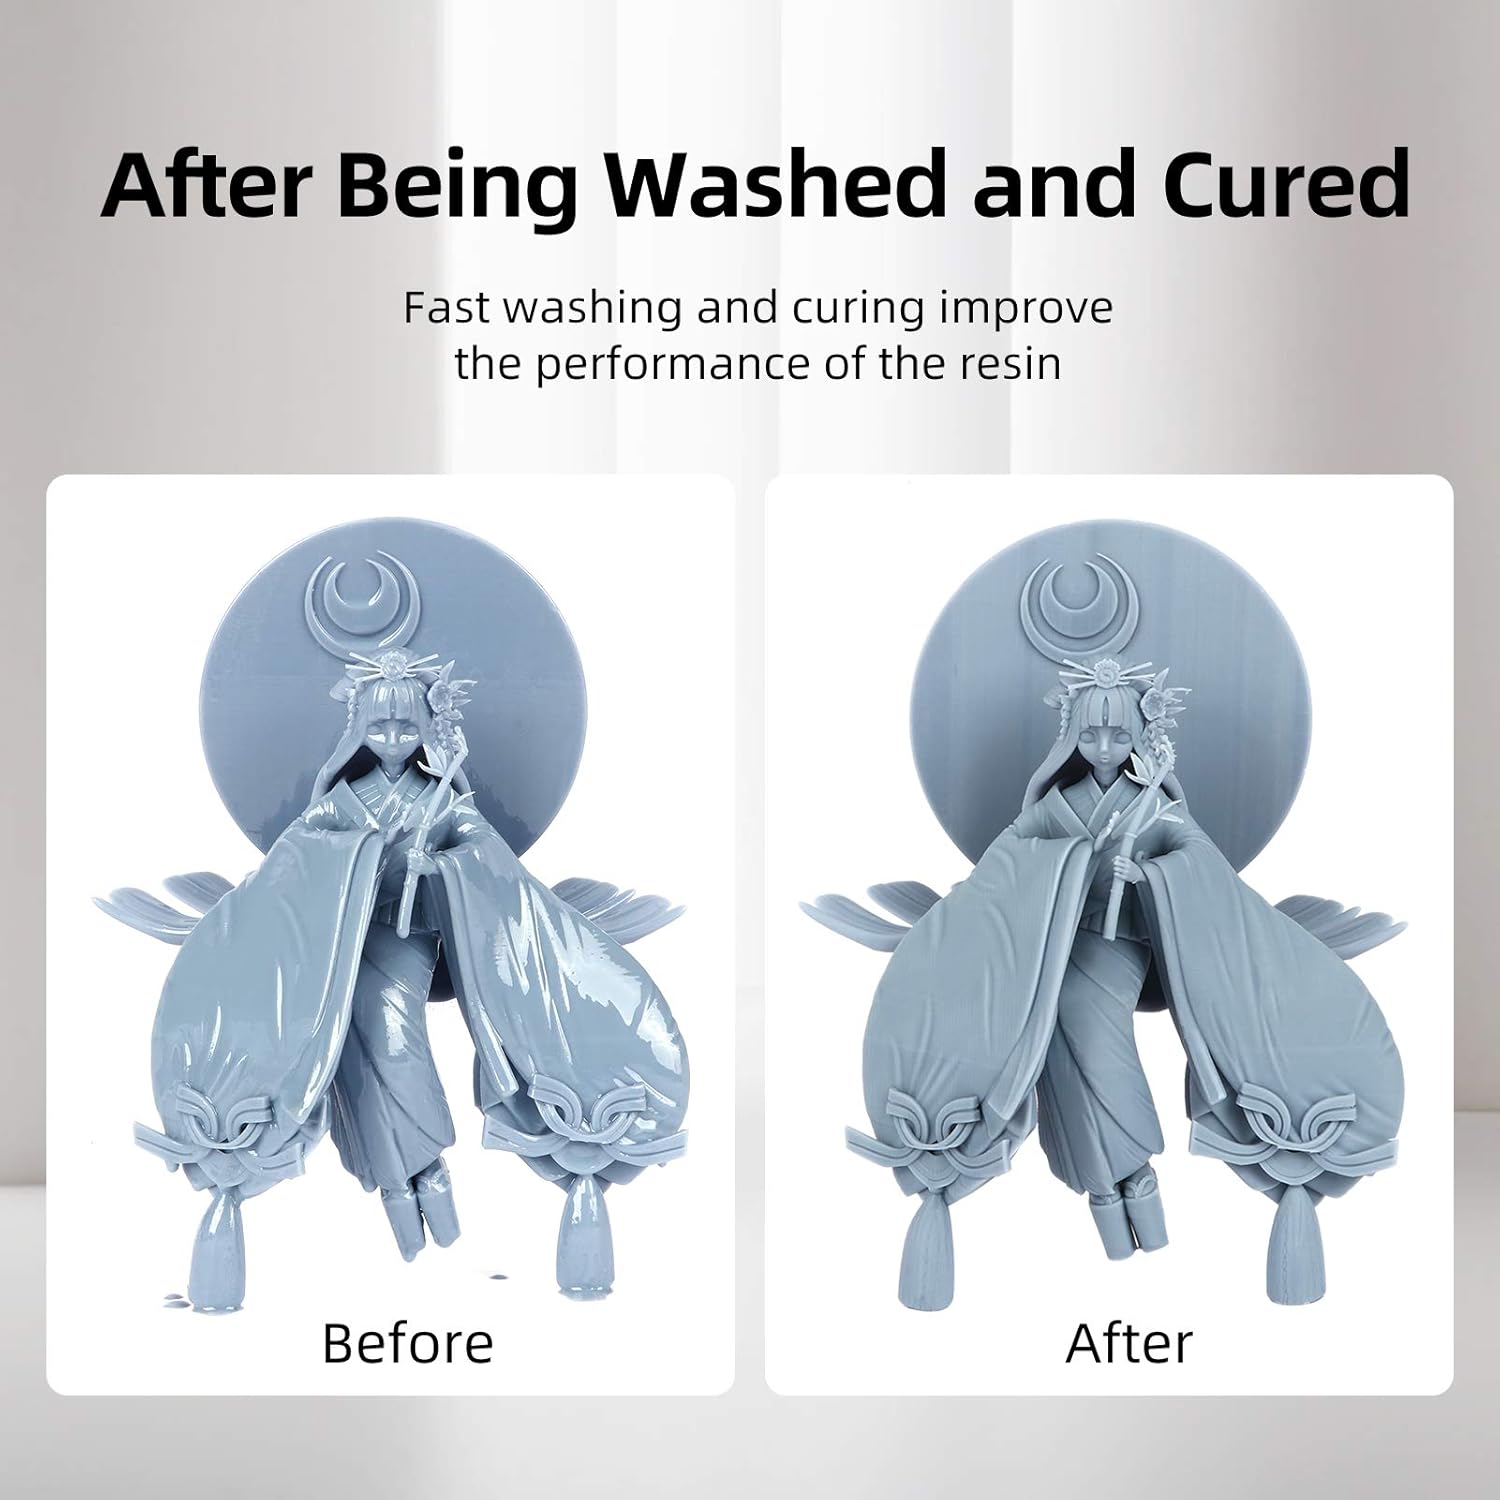
Figure 7: Visual comparison demonstrating the effectiveness of the washing and curing process.
6.3. Curing Mode
The curing function uses UV light to fully harden your 3D prints, enhancing their strength and surface finish.
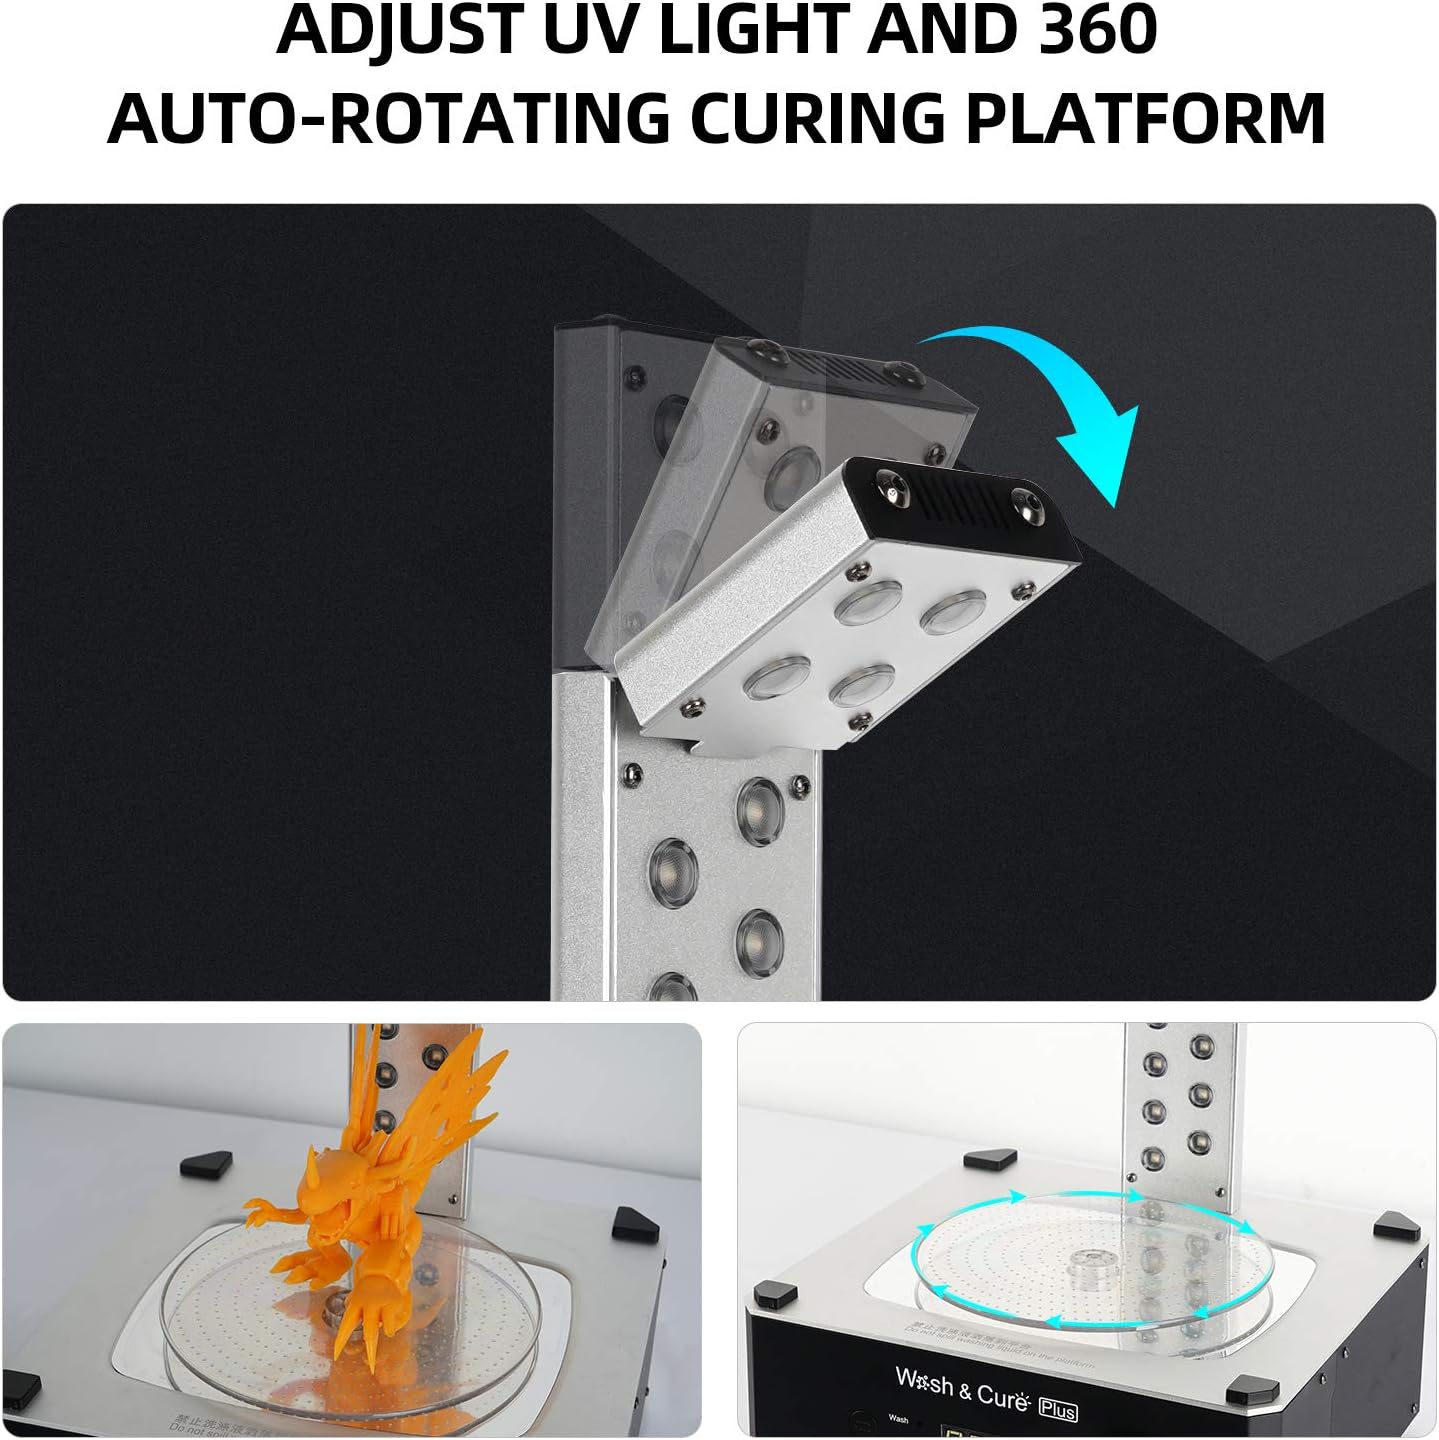
Figure 8: The adjustable UV light and rotating platform ensure comprehensive curing.
- Prepare for Curing: Ensure the model is dry and free of any liquid resin or cleaning solution. Remove the washing container from the machine.
- Install Curing Platform: Place the curing platform (turntable) onto the machine's base. For optimal curing, place the reflective sheet on the platform.
- Position Model: Place your 3D printed model on the center of the curing platform.
- Adjust UV Light: The L-shaped UV light tower can be adjusted to direct light more effectively towards the top of the model.
- Select Cure Mode: Ensure the machine is in "Cure" mode using the mode button.
- Set Time: Adjust the curing time using the rotary knob (recommended 2-15 minutes, depending on model size and resin type).
- Start Curing: Place the anti-UV light hood over the machine and press the rotary knob to begin the curing cycle. The platform will rotate 360 degrees for even exposure.
- Finish: Once the cycle is complete, the machine will stop. Carefully remove the hood and your fully cured model.

Figure 9: The machine provides real 360-degree curing for thorough hardening.
7. Maintenance
Regular maintenance ensures the longevity and optimal performance of your Wash Cure Machine Plus.
- Cleaning the Washing Container: After several uses, the cleaning solution may become cloudy with resin particles. Dispose of used solution responsibly according to local regulations. Clean the container with fresh cleaning solution or water.
- Cleaning the Machine Exterior: Wipe the exterior of the machine with a soft, damp cloth. Avoid using abrasive cleaners or solvents that could damage the surface.
- UV Light Tower: Gently wipe the UV lamp beads with a soft, dry cloth to ensure maximum light output. Do not use liquids directly on the LEDs.
- Storage: When not in use, store the machine in a cool, dry place, away from direct sunlight.
8. Troubleshooting
This section addresses common issues you might encounter and their solutions.
| Problem | Possible Cause | Solution |
|---|---|---|
| Machine does not power on. | Power cable not connected; Power outlet issue. | Check power cable connection; Try a different power outlet. |
| Washing motor not spinning. | Incorrect mode selected; Container not properly seated. | Ensure "Wash" mode is selected; Reseat the washing container firmly. |
| UV lights not turning on. | Incorrect mode selected; Hood not properly seated. | Ensure "Cure" mode is selected; Ensure the anti-UV hood is fully and correctly placed. |
| Models not cleaning thoroughly. | Insufficient washing time; Dirty cleaning solution; Too many models. | Increase washing time; Replace cleaning solution; Wash fewer models at a time. |
| Models not curing properly. | Insufficient curing time; Model not dry; UV lights obstructed. | Increase curing time; Ensure model is completely dry before curing; Check for obstructions to UV light. |
9. Specifications
Technical specifications for the ANYCUBIC Wash Cure Machine Plus.
- Product Dimensions: 11.42 x 10.63 x 18.86 inches (290mm x 270mm x 487mm)
- Item Weight: 20.8 pounds
- Washing Size (Hanging): 192mm(L) x 120mm(W) x 235mm(H)
- Curing Size: 190mm(D) x 245mm(H)
- UV Wavelength: 405nm
- Time Adjustment: 1-60 minutes
- Material: Metal (main body), Plastic (container, hood)
- Color: Yellow (hood), Black (base)

Figure 10: Size comparison of the Wash & Cure Plus with previous models.
10. Warranty and Support
ANYCUBIC products are designed and manufactured to the highest quality standards. For warranty information, technical support, or service inquiries, please refer to the official ANYCUBIC website or contact their customer service directly. Keep your purchase receipt as proof of purchase for warranty claims.
Official Website: www.anycubic.com
Related Documents - Wash Cure Machine Plus
 |
Anycubic Wash & Cure 3: Installation and Usage Instructions Detailed instructions for setting up and operating the Anycubic Wash & Cure 3 post-processing station for 3D printed resin models, covering washing, curing, maintenance, and troubleshooting. |
 |
ANYCUBIC Wash&Cure Max: Installation and Usage Instructions Comprehensive guide for the ANYCUBIC Wash&Cure Max, detailing installation, operation modes (Auto, Cure), maintenance, and troubleshooting for 3D resin prints. |
 |
Anycubic Wash & Cure 3: Installation and Usage Instructions Comprehensive guide for installing and using the Anycubic Wash & Cure 3, a 2-in-1 device for washing and curing resin 3D prints. Includes safety, operation, maintenance, and troubleshooting. |
 |
ANYCUBIC Wash&Cure Max: Installation and Usage Instructions User manual for the ANYCUBIC Wash&Cure Max, detailing installation, operation modes (wash and cure), safety, maintenance, and troubleshooting for 3D resin prints. |
 |
Anycubic Wash & Cure Max: User Guide and Instructions Comprehensive guide for the Anycubic Wash & Cure Max station, detailing its features, operation, and maintenance for resin 3D printing post-processing. Includes specifications and support information. |
 |
ANYCUBIC Wash Cure User Manual - Guide to 3D Print Post-Processing Comprehensive user manual for the ANYCUBIC Wash Cure station, detailing setup, operation, maintenance, and troubleshooting for efficient 3D print washing and curing. |
Ask a question about this manual
Ask about setup, troubleshooting, compatibility, parts, safety, or missing instructions. Manuals+ will review the question and use this page’s manual context to help answer it.