Introduction
This instruction manual provides essential information for the proper installation, operation, and maintenance of your 4WDKING 12-inch LED Light Bar. Please read this manual thoroughly before installation and use to ensure optimal performance and safety. Retain this manual for future reference.
Safety Information
- Always disconnect the vehicle's battery before performing any electrical work to prevent electrical shock or short circuits.
- Ensure all wiring connections are secure and properly insulated to prevent moisture ingress and electrical hazards.
- Mount the light bar securely to prevent it from dislodging during vehicle operation.
- Verify that the light bar's wattage and current draw are compatible with your vehicle's electrical system.
- Adhere to all local and national regulations regarding auxiliary lighting on vehicles.
- Avoid looking directly into the light bar when it is illuminated, as it can cause temporary vision impairment.
Package Contents
Verify that all components are present before beginning installation:
- 1x 4WDKING 12-inch LED Light Bar
- 2x Mounting Brackets
- Mounting Hardware (bolts, washers, nuts, Allen wrench)
- 1x DT Wiring Harness (includes fuse, switch, and relay)

Product Features
- High Brightness LED Lighting: Advanced combo spot and flood beam for wider and farther illumination, enhancing visibility.
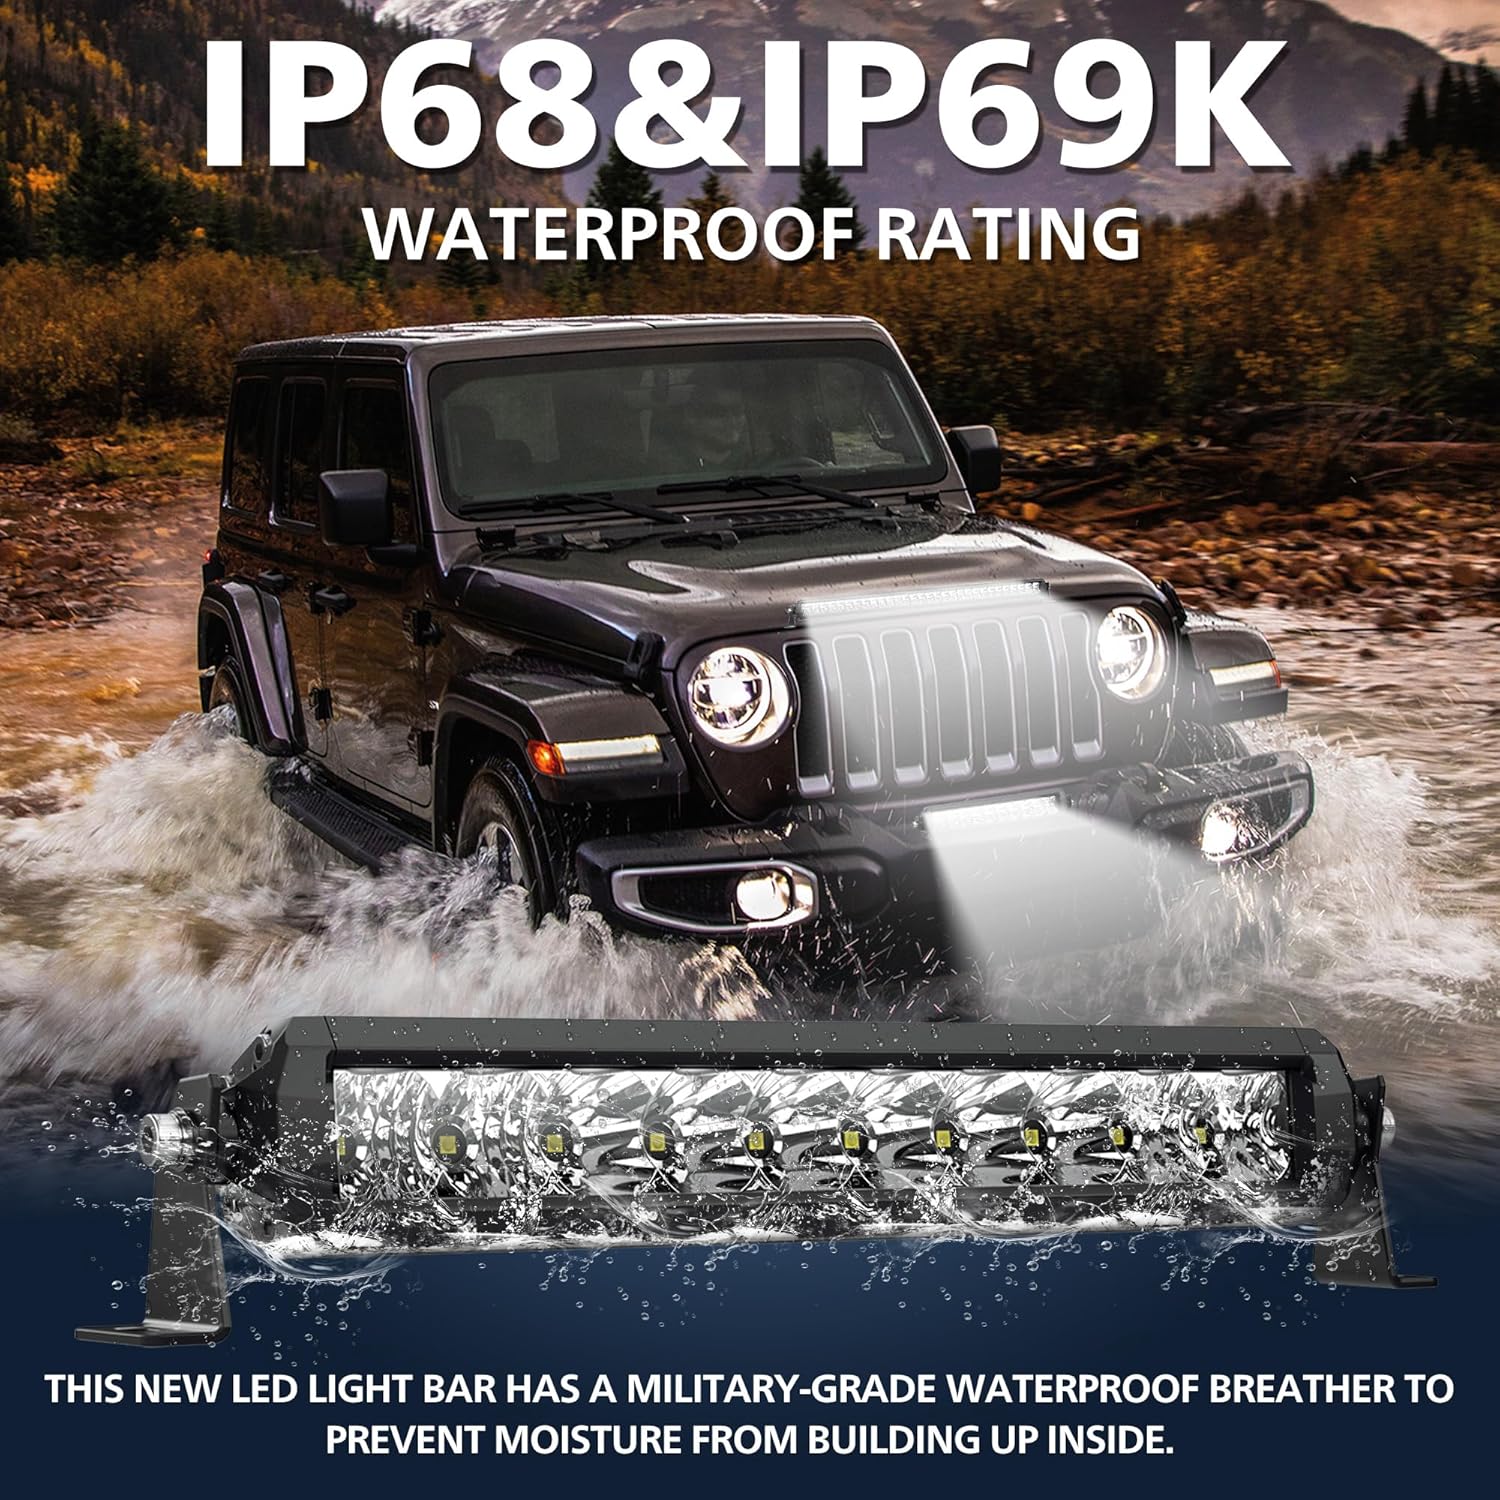
- High Performance Waterproofing: IP68 and IP69K rated for superior water and dust resistance. Features a screwless design and military-grade breather to prevent moisture buildup.
- Efficient Cooling System: High-quality one-piece aluminum alloy heat sink with a ripple design maximizes heat dissipation, extending the light bar's lifespan beyond 50,000 hours.
- Enhanced Safety Features: Designed with anti-reverse and anti-static protection, and a circuit with temperature protection. Ensures no radiation interference to vehicle electrical equipment.
- Versatile Mounting Options: Can be mounted on various vehicle locations such as the front bumper, bull bar, lower bumper opening, grill, hood, roof rack, and rear step bumper.


Installation Guide
1. Mounting the Light Bar
- Choose a Location: Select a suitable mounting location on your vehicle (e.g., bumper, bull bar, roof rack) that provides clear visibility and does not obstruct other vehicle functions.
- Position Brackets: Place the mounting brackets in the desired position and mark the drilling points. Ensure the light bar will be level and securely supported.
- Drill Holes: Using a 1/4-inch drill bit, carefully drill pilot holes at the marked locations. For switch installation, a 3/4-inch hole saw may be appropriate, with a small file or grinder to create a notch for the switch's locating rib.
- Secure Brackets: Attach the mounting brackets to the vehicle using the provided bolts, washers, and nuts. Tighten securely.
- Attach Light Bar: Mount the LED light bar to the secured brackets using the remaining hardware. Adjust the angle as needed for optimal light direction, then tighten all fasteners.
2. Wiring the Light Bar
The included DT wiring harness simplifies the electrical connection. If you are unfamiliar with automotive electrical systems, professional installation is recommended.
- Disconnect Battery: Before starting any wiring, disconnect the negative terminal of your vehicle's battery to prevent electrical hazards.
- Connect Light Bar to Harness: Connect the DT connector from the light bar to the corresponding DT connector on the wiring harness. Ensure a firm connection.
- Connect Power and Ground:
- Connect the red wire from the harness to a positive 12V power source (e.g., directly to the battery's positive terminal or an auxiliary power distribution block). The harness includes an inline fuse for protection.
- Connect the black wire from the harness to a suitable ground point on the vehicle chassis or the battery's negative terminal.
- Install Switch: Route the switch wire to your desired location within the vehicle's cabin. Install the switch in a convenient and accessible spot.
- Connect Relay: The harness includes a relay. Ensure it is mounted in a dry, secure location away from excessive heat or moving parts.
- Secure Wiring: Route all wiring safely, away from hot engine components, sharp edges, and moving parts. Use zip ties or cable clamps to secure the wires.
- Reconnect Battery: Once all connections are secure and verified, reconnect the negative terminal of your vehicle's battery.
Operation
To operate the 4WDKING LED Light Bar, simply activate the installed switch. The light bar will illuminate, providing auxiliary lighting. Turn off the switch when auxiliary lighting is no longer required.
Note: Always be aware of local regulations regarding the use of auxiliary lights on public roads.
Maintenance
- Cleaning: Periodically clean the lens of the light bar with a soft cloth and mild soap and water to maintain optimal light output. Avoid abrasive cleaners or harsh chemicals.
- Inspect Connections: Regularly check all electrical connections for corrosion or looseness. Ensure the DT connector is clean and securely fastened.
- Check Mounting: Verify that the light bar and its mounting brackets remain securely attached to the vehicle. Tighten any loose bolts as needed.
- Breather Valve: The military-grade breather valve helps prevent moisture. Ensure it is not obstructed by dirt or debris.
Troubleshooting
| Problem | Possible Cause | Solution |
|---|---|---|
| Light bar does not turn on |
|
|
| Light output is dim or flickers |
|
|
| Moisture inside the lens |
|
|
Specifications

| Attribute | Value |
|---|---|
| Brand | 4WDKING |
| Model Number | WDK-S5D1-10 |
| Item Model Number | WDK-S5D1-10 |
| Size | 12 inch |
| Color | Black |
| Form Factor | Bar |
| Auto Part Position | Front |
| Special Feature | IP68 & IP69K Waterproof, Military Standard Material, Screwless Design, One-Piece Heat Sink |
| Item Weight | 2.84 Pounds |
| Material | Aluminum |
| Water Resistance Level | Waterproof |
| Remote Control Included? | No |
| Number of Pieces | 1 |
| Wattage | 50 Watts (Note: Product title states 90W, specifications list 50W. Please verify with manufacturer if discrepancy is critical.) |
| Power Source | Corded Electric |
| Package Dimensions | 15.71 x 5.55 x 3.62 inches |
Warranty and Support
For warranty information or technical support, please refer to the documentation included with your purchase or contact 4WDKING directly through their official website or the retailer where the product was purchased. Keep your proof of purchase for warranty claims.


