Child Craft Redmond 3 Drawer Dresser
Child Craft Redmond 3 Drawer Dresser Instruction Manual
Model: Redmond 3 Drawer Dresser
Introduction
Thank you for choosing the Child Craft Redmond 3 Drawer Dresser. This dresser is designed to provide ample storage for your nursery or bedroom, featuring a durable construction and a non-toxic, baby-safe finish. Please read this manual thoroughly before assembly and use to ensure proper installation and safe operation.

Image: The Child Craft Redmond 3 Drawer Dresser in Coach Cherry Brown, showcasing its three spacious drawers and rustic details.
Safety Information
WARNING: Serious or fatal crushing injuries can occur from furniture tip-over. To prevent tip-over, this furniture must be permanently attached to the wall with the anti-tip kit provided. Installation of the anti-tip kit is mandatory for safety.
- Always install the anti-tip kit as instructed.
- Never allow children to climb on drawers or shelves.
- Place heaviest items in the lowest drawers.
- Do not open more than one drawer at a time.
- Keep small parts and plastic bags away from children during assembly.

Image: The Redmond 3 Drawer Dresser shown with an optional changing table topper (sold separately). Ensure the dresser is secured to the wall before adding any accessories or using it for changing.
Package Contents
Before beginning assembly, ensure all parts are present and undamaged. If any parts are missing or damaged, do not proceed with assembly. Contact customer support for assistance.
- Dresser side panels (2)
- Top panel (1)
- Bottom panel (1)
- Back panel (1)
- Drawer fronts (3)
- Drawer sides and backs (6 each)
- Drawer bottoms (3)
- Drawer slides (6 pairs)
- Hardware pack (screws, dowels, cam locks, anti-tip kit)
- Drawer pulls/knobs (3 pairs)
Assembly Instructions
Assembly requires two adults. Use a soft, clean surface to prevent scratching the furniture during assembly. Tools required: Phillips head screwdriver, flat head screwdriver, hammer (optional).
Step 1: Unpack and Identify Parts
Carefully remove all components from the packaging. Lay them out on a protected surface. Compare each part to the parts list in your separate assembly guide to ensure everything is accounted for.
Step 2: Assemble the Main Frame
Attach the side panels to the bottom panel using the provided cam locks and dowels. Ensure all connections are secure. Then, attach the top panel to the assembled structure. Insert the back panel into the grooves and secure it with small nails or screws.
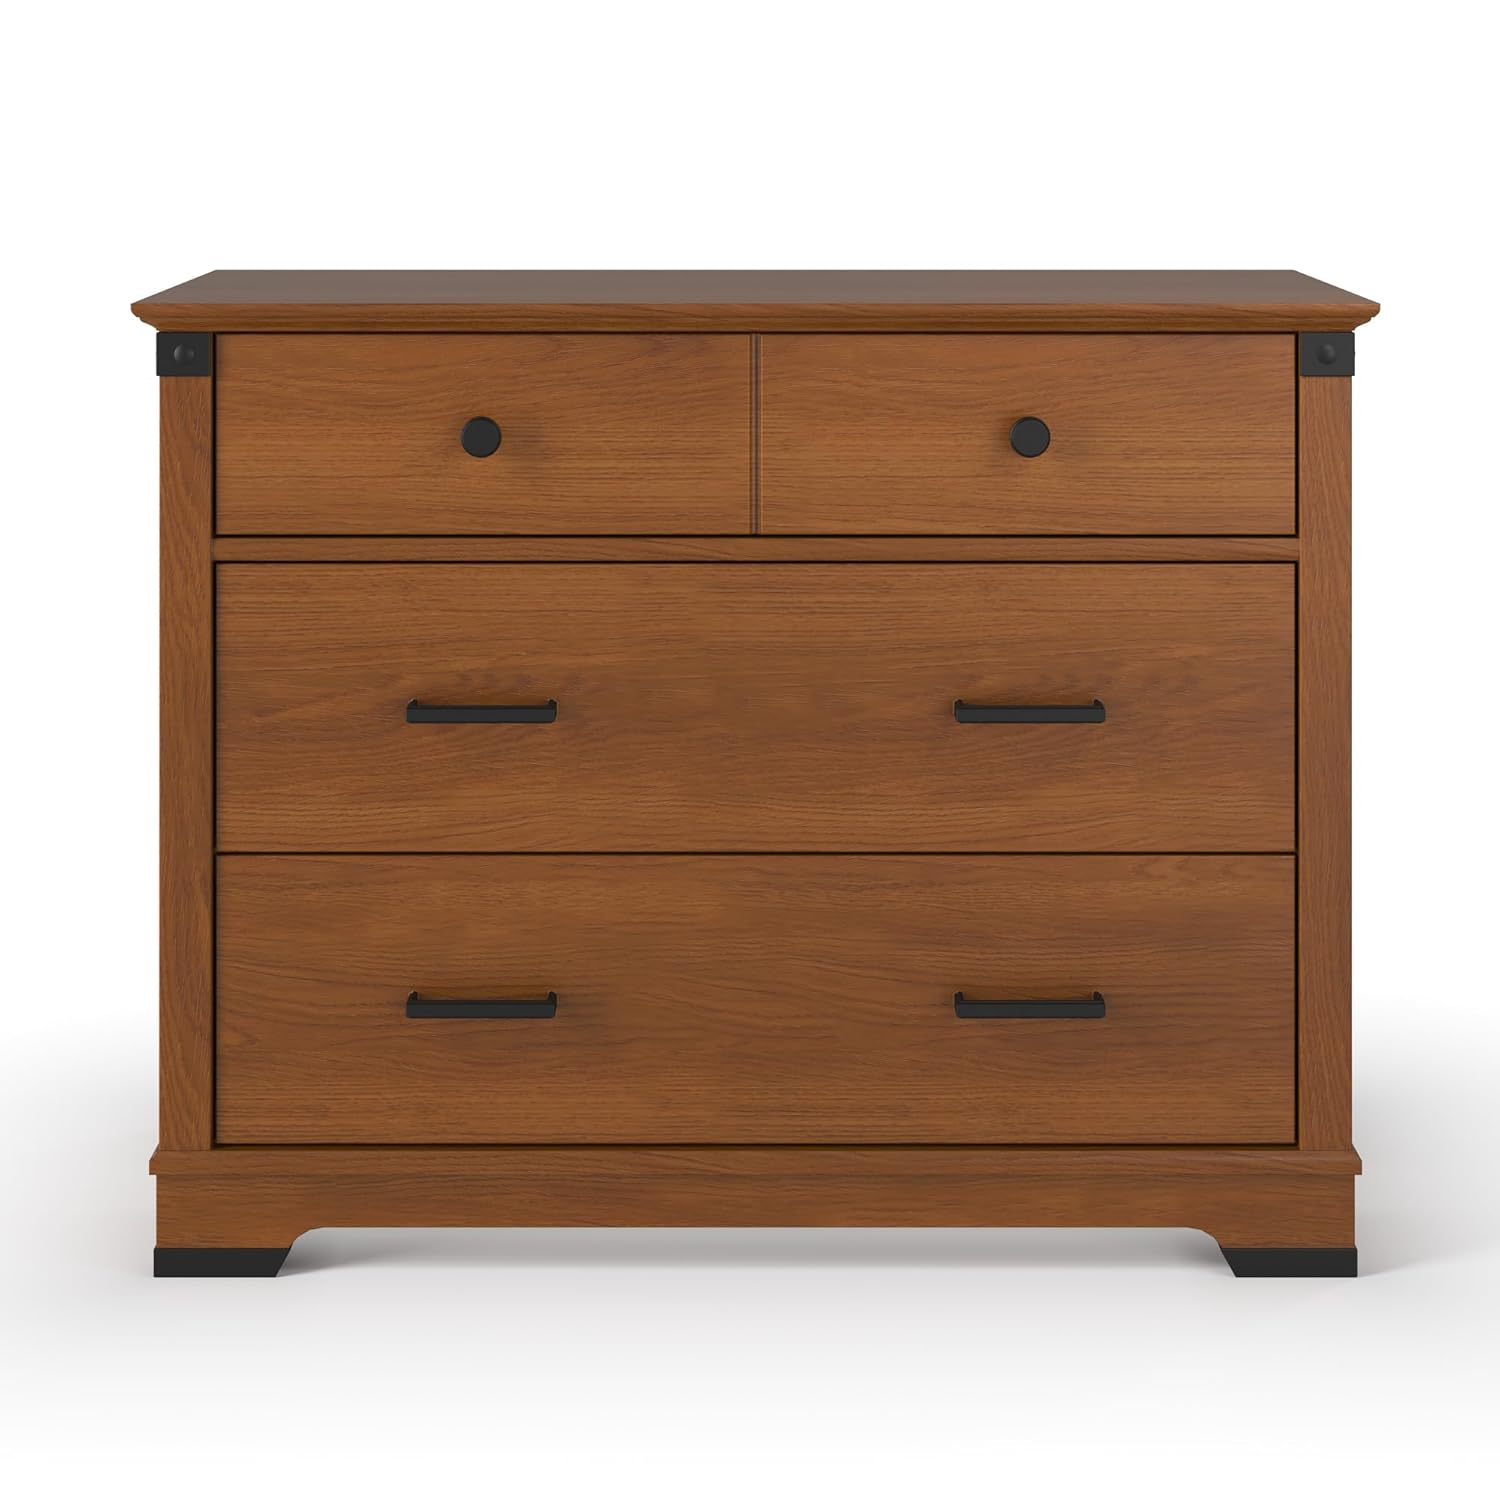
Image: A front view of the assembled dresser, showing the drawer layout and overall structure.
Step 3: Install Drawer Slides
Attach the drawer slides to the interior side panels of the dresser frame. Pay close attention to the orientation of the slides (left and right) and ensure they are level and aligned with pre-drilled holes. Repeat for all drawer positions.
Step 4: Assemble Drawers
For each drawer, connect the front, back, and side panels using the provided hardware. Slide the drawer bottom into the designated grooves. Attach the corresponding drawer slides to the sides of each drawer. Install the drawer pulls or knobs onto the drawer fronts.
Step 5: Insert Drawers and Install Anti-Tip Kit
Carefully slide each assembled drawer into its respective opening in the dresser frame. Ensure they glide smoothly. Finally, position the dresser in its desired location and immediately install the anti-tip kit to a wall stud, following the specific instructions included with the kit. This step is crucial for safety.

Image: The Redmond 3 Drawer Dresser with key dimensions indicated: 42 inches width, 17.5 inches depth, and 33 inches height.
Operating Instructions
The Redmond 3 Drawer Dresser is designed for storing clothing, linens, and other nursery or bedroom essentials. To ensure longevity and safe use:
- Open and close drawers gently.
- Avoid overloading drawers, as this can strain the slides and cause them to stick or malfunction.
- Distribute weight evenly within drawers.
- For safety, avoid opening multiple drawers simultaneously, especially the top drawers, to maintain stability.
Maintenance and Care
To maintain the appearance and integrity of your dresser:
- Cleaning: Wipe the dresser surfaces with a dry, soft cloth. Avoid abrasive cleaners, harsh chemicals, or polishes that may damage the finish.
- Spills: Immediately wipe up any spills with a dry cloth to prevent water damage or staining.
- Hardware: Periodically check all screws and fasteners to ensure they are tight. Retighten as necessary, but do not overtighten.
- Environment: Avoid placing the dresser in direct sunlight or near heat sources, which can cause fading or warping. Maintain a stable room temperature and humidity.
Troubleshooting
| Problem | Possible Cause | Solution |
|---|---|---|
| Drawers stick or do not open/close smoothly. |
|
|
| Dresser feels unstable or wobbly. |
|
|
| Damaged or missing parts upon arrival. |
|
|
Specifications
- Item Dimensions (D x W x H): 17.75"D x 42"W x 33"H
- Item Weight: 110 Pounds
- Material Type: Cherry, Engineered Wood, Pine Wood
- Furniture Finish: Cherry, Pine
- Number of Drawers: 3
- Mounting Type: Freestanding (with mandatory anti-tip kit wall attachment)
- Color: Brown (Coach Cherry)
- Required Assembly: Yes
- UPC: 849801012382
- ASIN: B08Z1CB98K
Warranty and Support
This Child Craft Redmond 3 Drawer Dresser comes with a 2-Year Limited Warranty. For warranty claims, missing parts, or technical support, please contact Child Craft customer service. Keep your purchase receipt for warranty validation.
For additional product information or to view other Child Craft products, visit the official Child Craft website or your retailer's product page.
Product Video
Video: An official brand video showcasing the Child Craft product line, including various nursery furniture pieces. This video provides an overview of the brand's commitment to quality and design.